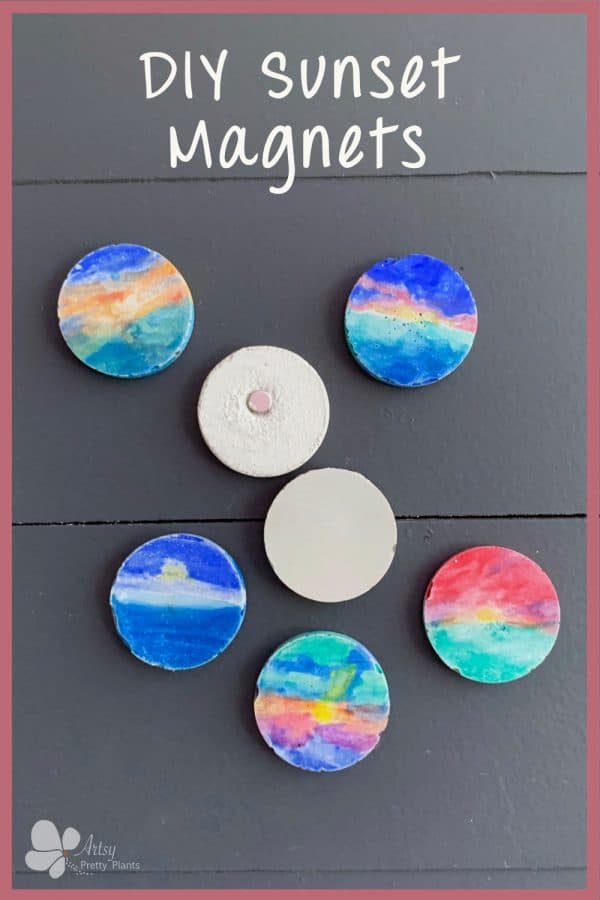
DIY Cement Magnets: With Watercolor Sunsets
A super easy tutorial for making DIY cement magnets with painted sunsets, using watercolors.
Are you ready for an easy one? These DIY cement magnets are it.
I got tired of having the same ole boring magnets on our refrigerator.

Sometimes I forget that you can make just about anything with cement, so why not just make what you want?
I don’t do too much coloring of cement, so this was kind of a treat- playing with watercolor paints. It’s been a while since I’ve done any type of watercoloring.
Another great thing about these magnets is that they make such cute gifts, don’t they?
Some of the links on this page have been provided as a convenience for finding materials. These links may also be affiliate links. As an Amazon Associate I earn from qualifying purchases, at no extra cost to you.
I only recommend products I’ve used and loved, unless otherwise stated. Click here to read my full disclosure policy.
DIY Difficulty Level | Easy
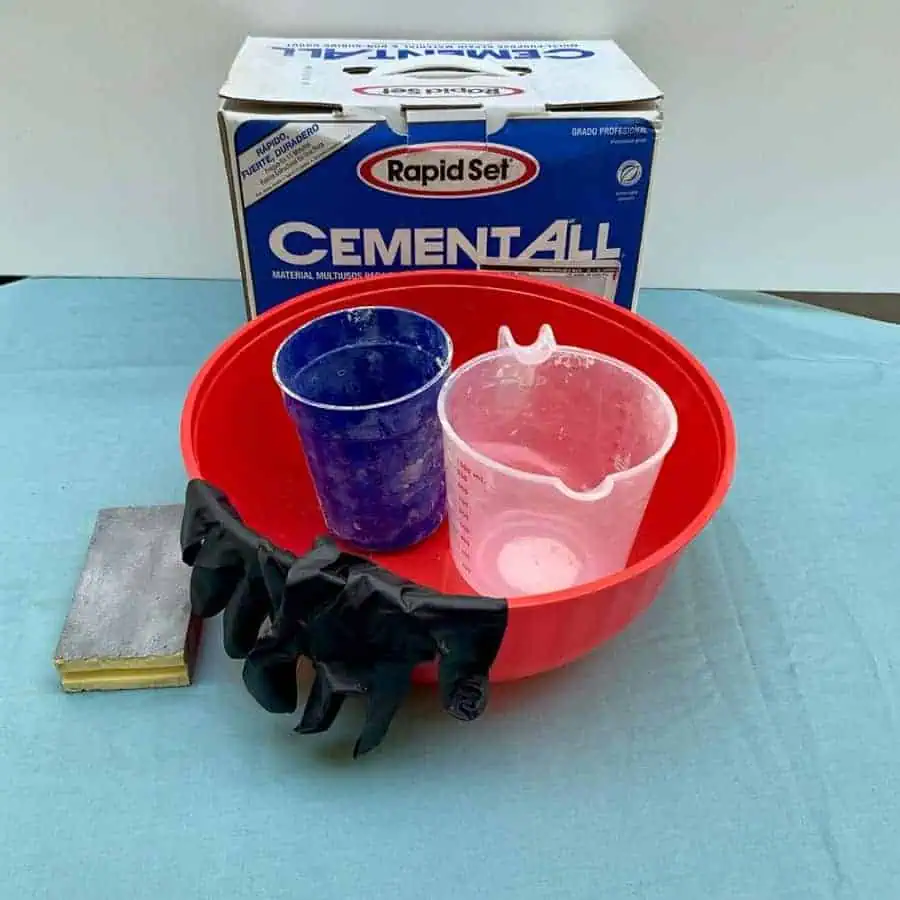
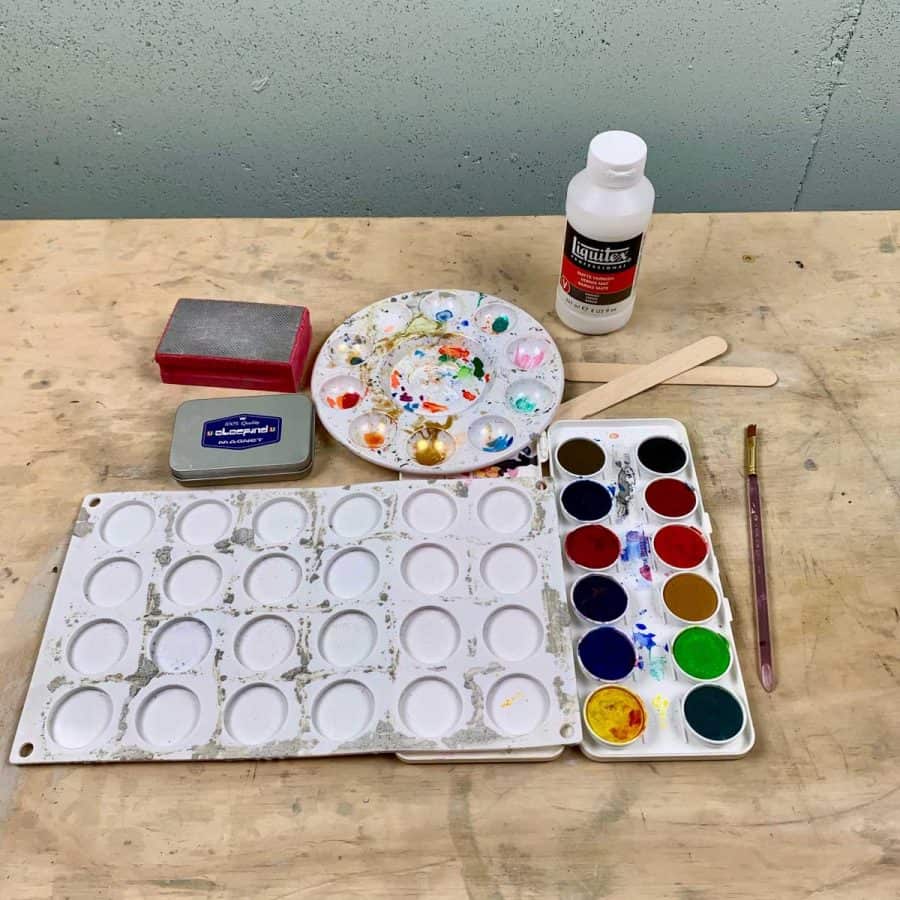
Materials For DIY Cement Magnets With Sunsets
- Rapid setting cement
- Disposable bowl
- Disposable cup
- Durable nitrile gloves– I like these because they are so durable, you can rinse and reuse and end up costing less in the long run
- Safety glasses
- Silica rated dust mask
- Silicone mold for chocolates
- Craft sticks- wide
- #200 Grit diamond sanding sponge
- Neodymium magnets 6mm x3mm
- Watercolor set
- Small paintbrush
- Paint palette tray
- Clear matte varnish
Before starting the tutorial, it may be helpful to read my article comparing the different concrete mixes and sealers– Cement & Concrete Crafts Tests!
Another important article is Making Cement Crafts Techniques & Tips with info on cement materials, mixture consistencies, demolding, safety and clean up!
Tutorial Steps For DIY Cement Magnets With Sunsets
Step 1. Separate The Magnets
These magnets are surprisingly strong.
Prep them ahead of time by separating each and placing them on your work surface, right next to where your mold will be cast.
Be sure they are spaced far enough away that they don’t grab a hold of each other, which is probably 6-8”.
Step 2. Cast The Magnet Molds

Place a rigid board on top of your work surface and place the silicone mold on top of it.
Mix the dry cement mix with very cold water, or even add ice cubes- to slow down setting time.
You will want a milkshake consistency. Use a plastic spoon to scoop the cement into the mold compartments.
Try to get the mix flush with the top of the mold to make a cleaner edge. Then use a craft stick to scrape off any excess and level them.
Briefly shake, lift and tap the rigid board on the work surface to get the air bubbles out and to help level the cement.
Take the magnets and place them in the center of each mold.
Then go back and push them in the cement so that they are flush. Use the craft stick to help position them as needed.
Lightly repeat the vibrating by gently lifting and tapping the board.
Let these cure for an hour or two.
Step 3. Sand The Magnets
Demold the plant tags by gently pushing them out from the back of the silicone compartments.
Now use a #200 diamond grit sanding sponge to remove any sharp edges and smooth the backs.
Even though the cement has cured, it still has moisture in it. I recommend waiting another full day, before moving on to the next step to paint these cement magnets.
See the darker spots in the photo above? That’s moisture.
You’ll know these are dry when the spots disappear and the color is homogenous.
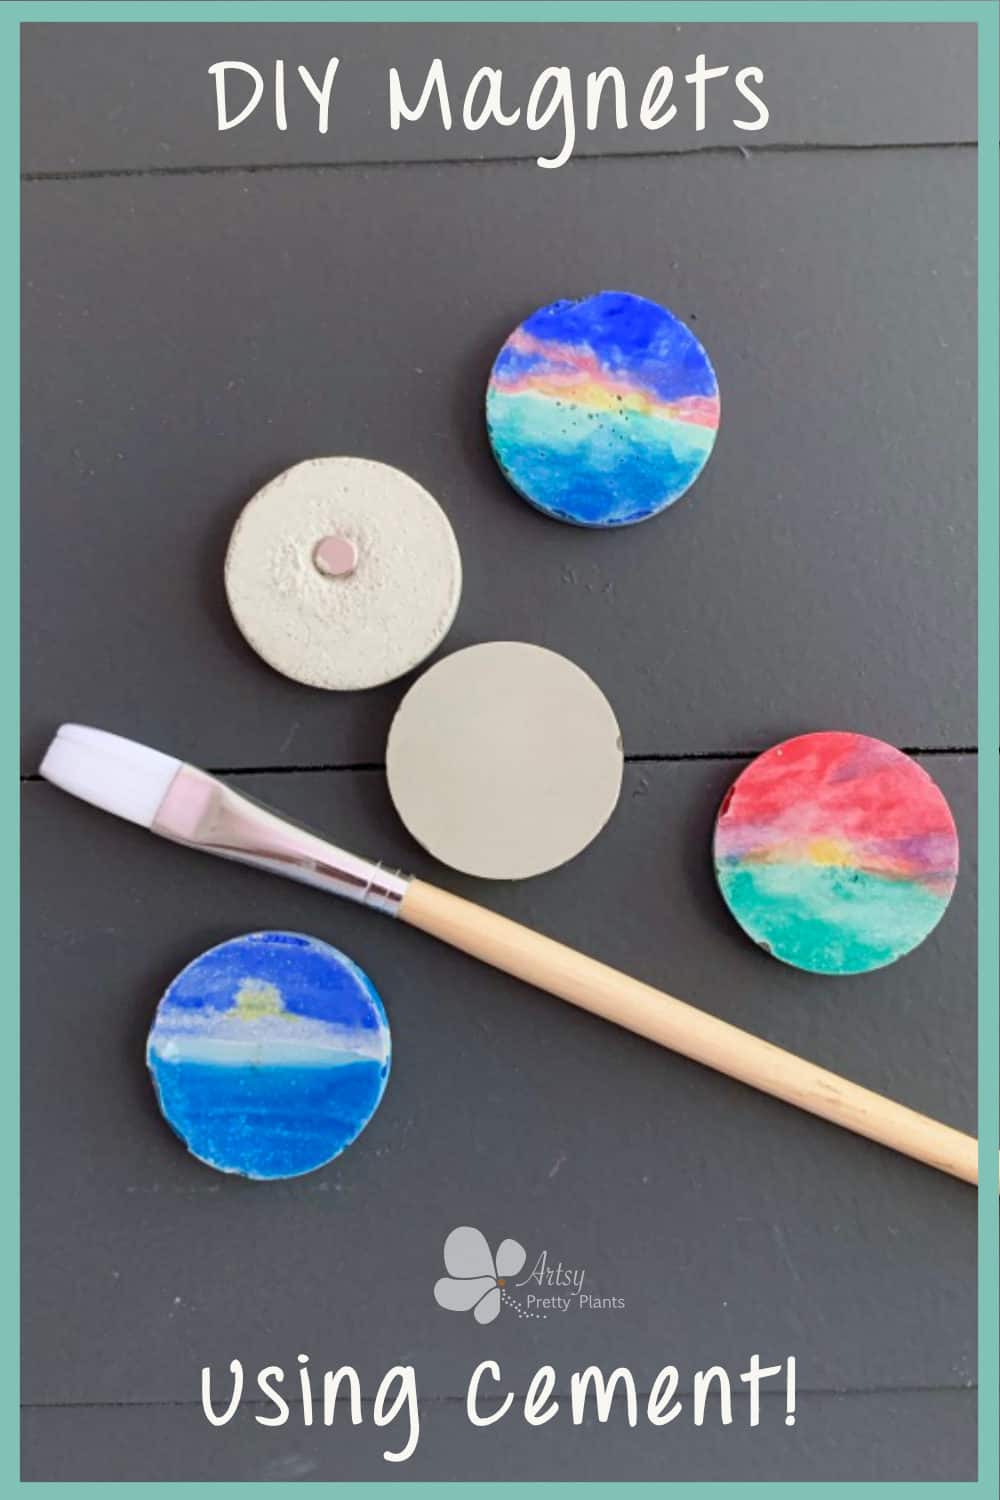
Step 4. Paint Sunsets Onto The DIY Cement Magnets
Once the cement is dry, you are ready to paint the magnets.
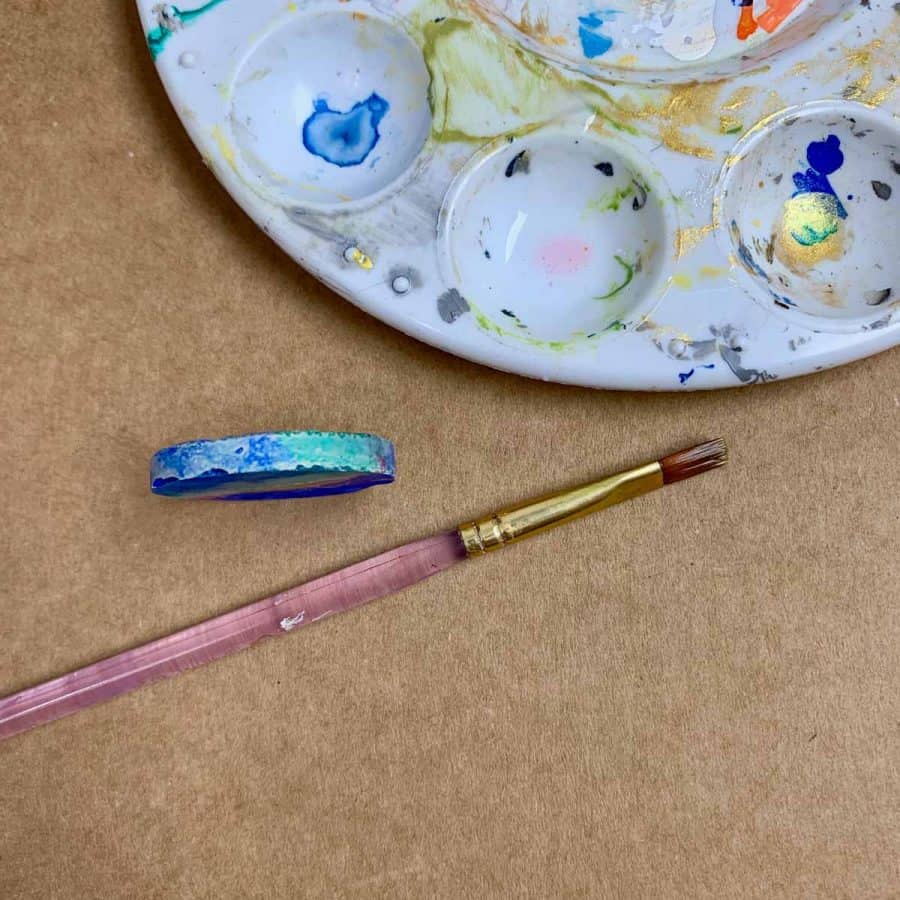
Watercolor paints are dry and need to be moistened to use. So first wet your paintbrush and dab it onto the paint.
The more water you apply, the more transparent the color. That’s why watercolor paints are perfect for things like sunsets.
I mostly envisioned sunsets that were over water.
My best visuals for sunsets were when I spent time at the beach, on the Florida Gulf Coast, which has really amazing sunsets.
You can use photos to reference your sunsets too. Anything goes, use your imagination!

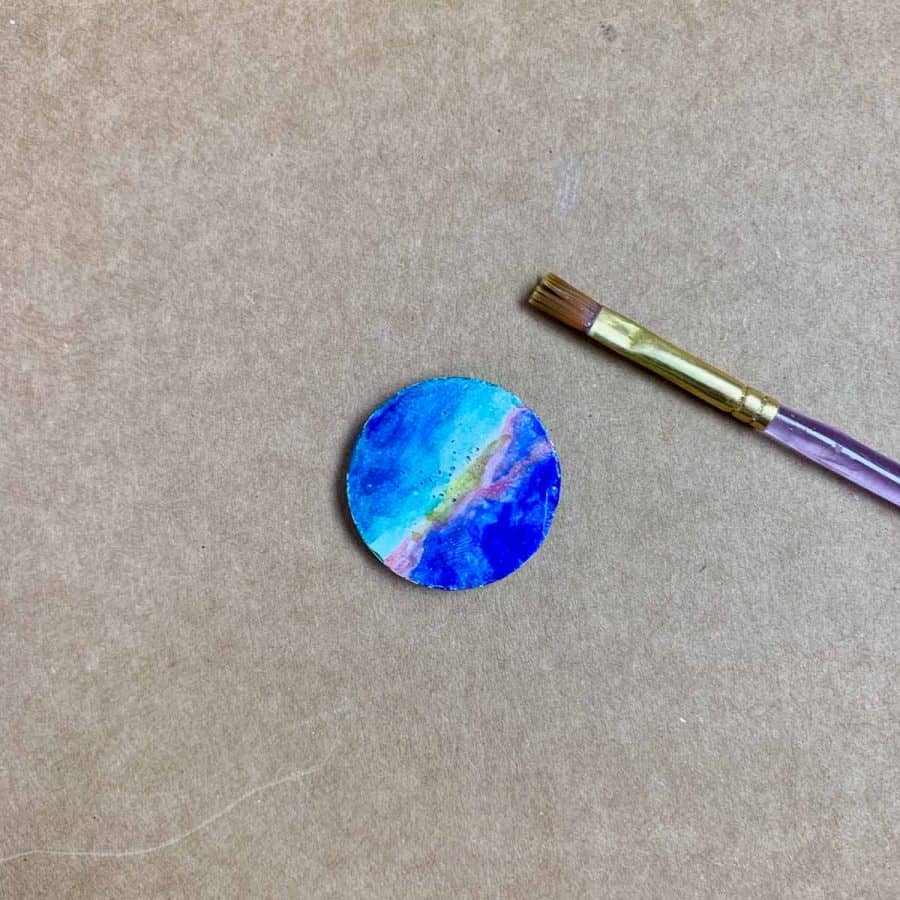
I find it easiest to start at the bottom/ocean or land and use one color, then move on to the next color.

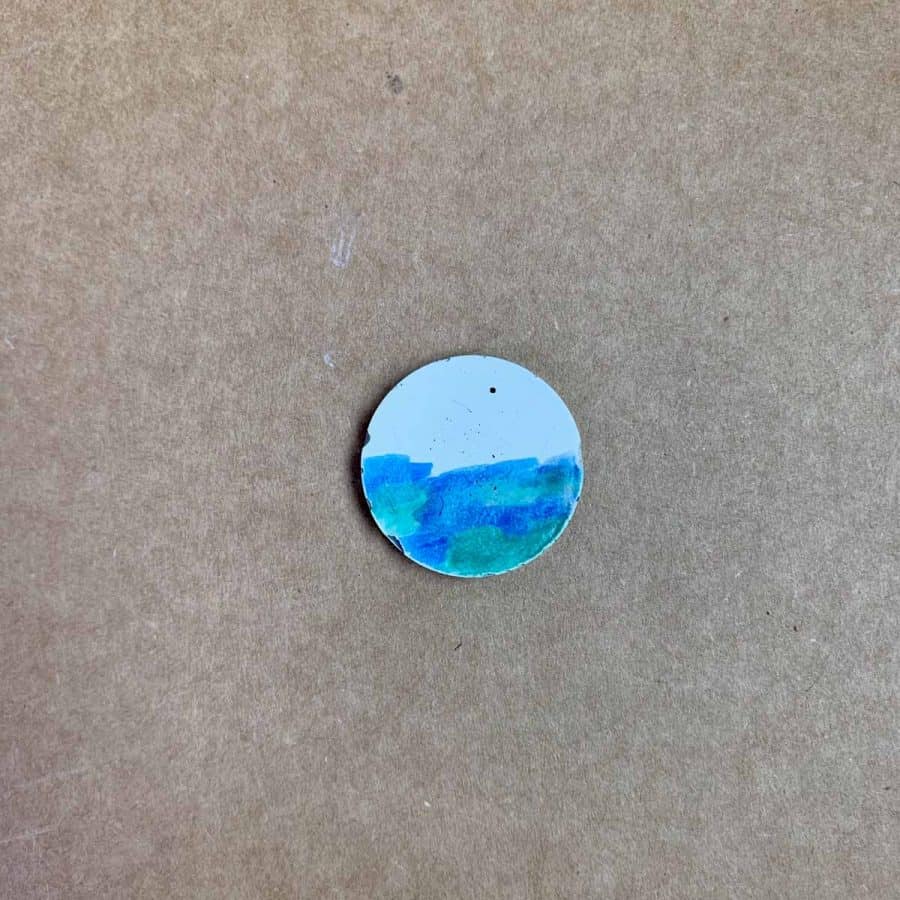
After I had the ocean done, I went ahead and blended it by dampening the brush just a little and going over the ocean with it. You can see the effect is subtle but soft.
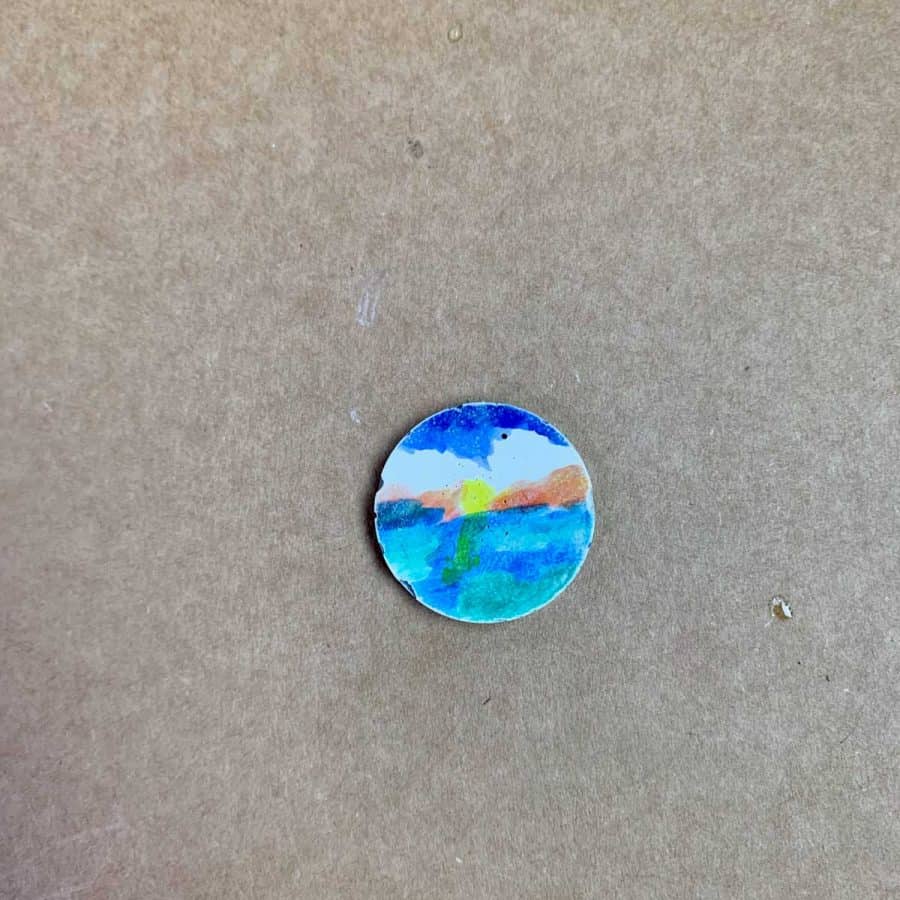

Next, move on to the sky and do the same, one color at a time.
After the sky is done, make sure it’s dry to the touch, then go back and paint the sides to match.
Take care not to get the front wet while doing this, otherwise, you may end up needing to do some touch ups.
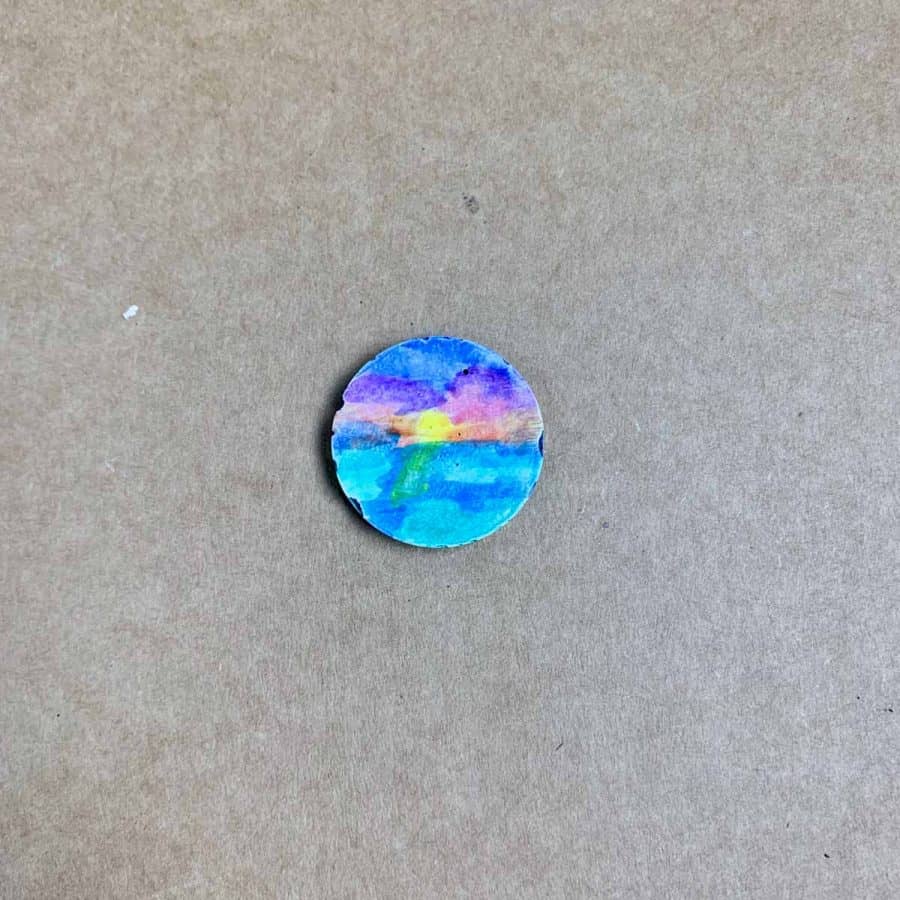
Step 5. Protect The DIY Cement Sunset Magnets
Let these dry an hour or so and then go ahead and apply the varnish. Just brush it on with even strokes.
I started with the sides first. Then when they were dry enough to pick up, I went ahead and sealed the top.
Don’t forget to Pin it for later!