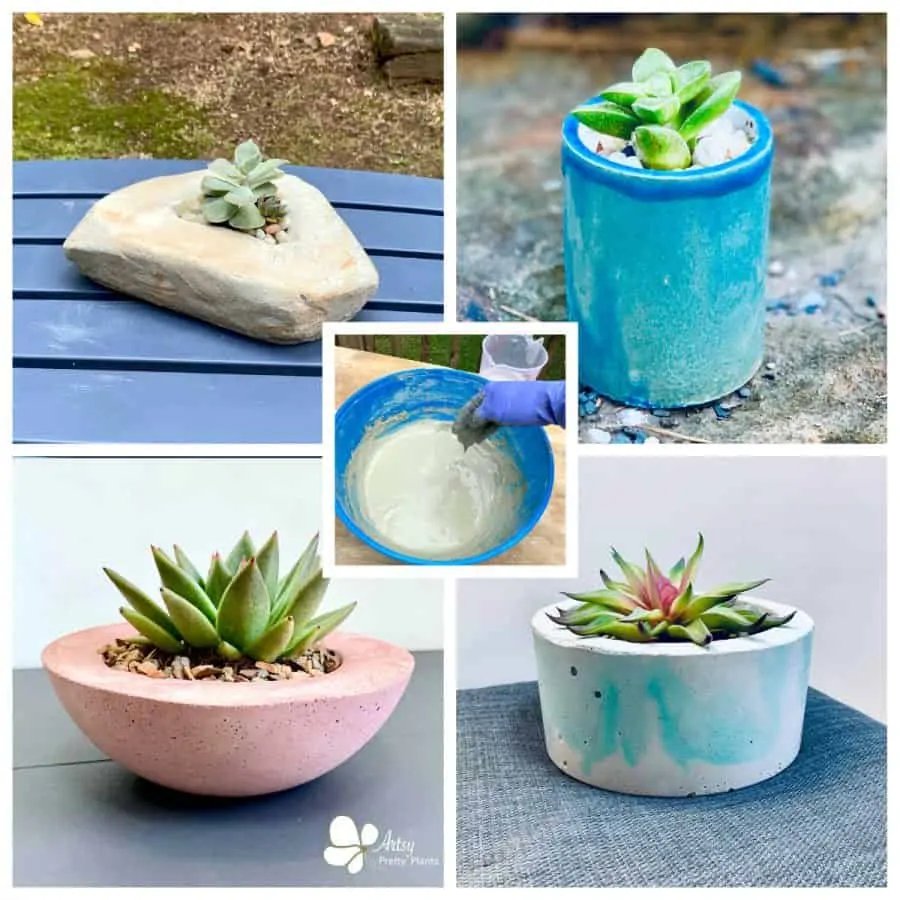
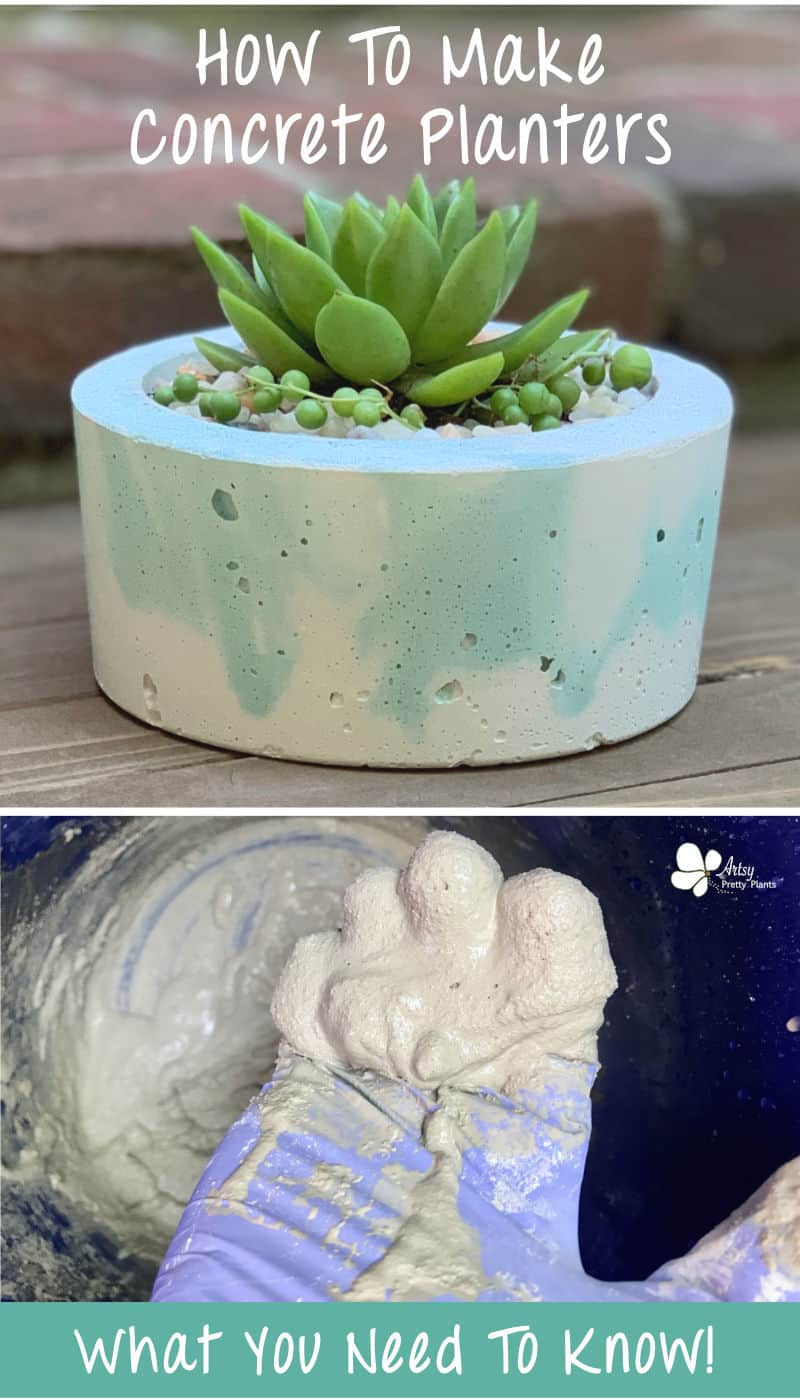
How To Make Concrete Planters: The Ultimate Guide!
In this article, you will find everything you need to know about how to make concrete planters at home.
Ready to get started making concrete planters? You’ve come to the right place.
I’ve been making concrete planters for over six years now, and during that time, I’ve put together 33 concrete planter tutorials and have a lot to teach you.
Whether you are a seasoned concrete planter-making pro or a first-timer, this comprehensive guide will teach you how to make concrete planters from start to finish.
Some of the links on this page have been provided as a convenience for finding materials. These links may also be affiliate links. As an Amazon Associate I earn from qualifying purchases, at no extra cost to you.
I only recommend products I’ve used and loved, unless otherwise stated. Click here to read my full disclosure policy.
Materials Needed To Make DIY Concrete Planters
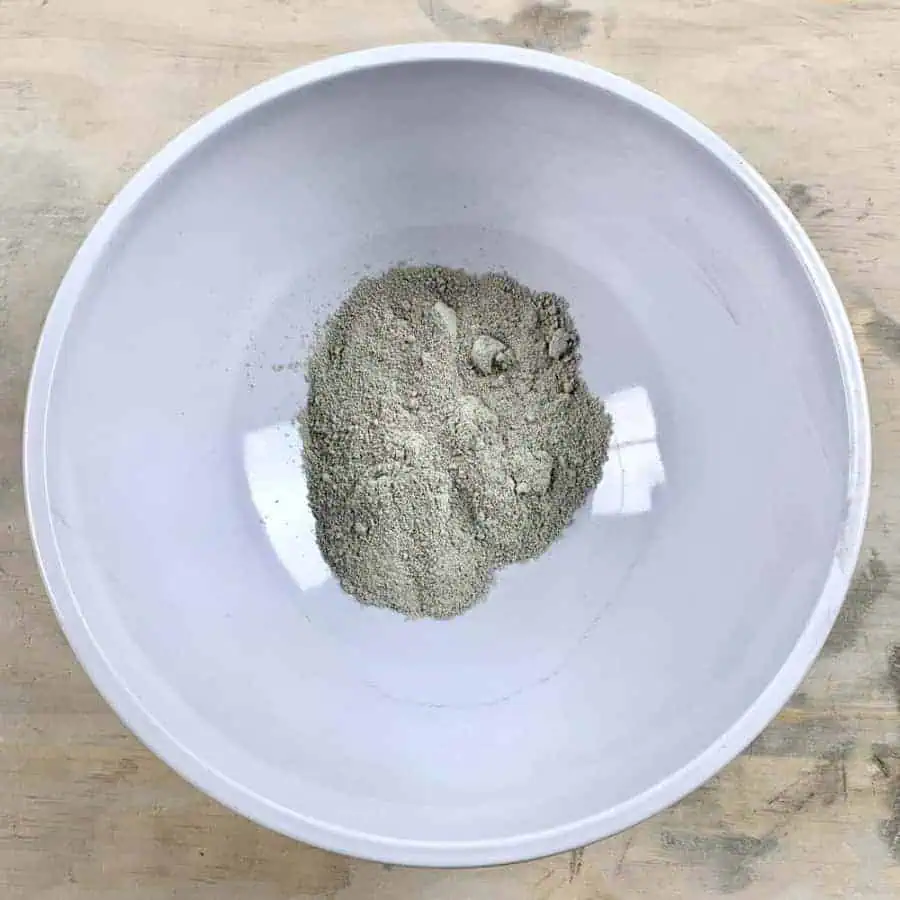
- Cement, rapid set
- Disposable bowl
- Disposable cup
- Durable nitrile gloves– I like these because they are so durable, you can rinse and reuse
- Safety glasses
- Safety mask– rated for silica dust
- Water
- Drinking straw- for the drainage hole
- Hot glue
- plastic bottles, plastic buckets, plastic containers
- Utility knife
Check out this article later for the entire list of the essential supplies needed for concrete crafts, and what’s important compared to what’s great to have.

The Type Of Mix You Should Use To Make Cement Planters
You can use almost any cement or concrete mix for planters. But the best mix for making pots will depend on what you are using as the mold, as well as the size of the planter.
The process is the same whether you make a “concrete” or “cement planter,” but the mix may differ slightly. Here’s an article explaining the differences between the two.
Cement All is the best mix for cement planters because it sets quickly and cures in about an hour.
I also like it because it’s one of the smoothest concrete mixes for planters.
The easiest way to get a planter smooth is by using a smooth mix.
Portland cement is another good cement mix for DIY planters. But you must add sand to it. Otherwise, it won’t bind.
Using a smooth cement mix to achieve smoothness in a planter is essential. But to do this, you must mix the cement or concrete so there are no lumps.
You will also need to vibrate the wet mix after you have cast your planter.
If you don’t vibrate the mix, you will have pin holes or pock marks (air gap holes) in your concrete planter.
You can go here to learn in-depth about the different concrete mixes.
How To Safely Handle Concrete
When you make concrete planters, there are precautions to take. Concrete is a caustic material that must be handled with gloves, especially when the mix is wet.
Even the dry mix powder can burn you. Be sure to protect your skin with very durable nitrile gloves when handling concrete and cement. A thicker glove will help prevent tearing.
Another danger to working with concrete is the dry mix dust harms your eyes.
Concrete also contains silica, which can cause cancer with repeated exposure. So please wear safety glasses and a silica-rated dust mask when handling concrete.
*For details about handling concrete safely, take a look here.
Steps For How To Make Concrete Planters
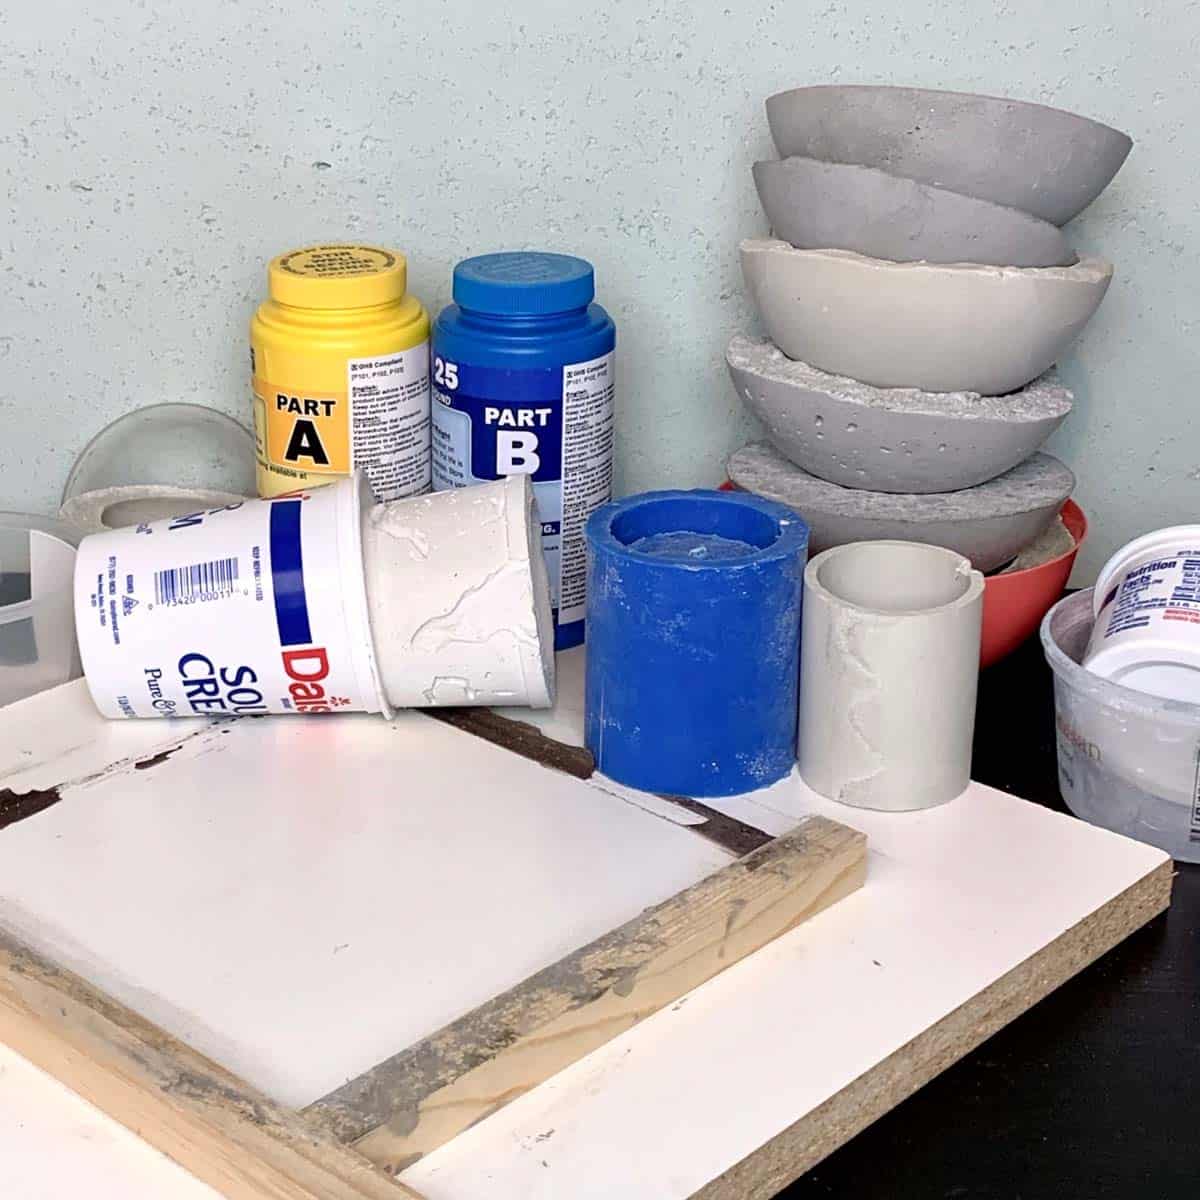
How To Make A Concrete Planter Mold

Making a concrete mold is quite simple. You can make a mold for a concrete planter by creating your own silicone mold. Or you can use materials such as wood or corrugated plastic.
For larger planters, use wood. Some people like to build plywood forms. I prefer using melamine since it has a smooth surface, which makes the concrete smooth and easier to demold.
The method you choose will depend on the size and shape of the concrete planter you intend to make.
You can also utilize other materials for making concrete molds. This article discusses all the methods for how to make concrete molds for crafts.
This article will tell you how to get your concrete shiny and how to get it matte.
Reusing existing molds is also an excellent option for making planters. I discuss this in detail in my article about choosing the best mold types for your concrete projects.
How To Create A Drainage Hole For A Concrete Pot
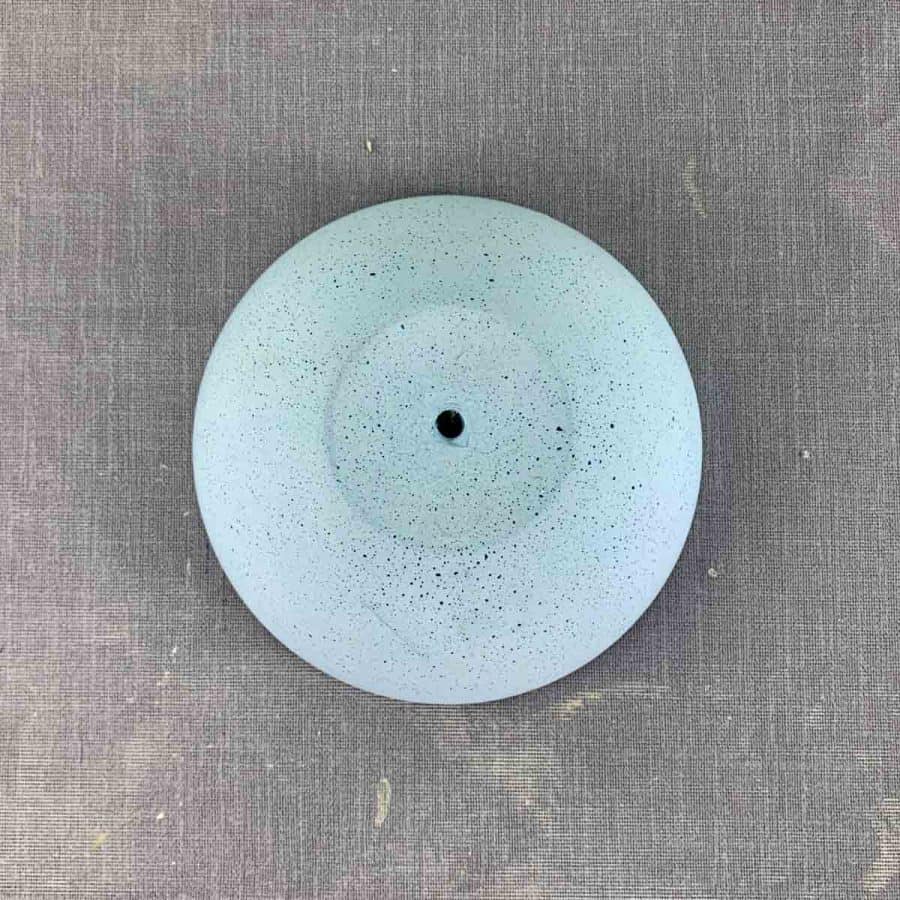
Cement and concrete planters need drainage holes, even though concrete and cement are porous materials. And so, you will need to create a drainage hole.
It’s much easier to make drainage holes during mold-making than drilling them after the concrete has cured.
So, how do you make a mold with a drainage hole? I much prefer to use straws. I first tried the methods I saw on the internet with using PVC pipes. This is a sure way to get the pieces stuck permanently. Straws work great!
First, take a drinking straw and cut it to about 1/4″. This is because the length will need to be the thickness of the bottom of the planter.
Next, use hot glue to glue it to the bottom of the concrete mold and then fill the straw’s open end with glue.
How To Mix Concrete
A typical cement pot recipe is a 4:1 ratio of mix to water. This is a general rule of thumb, but for a getting better results in your projects I recommend reading this article on getting the best water to cement ratio.
In short, it’s best to learn how to understand what the best consistency is needed for your project. I don’t rely on water measurements because there are many variables involved such as mix type and climate conditions.
Some mixes require the addition of sand, but most do not. If you are using Portland cement, your cement-to-sand ratio should be either 3:1 or 2:1.
This article provides complete details on the best cement mix ratio. The cavity’s thickness and the planter’s size determine this, which will be vital information. I tend to stick to mixes that are premixed, as I lose track quickly of counting.
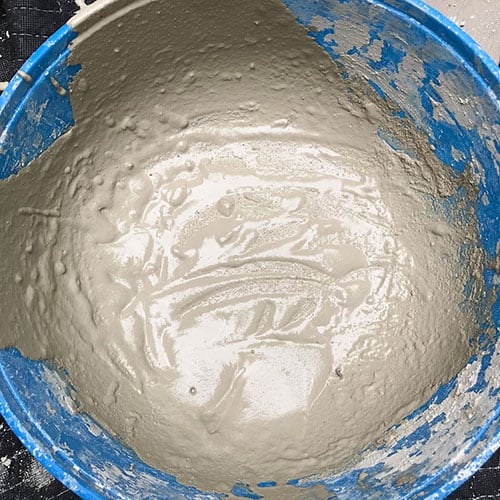
The best mixture consistency to use when you make concrete planters is typically a brownie batter consistency, like pictured above, so that you can pour it in and get into the grooves.
You will want a slightly thicker apple sauce-like consistency for larger and thicker-walled planters.
Once you pour the mix into your mold, be sure to vibrate it until the air bubbles rise to the surface.
Now let this cure. The length of time will vary, according to the manufacturer’s instructions. This is typically 1-24 hours.
How To Cure Concrete Pots
Standard Cure
The length of time you cure concrete planters will depend on the mix you are using and the size of the planter.
Most concrete and cement mixes will take about one day to cure and then several more days to dry.
These times are a general guide because a tiny cement craft will cure in less than 24 hours.
However, a large concrete planter box with walls 2” thick may take longer than 24 hours.
Many brands make a concrete mix that sets quickly. Some quick-setting mixes will cure in about an hour.
There can also be rapid setting mixes but not necessarily quick curing, which can still take a day to cure.
The reason for having a mix that sets quickly is that some projects do better if their setting time is shortened- like with this Cement Balloon Planter I made.
Wet Cure A Concrete Planter
It’s important to note that some concrete mixes for planters require a ‘wet cure.’
Wet curing keeps the cement and concrete moist during the curing process.
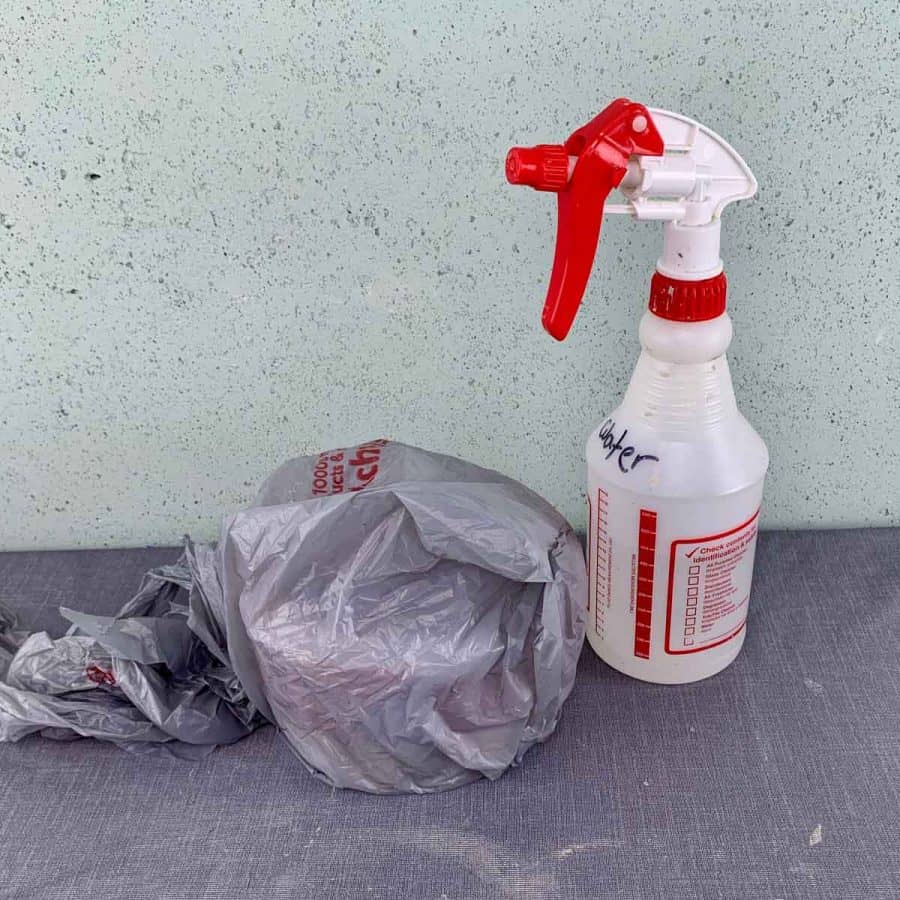
The way to wet-cure concrete is to mist it with water and then wrap it with a plastic bag after it has been cast (or poured).
A mix that needs to be wet-cured will typically have that instruction labeled on the bag.
If you are working in dry, windy, or hot conditions, you can run into situations where a cement pot needs to be wet-cured.
These climate conditions will speed up the curing time and may cause the concrete to crack during curing.
Other than obvious climate conditions, there’s no way to know if you will have this problem ahead of time. Just be aware that the solution is wet curing.
I use Cement All for most projects and haven’t encountered the need to wet-cure any.
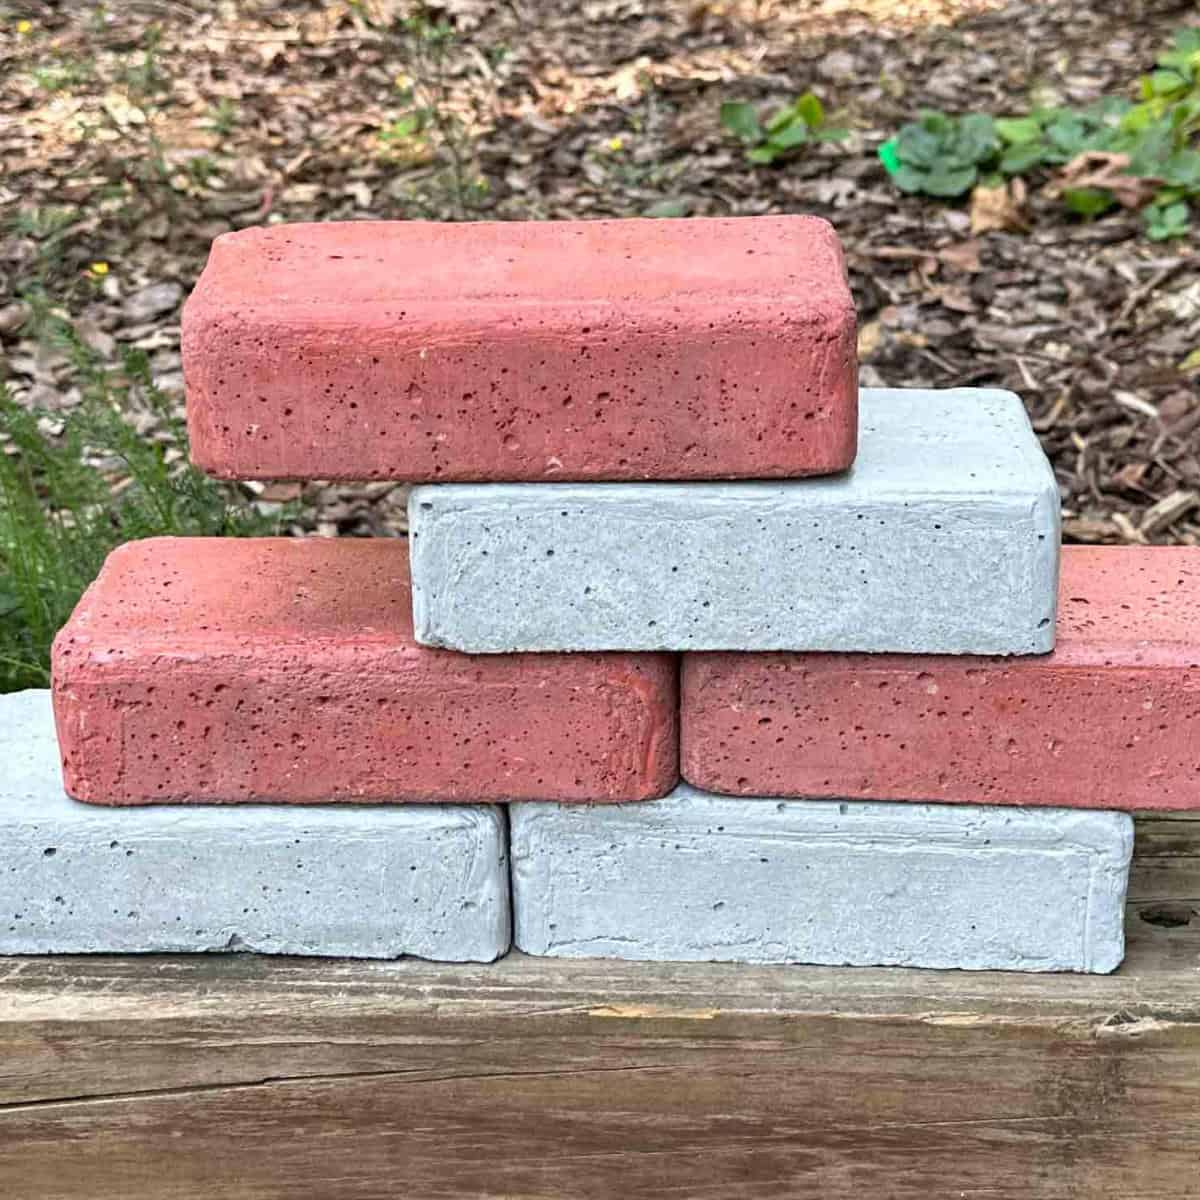
How To Color Concrete Planters
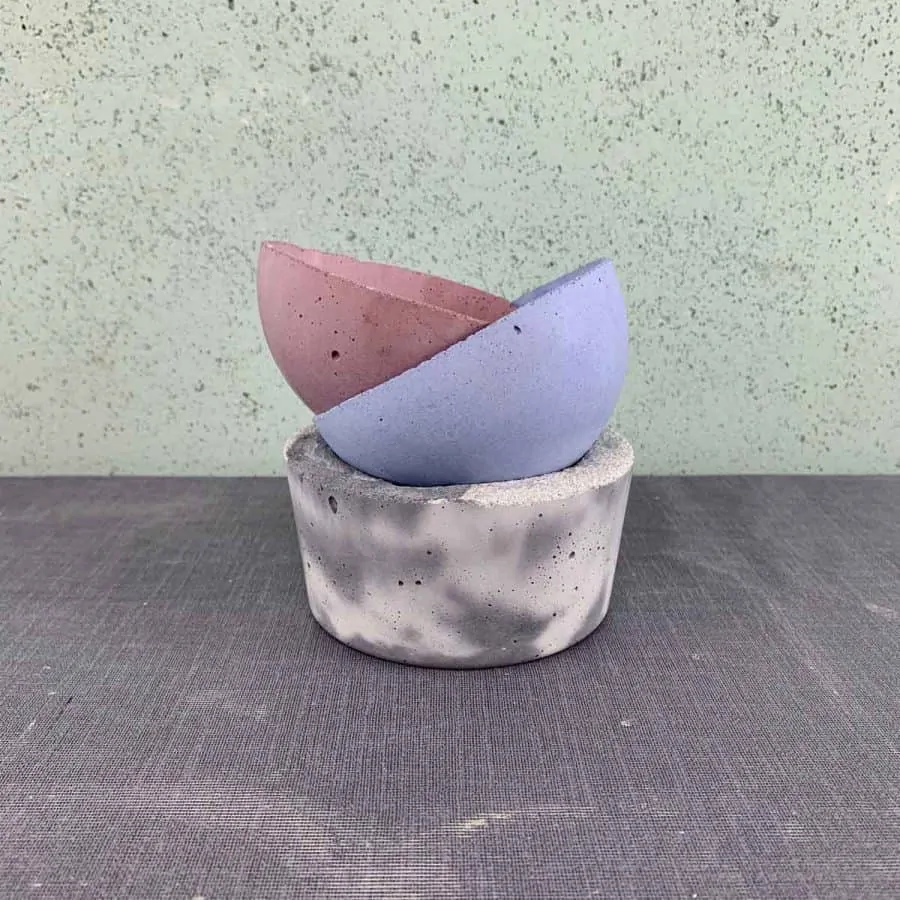
Adding a pigment is the easiest way to color a DIY concrete planter.
You can mix in many types of pigments with concrete.
Concrete Pigments:
These powdered mineral oxides are specifically formulated for concrete and will be the most pigmented, durable, and long-lasting.
Paint:
You can add acrylic or latex paint to the wet mixture. Or you can always paint cement and concrete after it’s cured.
Painting and staining concrete planters are done the same way you would paint anything, using a regular paint brush, a foam brush, or with a spray paint can.
Concrete takes well to any acrylic or latex paint. And if you do paint the concrete, I recommend sealing with either a concrete sealer or an acrylic paint sealer.
To get details about each concrete coloring method, read Concrete Crafts Pigment Tests.
I also recommend reading this afterward as a follow-up on which colorants were best for retaining their color long-term outdoors.
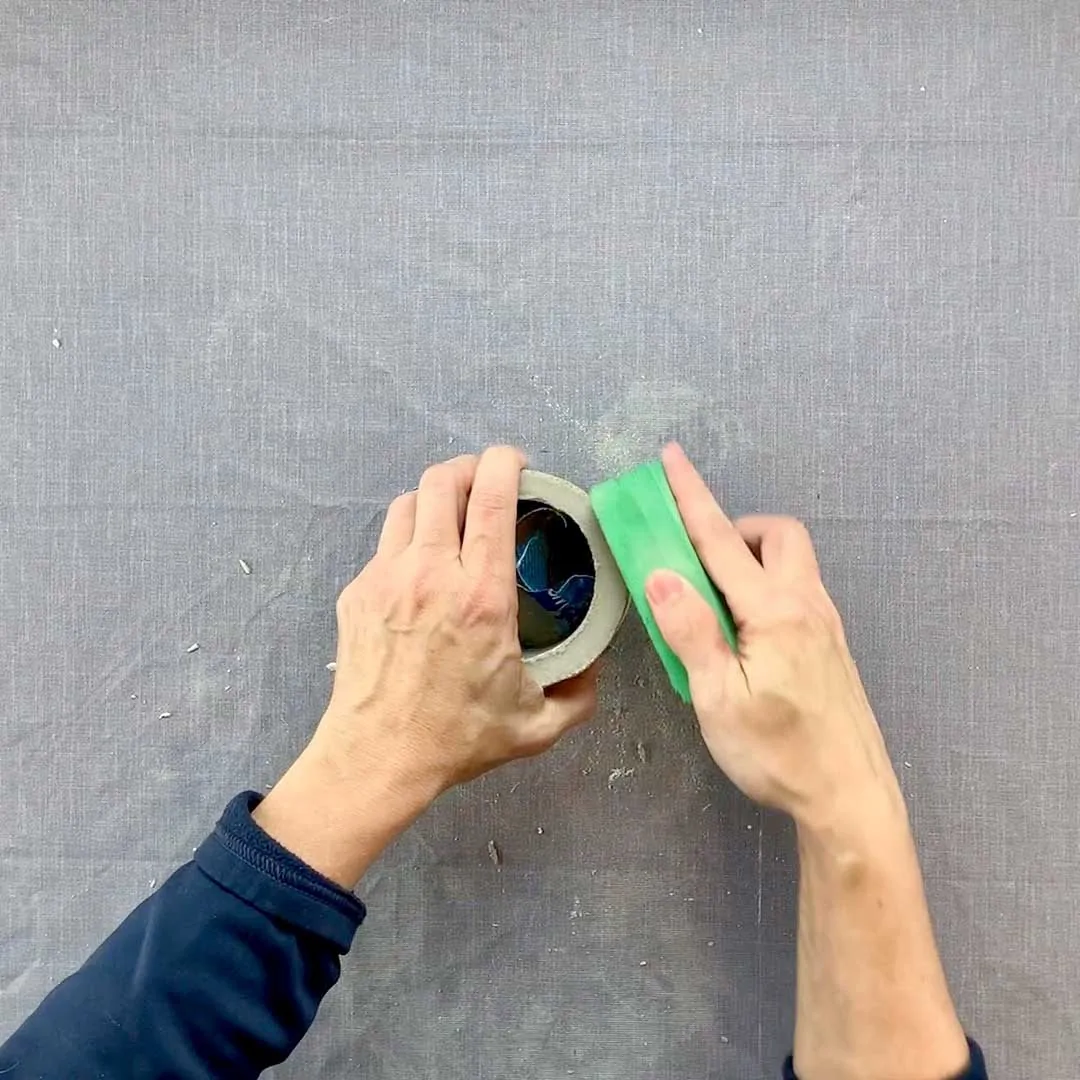
How To Sand Your Planter
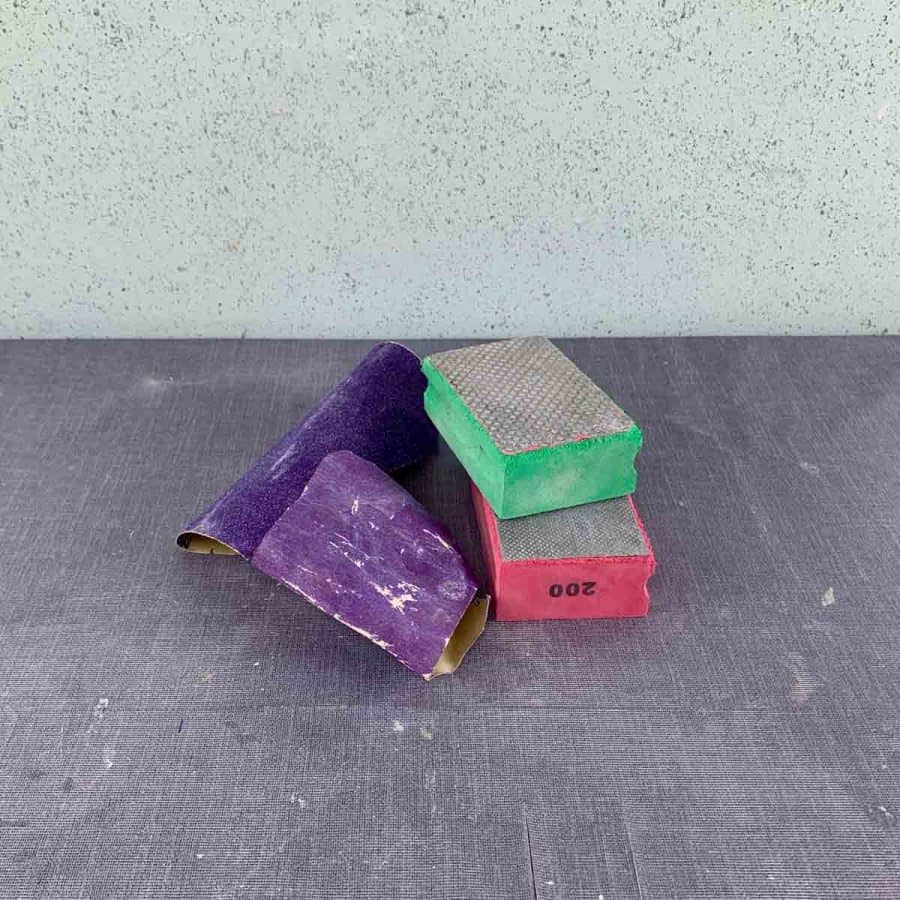
You smooth concrete planters by sanding them. There are many ways to sand them.
Some concrete and cement mixes are easier to sand than others.
You can usually get away with using a #100 grit sanding sponge for most mixes. After sanding with the lower grit, switch to a #220 grit.
I like to use diamond grit sanding sponges on planter edges for mixes that are harder and not as easy to sand.
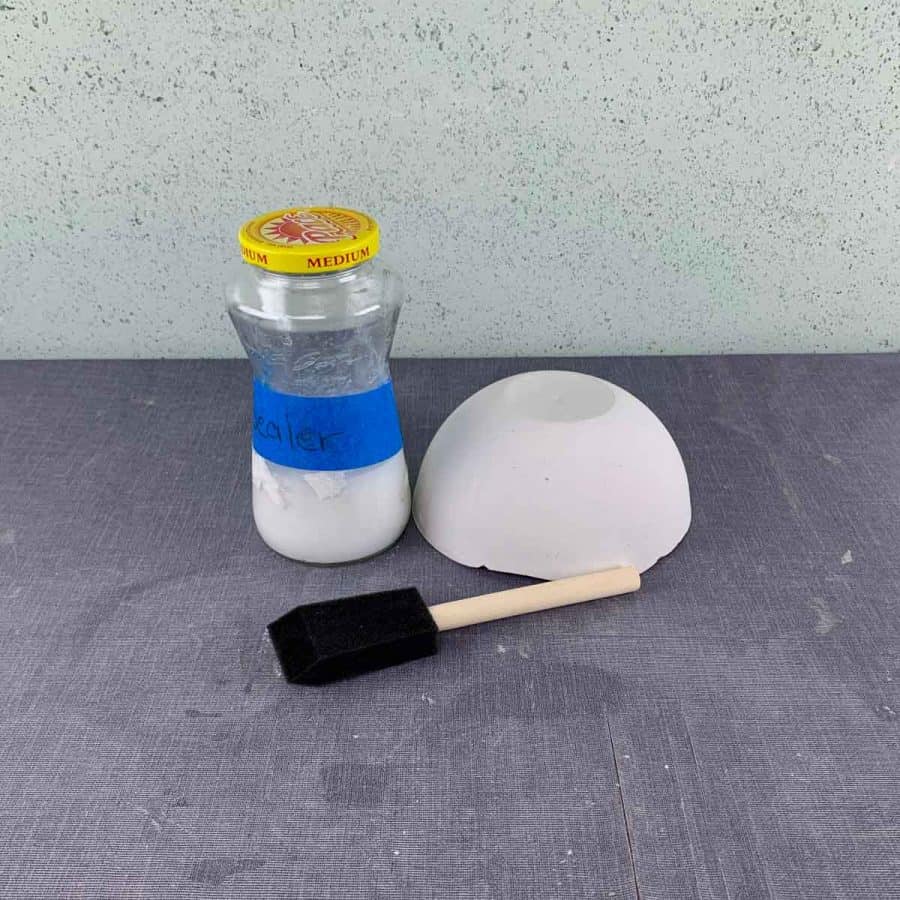
How To Seal Your Concrete Pot
A concrete finish is naturally durable and does not need to be sealed unless you want to protect the finish from stains.
I only seal the DIY cement planters that I have created a marbling effect. I also might seal white cement to keep its brightness.
For example, here’s a tutorial where I mixed latex paint into the mix to make a Green Marbled Cement Planter.
Sealing a concrete planter will reduce its porosity, which isn’t necessarily helpful for growing plants.
The innate porousness of concrete helps keep plant soil from being over-watered.
Another reason to seal concrete is if you are potting a plant that requires acidic soil. More on this below.

To seal concrete planters, use a foam brush or rag and brush or rub on a concrete sealer after the concrete has completely dried.
Issues and Concerns With DIY Concrete Planters

Cracking Problems In Concrete
If you find cracks in your concrete planter after removing it from the mold, you likely had too much water in the mix.
If you have cracks while it’s curing, it is curing too quickly for conditions and must be wrapped in plastic and kept moist.
This in-depth article explains the reasons why your concrete pots keep cracking and how to prevent it.
Plant Health and Concrete Alkalinity
Not every plant thrives in an alkaline environment, which is what a concrete planter provides due to the lime content.
It is an excellent planter for many plants but not for all. However, you can easily make this a planter in which every plant can be happy.
Rather than get into all the details here, I have an article explaining concrete and plant pH and the easy workaround.
If you are looking for plants that are great for pots during winter, you can read about those here.
How To Make Concrete Planters Ultimate Guide
How to make concrete planters- the ultimate guide for everything you need to know about making your own concrete planters at home.
Materials
- Cement, rapid set
- Nitrile gloves
- Safety glasses
- Safety mask
Tools
- Please see the complete materials list near the top of the post.
Instructions
First, you will choose a mold for your planter.
The easiest planter mold to work with is one that has smooth sides and is either straight up and down or tapers outward at the opening.
You will also need a smaller mold that you will insert inside of the outer mold. This will be the actual cavity of the concrete planter.
Make sure the molds allow for ¼” of space on each side and the bottom when placed inside each other.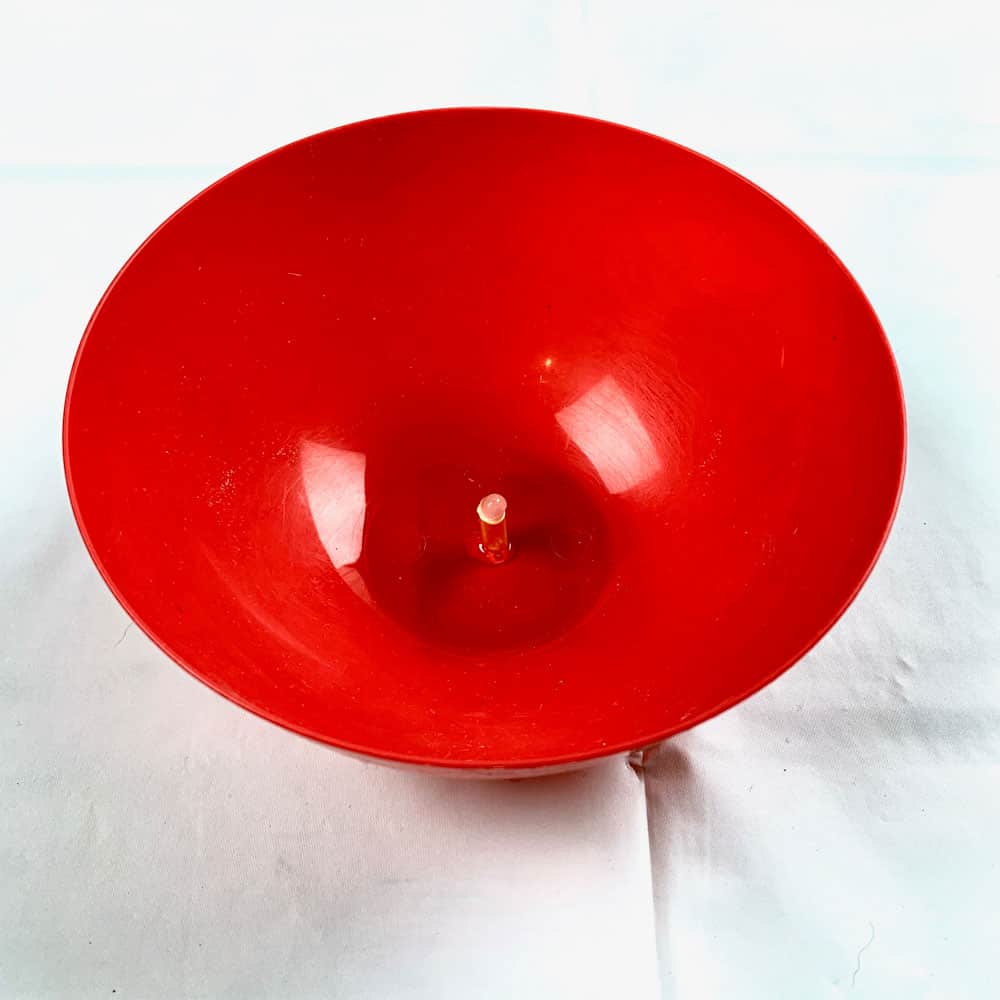
To make the drainage hole for the concrete planter, take a piece of a drinking straw that's about ¼” high and use hot glue to glue to the bottom of the container.
Use hot glue to also fill in the top open end of the straw.
Mix the concrete to a thick milkshake consistency and then pour the concrete into the mold.
Fill this to about ⅔ full and insert the inner mold until you feel it hit the drinking straw.
Vibrate the outer mold by tapping the sides of the mold and carefully tapping it on your work surface.- Let the concrete cure for the length listed on the bag of mix.
If you are using Cement All, then let this cure for one hour. - Demold the planter by turning it upside down and gently tapping it on the table.
I recommend using a towel underneath to cushion the planter so it doesn’t fall out and chip. - Pull out the drinking straw to reveal the drainage hole. Use needle-nose pliers if it sticks.
Sand any rough edges with #100 grit or #220 grit sandpaper.
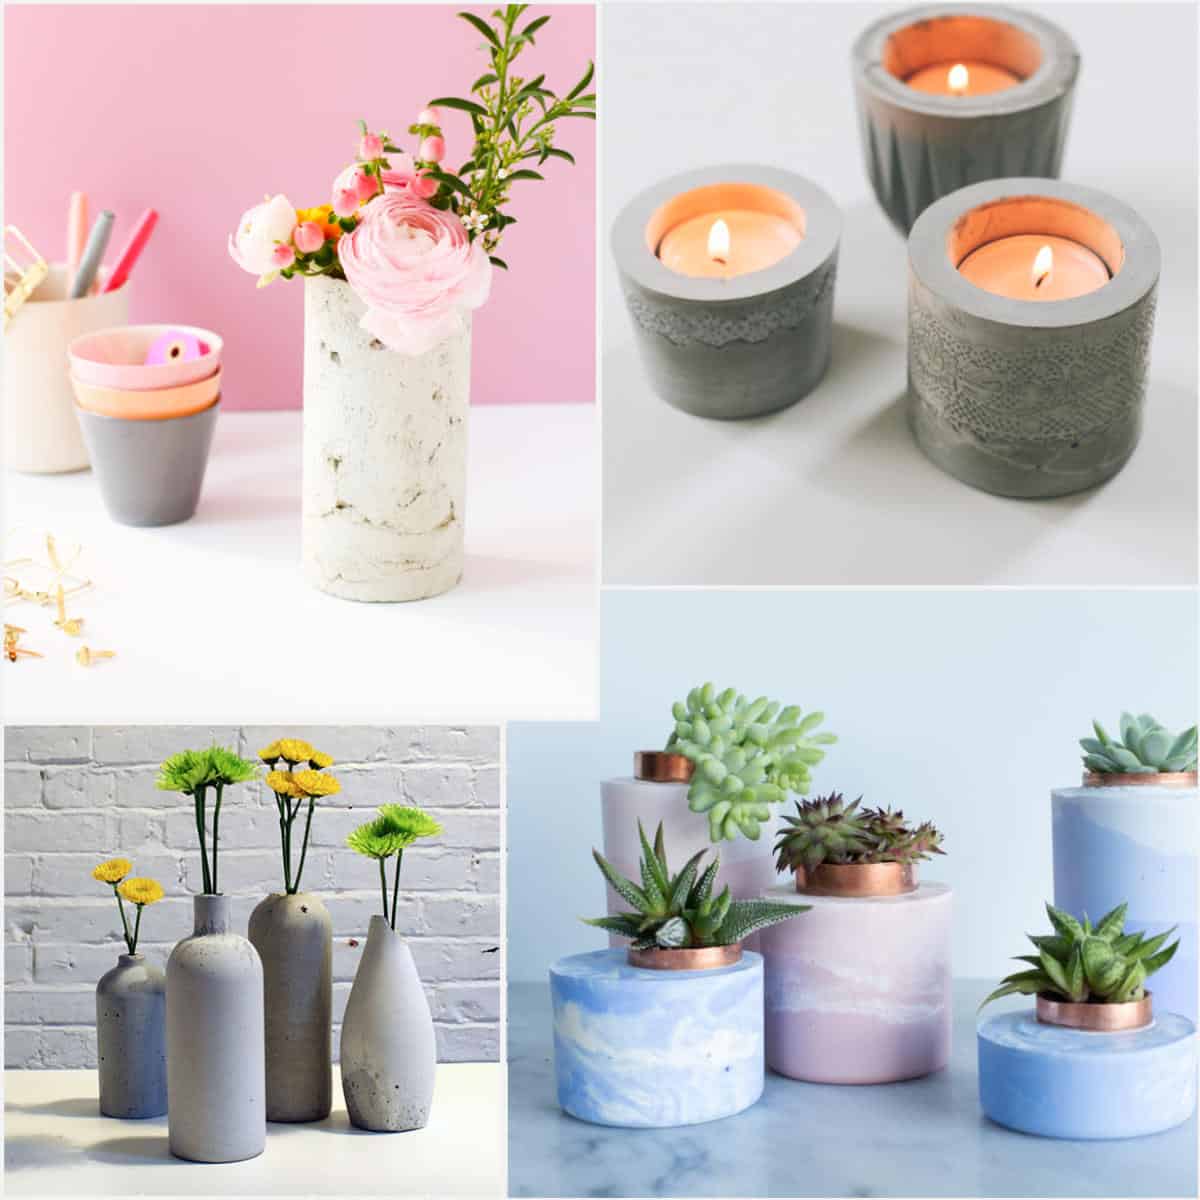
Here are great beginner concrete planter ideas:
Pink Cement Planter
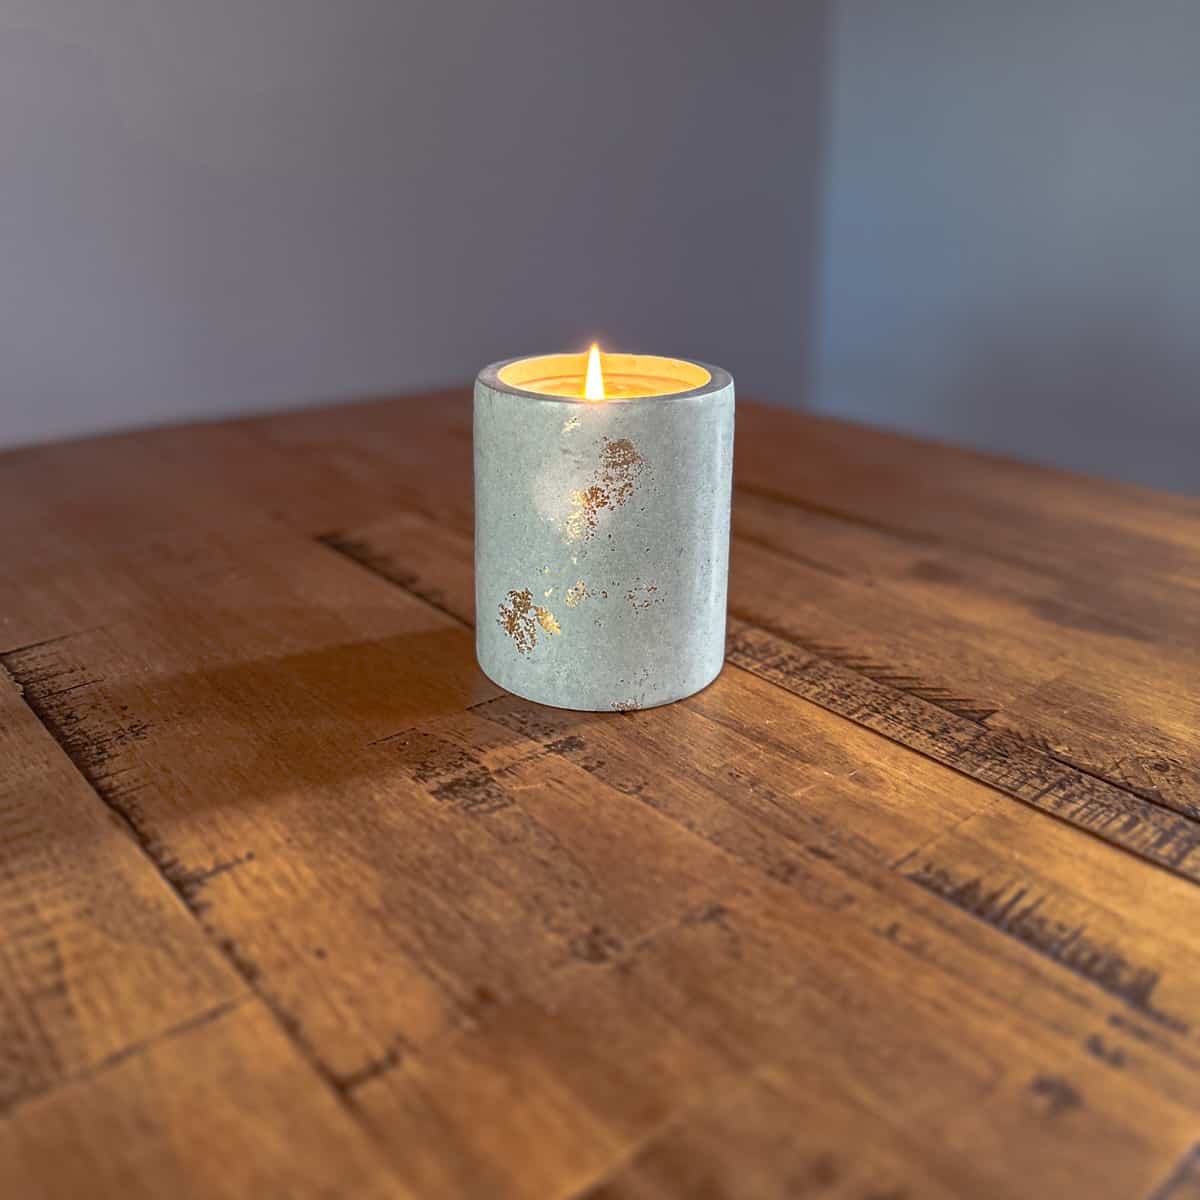
Modern DIY Concrete Planter
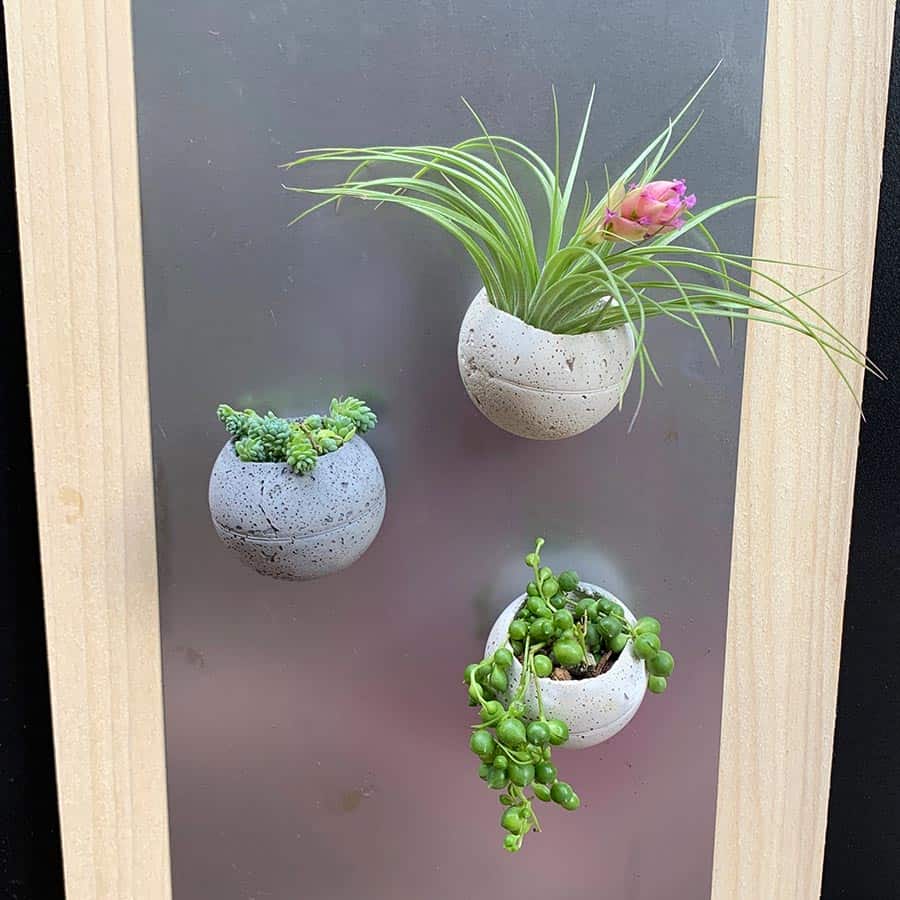
Magnetic Cement Planters
And you can go here for other concrete crafts tips.
Don’t forget to Pin it for later!
Don’t forget to Pin it for later!


Hi Ellen!
First of all, love your site, you have so many splendid tutorials on great projects.
Secondly…I have a bit of a dilemma: I have been making cement and concrete pots for about two months now. And recently a lot of them are cracking AFTER I plant the plant in them. I even tried a sealant, which only works sometimes. I ordered a more industrial strength, “penetrating” concrete sealant which should be in the mail any day now. Other than that, any idea what else I could do? The cracking doesn’t seem to discriminate between pure cement and concrete, so I am at a loss.
Also, after I pop the pot out of its mold (usually 24 hours), should I wait even longer before I paint it and stick a plant in there?
Thank you so much for your help.
Talk soon,
Zanne
Hi Zanne,
Thank you!
What mix are you using? You shouldn’t need to seal them. It really isn’t going to do much to protect from cracking, I don’t think. You can have cracking more than 24 hours after demolding. It’s likely there was too much water in the mix. You should use as little water as possible to get the job done. Have you read my post on Why Your Concrete Pots Crack? Covering while curing may also help.
With some mixes, you might do better waiting more than 24 hours to demold, but the best thing to do is just use Cement All. It’s kind of a fail-proof mix. It’s super dense and cures in an hour. I see your email address, so if you are in the US, then it’s available at every Lowes, Home Depot or Ace Hardware. It comes conveniently in a 10lb box, or a bigger bag, but very manageable to carry. Super, super smooth. It’s off white, so if you want gray, just add a little black pigment- aslo sold at those same stores.
Hi Ellen,
I have been making cement coaster and pots but lately I’ve noticed that my larger items like pots and trinket dishes have been cracking. I use white Portland cement type 1 and mix it with water. I’ve been noticing lots of cracking so I started mixing less water in my cement but even that hasn’t made a difference. I read your articles and I saw you put sand into your white Portland cement mixes to help it bind? Does that also help decrease cracking after it’s been demolded? If so, what type of sand do you use and how much? Really need your help and advice please!!! Email is noted below thank you!
Hi Chloe,
I’m surprised that everything isn’t cracking. You have to use sand in order for cement to work. Portland cement can’t work alone and isn’t made to work alone. It chemically needs an aggregate in order to glue itself together. If you use sand, you probably won’t experience any cracking at all after demolding. I don’t know if you are in the US, but the confusion comes in because here, we have sooo many mixes that already have sand premixed in, so we don’t add sand, just water. If you are using regular type 1 portland cement, you HAVE to use sand. I’m spoiled because I almost always use Cement All, which sounds like it is just cement, but it’s not, it is premixed with sand and so in my tutorials, I am not adding sand.
For smaller crafts like coasters and small pots 3:1 or 2:1 is good, that’s cement:sand- 3 cement:1 sand. The larger you go, increase the amount of sad, you may need to play with it a little. You’ll be so happy because you probably won’t see cracking any more!
I just have one question using cement all you say it cures in 1 hour is that how long it takes to be able to demold it or do we still have to wait 24 hours?
Hi Nena,
Good question. “Cure” does mean demold- so when it says it cures in one hour, you can remove it from the mold. It’s the term “set time”, or “setting time” that sometimes people mistake with cure time. Set time means the cement/concrete is workable up until the end of the set time, but you cannot remove it from the mold until it has cured. So if the set time is 20 minutes, snd cure is 1 hour, you can’t remove it until 1 hour. Does that help? Otherwise, you might see set time is 20-40 minutes and cure time is 24 hours. You must wait 1 full day (24 hours) to demold it. Those are the typical time frames.
Use glue sticks for your drainage holes. Cut to length, heat and stick in place. Hot glue comes off easy when cold or with alcohol, and if needed you can drill it out very easily.
I use them when mold making for my pour holes quite often as well.
Hi Tom,
I’ve tried glue sticks and the straws. For most things I really prefer the straws. When I need rigidity –due to weight above, I have resorted to using glue sticks alone –like you suggest, it’s a good tip. Thanks!
Hello, your website is very helpful. I recently got really mad because I’m needing 4 shallow porous planters for my succulents that are at least 2 feet wide. To purchase a pot of this size I’m looking at least $150 on up. I started researching, learning all about concrete from your website. I have even made a bunch of planters that came out awesome. I chose to work with Cement all and I have had no issues with it all. However….. I am a little intimidated by making a planter as big as I need. I need some guidance, so here it goes. I have purchased a 17 gallon round tub that measures 24 in round by 10.5 deep as the main mold, with a 19 in round planter as the inner mold. I have cement all rapid set on hand and I bought chicken wire to reinforce and strengthen the cement. My question is….what type of cement/concrete would you recommend for a project this big? Do I need to use the chicken wire? Any help with this matter would be greatly appreciated. I have literally read all the info on your site, yet I’m a little intimidated. Thank you for all the helpful information.
Mary C
Hi Mary,
First, let me ask, where did you find such a large tub? That’s amazing! Okay, I understand being intimidated, but if you’ve already been doing this successfully, then you’ve got this! You are right to question that Cement All might not be the best choice. Don’t use a quick setting mix for a project this large. It will be too difficult to mix and pour quick enough. This will heavy to mix and to pour. Try to get a second pair of hands to help, if possible. I wouldn’t even try Cement All with this, even if it wasn’t rapid setting because’s only specified for up to 1/2″.
You will need to mix in batches. With walls at 2 1/2″ you are just over the limits of mixes I have worked with. Without having done this size before, understand I’m giving my best recommendation. I would either do Portland cement with a 2:1:1 ratio, meaning 2 portland, 1 sand, 1 gravel. Or use Quikrete’s Sand Topping Mix (2″ thick max). So either add some gravel or chicken wire. Both mixes will come out a nice smooth, medium grey color.
Here’s an article on using portland cement and ratios I tested- but not specifically for strength. https://artsyprettyplants.com/cement-to-sand-ratio-concrete-crafts/
I made a large concrete bowl, not as large as your planter, using portland cement and didn’t use any gravel and it held up perfectly. The Sand Topping mix is easier to work with, especially with batches, because I find dealing with ratios when it comes to batching can be difficult.
Hint: usually your local Ace Hardware has portland cement in 45lb bags (unlike the big box stores at 90lbs). You probably have to order it online, not usually sold in the store. Sand Topping Mix is about 50 lbs, I believe?
I hope that helps!
Thanks for feed back. I actually bought that huge round tub from rural king. I found it in the horse feed area. I will let you know how it turns out.
Thanks again
Hi! I tried this with cement all and made several tiny pots for succulents and I love them and my plants seem to love them, too. But I have one question. You mentioned that they leach lime. Maybe that’s what I’m seeing but after regular use and watering there are bands of discoloration on the outside. Is this natural and to be expected? I want to sell some, but I’m wondering if customers might worry about the porosity and the discoloration even though the succulents like it. Also I sanded the rough edges but have you ever used these in an indoor setting? Does moisture wick all the way through? Would they scratch a wooden or painted shelf? Have you tried adhering felt or something else to the bottom? Your thoughts on this are greatly appreciated.
Hi,
The discoloration is natural and is from the minerals and salts both from the concrete and the soil leaching through the pores. Sealing them will decrease this, and possibly eliminate it if you double seal and do inside and outside. My succulents are doing great in both my sealed and unsealed. I don’t think I doubled sealed very many of mine and I don’t see much discoloration. Maybe a note about each piece being unique and some discoloration is to be expected? I don’t sell, so it’s hard for me to day. But I think sealing one coat –in and out will help.
Yep, they will scratch wood. I do use them inside, sealing helps with this too- especially with the powder residue. But definitely put something on the bottom. Cork is probably best since it can handle water. Use a two-part epoxy glue. The little cork circles will suffice.
And you do not have to worry about moisture wicking through and causing an issue. Do yourself a favor and take an empty one, pour water in it, put it on a table and watch what happens. It evaporates, slowly, but I never saw moisture affect the finish of what it sits on. But again, if I missed the smallest amount, cork will 100% lift it enough, no moisture will touch the table or shelf surface. The only thing someone would need to consider is if there is a drainage hole, they should wait a couple of hours after watering- in the sink. Then wipe the bottom- just a quick pat with a paper towel, then they will be fine putting it back onto the wood. I do this all the time. Alternately, you can make planters trays for these sit on.
I hope that helps!