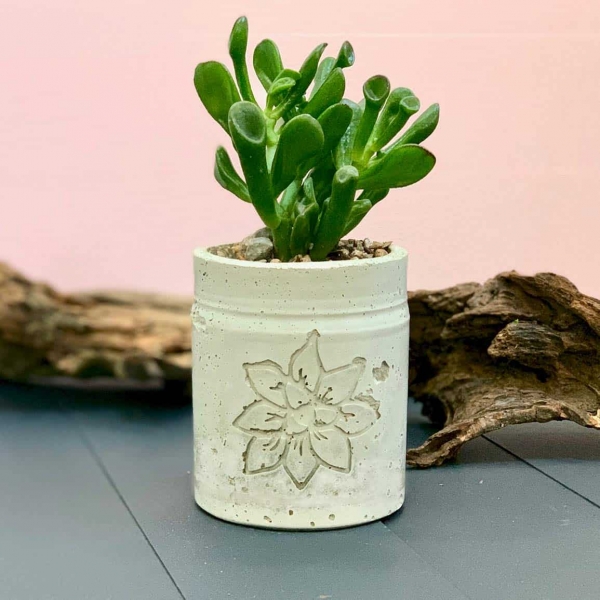
Concrete Wine Cork Planters
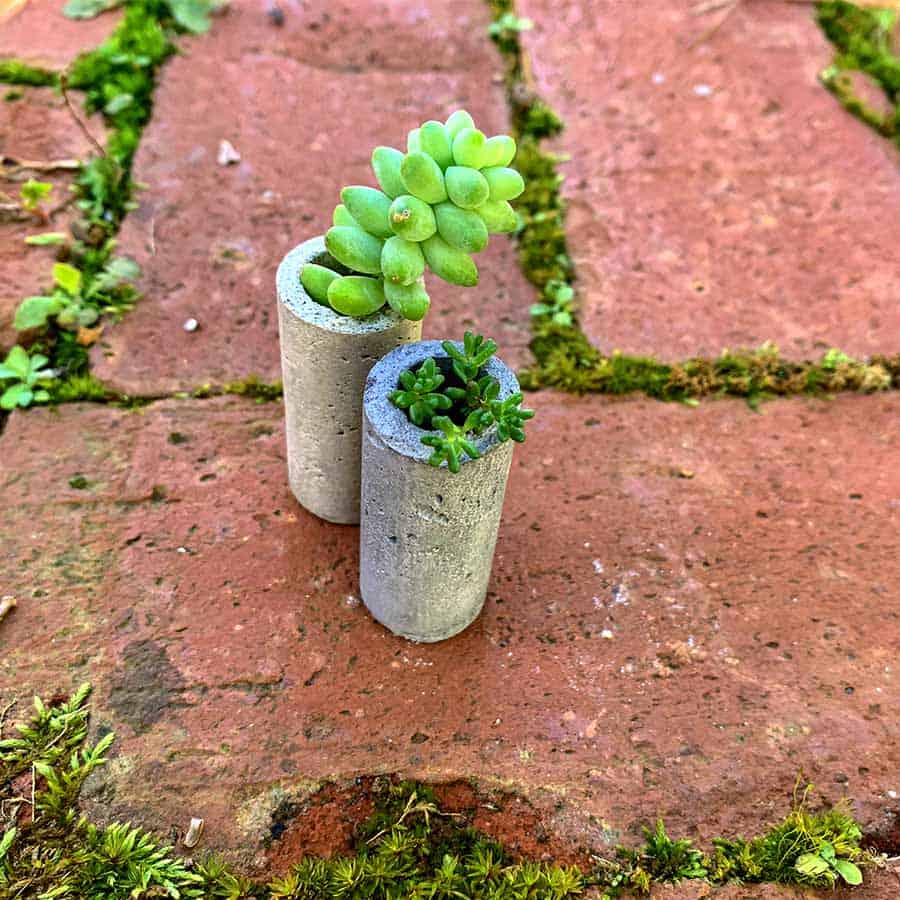
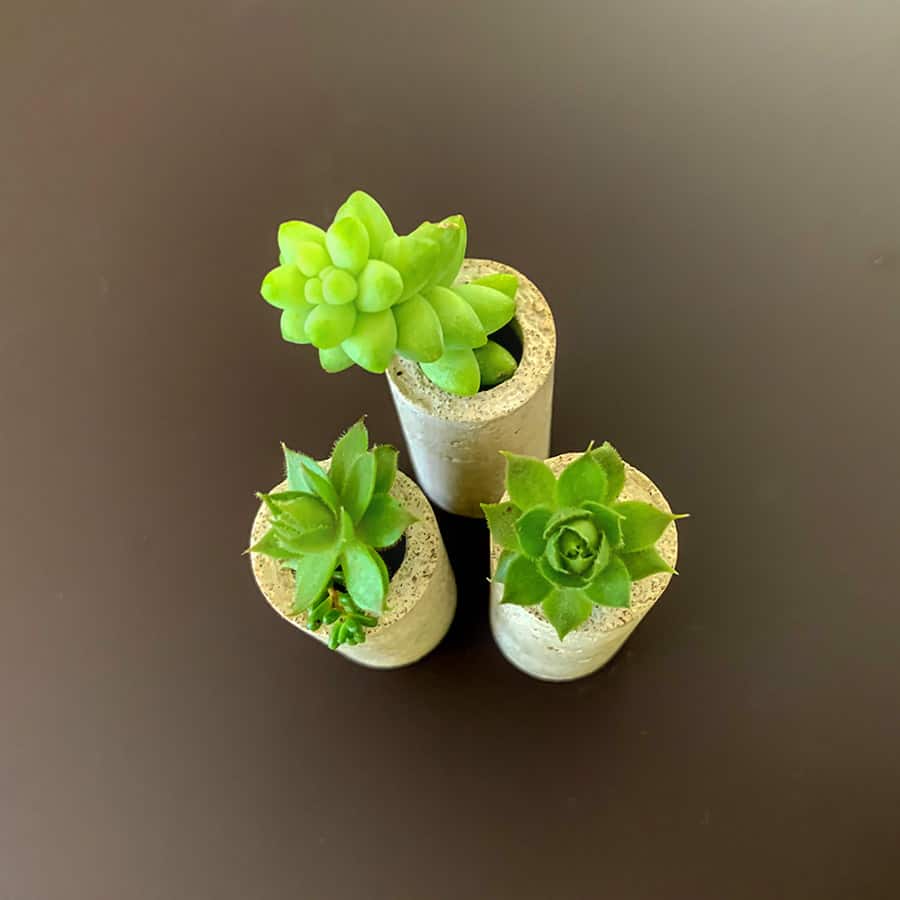
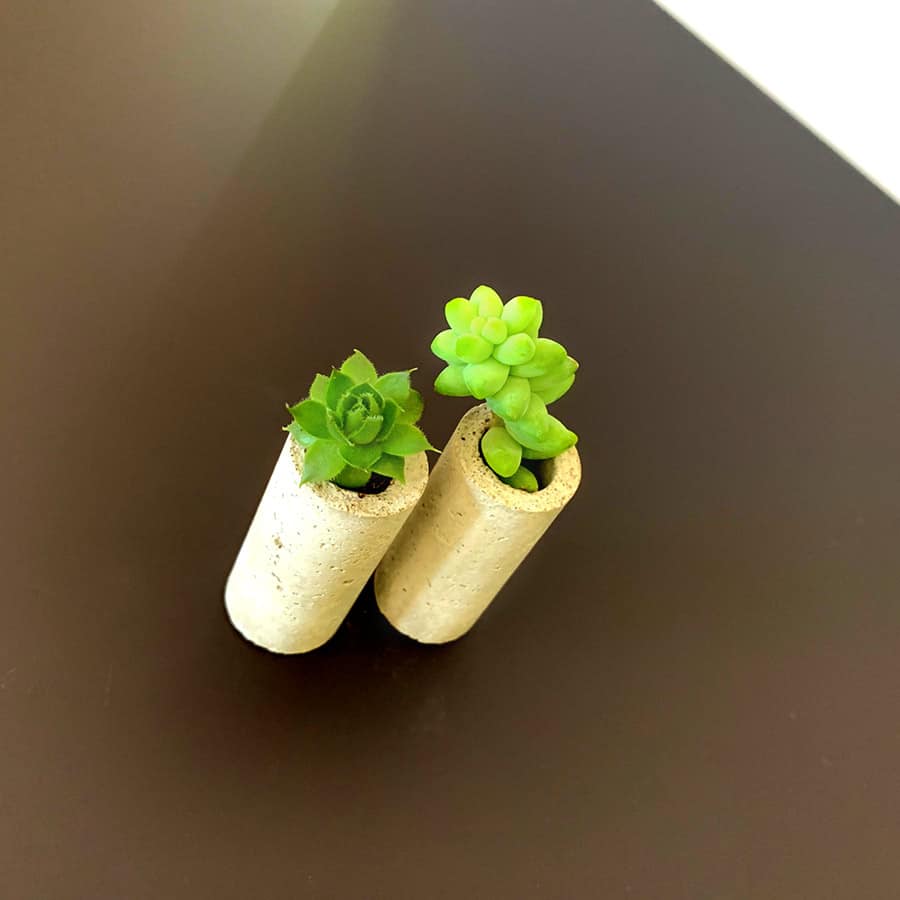
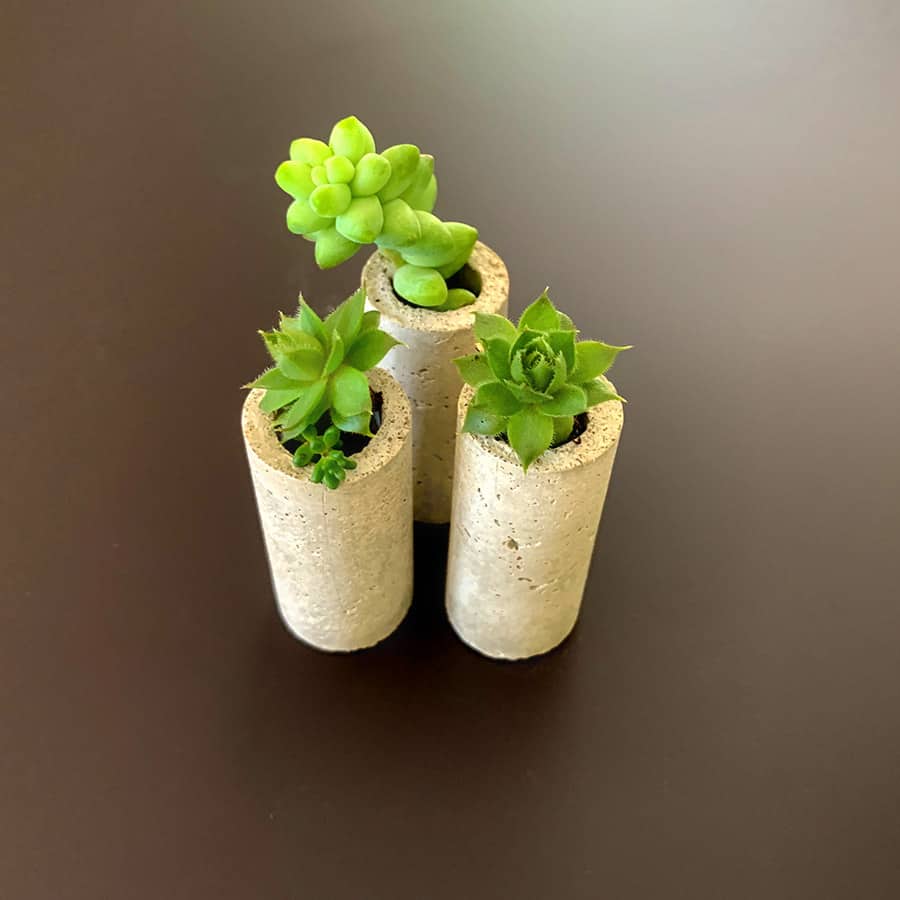
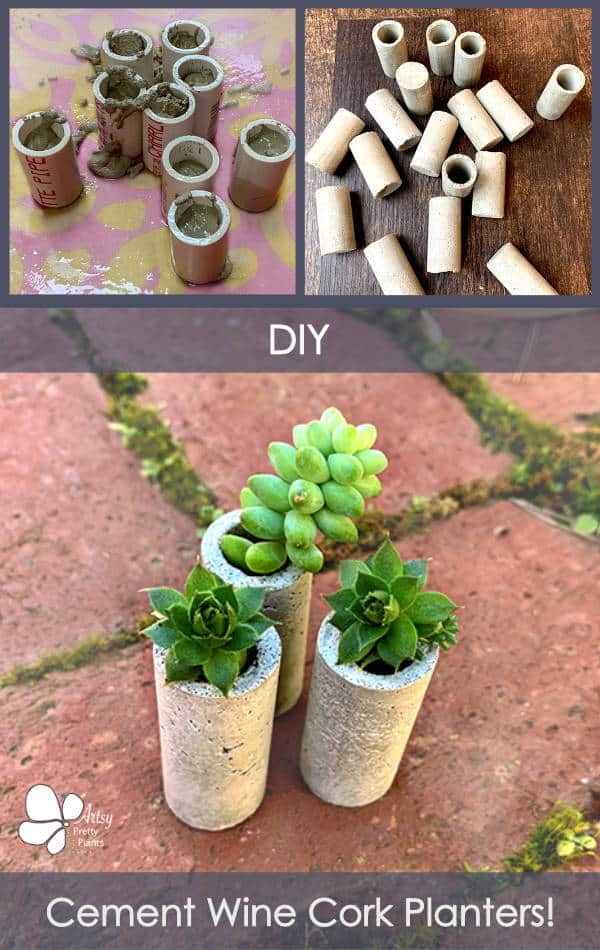
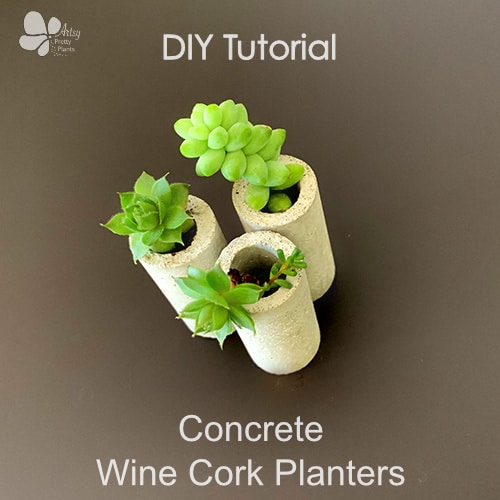
You will love this tutorial for adorable concrete wine cork planters! Make a mould and create as many multiples as you’d like of these cool succulent planters.
I came up with the idea to make concrete wine cork planters because we were getting ready to go to WorkbenchCon.
WorkbenchCon, if you haven’t heard of it, is a conference for woodworkers, interior decor, concrete and any kind of maker.
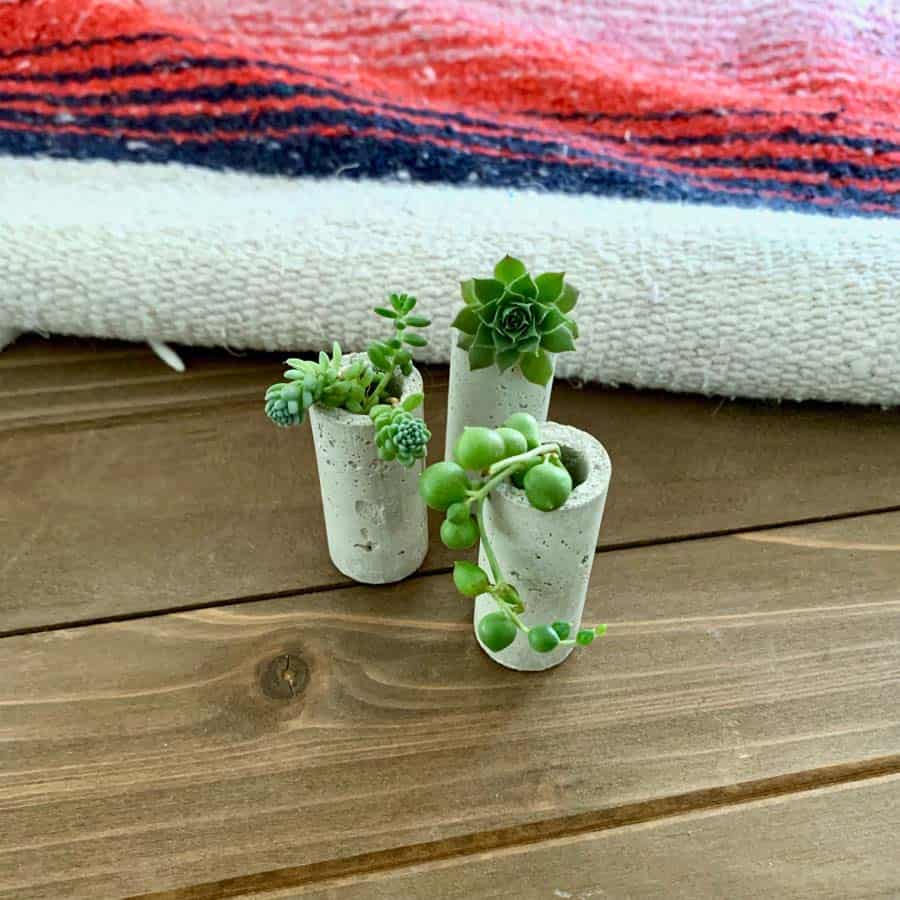
My husband and I had the greatest time and learned so much. -Let me tell you, this maker community is fantastic.
Anyway, the reason the idea got inspired is that I heard we should bring stickers to this event.
I wasn’t loving that idea, so I took it a step further and decided to make something small out of concrete that I could give to people and it would have a sticker on it- kind of a concrete business card.
So in thinking about what a nice gift my wine cork succulent planters were- I thought maybe I could make the same thing, but this time with cement.
The pressure was on, time was running short so I only had 5 days before the conference began when I had the idea. I had to think quick.
However, other than finding the right sizes of pipes for the mould, it wasn’t too difficult to figure out.
For the conference, I used artificial plants since most people had to travel, but for these, it’s real- all the way, baby.
These were so, so, so much fun to make. I really hope you test out the tutorial and let me know if you had as much fun as I did.
Some of the links on this page have been provided as a convenience for finding materials. These links may also be affiliate links. As an Amazon Associate I earn from qualifying purchases, at no extra cost to you.
I only recommend products I’ve used and loved, unless otherwise stated. Click here to read my full disclosure policy.
DIY Difficulty Level | Moderate
Materials For Making Concrete Wine Cork Planters
- Cement All, Rapid Set
- Nitrile gloves- lots of them
- Disposable plastic bowl
- Plastic grocery bag
- (2) Disposable cups
- Cooking spray
- Craft sticks for mixing (or use your gloved hands)
- PEX 3/8 @ 5′ (makes 26)
- PVC 3/4 @ 2′ (makes 12) get 2 pieces if you are making more than 25 of these
2 Wine corks- One slightly smaller size than inside of 1″ PVC- enough you can push it through. The other you will drill with a bit to create a collar - X-acto knife
- Hot glue for filling in tube
- Glue gun– low temp
- Sanding block – #150-200 grit
Miter Saw - PEX cutting tool
- Power Drill and 1/8″ bit and 3/8″ or 1/2″ bit


Before starting the tutorial, it may be helpful to read my article comparing the different concrete mixes and sealers– Cement & Concrete Crafts Tests!
Another important article is Making Cement Crafts Techniques & Tips with info on cement materials, mixture consistencies, demolding, safety and clean up!
DIY Concrete Wine Cork Planters Tutorial Steps
Step 1. Cut The PEX Tubing
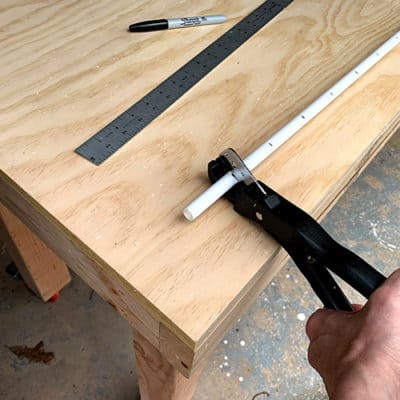
Mark out the 13 pieces of 2.25″ on the PEX tube. Using the PEX cutting tool, cut each piece.
Try to keep this level while you cut so you’re your tube inserts are straight and flat. It’s not a big deal if they aren’t. it just helps.
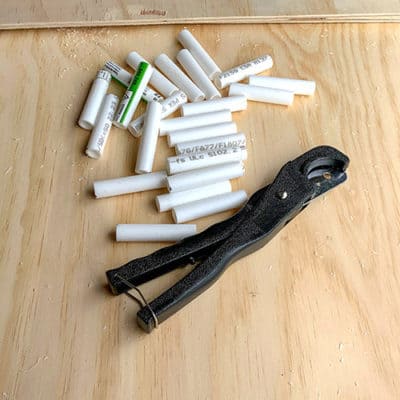
Before making the cut, score the cut mark with the PEX cutter by holding the cutter and twisting the PEX back and forth a couple of times.
This seems to help not crush or squeeze the tube which warps it. The tubes will come out rounder if you score them first.
Step 2. Cut The PVC Pipe

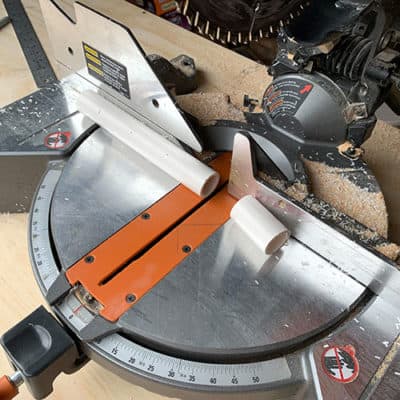
Mark out the 12 pieces of PVC at 1 ¾”, then cut it using the miter saw.
Step 3. Hollow The Wine Cork


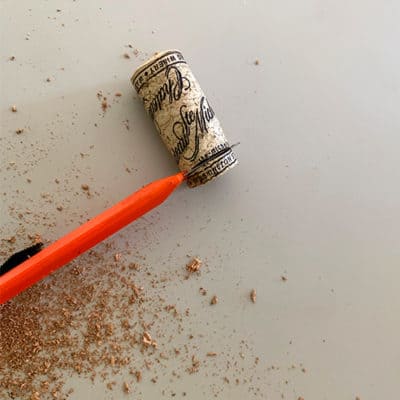

Using the power drill, drill a pilot hole into the cork, then use the 3/8 or ½” bit to hollow out the cork.
Use an X-acto knife to trim off a piece about 1/8″ off to create a collar for removing the PEX. This will hold the cement in place- inside of the PVC while it’s curing.
Alternatively- you can use a drill press.
Holding the cork while you drill can be dangerous, so either clamp the cork to a 2×4 and drill it, or make a jig by drilling a hole through a 2×4 and placing the cork in it.
Step 4. Glue The PEX Tube
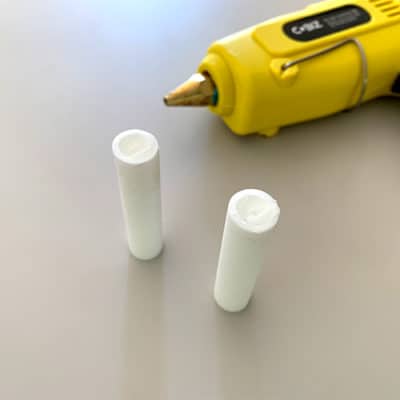
Heat up the glue gun on low temp and then fill the bottom of each PEX tube with the hot glue.
Step 5. Lubricate The Pipe And Tube
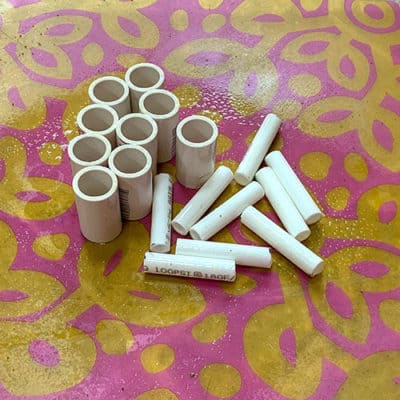
Spray the vegetable oil generously inside of the PVC and around the outside of the PEX tube.
Step 6. Mix The Cement
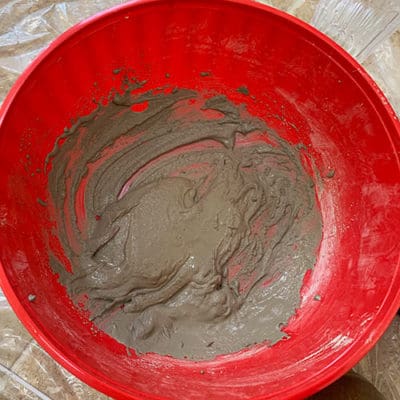
Using either craft sticks or your gloved hands, mix up the cement to the consistency of a thick shake- *make sure you use cold water for this one if you are trying to do more than 5 at a time.
You will only be able to do about 8 (give or take 2) at the most before the mix becomes unworkable.
The amount you can batch make will depend a lot on the air temperature and humidity.
Step 7. Cast The Cement
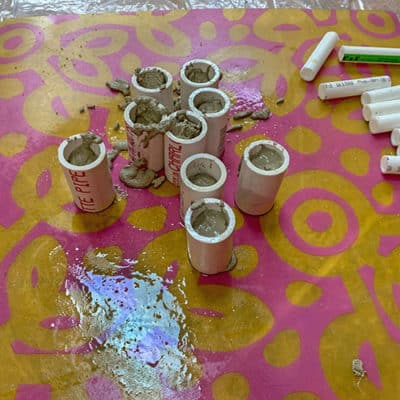

Using your gloved hand, squeeze the cement mix into each PVC piece, pat down the cement inside so no air bubbles exist, then push the PEX down into the PVC until you have resistance.
You should have about ½” of the PEX sticking out, above the PVC. Be sure to center it.
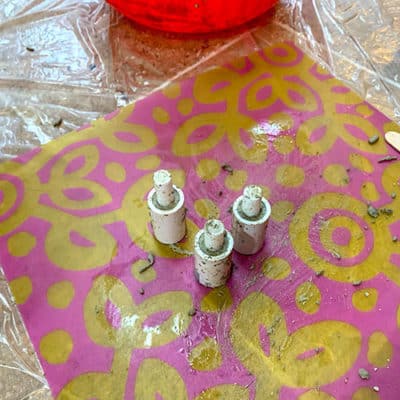
Pack down inside and clean up around it. Place on flat surface to start curing. Make sure the cement is below the top.
This will keep the opening of the concrete wine cork smoother.
Step 8. Remove The PEX Tube

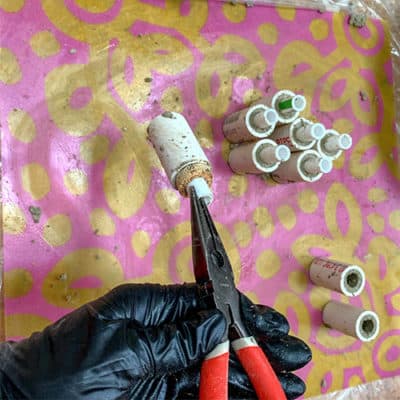
After 15 minutes, you’ll remove the PEX.
First place the wine cork collar you made around the PEX to help keep the curing cement from pulling out of the container.
Then use the pliers to gently pull out the tube.
Step 9. De-mould the Cement From The PVC
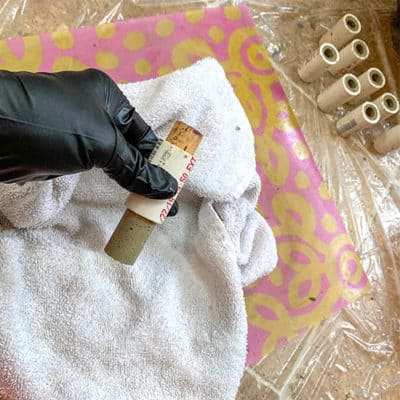
After 15 more minutes, use the solid cork to help push the cement out from the bottom.
Place something soft underneath so when it pops out it doesn’t land on something hard and crack or crumble.
Let it fully cure an hour. Use the sanding block if necessary to smooth out rough spots on the top, near the opening.
Or use a rough surface like a patio or a brick.
Don’t forget to Pin it for later!

