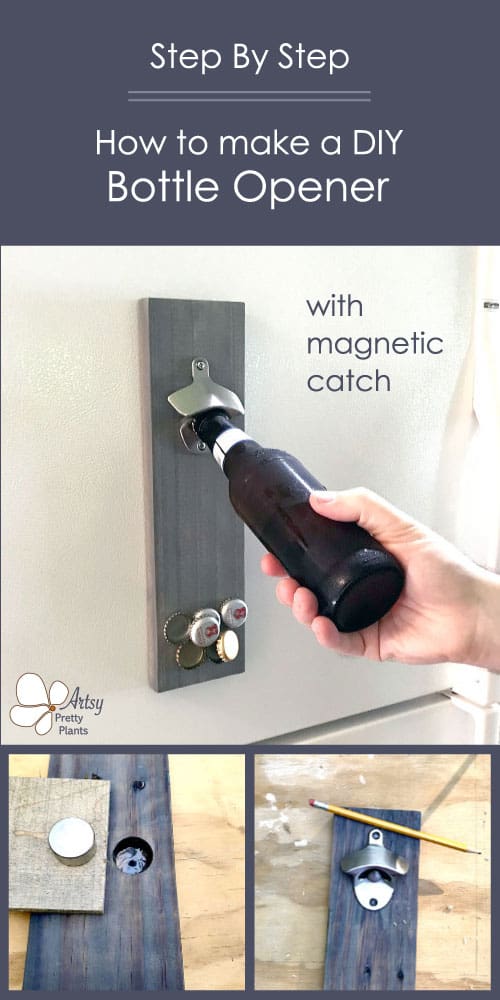
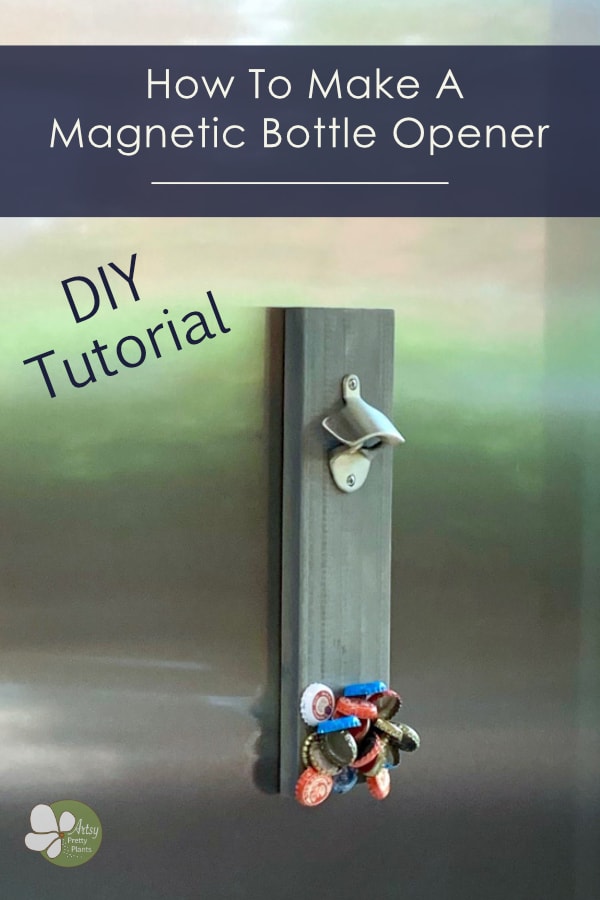
DIY Magnetic Bottle Opener with Catch (The Strongest!)
A tutorial for how to make a magnetic bottle opener with the strongest catch ever!
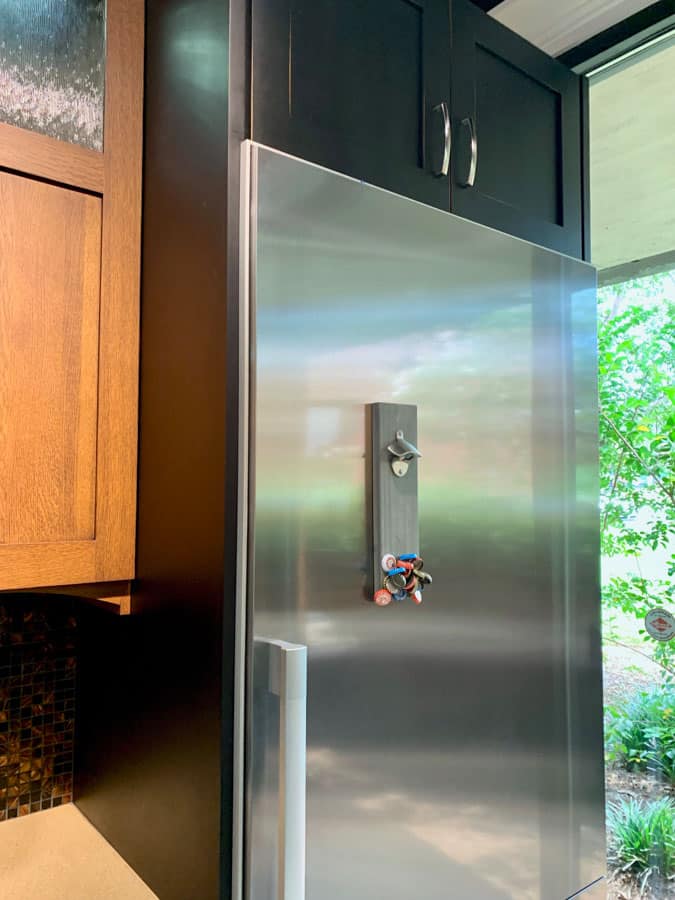
This refrigerator mounted bottle opener will catch dozens of caps with its super strong magnet.
My husband and I wanted to make these bottle openers as a thank you gift for some friends and family who provided some extra help for our rustic wedding.
If you want to read about our DIY wedding story, you can see it here. They went the extra mile for us and we wanted to show our appreciation.
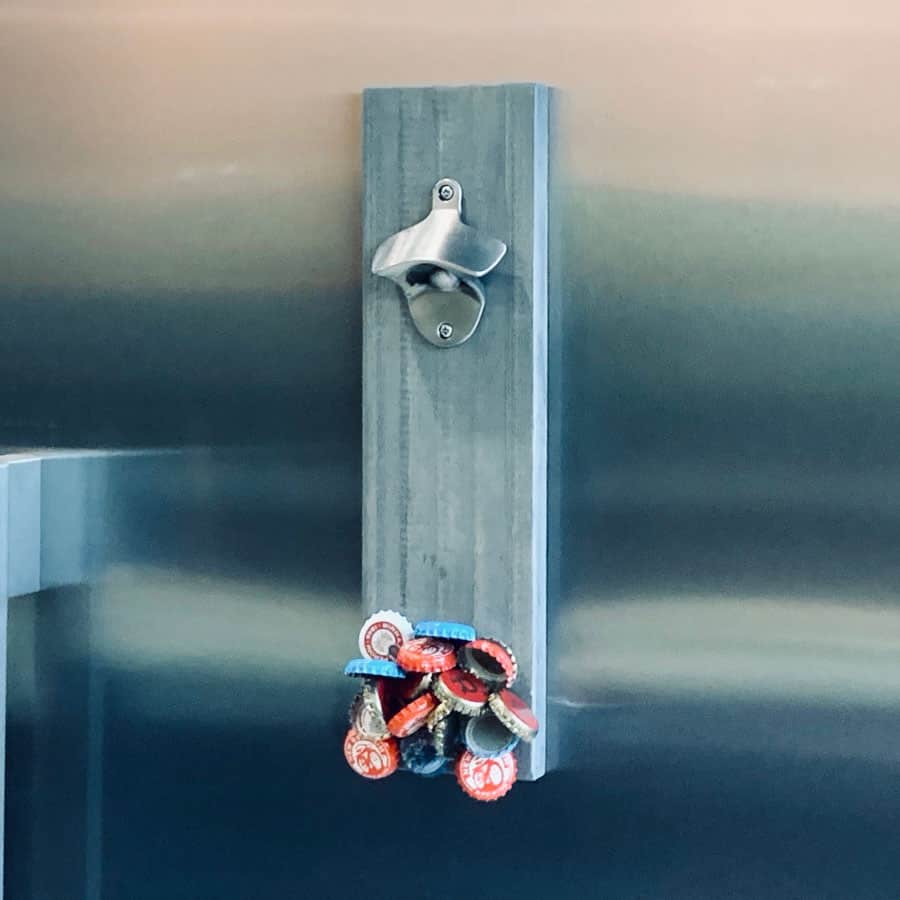
This magnetic bottle opener will hold handfuls of bottle caps and I designed it with a felt covering on the back so it won’t scratch a refrigerator.
See how to make this functional bottle opener below.
What Not To Do:
Don’t take the handling of these rare earth magnets lightly! Handle with care. See hint in step 7 on how to handle these.
Some of the links on this page have been provided as a convenience for finding materials. These links may also be affiliate links. As an Amazon Associate I earn from qualifying purchases, at no extra cost to you.
I only recommend products I’ve used and loved, unless otherwise stated. Click here to read my full disclosure policy.
DIY Difficulty Level | Moderate
Materials For Making A Magnetic Bottle Opener
- 3′ x 1″ pine board
- Wall mount bottle opener hardware
- (3) Rare earth /Neodymium magnets- 1″x1/4″ round (no hole)
- Minwax water based stain- Classic Grey
- Minwax Polycrylic- extra protection if you want (I skipped this)
- Sand paper for random orbit sander, #150 and 220 grit
- Foam staining brushes -2 or 3″ width
- Staining rags
- Pencil
- Ruler
- Gorilla 2-part epoxy glue
- Craft/popsicle sticks
- Felt material
- Spray adhesive
- Scissors
- Rubber mallet
- Random orbit sander
- Drill press
- 1″ Forstner bit
- Phillips head screwdriver

DIY Magnetic Bottle Opener Tutorial Steps
Step 1. Trim The Bottle Opener Board To Size
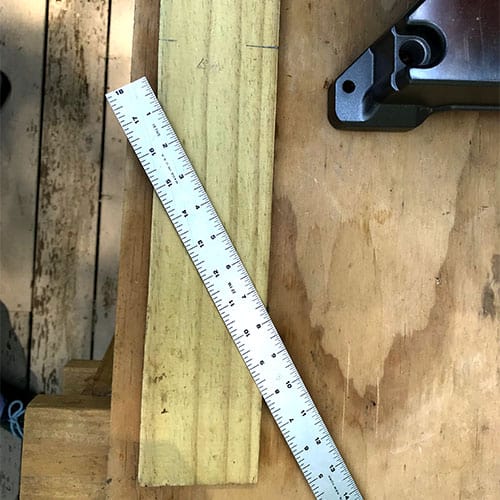
Using a miter saw, trim the board to 13″.
Step 2. Sand The Board

Now take the random orbit sander, sand the board with #150 grit sandpaper.
Then run the sander over the sharp edges on the back of the board to soften it to help avoid scratching the refrigerator.
Repeat with the #220 grit.
Step 3. Stain The Board
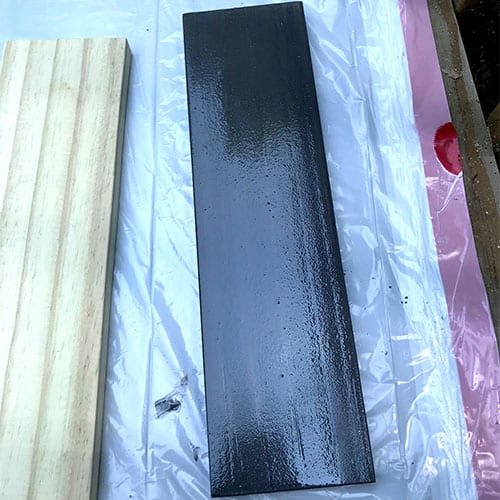
Follow the manufacturer’s directions to stain the board using the foam brush and make sure to get all edges.
If you want the extra protection, then after 3 hours, coat it with the Polycrylic. Two coats are best, sanding between coats.
Step 4. Mark Out The Locations For The Opener’s Magnets

Once the board is dry, measure the locations for the drillings of the magnets. The top of the board will take one magnet.
From the top edge, mark ¾” down for the magnet center point and 1 ¾” from the side edge.
Then measure the center of the bottom two magnets 1 ½” from the bottom edge and ¾” in from each side edge.
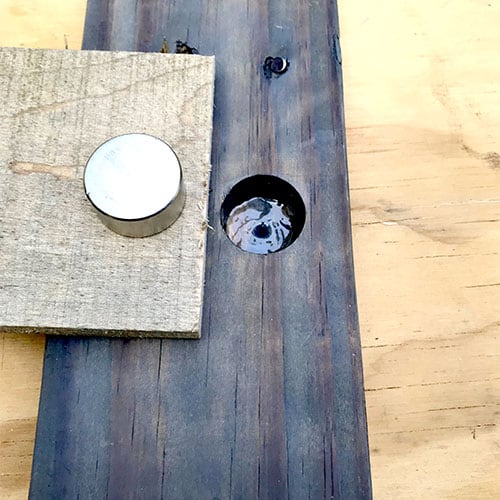
Step 5. Drill The Holes For The Magnets
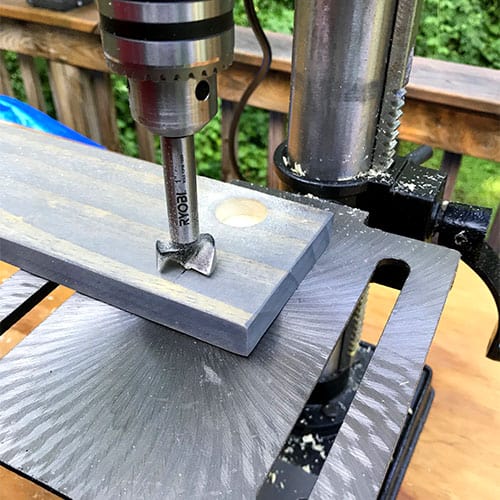
Using a drill press, bring down the drill head to center the bit.
You will need to eye this and to assess the depth, pull down slightly before turning on the machine, then go slowly, a little at a time so you don’t go too deep.
With pallet wood, the thicknesses tend to be uneven and variable so you will have to assess the depth of each hole you drill.
Next, drill for the bottom holes, keeping the same depth.
Step 6. Glue The Bottle Opener Magnets
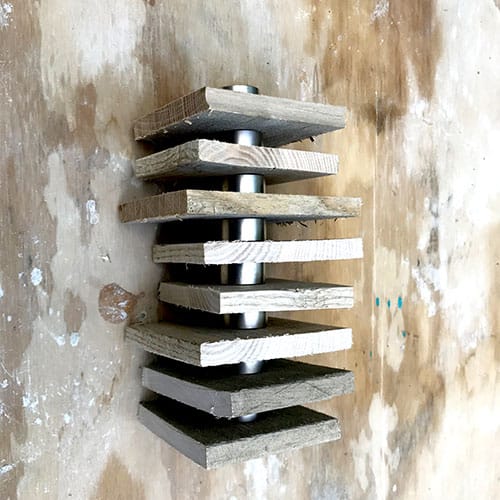
The next step is to glue the magnets.
Caution: These magnets are seriously strong and you could very easily hurt your self. Handle with great care.
Hint:
I suggest separating the magnets with something and store them this way.
I cut up some scrap wood and separated them and put these scraps in between each magnet.
I keep these wrapped with packing foam and in a box.

MAKE SURE you do these one at a time. Each needs to be completely dry before starting the next one (I recommend waiting at least 20 minutes).
Prepare the epoxy by mixing the 2 parts together with the craft stick for 20 seconds. Mix only enough for one magnet at a time.
Don’t use too much or it will spill out of the sides and make a mess. Coat the bottom and just lightly coat the sides of the magnet.
Then place the magnet inside. Use a rubber mallet if necessary to get it fully in and flush.
After you have completed one and it is dry, place something over that dried magnet.
The reason for this is because the next magnet you go to glue will snap and stick to the glued magnet.
Make sure to block it from doing that.
Step 7. Fasten The Opener

Flip the board over to attach the opener and mark out the location of the opener, then mark out 2″ from the top.
Then mark the center at 1 ¾” from the side edge and then mark the bottom hole ensuring it is centered and screw in the two screws.
step 8. Protect The Bottle Opener
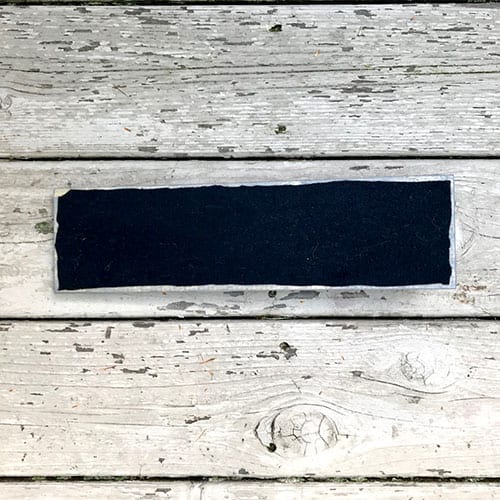
The felt material will protect a refrigerator from scratching and make it much easier to remove, as the magnets are incredibly strong.
Cut a piece of felt approximately 3″ x 12 ½”.
Next, spray one side with the spray adhesive, wait about 15 seconds to let it get tacky, then apply it to the back of the board.
Make sure the magnets are covered and the felt is centered.
Don’t forget to Pin it for later!


Very cool and nice design! Great instructions
Thanks Arlene! It was fun to make.
Whats the purpose of the top magnet?
Hi Melanie,
The top magnet keeps the opener better secured to the refrigerator. It also helps keep it more upright.