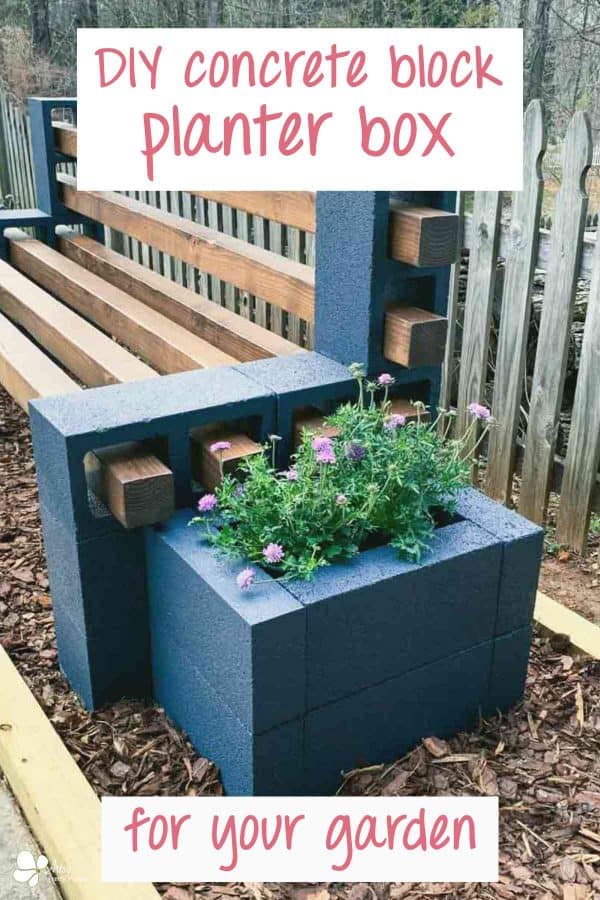
How To Make A DIY Concrete Block Planter Box
I’ll show you how to create an outdoor space you’ve been dreaming of in this tutorial for a simple, yet gorgeous DIY concrete block planter box for your patio or flower garden.
If you’ve been looking for different ways to add visual interest to your landscape, look no further.
A great way to achieve this is by creating focal points for your garden space. And large, beautiful planters will add instant appeal.
DIY DIFFICULTY LEVEL | Easy
Unfortunately, larger-sized concrete planters come with a high price tag and are difficult to construct.
But, the great news is that these concrete block planter boxes are the perfect solution! It’s an easy DIY project and these are also inexpensive to make.
At first glance, a cement block is a rather uninspiring piece of building material, but with a little DIY magic, the end result can be stunning.
As I mentioned above, this is a quick project, with only four steps.
But please factor in time for the washing and drying of the concrete blocks, which will take days, plus you have to add in a couple of days for priming and painting.
Physically, the heavy work is during the washing and painting, but building the planter box takes less than an hour or two.
If you are wondering about the safety of using concrete/ cement blocks for a vegetable garden, please see my note at the bottom of the tutorial.
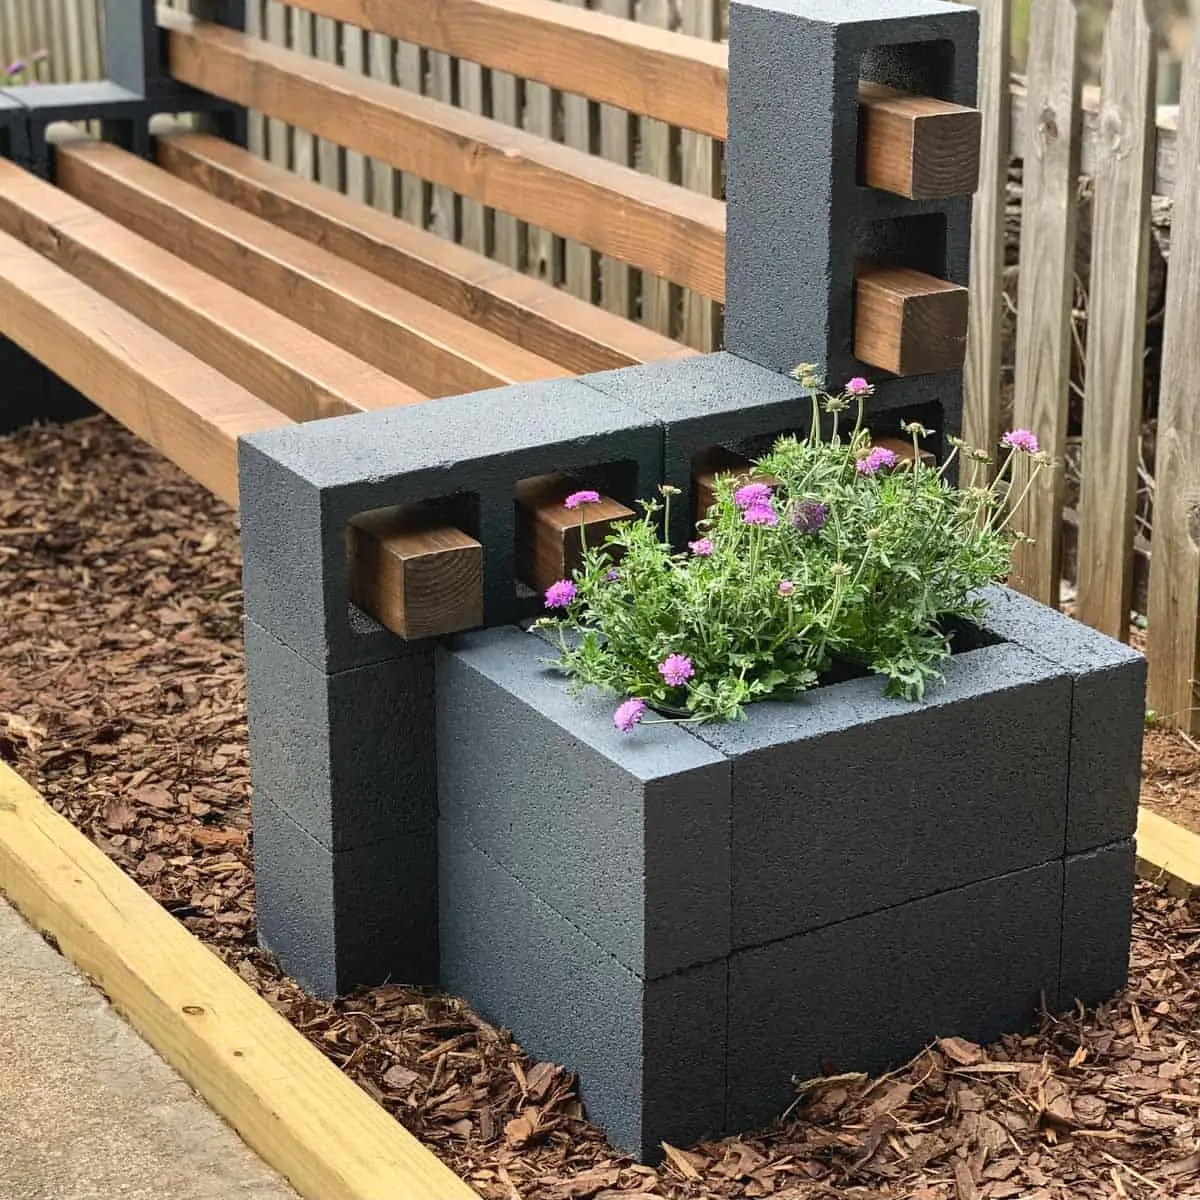
This is part two of a series, part one is the DIY cinder block bench you see in the photo. The addition of beautiful planter boxes next to your outdoor seating is a great idea that makes the space even more inviting.
The use of concrete blocks for a garden planter project works great because they are very sturdy.
They can hold a great deal of soil and stand up to a lot of weight. This means you can use them to build large garden beds, and raised ones too.
Hint: It’s a good idea to use the PL (polyurethane) type of construction glue for heavy-duty projects like these.
A few years ago I also used concrete blocks to hold plants when I built a vertical wall of cinder block planters.
It was perfect to double as a privacy screen to hide an ugly fence at the house we were renting.
This vertical type of setup is also great if you are working within a small space.
Some of the links on this page have been provided as a convenience for finding materials. These links may also be affiliate links. As an Amazon Associate I earn from qualifying purchases, at no extra cost to you.
I only recommend products I’ve used and loved, unless otherwise stated. Click here to read my full disclosure policy.
Materials List For A DIY Concrete Block Planter Box
- (16) concrete blocks 16”x8”x3”
- PL construction adhesive
- Caulk gun
- TSP (Trisodium phosphate)
- Power washer- optional
- Stix Waterborne Bonding Primer
- Acrylic exterior paint or masonry paint
- Paint sprayer (or a roller and a brush)
- Spray tent
- Small level
- Large gravel, rocks, etc.
- Pea gravel (or other small stones)
- Potting Soil
- Plants
Materials Note:
A standard concrete block is listed at 16x8x3, but will actually measure 16 ⅝” x 7 ⅝” x 3 ⅝”. This makes the planter box slightly more rectangular than square.
I chose to have the narrower end face forward. You can get them at Home Depot, other big box stores and landscaping supply centers.
The PL construction adhesive is the best choice for this because it is stronger than the standard construction adhesive.
I used this to help hold the weight of the soil when wet in addition to the extra weight from the gravel I used for filler.
The planter box is designed to be proportionate to the bench, but this also makes it deep inside.
You’ll want to fill the bottom layer with something other than soil first, this helps with drainage for the plants, as well as the wallet so you’re not wasting it by having to add too much soil.
I filled the bottom half with large gravel that was the paver base leftover from my DIY paver patio, as well as random rocks and old pavers from around the yard.
The pea gravel was used to fill in the air gaps between all this and give the soil a flat surface on top –see Step 4 for reference.
How To Make A Concrete Block Planter Box Step By Step
Step 1. Wash The Concrete Blocks
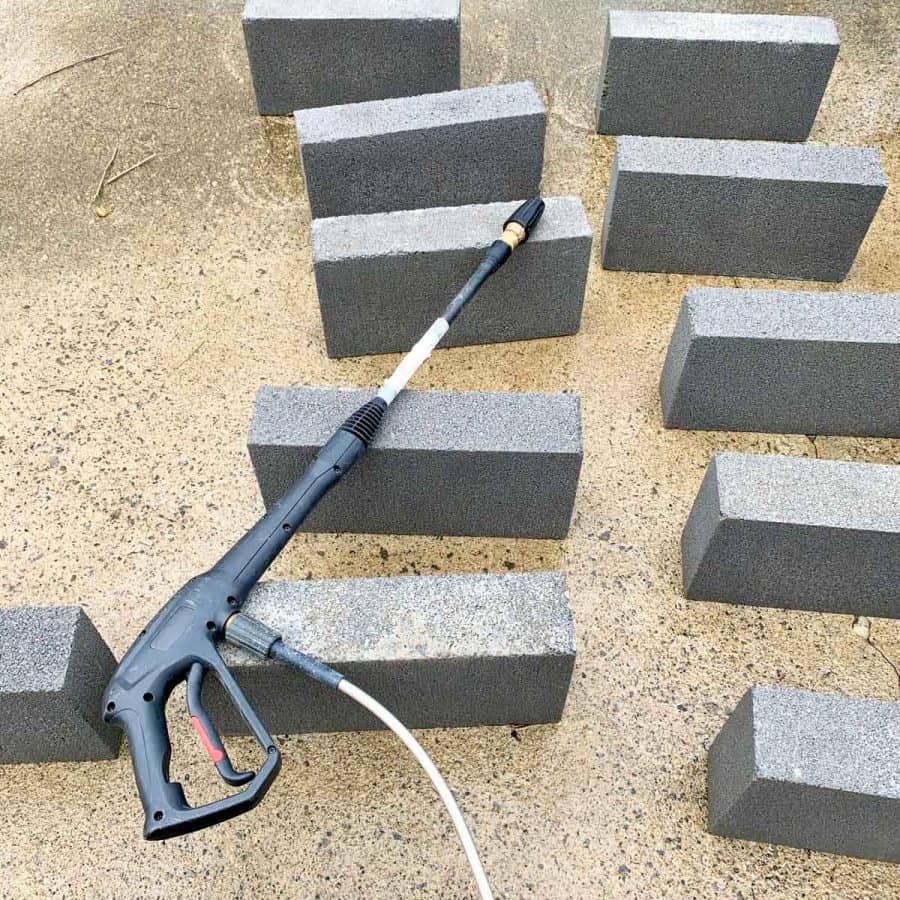
Use a power washer to wash the blocks, and add TSP to the soap container in the washer.
Or, fill a bucket with water and TSP and wash the blocks. Use a nylon scrub brush to help remove dirt and oil. Let these dry in the sun for at least several days.
The blocks must be completely dry before you paint them or the paint will peel.
Also, any moisture left in the blocks will increase the chance that you’ll experience efflorescence.
Efflorescence is a white residue from minerals and salts that comes through the pores of the concrete block. You can avoid this if the blocks are completely dry.
It took my blocks at least 4 days to get completely dry. The humidity was around 25% and temps 55-65 degrees.
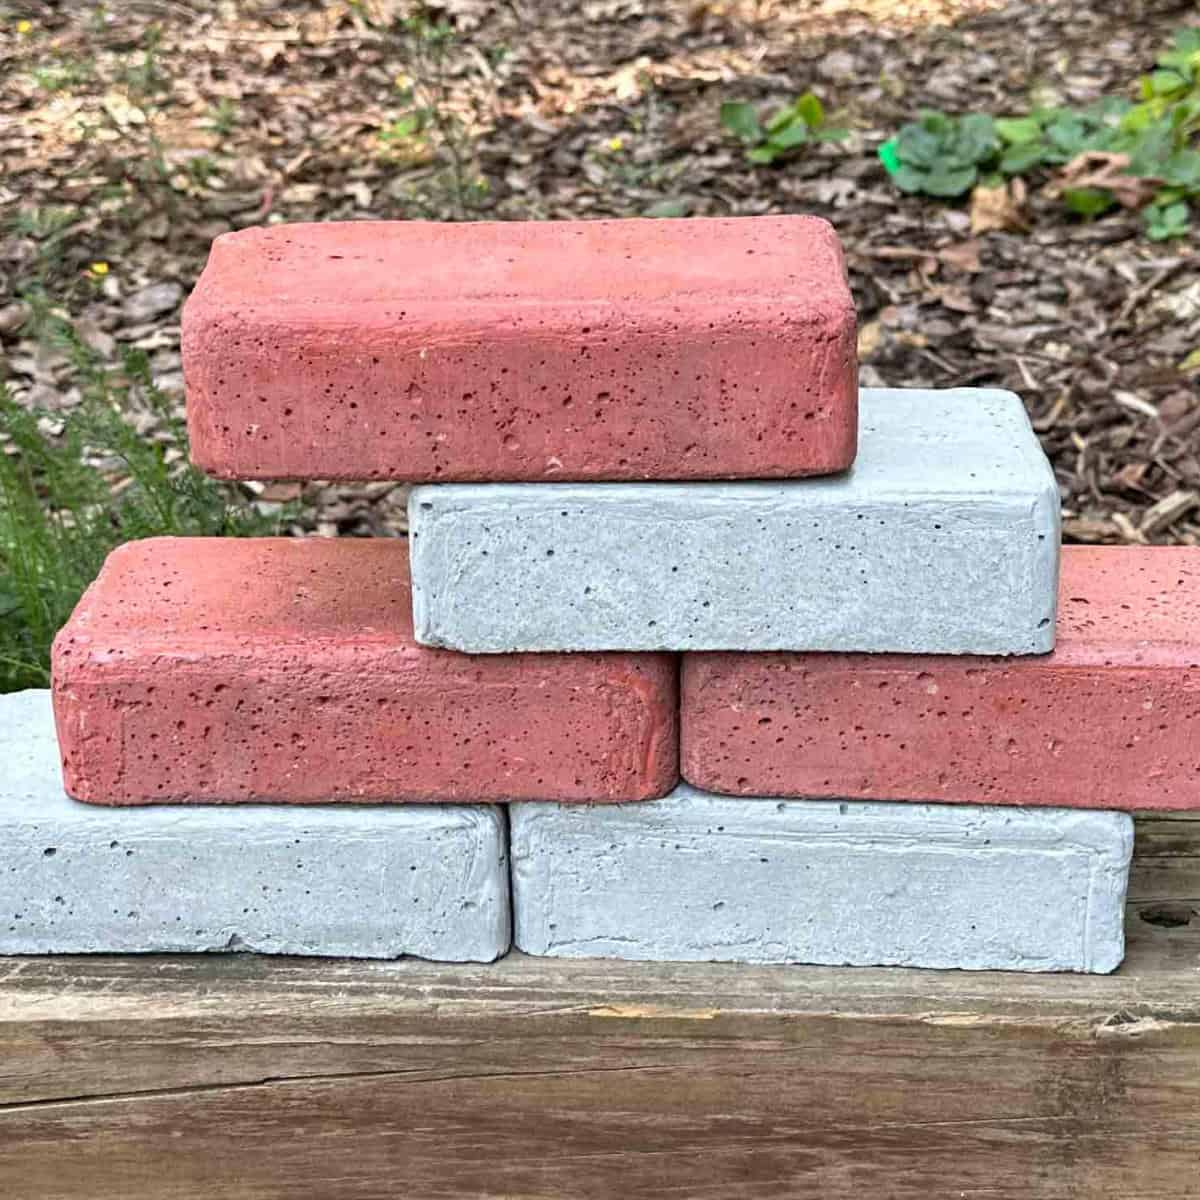
Step 2. Prime And Paint The Blocks
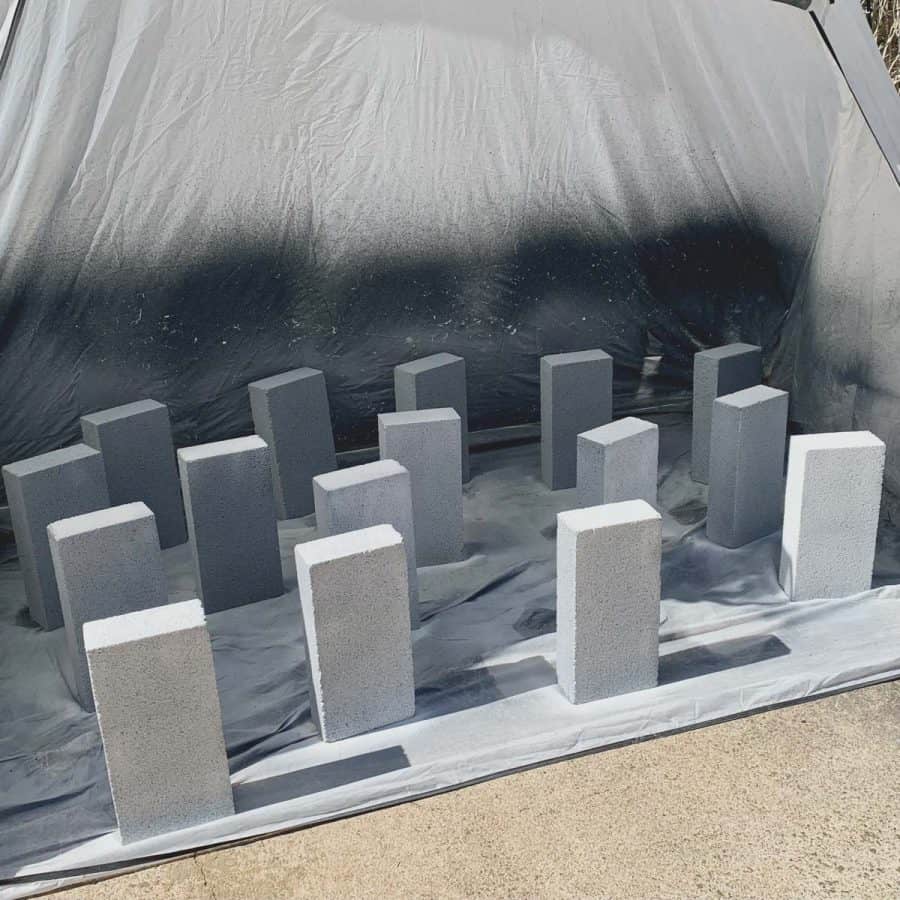
Set up your paint tent and add primer to the spray gun. Be sure to apply a thick coat of primer onto the blocks.
They should be solid and not look spongy when you’re done. This can be difficult to tell until after it’s dry, so be prepared to apply a second coat.
Garden Planner!
Printable PDF Download
$2.99
Everything you need to plan your garden.


This will subscribe you to my newsletter where you’ll get updated when I have a new post, or tips and tricks. You are free unsubscribe at anytime.
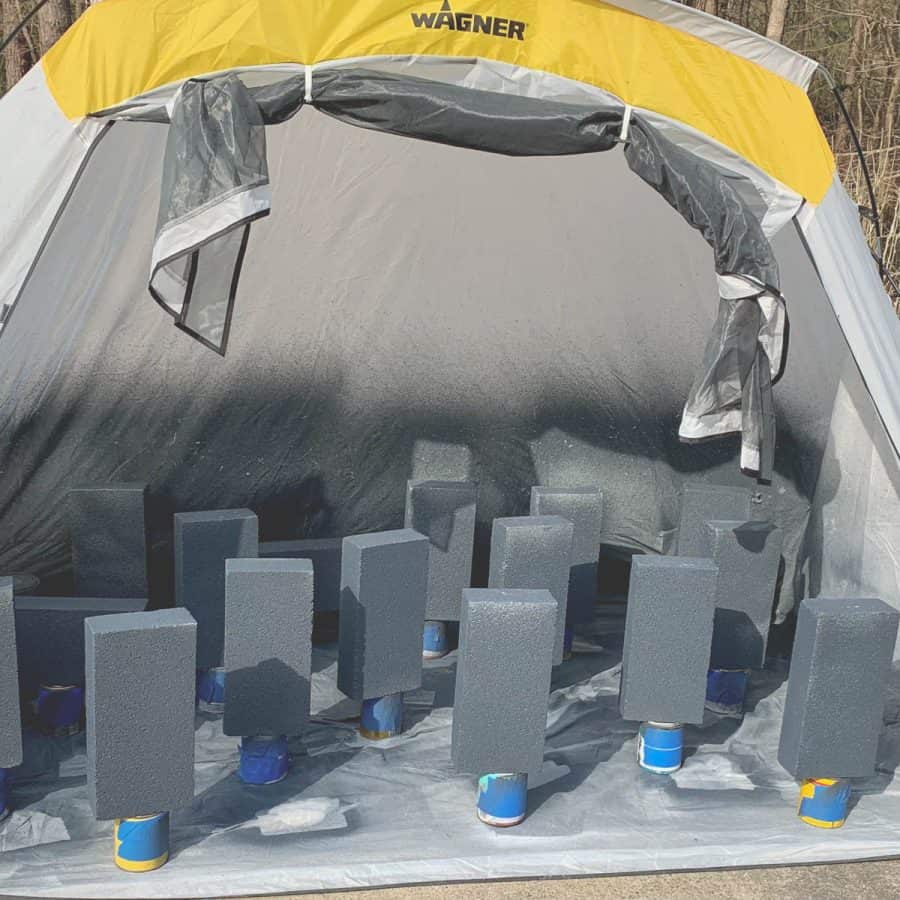
Once the primer is dry and the label on the primer says you can apply your second coat of primer go ahead. After that, follow the paint manufacturer’s instructions for the wait and dry times.
Because I applied a thick coat of primer, I only needed to apply 2 coats of paint.
Step 3. Build And Fasten The Blocks
My planter boxes are sitting on a very sloped area so we had to make a raised garden bed to correct it.
This was especially important because the bench is in between the planter boxes and we certainly wanted that to be level.
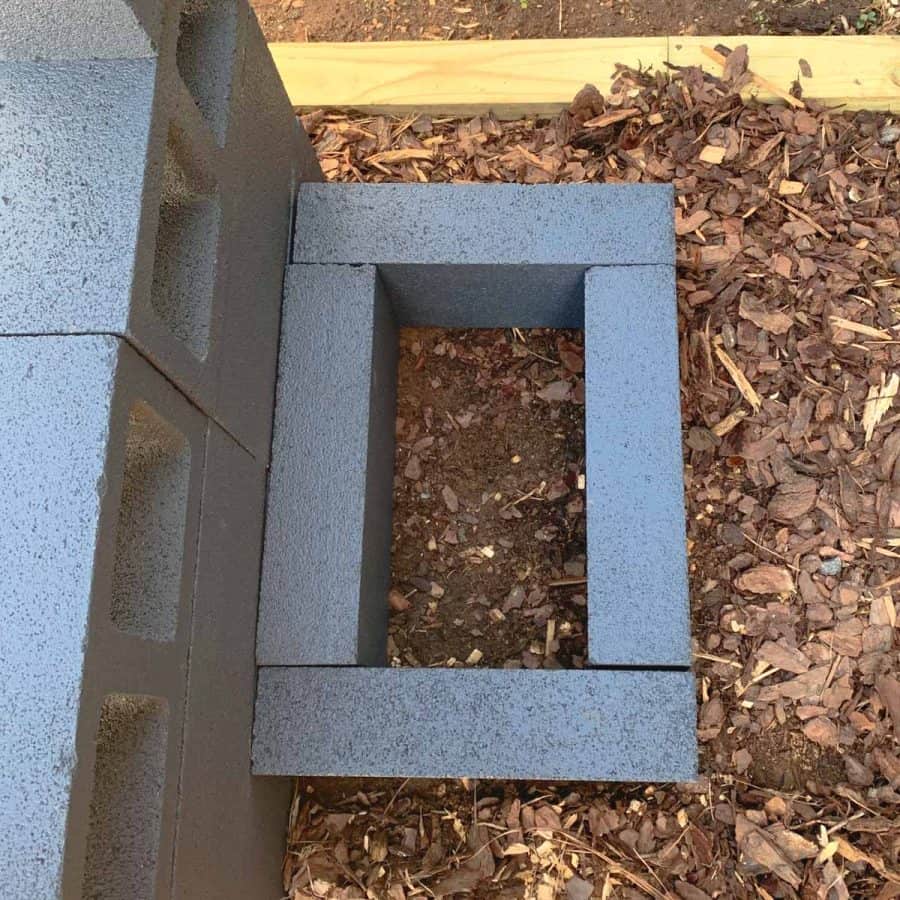
The first thing you’ll need to do is make sure you are building the planter box on a level area. Use the small level to check the blocks from left to right and front to back.
Once the ground is level, set up the blocks into a rectangular shape. You’ll have visible lines where the blocks butt together on two sides.
I chose to have the front-facing blocks not have visible lines since the main view of the concrete planter box and the cinder block bench is from the front.
This was also more proportionate looking to the bench since it was more square.
Make sure they are all level, plumb and square. Once they are looking good, you can glue them.
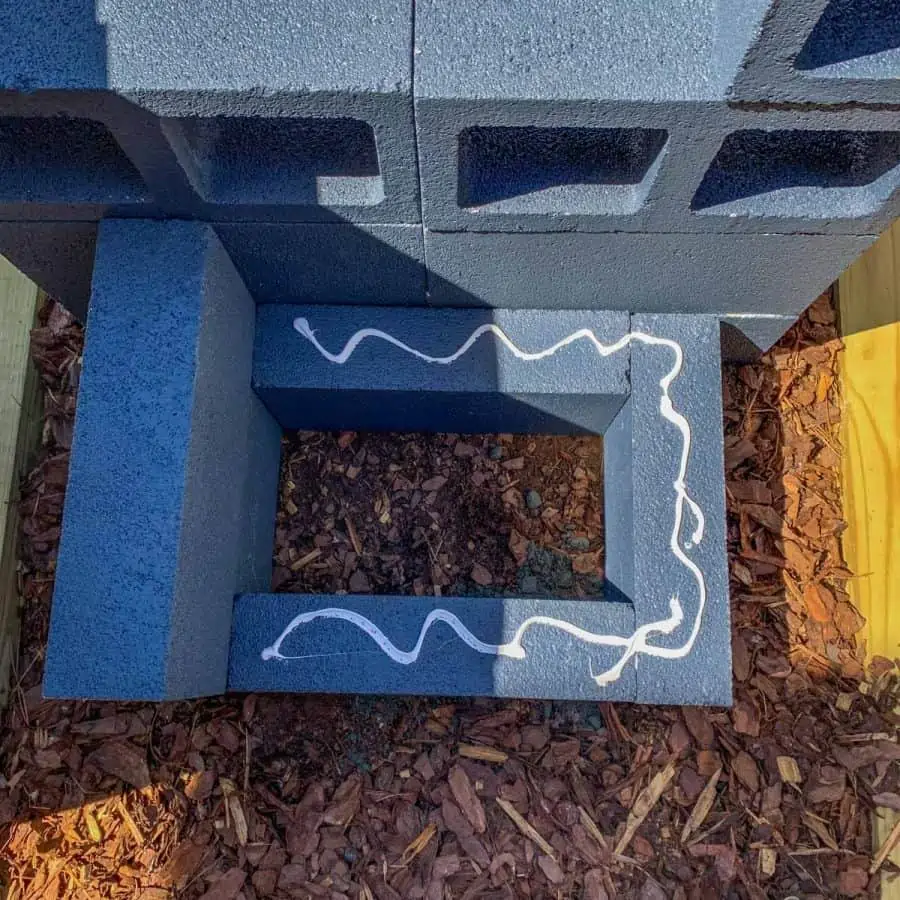
Place the PL construction glue on the end of the side blocks and press an end block against them.
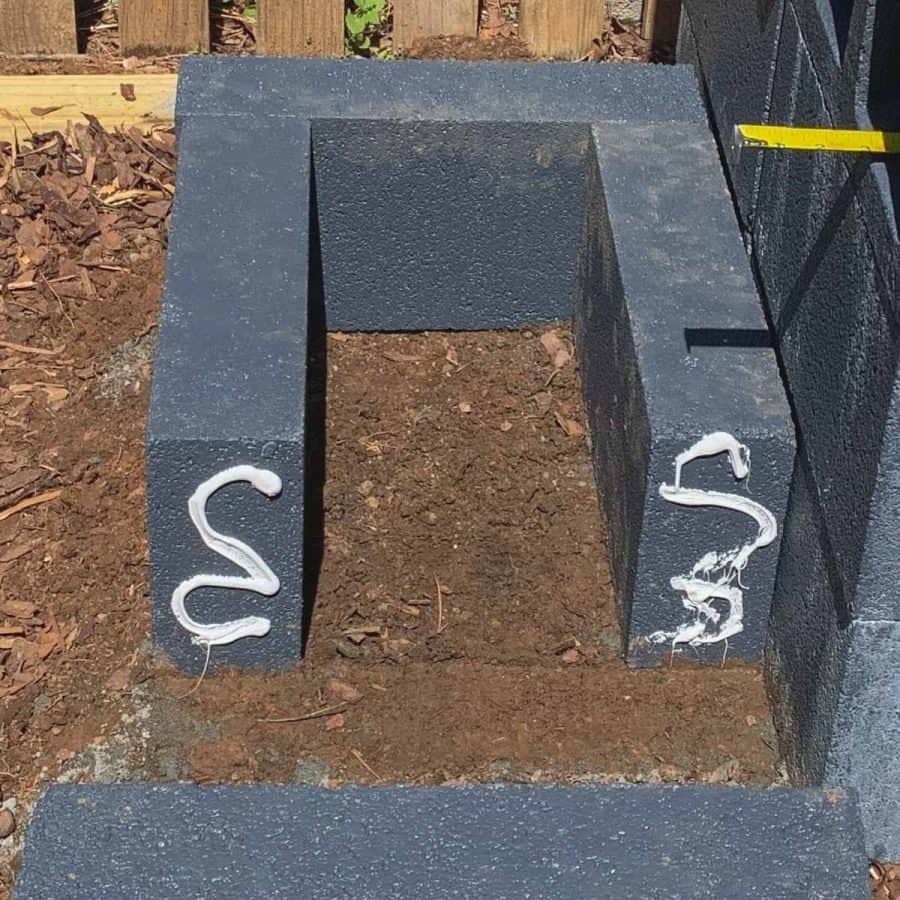
A squiggle-shaped glue line will provide better coverage than a straight one.
Just be sure not to get too close to the edge, or the glue may overflow and be visible.
If this happens, and the glue dries, you can touch it up with paint to hide it.
I did this left-side planter box a couple of days after I glued the first one, and it had rained so when I handled them, I got them pretty dirty.
If your blocks are dirty, make sure you clean them before gluing. I needed to rewash the tops of these before I could finish gluing or the glue wouldn’t have adhered properly.
Now, move on to the second layer of blocks, and repeat the same steps.
Step 4. Add Drainage Control And Pot Planter Box

Fill the bottom of the planter box with gravel, rocks or old paver stones.
Fill it as much as you can, while staying about an inch or so below the bottom line of the top block. Then layer the pea gravel on top and in between to fill in the air gaps.
You’ll want an inch or two of pea gravel, depending on what you plan on planting and how much room you’ll need for the roots.
The large gravel, layered with the pea gravel on top will prevent the soil from seeping through to the bottom as well as help provide good drainage for your plants.

On top of the pea gravel, add the soil and pot your plants! I chose pincushion flowers (scabiosa) for my planters.
They should reach at most 15” high, which should be perfect for the scale of the cinder block bench.
You may be wondering about the safety of planting vegetables or herbs in a DIY cinder block planter or concrete block planters.
There doesn’t seem to be a consensus on whether or not it would be safe to use concrete blocks or cinder blocks (usually made of the same or similar compounds) for a vegetable garden.
Sometimes concrete blocks and cinder blocks are made with fly ash which is something you don’t want leaching into your food.
Some say that most manufacturers don’t use fly ash in these building blocks anymore, but I haven’t been able to verify.
I tend to throw some caution to the wind, but for some reason, I’m not comfortable with using vegetables in a cinder block garden, at least not if they need to be planted close to the blocks. this one.
Painting the blocks would certainly help reduce anything harmful from coming through, so would landscape fabric, but that’s about all I can tell you.
Here’s an interesting discussion about the safety of cinder blocks for gardening use on this gardening website.
FYI –concrete and cement mixes are not made with fly ash, but the alkalinity from the lime in the mix can harm some plant types.
Unpainted cinder blocks and concrete blocks usually have lime in them as well, but pressure washing should eliminate most of the alkalinity.
Here is a detailed post on concrete planters and plant health where you can read more.
Don’t forget to Pin it for later!

How To Make A Concrete Block Planter Box
Make a DIY concrete block planter box for a stunning focoal point for your garden or patio. Add major curb appeal for a low cost, with this easy yard project.
Materials
- Concrete blocks 16x8x3
- TSP
- Masonry paint and primer
- Pea gravel
Tools
- Please see the full materials list above the tutorial for details and links.
Instructions
- Wash the Concrete Blocks with a Power Washer or Use a Bucket and Nylon Brush
- Prime and Paint the Blocks with a Paint Sprayer, Ensure the Blocks are Fully Covered
- Build and Fasten The Concrete Blocks with a Strong PL Construction Adhesive
- Add Drainage Control and Pot Your Concrete Block Planter Box wIth Large Gravel, Pea Gravel and Soil

Hi Ellen, I love your cinder block ideas. I made two benches and two planters for my mom, she loved them! Thank you so much! Keep swearing and getting in trouble! Lol—- David
Hi David,
My absolute favorite reader comment yet! :)))
And I’m glad your mom loved them.
Lol, now two of my sisters are wanting me to make them some for their patios.. any more creative ideas? I enjoy making things. Thank you—David