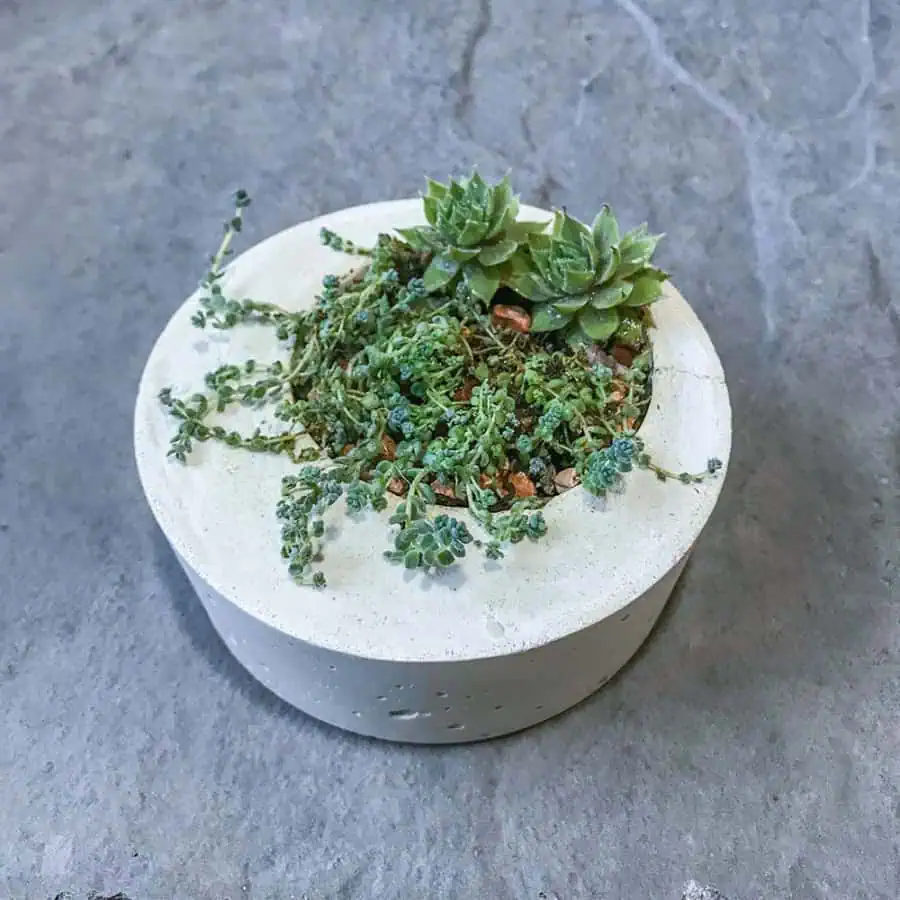
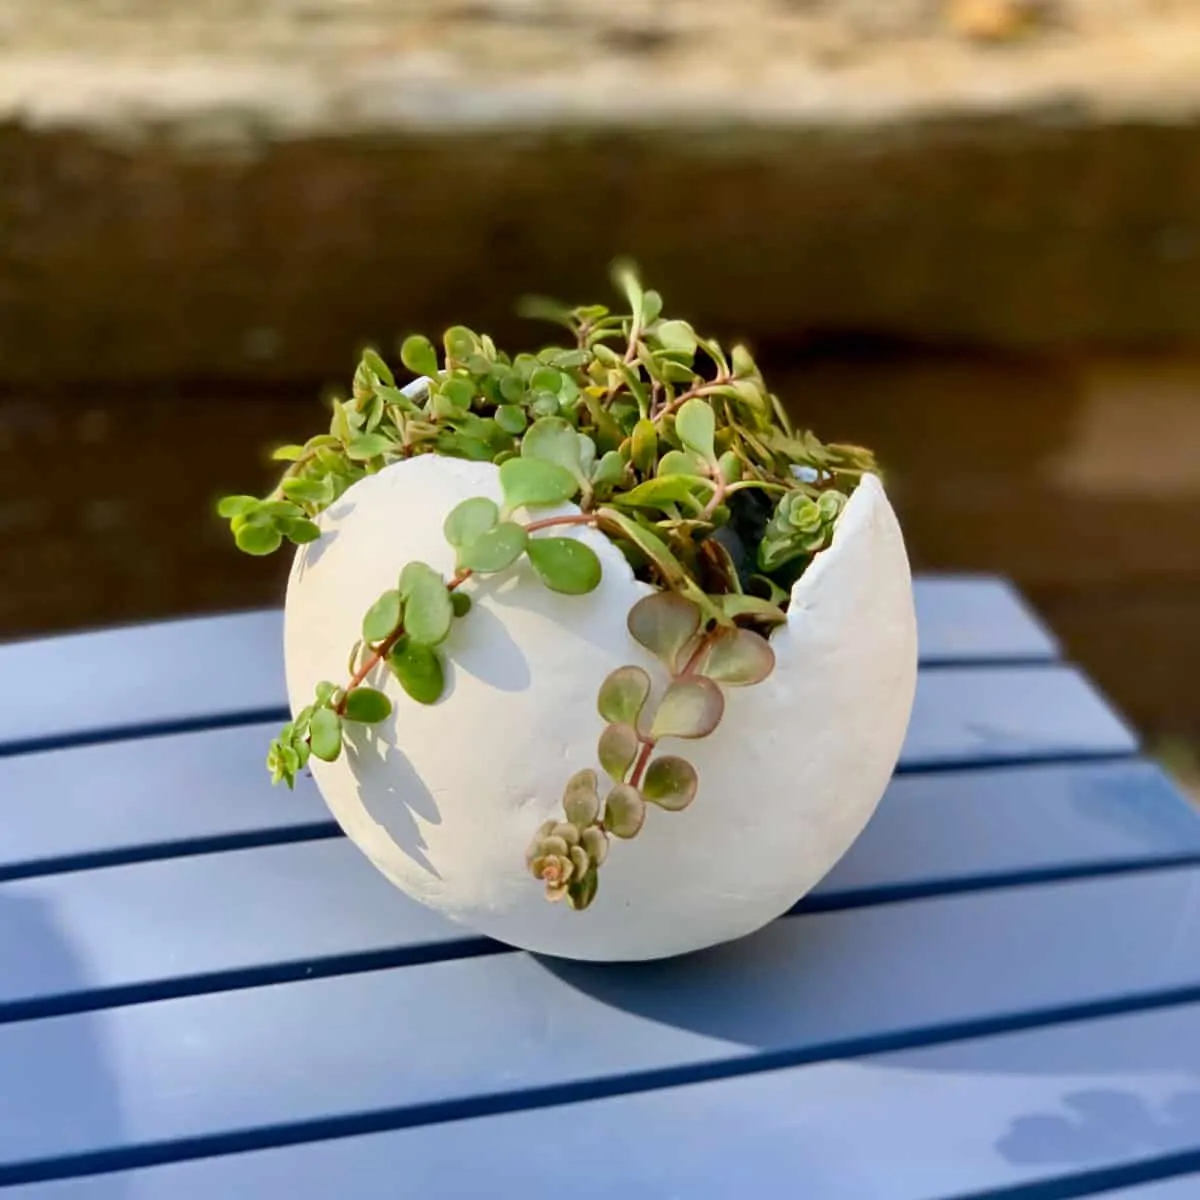
Modern DIY Concrete Planter
Here is how to make a modern DIY concrete planter, with white concrete. This planter is minimalistic with clean lines. Plant with your favorite succulents!
I seem to always be in need of more planters and who doesn’t love a tiny, white cement pot.
Update 2019: I went back and re-created this modern planter, in part because I hadn’t accounted for drainage, but this concrete planter now has a drainage hole.
I also found another white concrete mix. This one is more cost-effective than the Buddy Rhodes and just as white.
I’m not sure it is durable, but it’s durable enough for this purpose. The new white concrete mix is listed in the materials.
Since I love succulents and can’t help getting more when I’m at a nursery, so you’ll be finding lots of planter tutorials on this website as time goes on.
My plants need homes! Besides, I am obsessed with planters.
Since I love modern design, I really wanted to make planters that have simple, clean lines.
This is my first attempt at making something with concrete. There are many different types of concrete, in terms of shades of greys, smoothness, and time to cure.
I wanted these planters to be as white as possible so I bought a special type of concrete that is very white and smooth.
It’s pricey in comparison to something like Quikrete that you can pick up at a big box store, but the results are worth it as its properties lend itself to a great modern look.
-*See update above- I found a reasonably priced white concrete mix.
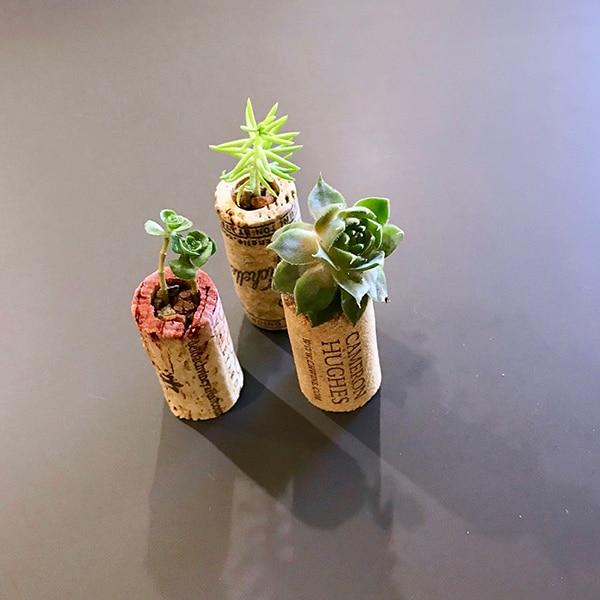
For another great succulent planter tutorial, check out my wine cork succulent planters post, and if you missed my round cement balloon planters tutorial, it’s here.
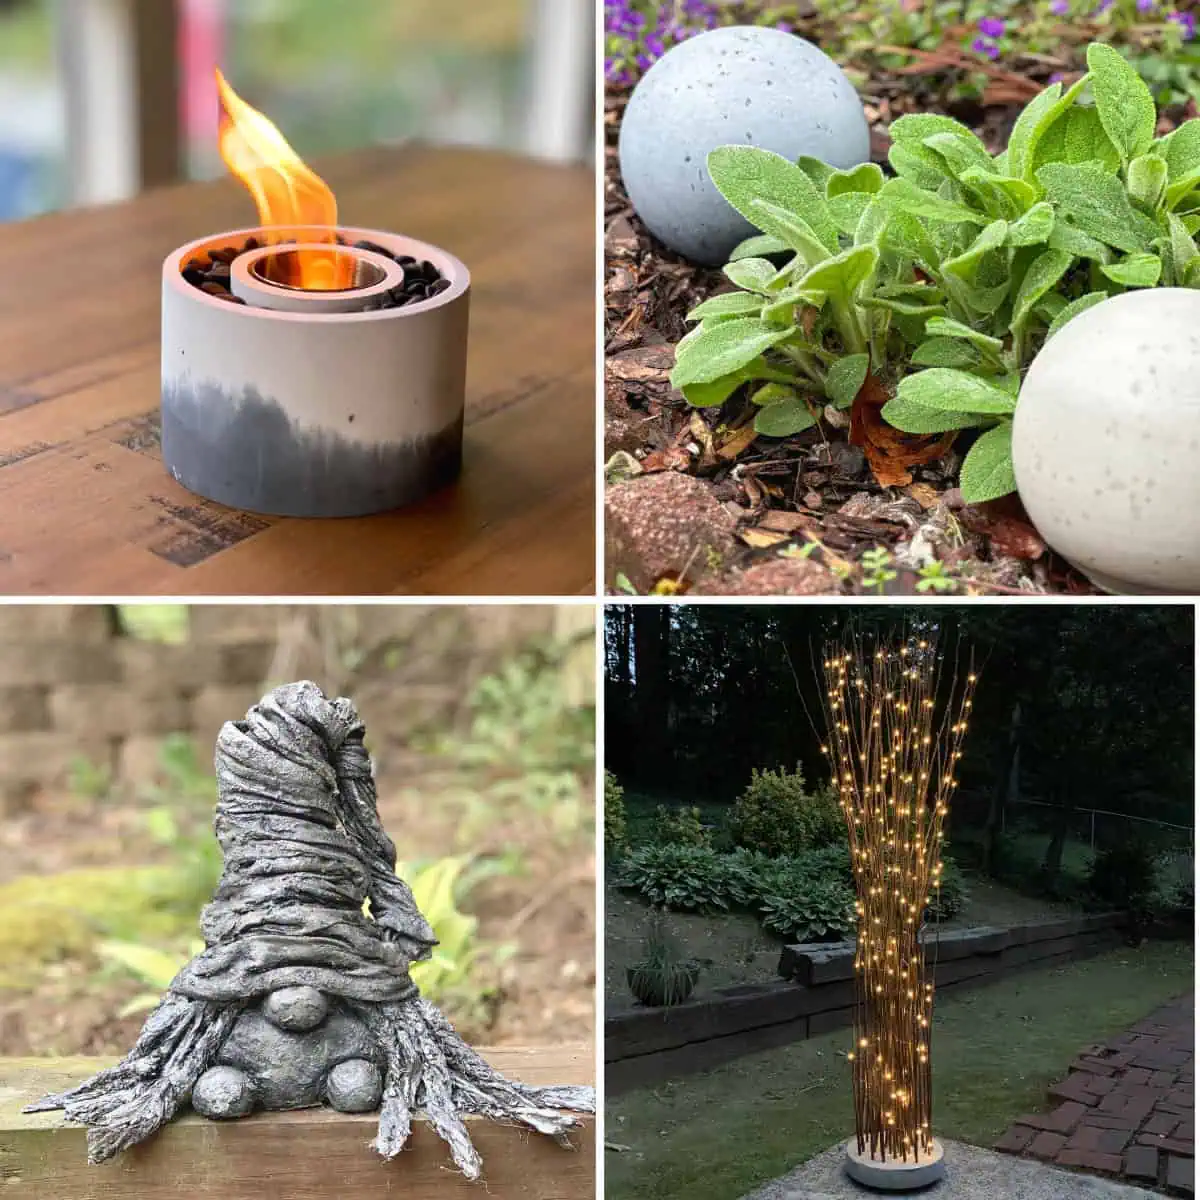
Plus, if you are short on time, I’ve got 8 more concrete planters you can make in 1 hour.
What Not To Do:
Don’t use too much water -My first attempt at making these, I ended up getting a couple of small cracks.
Some of the links on this page have been provided as a convenience for finding materials. These links may also be affiliate links. As an Amazon Associate I earn from qualifying purchases, at no extra cost to you.
I only recommend products I’ve used and loved, unless otherwise stated. Click here to read my full disclosure policy.
DIY Difficulty Level | Easy
Materials For Making A Modern Concrete Planter
- Quikrete Glass Block Mortar Mix or Buddy Rhodes Artisan Concrete. Both of the concrete/cement mixes are white.
- Disposable mixing bowl
- (2) Plastic cups, one for water and one for scooping the concrete
- Sanding sponge- #220 and 150 grit
- Safety glasses
- Concrete planter mould- plastic containers, milk cartons, or soft plastic food storage containers.
The more flexible the container, the easier the release. - Concrete sealer- optional (see Final Step)

Modern DIY Concrete Planter Tutorial Steps
Step 1. Choose Your Modern Planter Mould
Choose your concrete planter mold materials. Keep in mind that every line and indent will transfer to your planter, so the smoother, the better, so make sure whatever you choose is pliable.
In other words, if you can bend it now, you should be able to remove it without much effort from the concrete when finished.
Also be sure that when you put your inner mold into the outer one, that it gives your planter walls that are at least ¼” thick because it will help avoid cracking.
Step 2. Create The Planter Drainage Hole
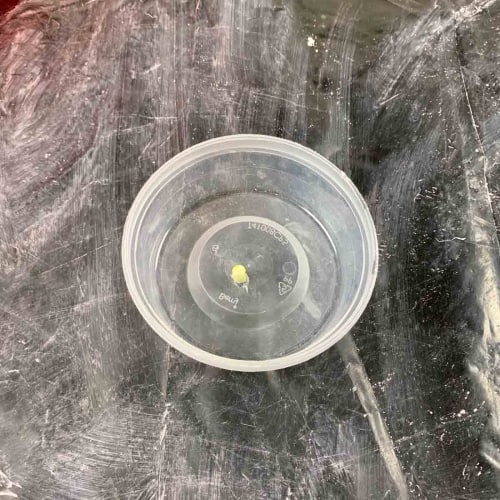
First heat the hot glue gun to a low setting. Now, cut a piece of the straw to about 1/4″.
If you would like your hole to off-center like mine is, then flip the container upside-down and position your inner mold underneath.
Next, mark the center of this inner mold so you know where to place the straw for drainage.
This will also help you know where to place the insert after the concrete is cured inside.

Using the glue gun, glue one end to the middle of the planter.
Next, add glue to the open end so concrete doesn’t get inside. Now take your inner mold and place it on top of the straw.
Next, mark a line where the inner mold meets the top of your outer mold.
This way you will know how far to place the inner mold after the concrete is poured.
Step 3. Mix The Concrete
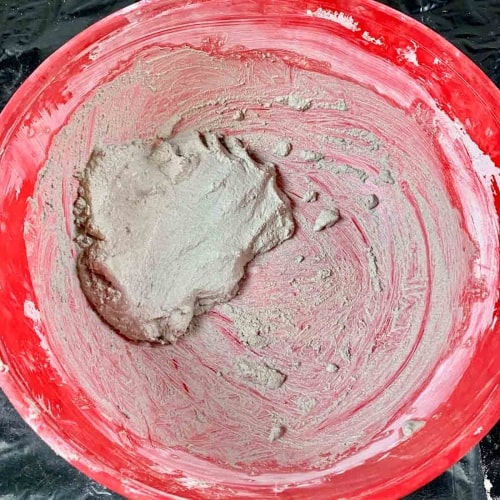
Into the plastic mixing bowl, add about 3 cups of white concrete.
Pour in some water and mix it. It should be a formed, yet soft consistency.
Step 4. Pour The Concrete
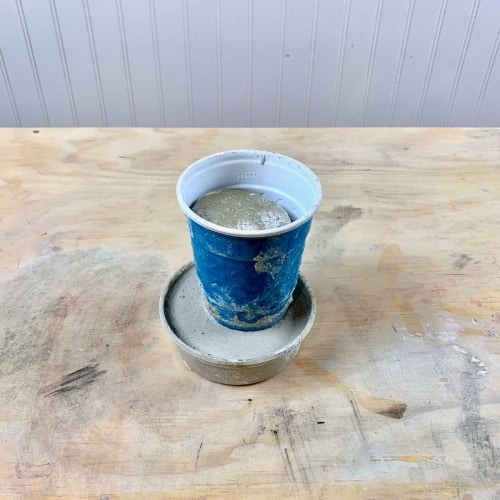
Add something heavy to your inner mould. I used an extra piece of cured concrete. Now pour the concrete into your mold.
Shake and tap the mold to get the concrete to settle and place the inner mold. Stop at the mark you drew where it stops at the straw.
Let this cure for 24 hours.
Step 5. DeMould The DIY Modern Concrete Planter
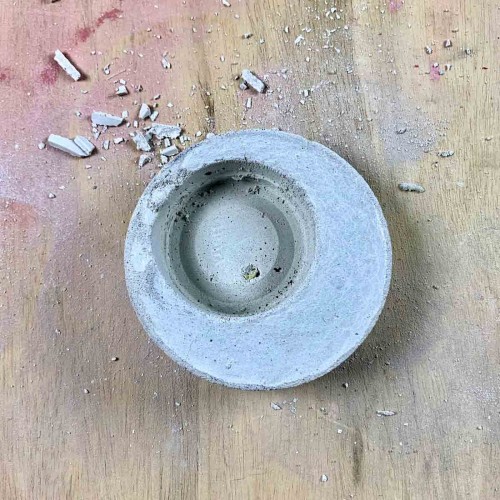
Then, put a soft cloth on your work surface and carefully turn the main mold upside down.
Tap it on the towel. If it doesn’t pop-out right away, you can try a hair dryer or heat gun.
Step 6. Remove The Drainage Straw

To remove the straw, us pliers- assuming there’s a small piece of the straw protruding from the concrete.
Otherwise, you may need to use a drill. Just put the drill on a low speed, using any bit and gently drill through the straw.
It should come right out and reveal a nice clean planter drainage hole. Check to see if any glue stuck to your drill bit and pull it off.
Step 7. Sand The Planter
If you have any lines or rough edges on your white concrete planter then sand them with the #150 grit sanding sponge.
Repeat with the #220 finer grit sponge.
Step 8. Prep The Modern DIY Concrete Planter For Planting
When the soil gets wet, it tends to eventually discolor the concrete. And especially with this cement being so white, you may want to prevent that. I recommend this concrete sealer, and sealing the planter inside and out.
You can learn more about why I don’t normally seal a concrete planter that’s planted with succulents in my post about keeping plants safe in concrete planters.
Now plant your modern pot with your favorite succulents!

Don’t forget to Pin it for later!

Modern DIY Concrete Planter
Create a DIY modern concrete planter with white concrete. A detailed tutorial for making a minimalistic modern planter for succulents.
Materials
- White concrete mix
- Mixing bowl
- Gloves
Tools
- Please see the complete list of materials above the tutorial.
Instructions
- Choose The Inner And Outer Moulds For The Modern Planter
- Create The Planter Drainage Hole With A Straw
- Mix The Concrete To A Mud Pie Consistency
- Pour The Concrete Into The Planter Mold
- Demould The DIY Modern Concrete Planter
- Remove The Drainage Straw With Pliers Or Drill
- Sand The Planter With Sand Paper
- Seal The Modern DIY Concrete Planter To Protect The White Concrete

Love the planters!
Thanks so much Jill! These were especially fun to make and not difficult at all.
I want to make tons of those! Awesome!
Hi Luiza,
They were surprisingly easy, and fairly quick to make!
This looks like fun! What could I do to add some colour to the cement?
Hi Kim,
It was fun. What color are you thinking? You can get red and black colorant easily at a big box store. They sell it next to the concrete and cement. Amazon sells concrete pigments too, and has lots of color (usually the are called oxides). You’ll only need a teaspoon full or so, for something the size of what I show in the tutorial. I’ll have some posts coming up in a few weeks that detail how to add pigments to concrete, so stay tuned.
Okay great! Thanks so much!