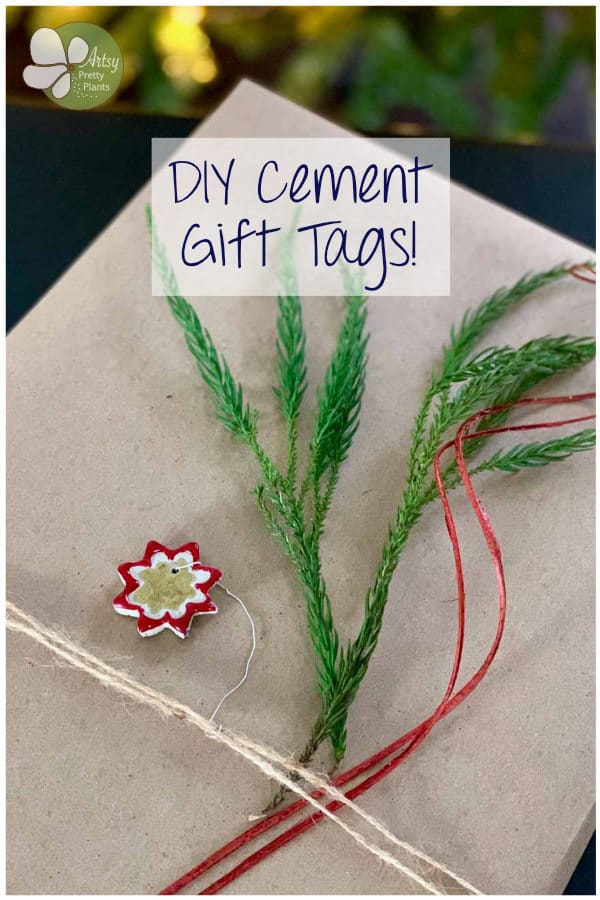
DIY Cement Gift Tags (Easy!)
A tutorial for to make your own DIY cement gift tags with cement to adorn presents with. Add pops of color by painting them with resin.
I have always wanted to make my own gift tags and I made some cement ornaments recently and realized I could use the same mold to make great gift tags.

Since I was planning on wrapping my gifts with brown craft paper this year, I wanted a little color in the tags so I decided to paint them with resin.
I love the way resin looks- as opposed to just paint because you can build up the resin to give it texture and depth.
The first part of this tutorial follows many of the same steps from the DIY Cement Ornaments which you may also want to check out if you haven’t seen them yet.
If you have already made the cement ornaments, then I recommend still following this tutorial to make these gift tags since there are some differences.
And of course, follow this for the resin coloring portion.
You may also want to check out my DIY Cement Grinch tutorial where I also used resin to paint cement.
Some of the links on this page have been provided as a convenience for finding materials. These links may also be affiliate links. As an Amazon Associate I earn from qualifying purchases, at no extra cost to you.
I only recommend products I’ve used and loved, unless otherwise stated. Click here to read my full disclosure policy.
DIY Difficulty Level | Easy
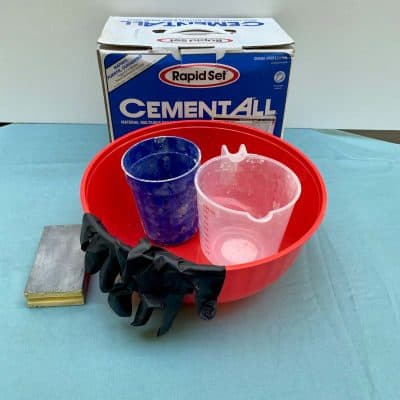
Materials for Making DIY Cement Gift Tags
- Cement All
- Durable nitrile gloves
- Disposable cup
- Disposable bowl
- Plastic grocery bag (for disposing of cement)
- 220 grit sanding sponge
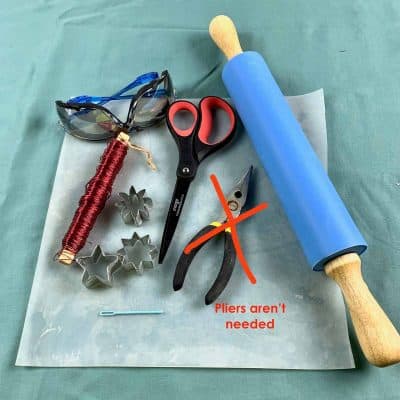
- Safety glasses
- Smooth, shiny surface (to work on – allows gift tags to be smooth on one side)
- Rolling pin
- Mini cookie cutters- about 1 to 1 ¼”
- Butter knife (helpful, not necessary)
- Scissors
- Craft sticks
- Plastic yarn needle or toothpick
- Epoxy resin (I used Total Boat Epoxy, but you can use any epoxy resin)
- Opaque resin pigments– your choice of red, green, white, gold
- Resin mixing cups
- Resin color mixing cups
- Disposable paint tray palette (helpful, but not necessary)

DIY Cement Gift Tags Tutorial Steps
Step 1. Mix The Cement

First, put on your safety glasses so the cement powder doesn’t get in your eyes as you are pouring the dry mix.
Start by adding the dry cement mix to the bowl. If your cookie cutters are 1 to 1 ¼” like mine and you only want about 20 gift tags, then you’ll need about 1 cup of cement.
Add cold water to the mix. You want the water to be cold, to allow for enough working time before the cement starts to set.
You can add ice cubes to the water if you are working in warmer temperatures. The cement consistency should be like soft cookie dough.
Step 2. Roll The Dough
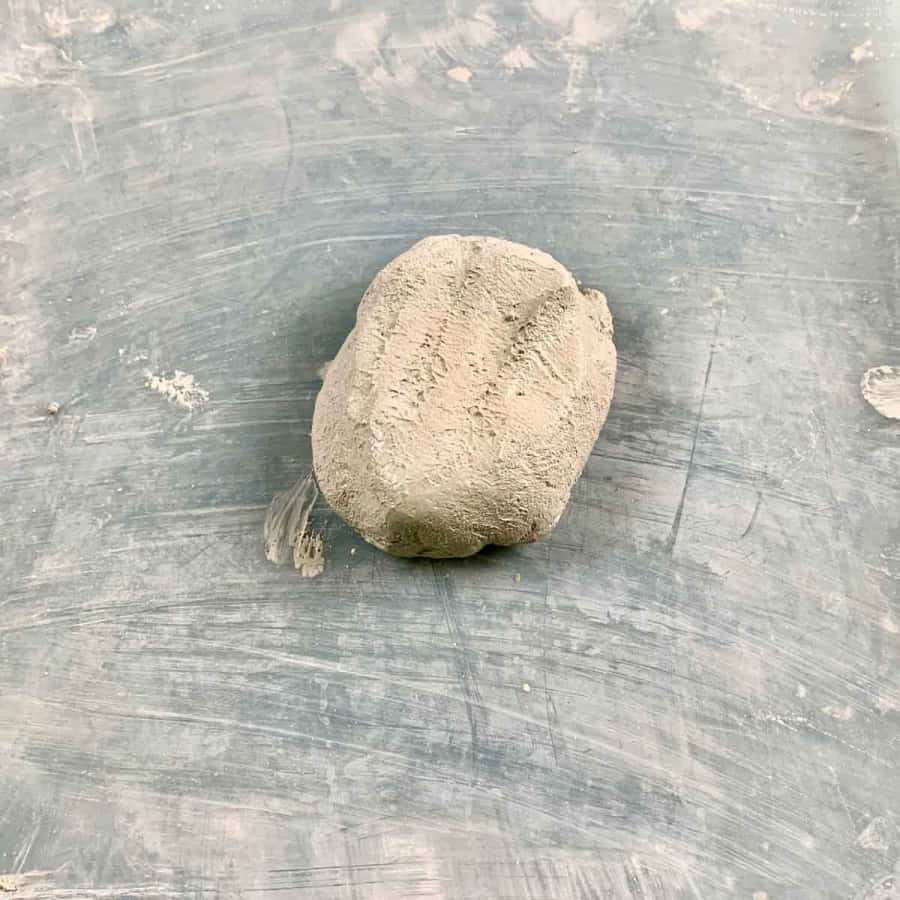
This is just like making Christmas cookies.
First form the cement into a ball and put it on your smooth, shiny work surface and roll the ball with the rolling pin to flatten it the same way you would cookies.
I made the thickness of the cement gift tag less than less than ¼”.
Step 3. Cut Shapes For The DIY Cement Gift Tags
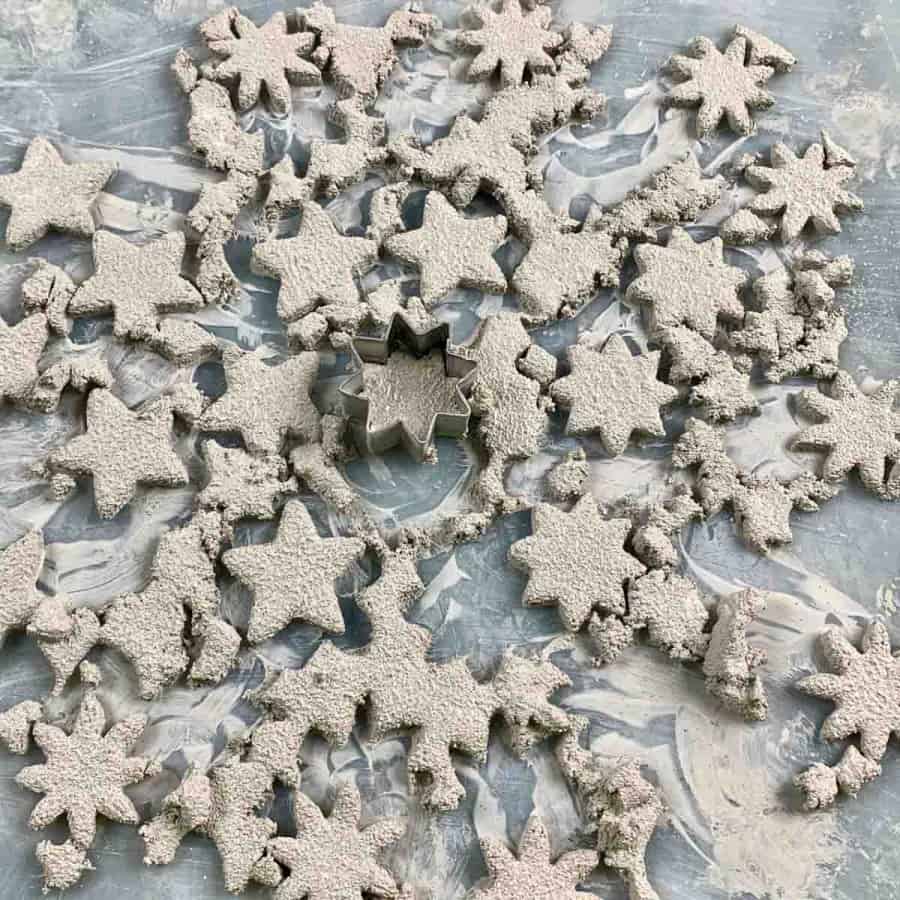
Starting from the edges, take a cookie cutter and press it into the cement. You want to keep each piece so that they aren’t touching each other after you cut them.
To do this, after pressing it in, keep the cookie cutter tight to the work surface.
Then drag the cutter, with cement inside, over to the side so that it is separated from the rest of the cement.
As soon as you finish cutting your tags, then clean up the bits and pieces that stick to some of the gift tags.
Use a butter knife, craft stick or toothpick to push those pieces away.
As you can see, my tags are a bit congested which is because I used a work surface that was too small, it was only 12 x 12″.
Set up your workspace to paint the gift tags with resin. As a reminder, here’s the photo from the materials of the resin supplies you will need.
I painted about 10 gift tags and needed about 1 oz total of resin.
First mix the resin parts together, mine was a 2:1 ratio. Stir for 2 minutes, then divvy up the resin into the smaller mixing cups, for each color you want to use.
Now mix little tiny dabs of color into the tiny cups. If you use too much color or you don’t mix the color in well, your resin may never fully cure.
I found it easiest to scoop a tiny amount on to a craft stick and mix it into the resin. If I needed more pigment, then I just used a toothpick and dabbed it into the pigment to deepen the color.
Step 4. Create A Hole For The Tag

Take the toothpick and cut off the tapered end.
You will use the blunt end of the toothpick and push it through the center of the gift tag- kind of toward the top, but stay away from the edges.
Now that you have the hole for the gift tag, you can let them cure for at least an hour.
Step 5. Finish The Edges
Once the gift tags have fully cured, use the sanding sponge to remove cement burrs off the edges.
After sanding, rinse the gift tags off (not in a sink) to remove the powdery cement dust.
Step 6. Paint The Cement Gift Tags

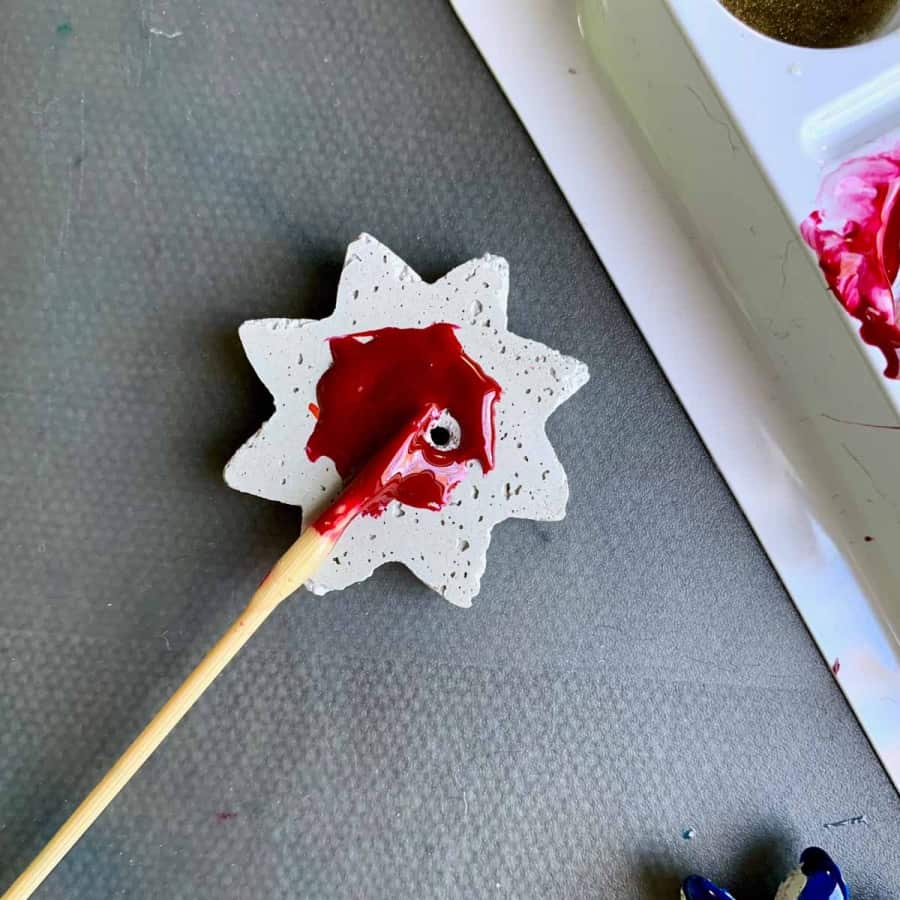
Using a plastic yarn needle, craft stick or toothpick, apply the resin to the cement tags.
I prefer to let my resin thicken a bit before doing this. The resin is easier to control this way, but it does give you less working time.
I was able to paint all 10 tags before it became too hard to work with, but if I had more tags to do, it would have become more difficult.
Let the resin cure overnight. The resin will likely cure sooner, but it’s best not to risk having some soft spots and then ending up with fingerprints in your piece.
It could be anywhere from 2-4 hours, but it’s best to let them fully harden overnight in case some of your colors take a little longer.
Step 7. Add The Wire And Adorn The Wrapped Gifts

Once the cement has cured, thread a piece of wire through the hole in the cement gift tag and meet the two ends together.
Give them a twist near the base and then a few loose twists close the ends together.
Trim the wires at the top so they are the same length and then use your finger to create a hook or a closed loop.
You can either hook the cement gift tag to ribbon that you are wrapping the present with, or use hot glue to adhere it to the package.