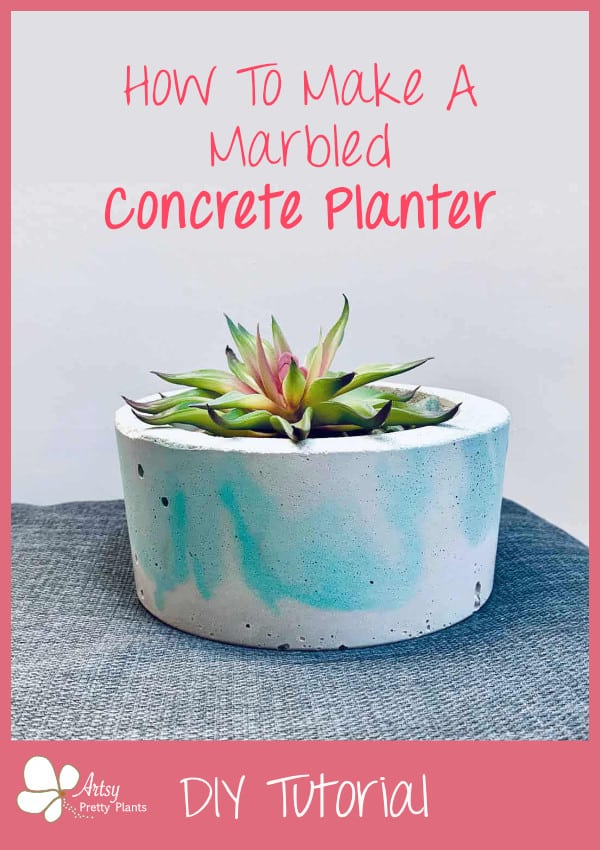
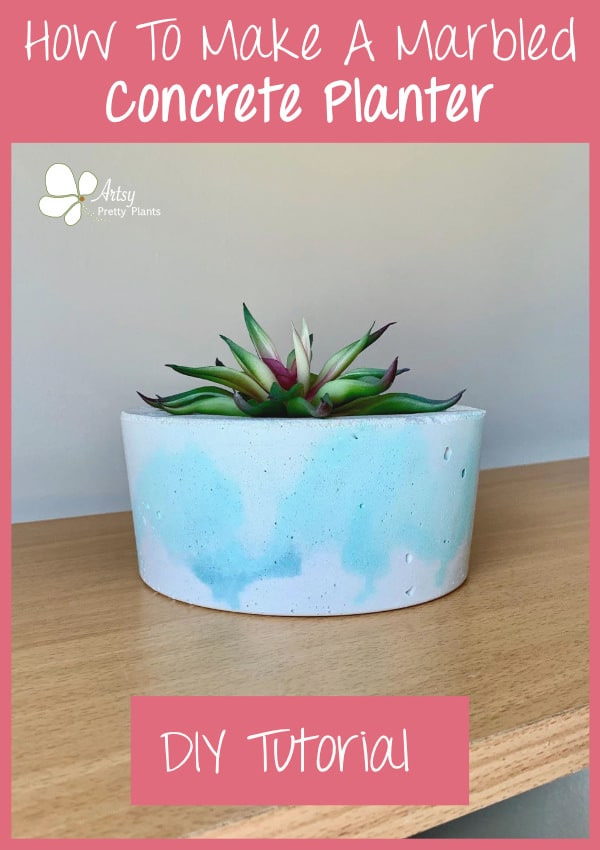
Green Marbled DIY Concrete Planter (Easy!)
How to make a beautiful green DIY marbled concrete planter for succulents- using white concrete and acrylic paint!
Are you as enthralled with the look of marbled concrete as I am?
It overloads my brain with creativity when thinking about all the color and pattern possibilities.
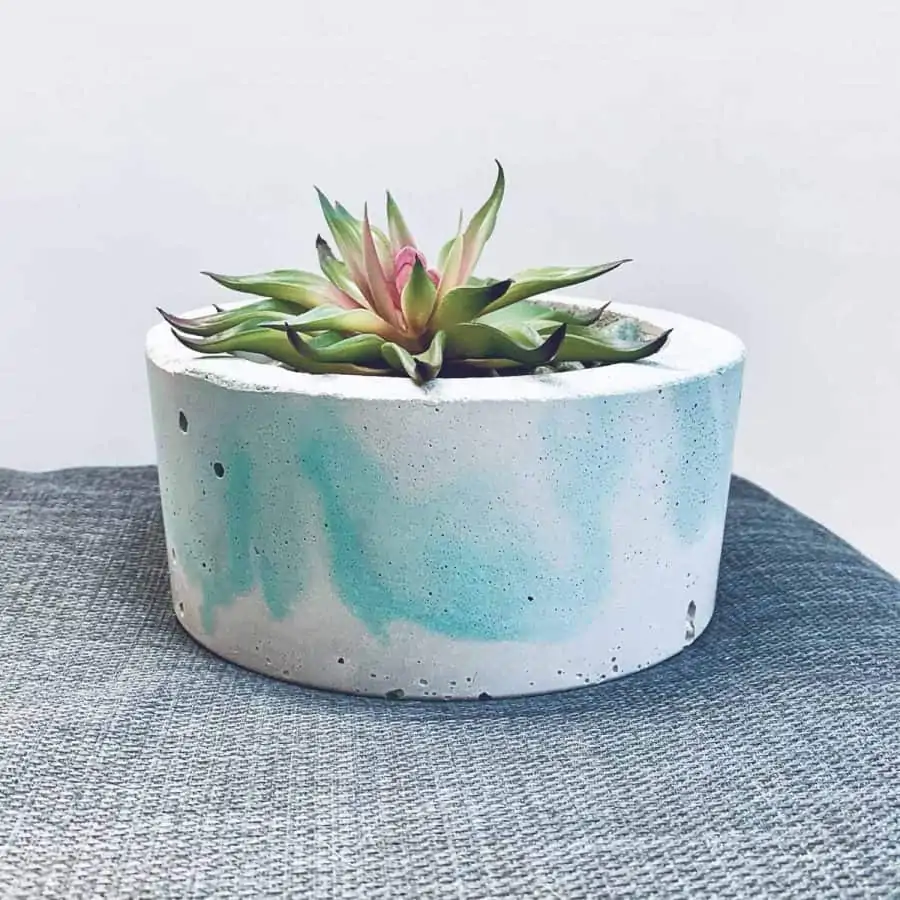
You can make swirly patterns, flowy patterns, veiny patterns. The possibilities seem endless.
Marbling is one of my favorite things to do with cement crafts.
Green Marbled DIY Concrete Planter Video Tutorial
Please click the button to subscribe to my YouTube channel and be notified when I have a new video tutorial!
And making this all so much sweeter is that I found white concrete! Now before you get too excited, it’s unfortunately not available everywhere.
I did some searching, and in the U.S., it is available in many areas of the country, but the areas are limited.
See the materials list for the link to the white concrete/cement, which is actually a mortar mix.
If you aren’t lucky enough to have this in your area, then your next best bet is to use Cement All and add some white acrylic paint to it.
And really, it’s not necessary to have a white base to begin with, it just gives you brighter colors and more contrast.
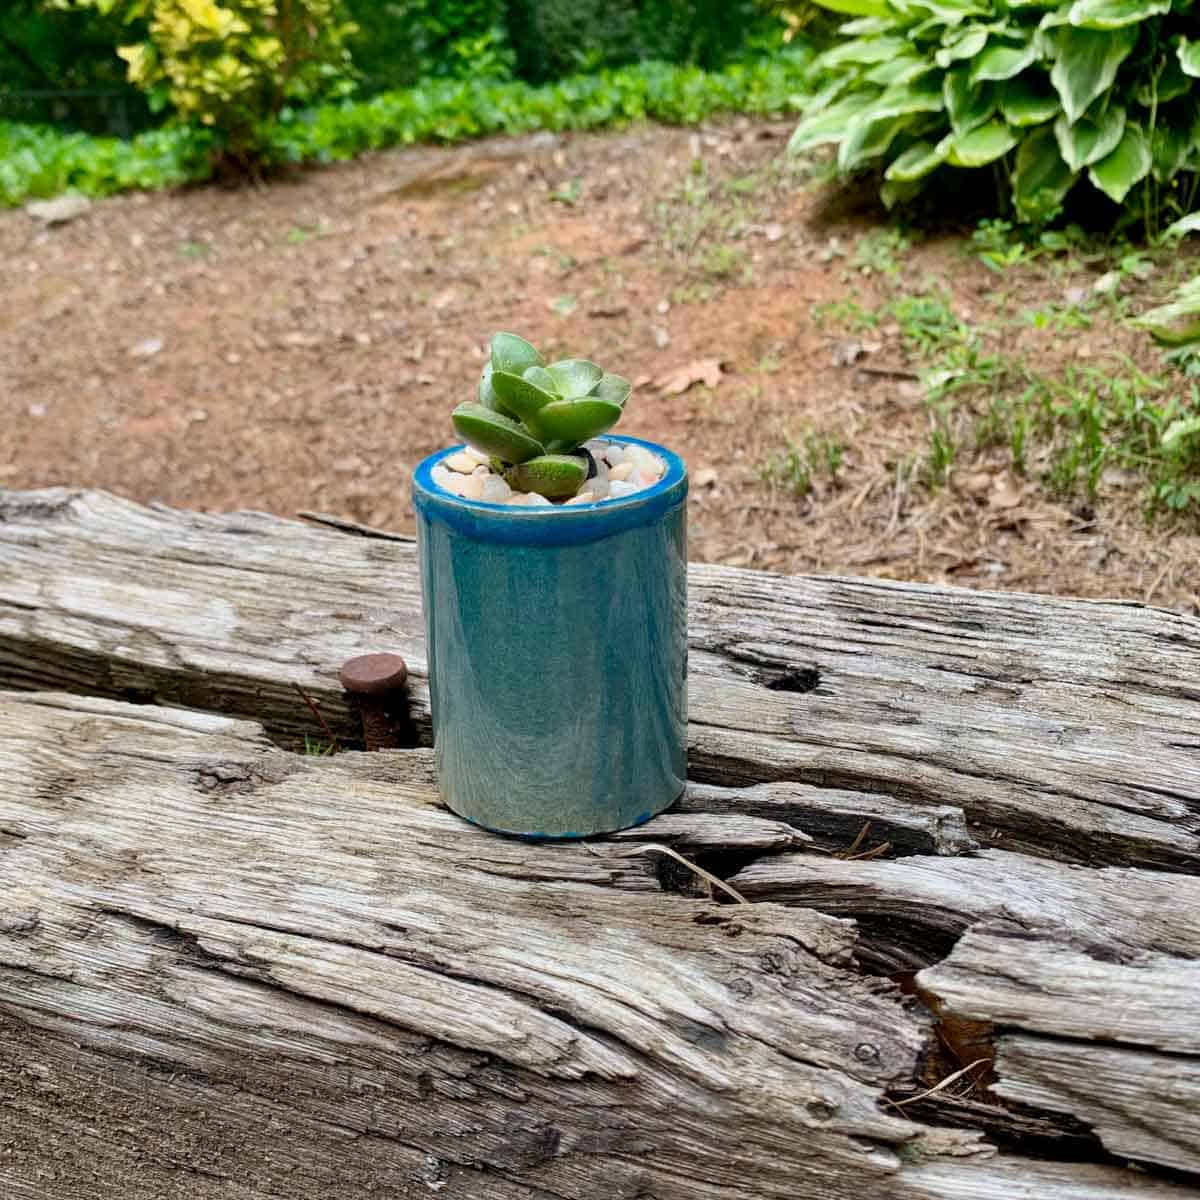
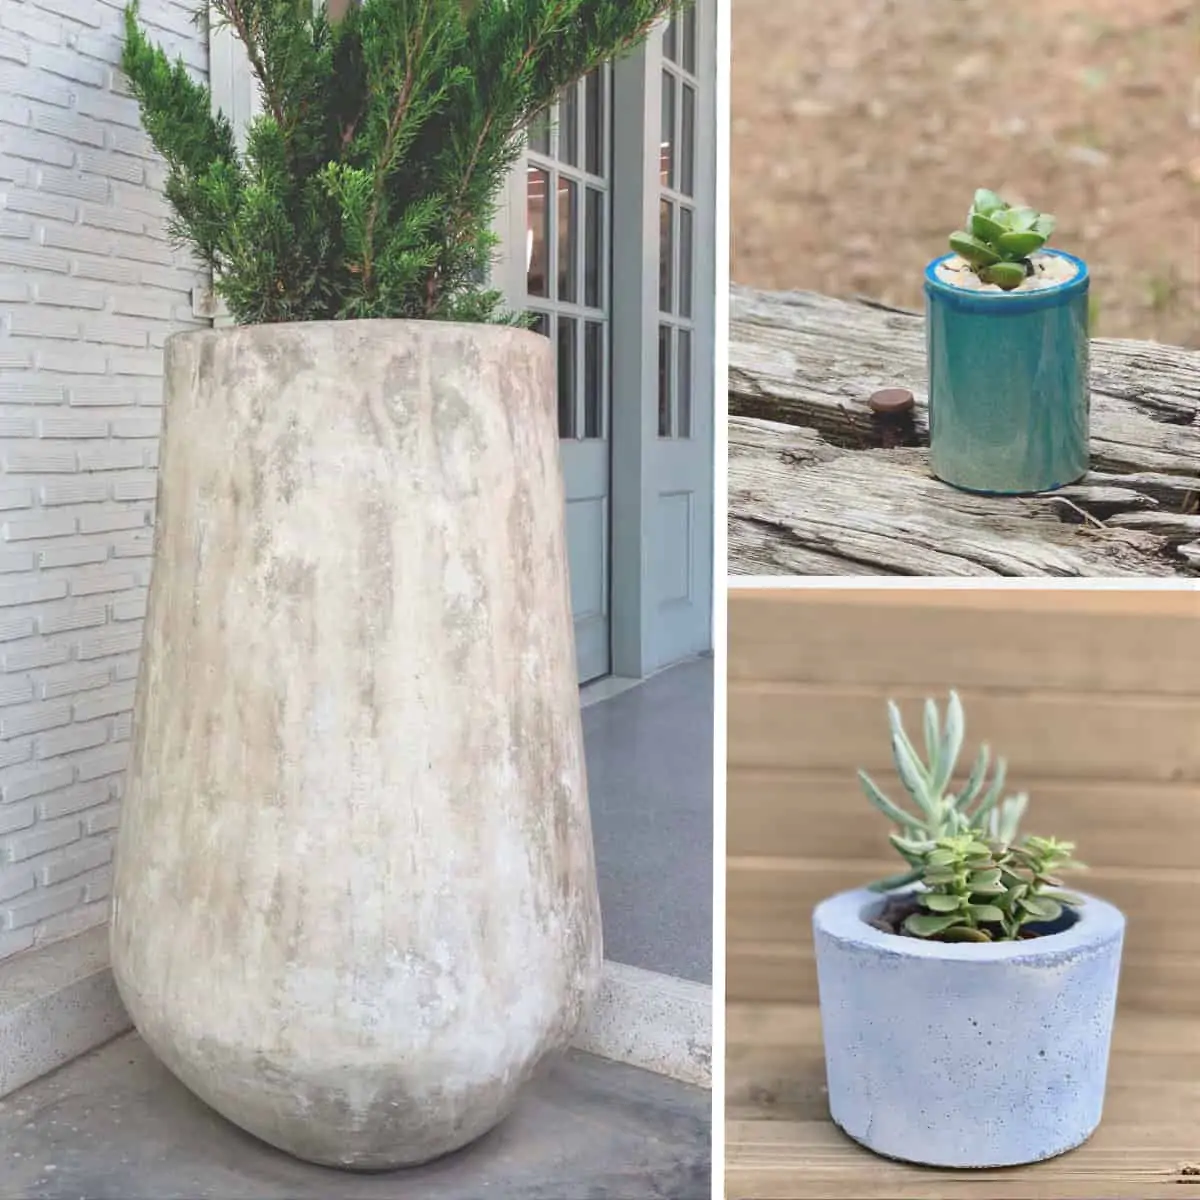
If you love this planter, but want one with a little more room inside, you may want to check out the one I made with a DIY silicone mold.
For another marbled cement planter project, check out the tutorial for round ball-shaped planters with magnets.
And to learn all about adding pigments to concrete you may want to read How To Color Concrete And Cement.
Some of the links on this page have been provided as a convenience for finding materials. These links may also be affiliate links. As an Amazon Associate I earn from qualifying purchases, at no extra cost to you.
I only recommend products I’ve used and loved, unless otherwise stated. Click here to read my full disclosure policy.
DIY Difficulty Level | Easy
Materials For A Green Marbled DIY Concrete Planter
- White concrete
- Disposable cup
- Disposable bowl
- Plastic grocery bag
- Durable nitrile gloves
- Safety glasses
- Respiratory mask– rated for silica dust
- 220 grit sanding sponge
- Green acrylic paint– a couple of different shades if you wish *Type is important- see note below
- X-acto knife or heat gun
- Drinking straw
- Hot glue gun
- Scissors
- 2 containers for the mold- my outer was 6″ wide and with the inner mold, the opening became 4 1/2″.
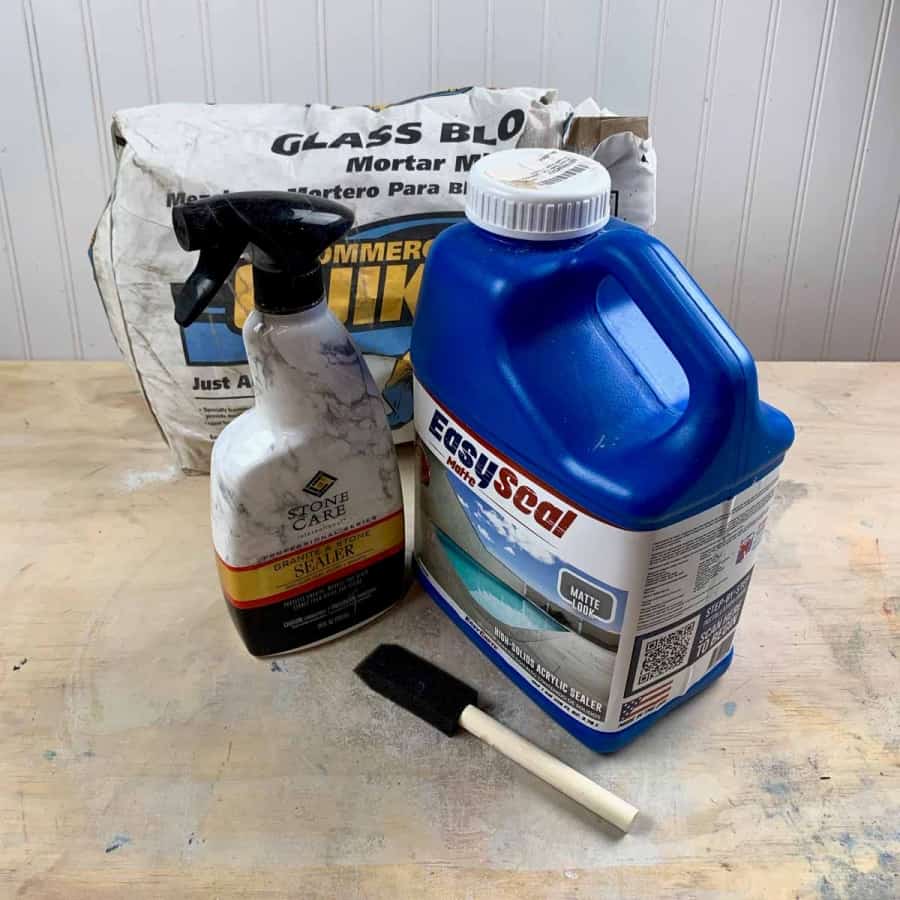
- Concrete sealer- I used two different types- a brush on and a spray on -See note below
Materials Notes: Paints: I have experimented with different types of acrylic paints for concrete and some failed.
Not every type or brand mixes well. I found many that were very grainy and dry and ended up cracking where they were used.
The ones I know will work and am confident recommending are these acrylic paints at Michaels and Amazon (any sheen is fine and indoor or outdoor will work). The other brands at Michaels didn’t work.
Sealers: I used sealer for this planter because I didn’t want the soil to leech through and discolor it.
The brush on sealer does a better job of sealing, but will darken the planter. The spray sealer is what I used for the outside.

For more in-depth coloring information, you may find it helpful to read this post where I tested and compared different concrete pigments and coloring techniques.
Tutorial Steps For A Green Marbled DIY Concrete Planter
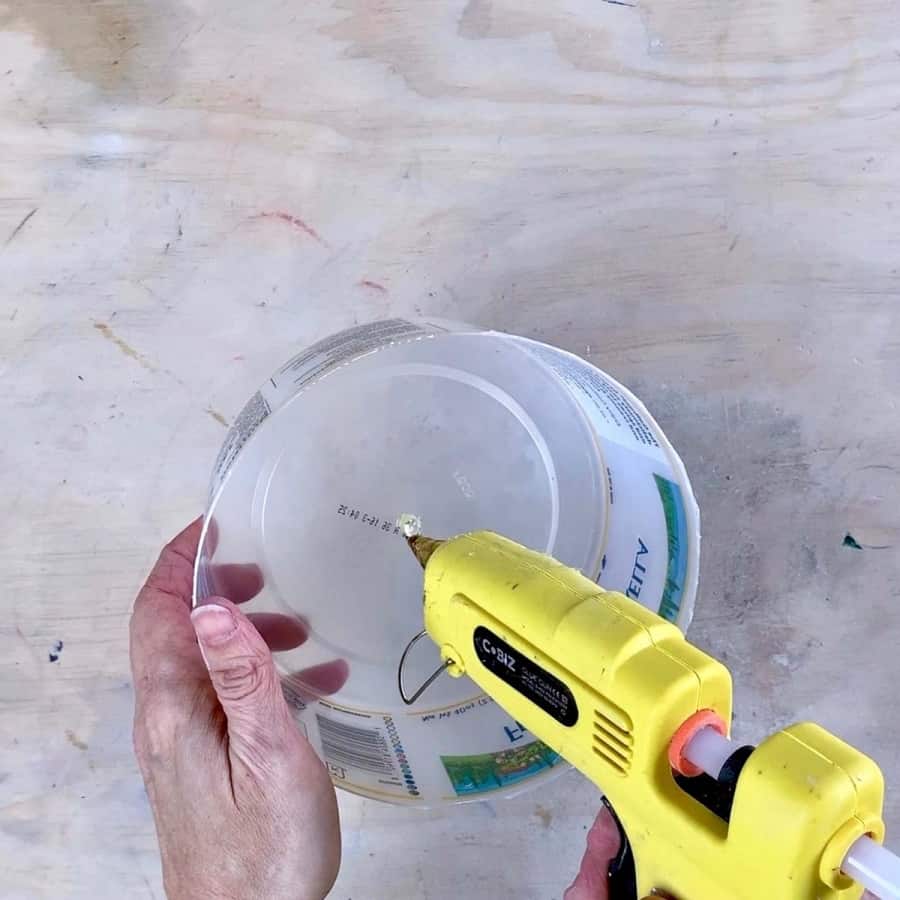
Step 1. Create the dIY concrete planter drainage hole
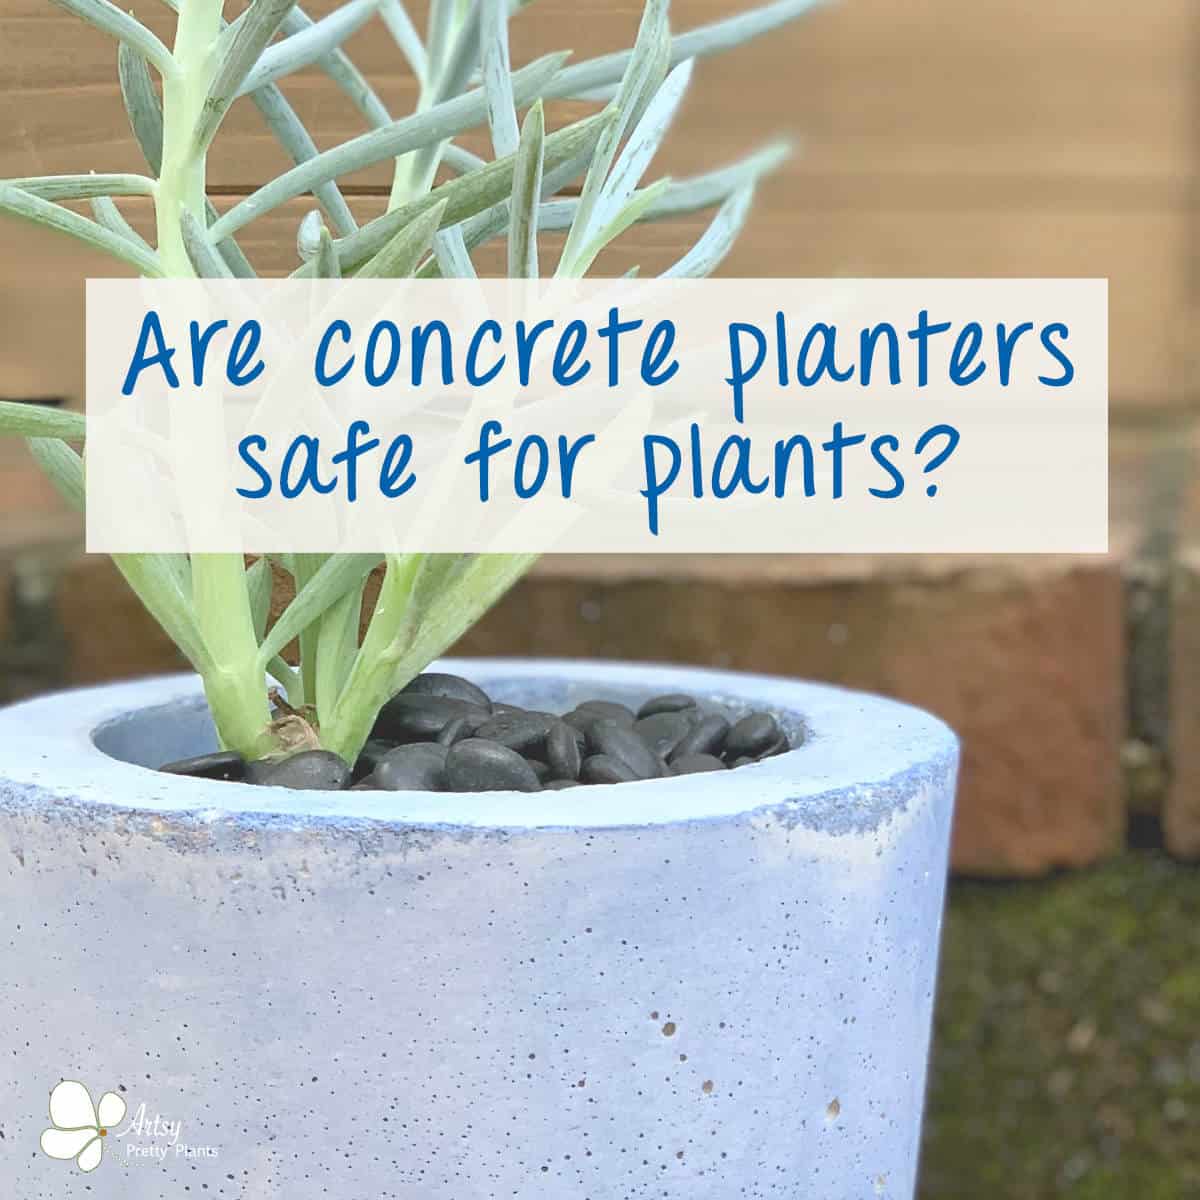
**Not all plants do well in concrete and cement planters. While they are loved by most succulents, other plants may not share that love.
There are easy fixes for this. Please see Are Concrete Planters Safe For Plants? to learn more.
Heat the glue gun to a low temperature. Next, cut two pieces of the straw to ¼” using the scissors. For each piece, glue one end of the straw to the bottom of the container.
Now glue the top end of the straw so that the concrete/mortar doesn’t get inside.
I forgot to do the second hole until I was casting the concrete, but I think two is better than one for this size container.
Step 2. Prep The Inner Mold

Place the inner mold in the container and let it sit on the straw.
Now mark a line where the top of the outer mold lines up with the inner mold and then fill the inner mold with wet sand.
I recommend having an extra piece of something weighted nearby, in case you need to add more weight.
Step 3. Mix The Cement

Using cold water, mix the concrete to a formed, yet flowing consistency. To check this, lift the concrete up into a ball and drop it back down into the bowl.
It should move a little after being dropped- sort of soften and expand. I show this in the video tutorial if you’d like to reference that.
Keep extra water on hand, the paint can dry out the concrete a bit so you may need to add more.
Step 4. Add Paint To the Wet Concrete Mixture
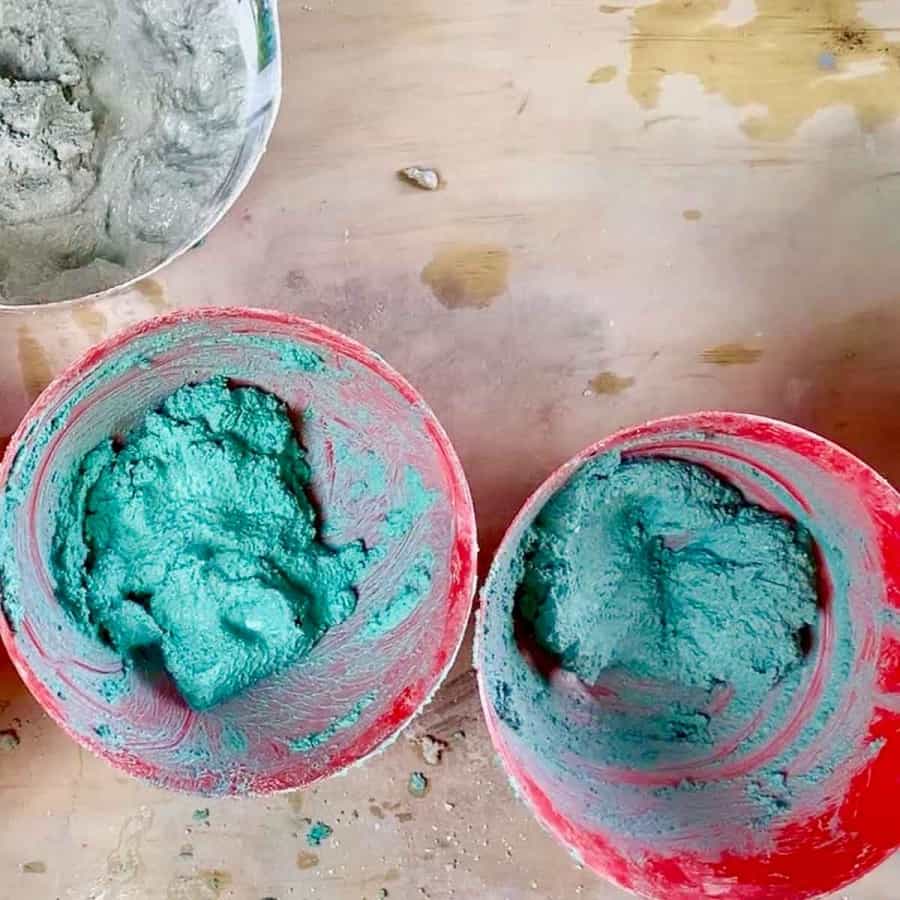
First, divide the concrete into as many colors as you plan on using- leaving one white (if you choose).
You may find it easier if you keep it limited to no more than two colors- other than the white. I made this with three different shades of green.
However, they were so close in color that you really couldn’t see the difference and this would have been easier to make using just the one color.
Now add the paint to the separate bowls and mix well. If your concrete has lost some of that formed yet flowing consistency, then add some water.
Step 5. Cast The Mold

You can combine the colors in many ways. I chose to create v-shapes by layering the bottom some white cement, then adding the greens by tucking the pieces of colored concrete down into white.
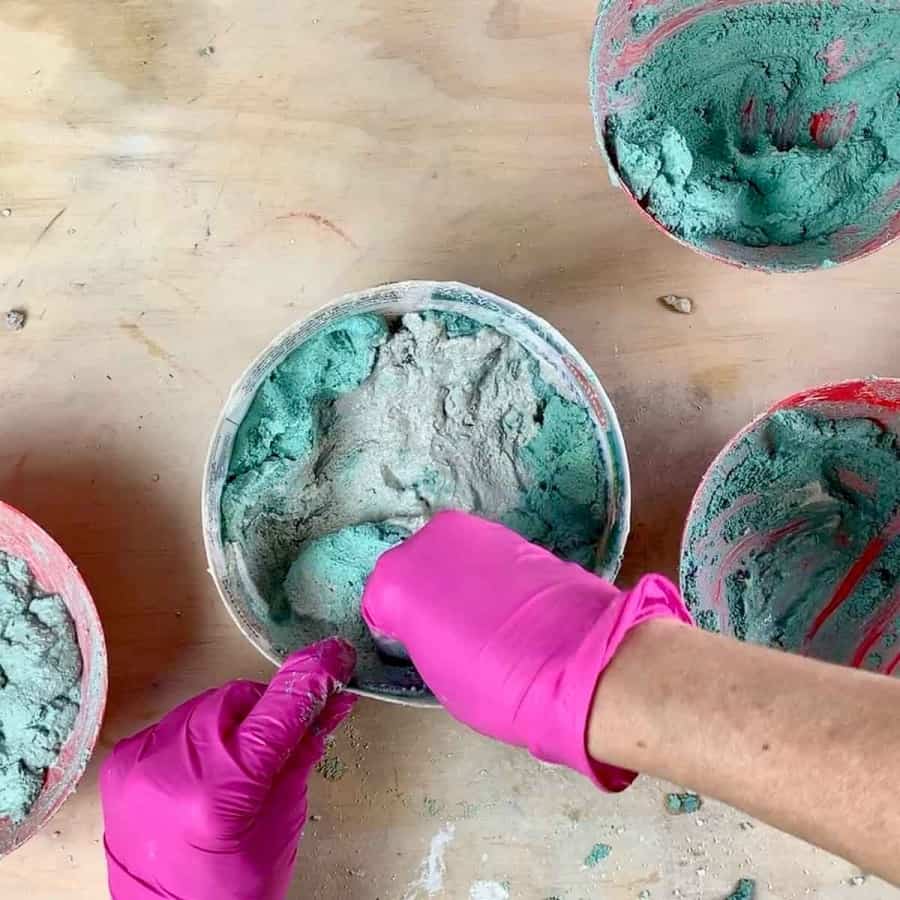
I continued by adding more white and then repeated with the tucking.
Once you have all the concrete in the outer mold, then shake it and tap to release air bubbles and allow it to settle.
Now add the weighted inner mold and don’t press it in beyond the line you marked as your stopping point.
Repeat with the vibrating and then let it cure 24 hours.
Step 6. Demold The Green DIY Marbled Concrete Planter

Place the cured concrete upside down on a soft cloth and tap it to release the concrete.
If it doesn’t release right away, then use a heat gun. This white concrete will still have moisture in it when it’s demolded and will also not look very white.
Once the marbled planter has been demanded, if the straws are still inside, use a power drill to gently remove them. They should come out easily.
Step 7. Sand and Seal The Marbled Concrete (optional)

If you have rough edges, use the sanding sponge to sand them.
In a day or two, it will be fully white and ready for sealer.
The reason I am suggesting sealer for this concrete planter is that once it’s planted, the soil and its minerals will eventually leech through and discolor it.
I recommend sealing it inside and outside. Keep in mind, the sealant will reduce the porosity and the planter may retain more water than your succulents prefer.
I applied the Easy Seal inside because it seems to do a better job of sealing.
Since Easy Seal can darken the colors and look shinier on colors, I opted for the spray sealer on the outside so that it maintained a matte and natural appearance.
Step 8. Add Soil To The Marbled Planter And Plant Your Succulents
Add soil and plant your green marbled diy concrete planter. If you decided to seal the planter, and are planting succulents, then be sure to use a gritty mix to allow for better drainage.
Don’t forget to Pin it for later!