DIY Wine Cork Planter Ornament
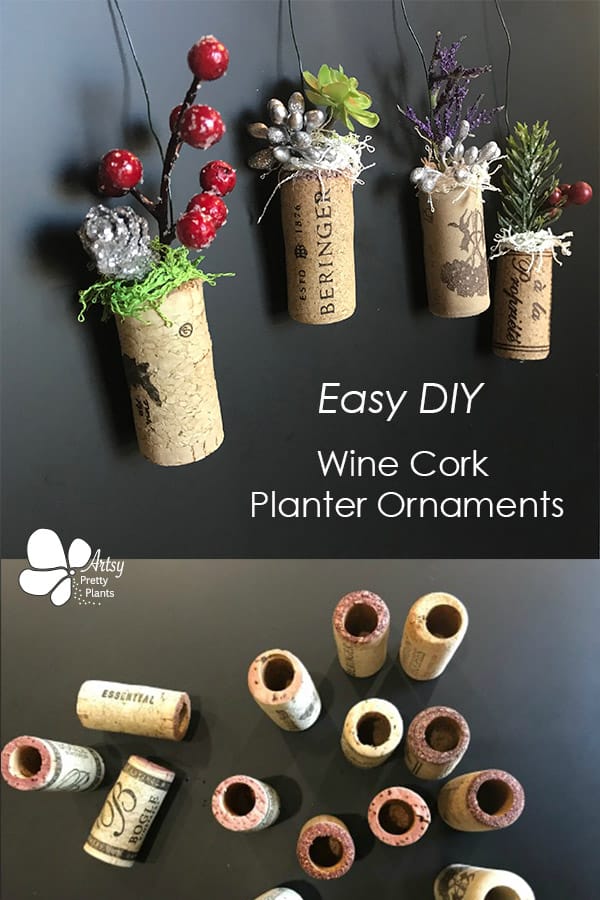
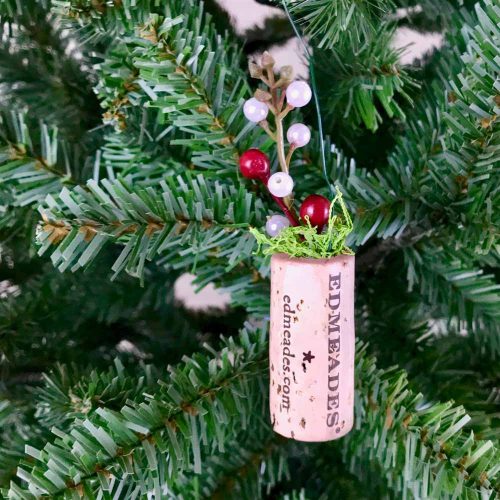
Learn how to make these easy and adorable wine cork planter ornaments which make the perfect little gifts or stocking stuffers around the holidays.
Using artificial flowers or plants will allow them to adorn a Christmas tree year after year.
They make super cute stocking stuffers too!

These wine cork planters as Christmas tree ornaments were such a joy to make. The idea came to me from the wine cork succulent planters I made.
The beautiful thing about these is you don’t have to do any maintenance to keep them alive since the plants are artificial.
These are really easy to make, especially if you have a drill press, but if you don’t, no worries.
If you don’t have to make a ton of these tree ornaments then it’s just as easy to use a power drill.

There are so many creative things you could use to plant these with.
I like to keep an eye out at Michaels for 50% off artificial sprays/stems and see what looks good. These make such great stocking stuffers!
If you’re looking for Christmas crafts ideas, here are 90+ –all using Dollar Tree items for the materials!
And for another great tutorial using natural materials, check out this beautiful lighted grapevine wreath.
Some of the links on this page have been provided as a convenience for finding materials. These links may also be affiliate links. As an Amazon Associate I earn from qualifying purchases, at no extra cost to you.
I only recommend products I’ve used and loved, unless otherwise stated. Click here to read my full disclosure policy.
DIY Difficulty Level | Easy
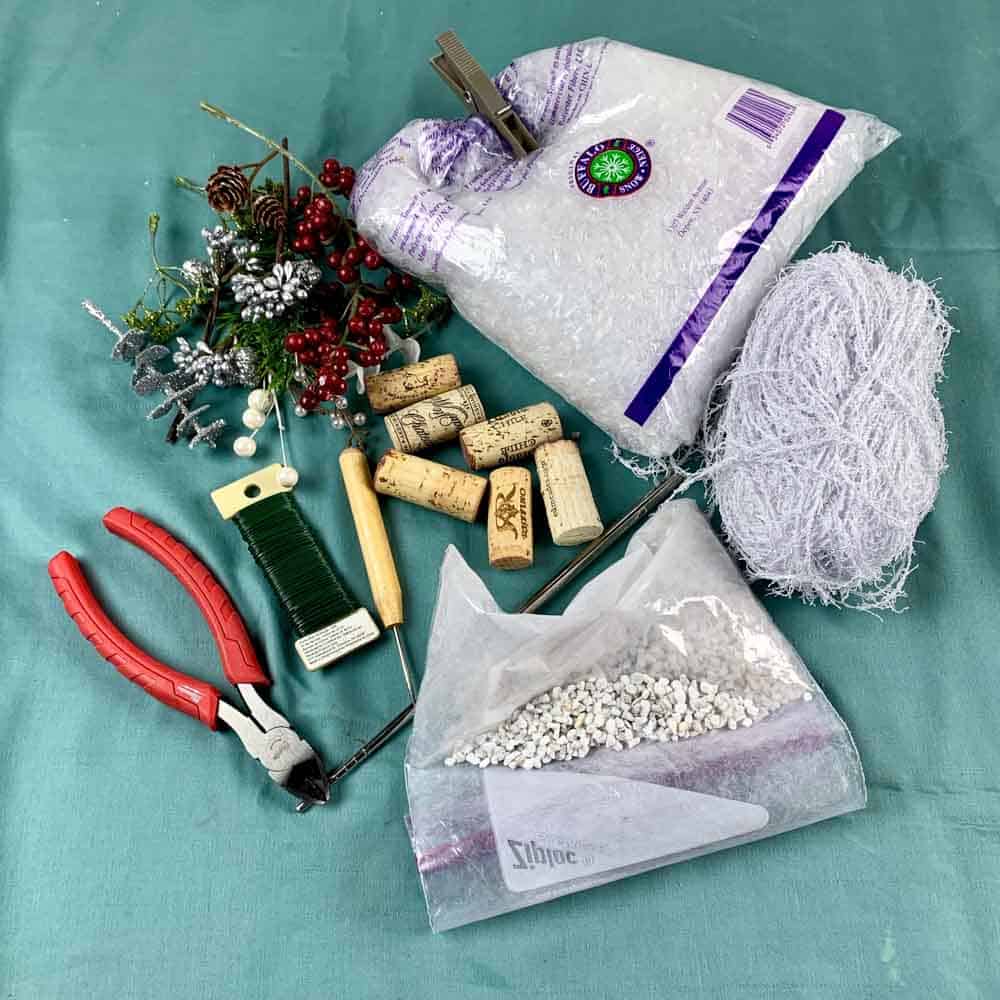
Materials For Making Wine Cork Planter Ornaments
- Wine corks
- Floral stems- look for ones that will have the appropriately sized stems when trimmed off main stem
- Floral wire (green), or any 24-gauge beading type wire
- Wire cutter
- Plastic snowflake filler (which is just shredded plastic), or other lightweight material
- White pebble filler
- Scrubby yarn- white, green or red
- Bookbinding awl
- Poking tool or stick
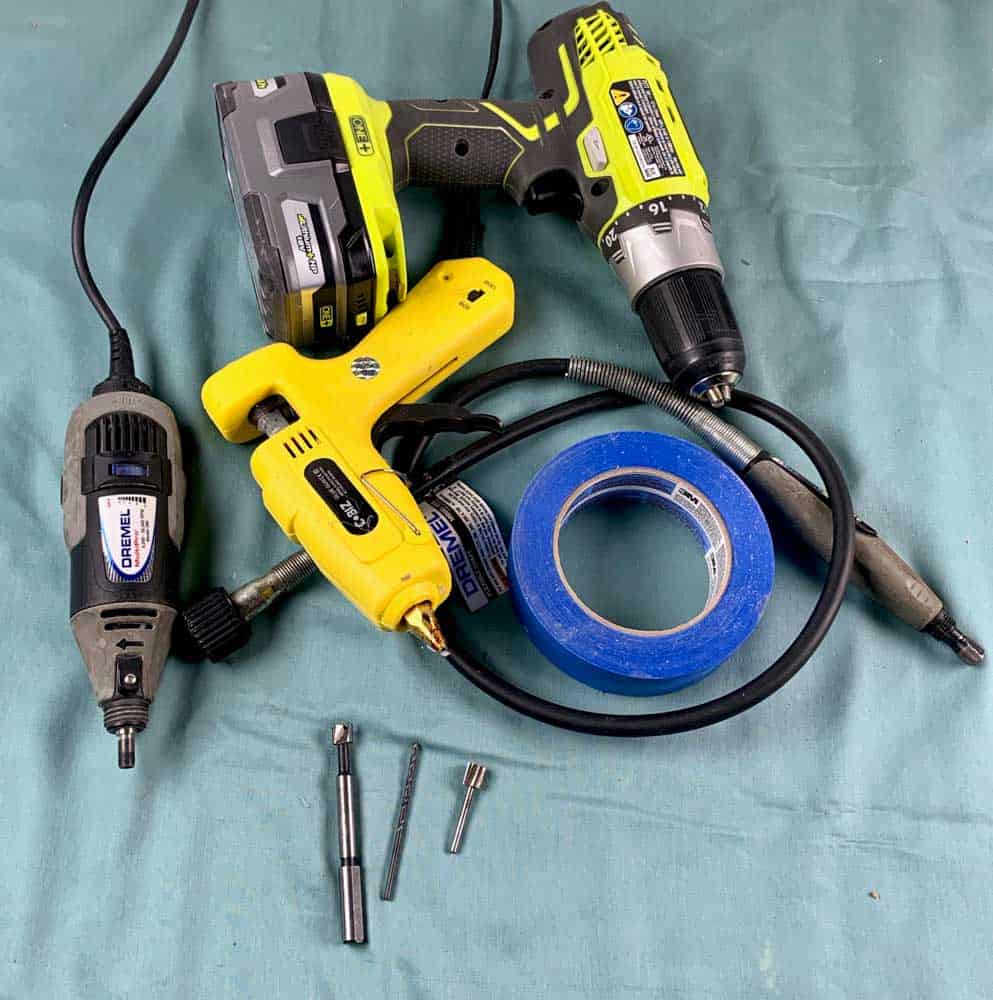
- Hot glue gun
- Power drill
- 1/8″ drill bit
- 3/8″ Forstner bit (ideal) or 3/8 standard drill bit
- Dremel with flex attachment (flex not necessary, but helpful)
- Dremel carving bit #115 for hollowing
- Table vise grip- advised for safety
Wine Cork Planter Ornament Tutorial Steps
Step 1. Drill The Wine Cork Holes
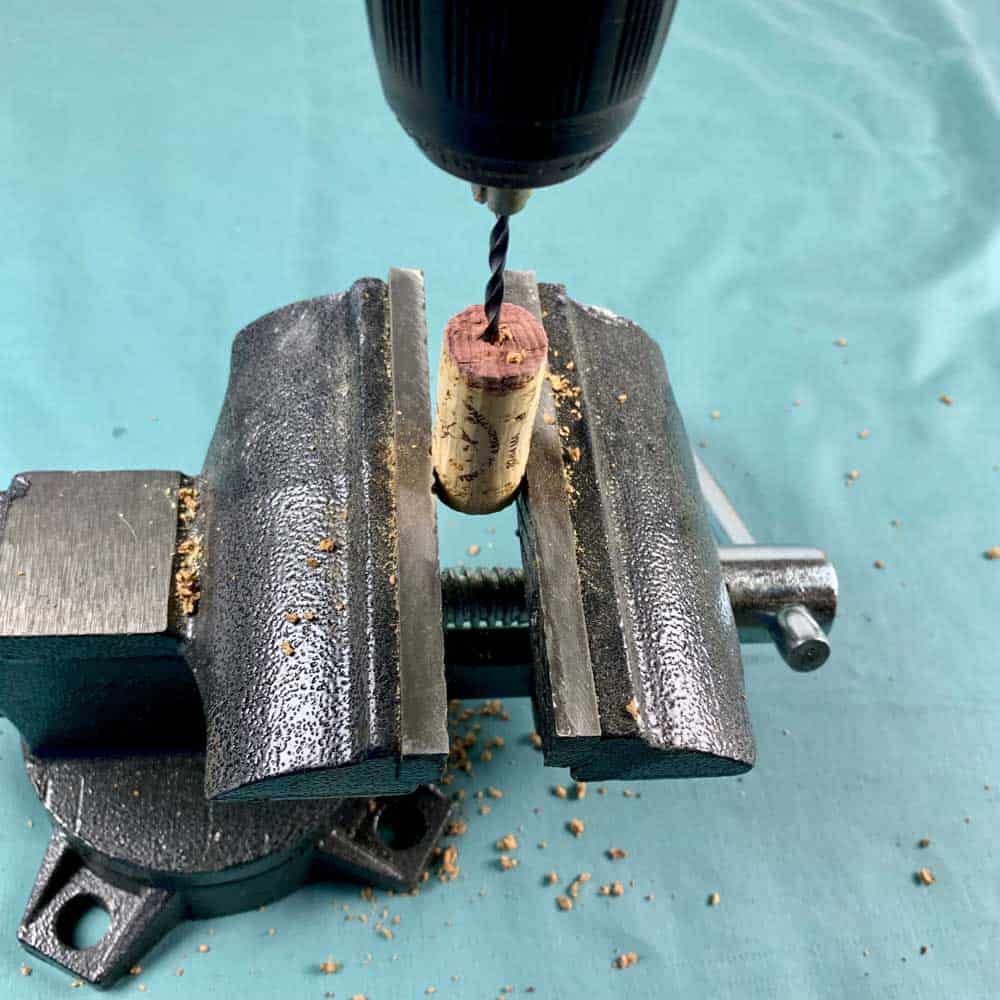
Unless you have a drill press, use a power drill and a Dremel with a flex attachment (if you have one), because it will be easier to hold.
Start with the power drill and drill a pilot hole using a 1/8″ bit. For safety, you should use a bench vise grip to hold your cork.

After your pilot hole is drilled, use the 3/8 Forstner or 3/8 standard bit to drill the hole.
Use painters tape to mark your stopping point by making a flag around the drill bit.

For the hollowing step is to use the Dremel high speed cutter bit #115, to widen the hole and clean it up.
You want the top to look even and for the wine cork planter to have ample space for the filler.
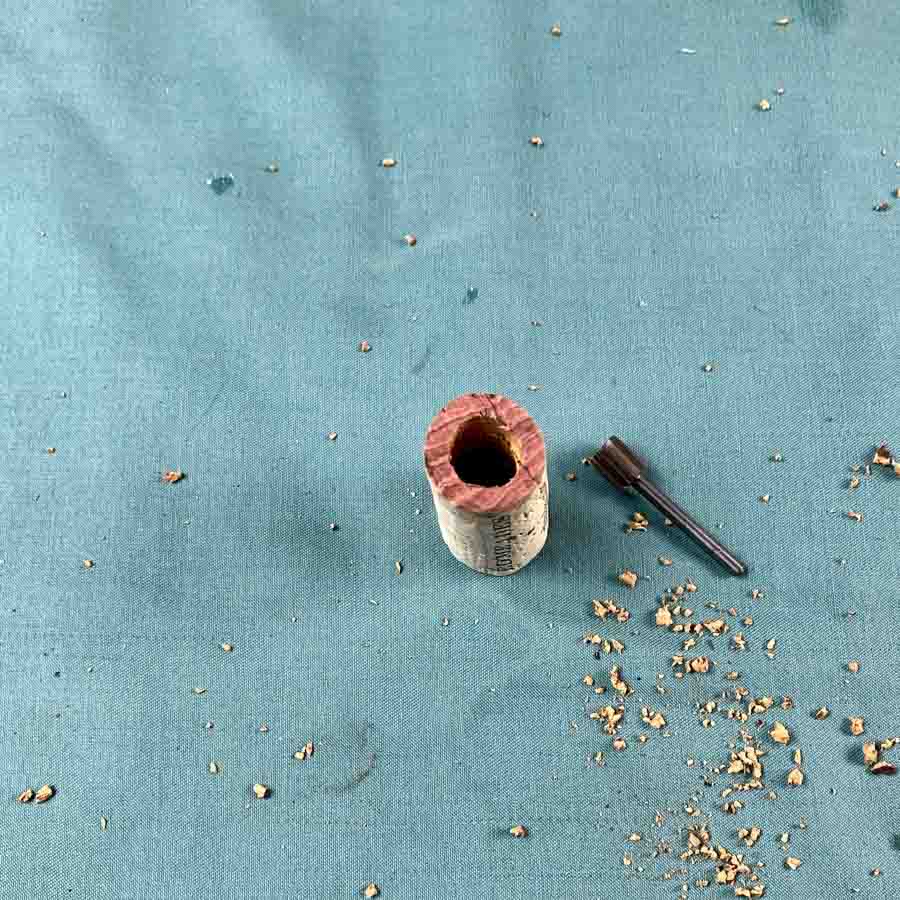
Next, rinse the corks to get all the sawdust out of them.
Tip: I do a lot of projects with hollowed out wine corks, so I always do large batches at a time and save them for when I’m ready for another project.
Step 2. Cut The Hanging Wire

Using a wire cutter, trim a strip of wire about 8″ long.
Step 3. Create The Wine Cork Hanger Hole
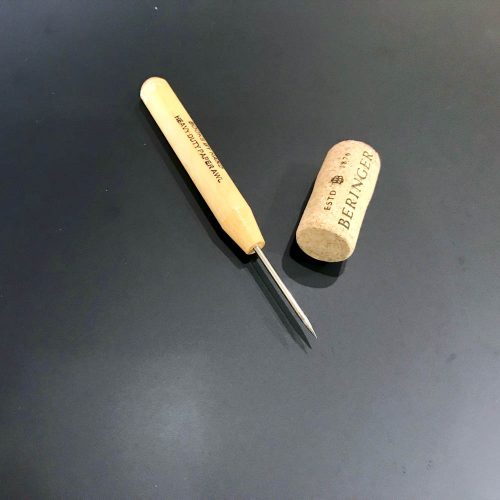
Using the awl, poke a hole in the bottom of the cork and twist it a little to widen the hole.
Step 4. Thread The Hanging Wire Through The Cork
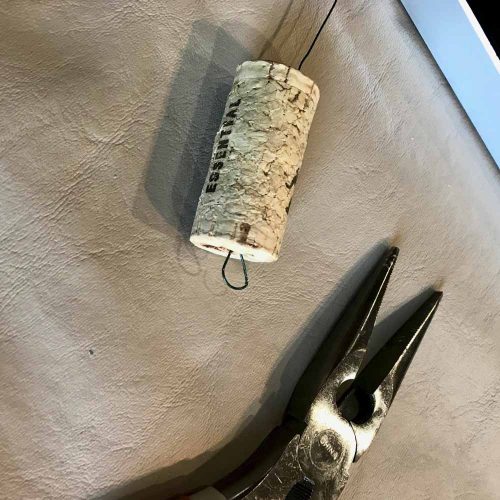
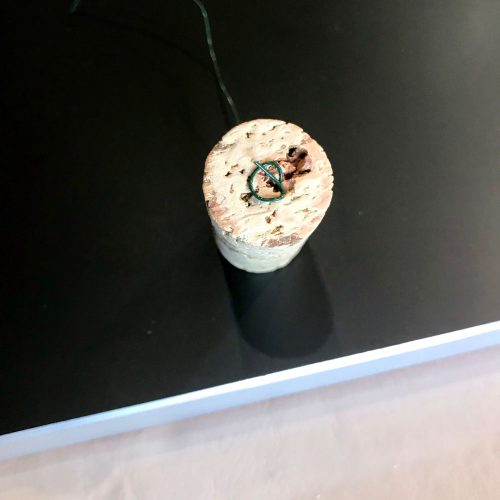
Take the wire and thread it through cork from the outside bottom and pull it up through the hole.
Depending on how damaged the cork is from when it was removed from the bottle of wine, you may need to create either a little pigtail with the wire or tie it, or tie and use hot glue to hold it in place.
Next, bend the top of the wire into a hook shape by wrapping it around your finger.
Step 5. Cut The Artificial Plants To Prep For “Planting” The Wine Cork Planters
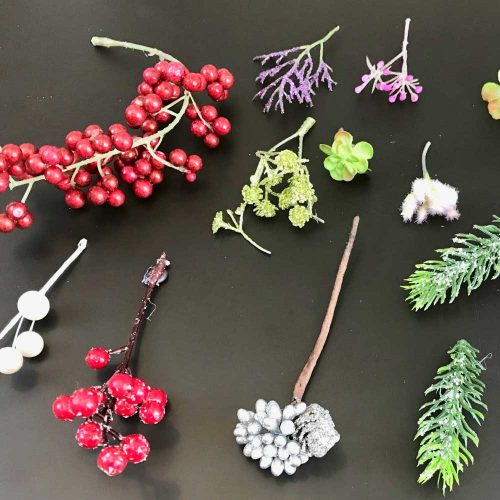
Trim the floral stem to the right size for your cork. If it’s too short, you can plant it higher up by adding filler first.
Step 6. Set The Plants In Place Within The Cork
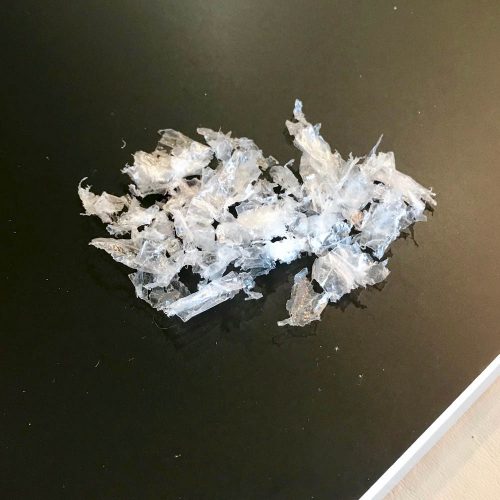
Place your stem and then add the plastic filler to help anchor it.

When it’s pretty well secured in place, add the pebbles to fully secure it and be sure to pack them tight around the stem.
A poker stick of some type will help here.
Step 7. Top Off The Opening Of The Wine Cork Planter Ornament

Don’t forget to Pin it for later!
