Cement Tealight Candle Holders (from Sandwich Bags!)
A tutorial for making super easy cement tealight holders, using plastic wrap as a mold.
I have gotten away from having candles in my home over the years because I get chronic migraine headaches and the smell of scented candles will give me a migraine almost instantly.

I know there are unscented ones around, but somehow I just stopped buying them.
Well lately we have had a record amount of snow and thunderstorms, and we have lost power on probably 40 occasions in a year’s time -and many times for 48 hour periods. I’m not embellishing.
We live in the woods, so any amount of weather seems to take a tree down.
Although we have all kinds of battery operated lanterns, I really wanted some candles too -just something small to light a few areas.
So I bought some tealight candles, but needed something to put them on and didn’t want to have to buy more decorations.
I saw concrete holders like these floating around the internet, but they were all square, and so I thought I would try to make round ones. So far it’s been the easiest concrete/cement project I’ve made.
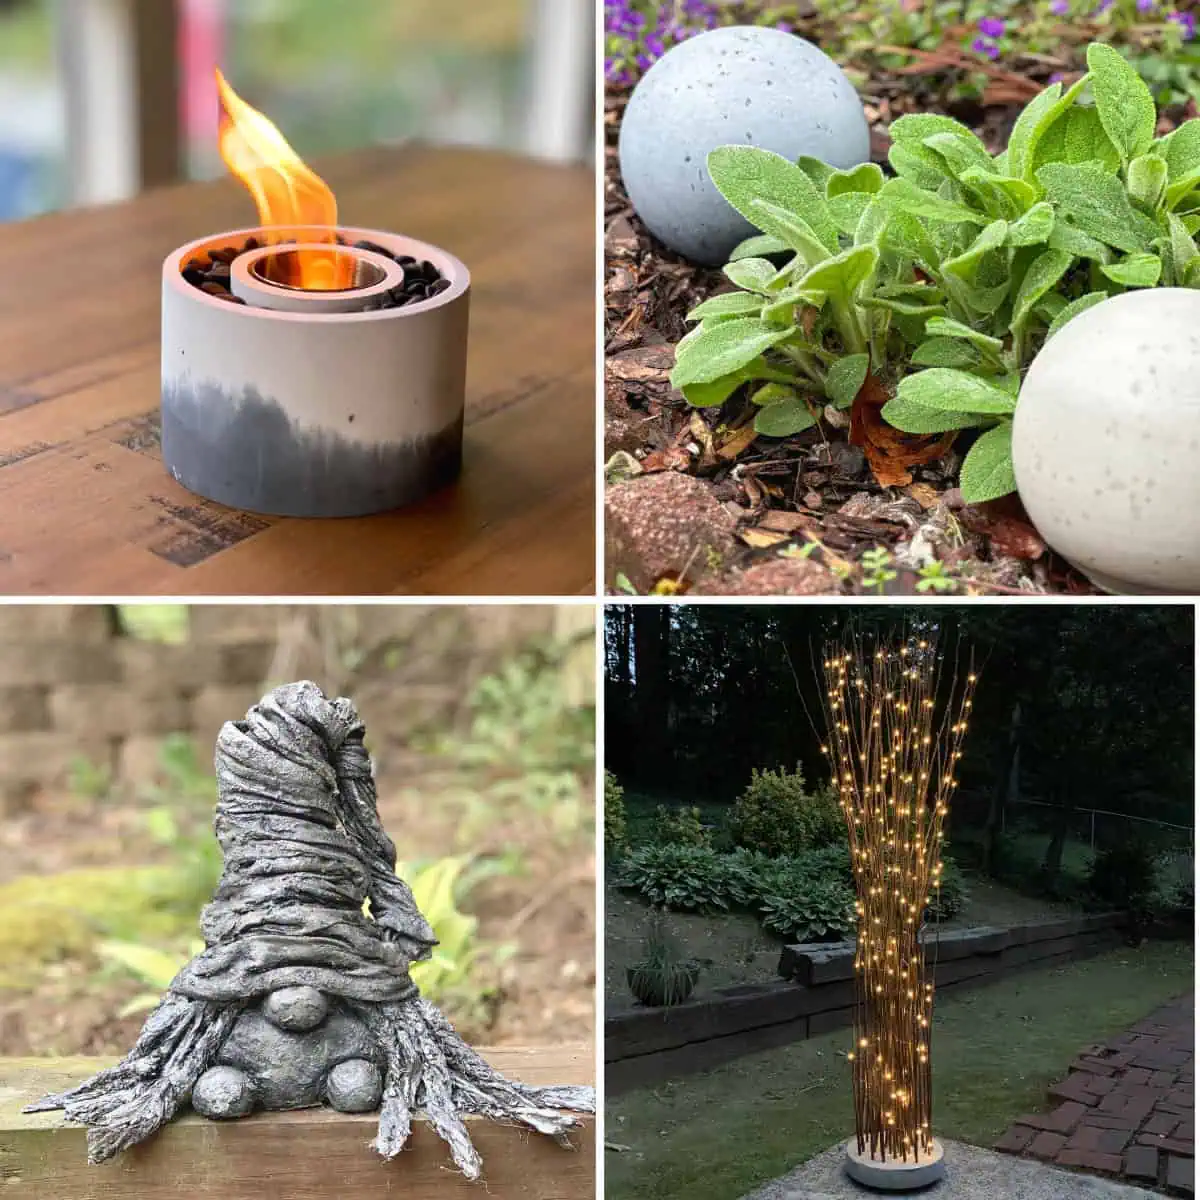
If you like this project, you may also like the tutorial for the round cement candles I made. Or there’s this tealight holder made with white concrete, and one with a rainbow of colors!
For a complete list, you’ll definitely want to check out the 12 amazing concrete candle holder ideas!
By the way, if you’re interested in making candle holders from any other material, then take a look at this list of 49 candle holder ideas.
Some of the links on this page have been provided as a convenience for finding materials. These links may also be affiliate links. As an Amazon Associate I earn from qualifying purchases, at no extra cost to you. For each project, I do lots of tests and if a material or tool doesn’t work, I won’t list it. Click here to read my full disclosure policy.
DIY Difficulty Level | Easy
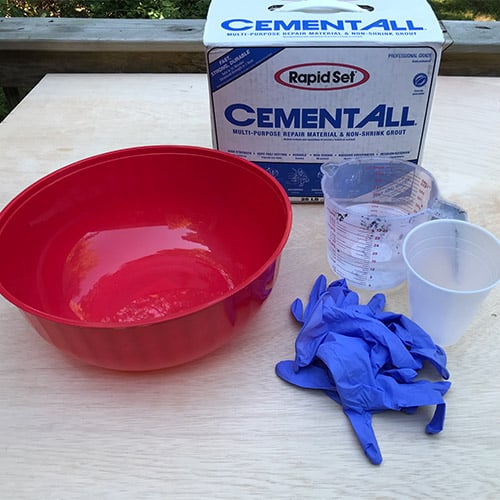
Materials For Making Cement Tealight Holders
Take it out of the lid to cure; otherwise, you may not be able to get it out easily.
Step 4. Cure The Cement
You will let it cure about 1 hour to 1 ½ hours, but after about 40 minutes, remove the rubber band and carefully peel the bottom part of the plastic wrap off. It will be much easier doing it now than when it is fully cured.
Step 5. Remove The Plastic Around Cement Tealight Holder
When it’s cured, remove the rest of the plastic wrap.
While it’s in the Mason jar lid, use a rubber band to lightly secure the plastic, and then trim the excess. Next, flip it upside down into the lid so that the rubber band side is down.
Mould it into the rounded shape of the lid, then place the tealight into the middle and press (this photo and the one below were taken when I used a battery operated tealight, I forgot to get a pic with the regular tealight candle).
Take it out of the lid to cure; otherwise, you may not be able to get it out easily.
Step 4. Cure The Cement
You will let it cure about 1 hour to 1 ½ hours, but after about 40 minutes, remove the rubber band and carefully peel the bottom part of the plastic wrap off. It will be much easier doing it now than when it is fully cured.
Step 5. Remove The Plastic Around Cement Tealight Holder
When it’s cured, remove the rest of the plastic wrap.
Note:
Mine came out a little big because my ball of cement was bigger than a pool/billiards ball. So to keep yours in better proportion, make sure when you press it into the lid that the sides of the cement disc is about about ¾ of the way to the top of the lid.
You can just remove some of the cement and re-shape it again.
Step 3. Secure Plastic And Press Tealight Mould
While it’s in the Mason jar lid, use a rubber band to lightly secure the plastic, and then trim the excess. Next, flip it upside down into the lid so that the rubber band side is down.
Mould it into the rounded shape of the lid, then place the tealight into the middle and press (this photo and the one below were taken when I used a battery operated tealight, I forgot to get a pic with the regular tealight candle).
Take it out of the lid to cure; otherwise, you may not be able to get it out easily.
Step 4. Cure The Cement
You will let it cure about 1 hour to 1 ½ hours, but after about 40 minutes, remove the rubber band and carefully peel the bottom part of the plastic wrap off. It will be much easier doing it now than when it is fully cured.
Step 5. Remove The Plastic Around Cement Tealight Holder
When it’s cured, remove the rest of the plastic wrap.
- Cement All, Rapid Set
- Latex/nitrile gloves- lots of them
- Plastic cup (for scooping cement)
- Disposable measuring cup
- Disposable mixing bowl
- Plastic wrap
- Rubber bands -small (if you have them)
- Tealight candles
- Paper towels or rags
- Gallon Mason jar lid (just the metal ring)

DIY Cement Tealight Holder Tutorial Steps
Step 1. Mix The Cement
Mix the cement so that it is the consistency of soft, pliable dough.
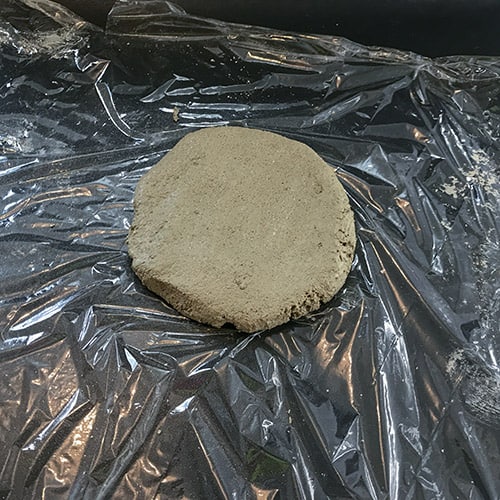
Step 2. Press Into Mould
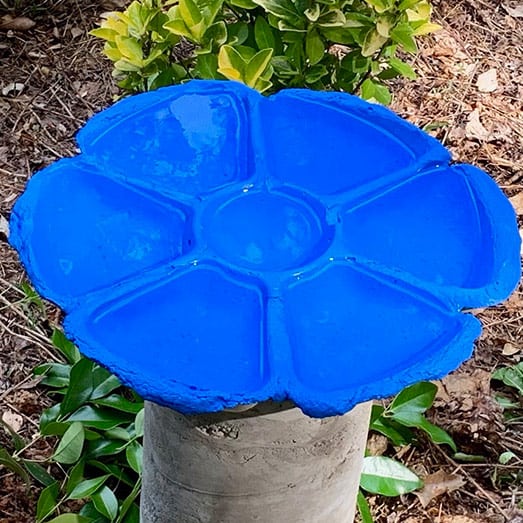
Scoop a small amount onto plastic wrap and gather up into a ball- make it a little smaller than a pool/billiards ball, then press it into a disc shape with the open side up and put it in the Mason jar lid to help shape it.
Note:
Mine came out a little big because my ball of cement was bigger than a pool/billiards ball. So to keep yours in better proportion, make sure when you press it into the lid that the sides of the cement disc is about about ¾ of the way to the top of the lid.
You can just remove some of the cement and re-shape it again.
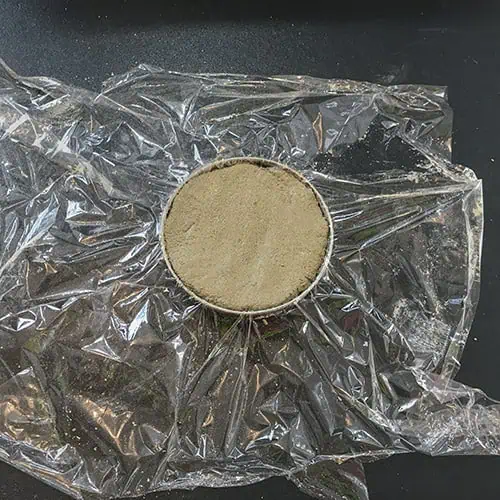
Step 3. Secure Plastic And Press Tealight Mould
While it’s in the Mason jar lid, use a rubber band to lightly secure the plastic, and then trim the excess. Next, flip it upside down into the lid so that the rubber band side is down.
Mould it into the rounded shape of the lid, then place the tealight into the middle and press (this photo and the one below were taken when I used a battery operated tealight, I forgot to get a pic with the regular tealight candle).
Take it out of the lid to cure; otherwise, you may not be able to get it out easily.
Step 4. Cure The Cement
You will let it cure about 1 hour to 1 ½ hours, but after about 40 minutes, remove the rubber band and carefully peel the bottom part of the plastic wrap off. It will be much easier doing it now than when it is fully cured.
Step 5. Remove The Plastic Around Cement Tealight Holder
When it’s cured, remove the rest of the plastic wrap.
- Cement All, Rapid Set
- Latex/nitrile gloves- lots of them
- Plastic cup (for scooping cement)
- Disposable measuring cup
- Disposable mixing bowl
- Plastic wrap
- Rubber bands -small (if you have them)
- Tealight candles
- Paper towels or rags
- Gallon Mason jar lid (just the metal ring)
DIY Cement Tealight Holder Tutorial Steps
Step 1. Mix The Cement
Mix the cement so that it is the consistency of soft, pliable dough.
Step 2. Press Into Mould
Scoop a small amount onto plastic wrap and gather up into a ball- make it a little smaller than a pool/billiards ball, then press it into a disc shape with the open side up and put it in the Mason jar lid to help shape it.
Note:
Mine came out a little big because my ball of cement was bigger than a pool/billiards ball. So to keep yours in better proportion, make sure when you press it into the lid that the sides of the cement disc is about about ¾ of the way to the top of the lid.
You can just remove some of the cement and re-shape it again.
Step 3. Secure Plastic And Press Tealight Mould
While it’s in the Mason jar lid, use a rubber band to lightly secure the plastic, and then trim the excess. Next, flip it upside down into the lid so that the rubber band side is down.
Mould it into the rounded shape of the lid, then place the tealight into the middle and press (this photo and the one below were taken when I used a battery operated tealight, I forgot to get a pic with the regular tealight candle).
Take it out of the lid to cure; otherwise, you may not be able to get it out easily.
Step 4. Cure The Cement
You will let it cure about 1 hour to 1 ½ hours, but after about 40 minutes, remove the rubber band and carefully peel the bottom part of the plastic wrap off. It will be much easier doing it now than when it is fully cured.
Step 5. Remove The Plastic Around Cement Tealight Holder
When it’s cured, remove the rest of the plastic wrap.