
The Correct Water to Cement Ratio for Your Concrete Crafts
Last Updated on July 25, 2026
Today, I’m here to discuss one of the most crucial aspects of working with concrete: getting the water-to-cement ratio right.
Have you ever dived into a concrete crafting project only to find yourself puzzled over how much water to mix with your cement? If so, you’re in good company.
Why Does Water Ratio Matter?
Excess water could weaken and crumble your concrete. Too little, and it might be impossible to work with.
Conversely, too little water makes the mix challenging to manipulate.
The water to cement ratio is your secret to success in concrete crafts.
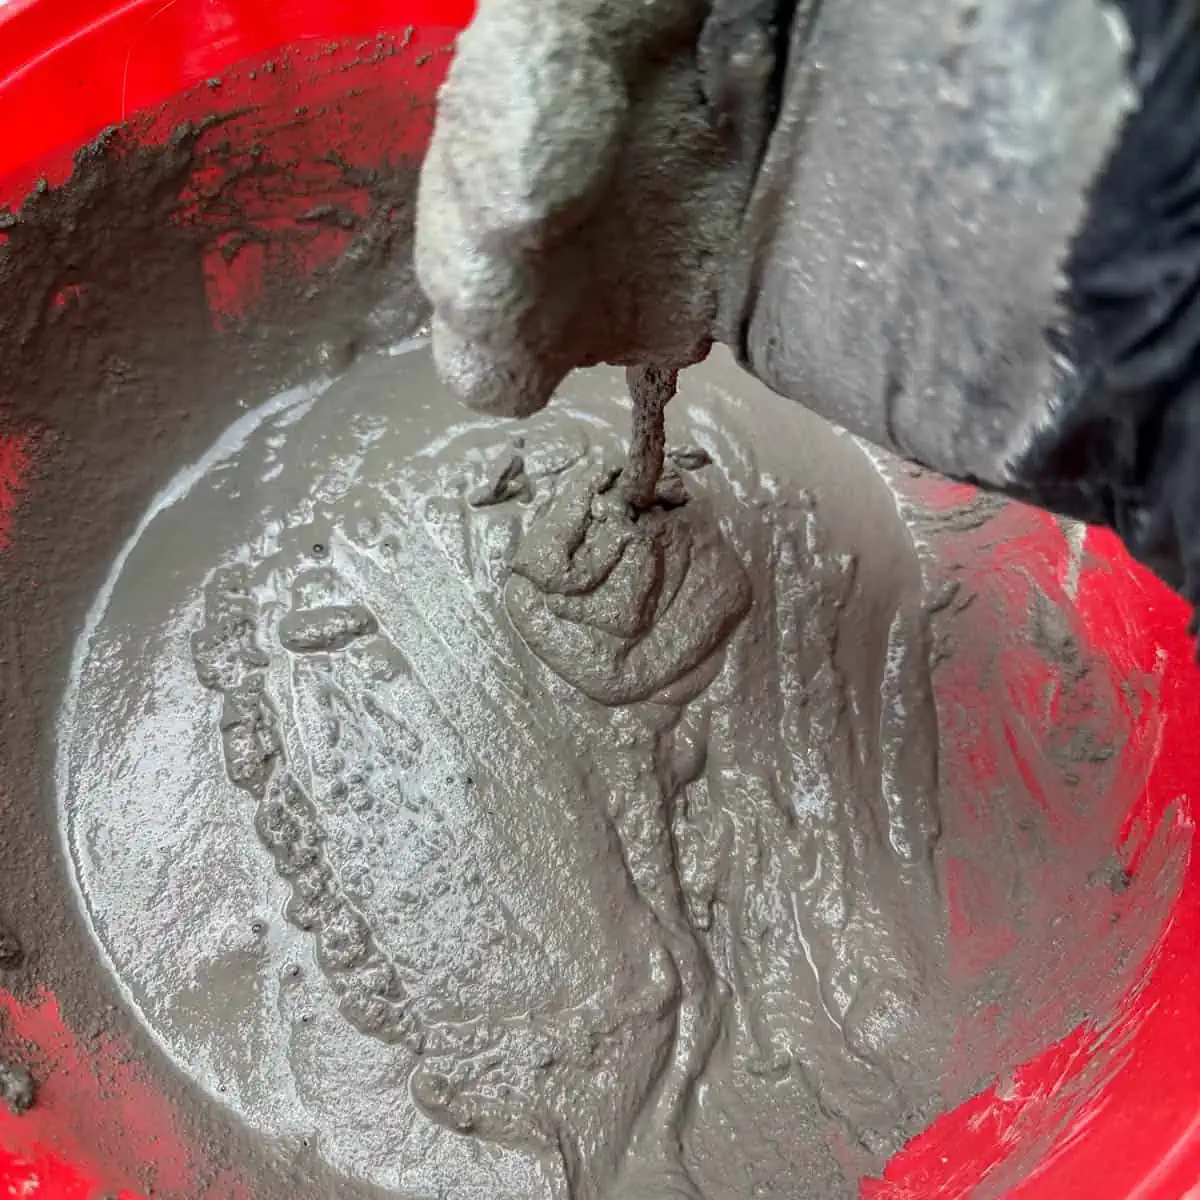
Officially, it’s a 1:4 ratio, but there’s more to understand to achieve success. The 1:4 ratio is just a starting point.
The correct ratio determines the strength, durability, and workability of concrete.
And mastering a lower ratio of water to cement is your secret ingredient to success.
Achieving a low water-cement ratio enhances the resulting concrete’s higher strength and overall quality, a principle well-known by construction professionals and the American Concrete Institute.
But fear not because mastering this ratio can turn your projects from good to great.
The Secret Ingredient? It’s Not Just Water
Every concrete mix out there is a little particular with its own needs. Yep, you heard me.
Depending on the brand and type within a brand, you’ll find a variety of official recommendations for how much water to throw into the mix.

As I mentioned in the introduction, the consensus is that the correct water to cement ratio is 1:4 water-to-mix, but now let me explain why it’s not so straight-cut.
It’s because not all mixes strut the same stuff. Gravel in the mix? That’s one story.
A sleek, gravel-less mix? The exact amount of water can vary depending on the ingredients. A blend with gravel behaves differently than one without.
Think of it this way: molds with thin walls need a more flowy mix, not stiff. But adding more water is not the right solution; it will just weaken your cured concrete.
But, sometimes, the mix comes to the rescue with unique ingredients that save you from adding more water. Tricky, right? Polymers or other additives have been integrated into the mix for better flow.
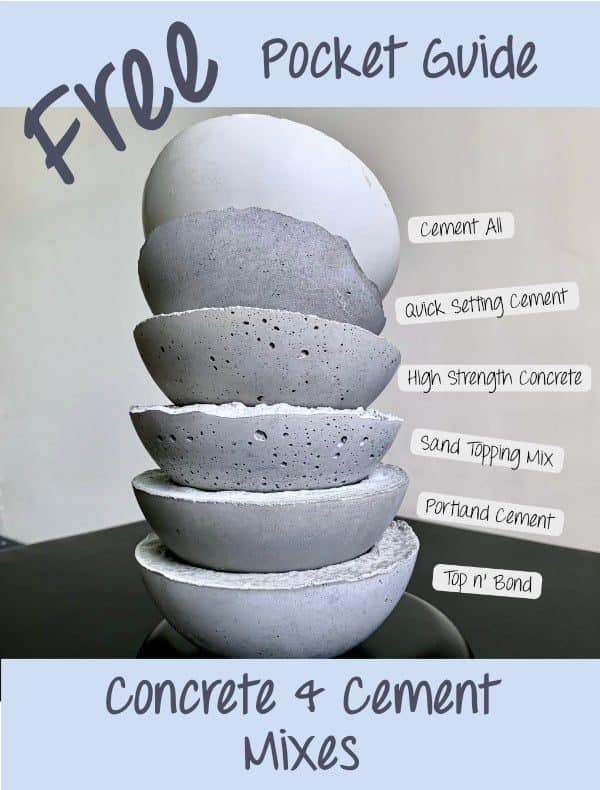
You can learn more about the common mixes in my comprehensive guide to concrete mixes.
That’s why I emphasize the significance of determining what consistency you need. If you’ve ever baked, you may have a good sense of what I mean.
Different flour types behave differently when making bread or pizza dough and work better depending on the desired result.
It’s the same with concrete. This diversity among mixes is why detailed guides on specific applications, such as my post on the best cement mix for your projects, are invaluable.
But here’s the secret– when it comes to concrete, it’s not about the precise measure. It’s about the look and the feel.
Be a Concrete Swami: Trust Your Gut
I know, I know. You want numbers. If you’re like me, you crave that exact water cement ratio to cling to like a life raft.
But here’s the thing: after a few projects, you’ll start to get it. That concrete will speak to you.

You’ll know when it’s too thick, thin, or just right—no scale needed.
I’ve worked to help you by giving you the consistency to aim for in each of the concrete tutorials on this site. I usually show a photo for a visual reference.
But for a starting point, aim for that 1:4 ratio and adjust from there.
Testing For Slump
You can do a slump test to check your consistency: take a handful of mixture, scoop it up in your bowl, and let it drop and fall to the sides.
How it falls, flows, or slumps shows your consistency.

If it flows continuously and doesn’t hold its form, it has no slump, which means it has flowability.

When it carries a bit of form, it has some slump–this is more of a thick milkshake, thick brownie batter, or even peanut butter consistency.

If it moves but in more of a glob and holds a fair amount of shape, it’s moldable or sculptable– which means it has total slump.
Remember, reaching the right consistency for your specific project is the goal
Climate Affects Water Content
Here’s another point where it gets interesting: the environment affects how much water you add to your concrete mix.
You’ll need less water in a humid climate than working in a dry, desert area. It means that strict measurements go out the window.
Instead, focus on the consistency of your mix.
Where your craft can make a big difference, humidity means less water and desert conditions mean more.
And by the wya, I’ve had my fair share of triumphs and oops moments in concrete making. Once, my goal was to create a set of concrete coasters, but my first attempt ended with a batch more suitable for frisbees.
The second attempt resulted in pretty neat coasters! It was a stark reminder of how crucial the appropriate water-cement ratio is. But, with some practice and patience, I started to get the hang of it.
That’s my take on mastering the water-to-cement ratio for your concrete crafts. It’s a mix of science, art, and intuition. Trust your instincts, don’t be afraid to get your hands dirty.
And hey, if you ever feel lost, remember: concrete crafting is as much about the journey as it is about the stunning piece you end up with.
For more help expanding your concrete making skills, check out my articles on working with sealers and concrete pigments.
Don’t forget to Pin it for later!

Frequently Asked Questions
What should I use as a starting water-to-cement ratio?
Use the 1:4 water-to-mix ratio as a starting point, then adjust the mixture based on its consistency and the needs of your project. This ratio is not a universal final measurement because different brands, mix types, ingredients, and working conditions can change how much water is needed.
What happens if I add too much water to a concrete craft mix?
Too much water can make the mixture overly fluid and difficult to control. After curing, excess water may also leave the concrete weaker and more likely to crumble. If a project needs a flowier consistency, adding water is not always the best solution because some mixes contain polymers or other additives that improve flow without requiring as much water.
How can I make a concrete mix more workable without simply adding water?
First, consider whether the mix is suited to the project and whether it contains ingredients that improve flow. Polymers or other additives may help a mix flow more easily without adding extra water. This is especially relevant for molds with thin walls, which need a more flowable mixture but can be weakened by simply increasing the water content.
How do I check whether my concrete mixture has the right consistency?
Try a simple slump check by taking a handful of the mixture, scooping it up in the bowl, and letting it drop back down. Observe whether it flows continuously, holds some form like thick milkshake or brownie batter, or moves as a moldable glob that keeps much of its shape. Choose the consistency that suits the project.
Does the type of concrete mix affect how much water I need?
Yes. Mixes differ in their ingredients and behavior. A blend containing gravel may require a different amount of water from a smooth, gravel-free mix, and even products within the same brand can have different recommendations. Check the guidance for the specific mix, then use the desired look and feel as a practical guide.
How should climate affect the amount of water I add?
The article advises using less water in humid conditions and more in a dry, desert climate. Because the environment changes how the mixture behaves, rigid measurements may not give the desired consistency. Adjust cautiously while focusing on how the mixture looks and feels, rather than relying only on a fixed amount.

Great insightful advice thank you
Hello I’ve tried to make the concrete flower pots but they all are still to flimsy I purchased mortar mix with out the pebbles in it this time because the first bag had the pebbles and that didn’t work out for me so I was wondering if I could mix up the kind without the pebbles in it and go over my projects with the new bag that I have now because none of the pots are stiff just really flimsy any opinions would be perfect thank you
Hi Tammy,
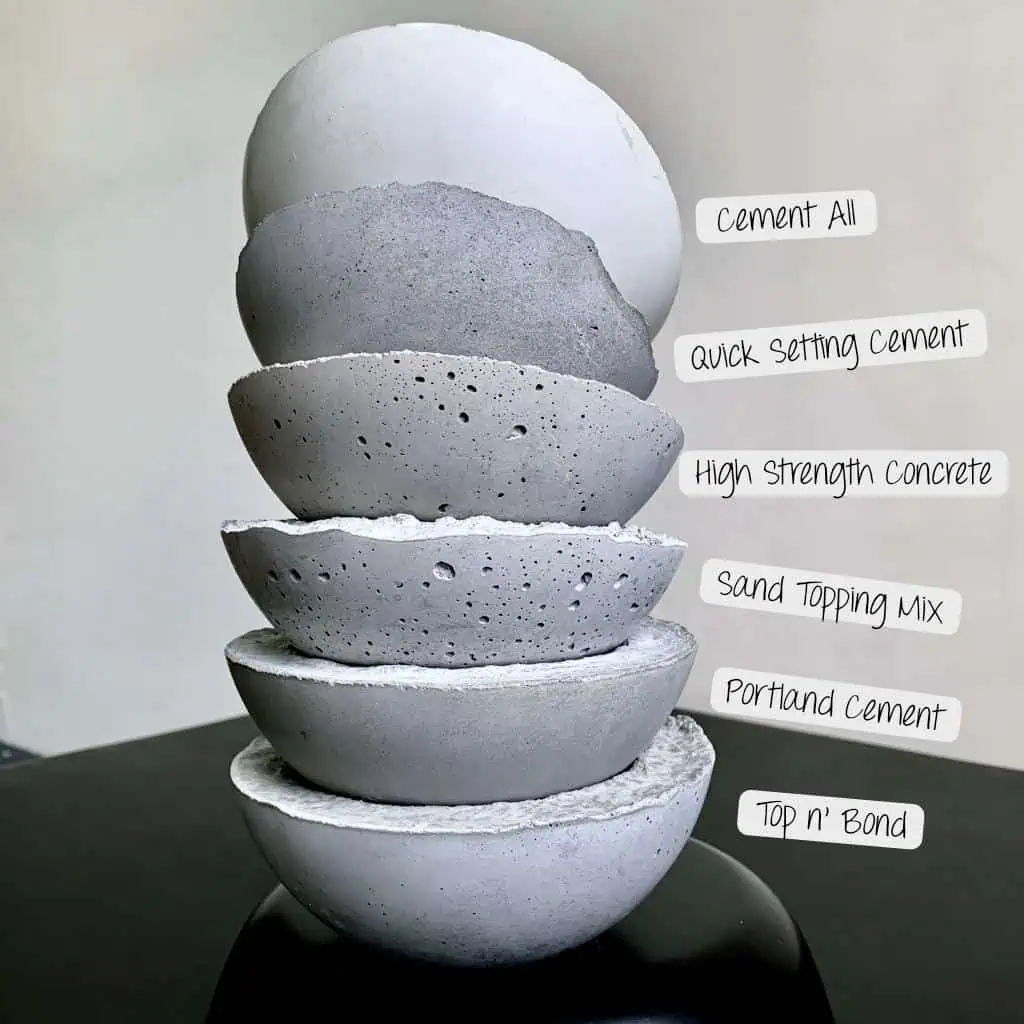
I’m sorry to hear that. You can try, it sounds like it won’t hurt. If you are in the US, then I recommend getting Cement All at Home Depot. This mix can be applied over existing cement/concrete. It has a decent chance of working. In the future, if these are not large or thick pots, then this should be your go-to mix. This is pretty much a fail-proof mix! I use it most of my small and medium sized projects.
Hi, could u tell me whats the best concrete to get at Home Depot
Yes, for small to medium-sized projects where you want a smooth finish, especially for things that will go into a mold, my fail-proof go-to is Cement All.
Hi there. We got some home made molds from our neighbours and started with a ready mix cement. We live in the subtropics of South Africa. We mixed our first batch with 1 part cement, 1 part water and 3 parts sand from the mixing bag. Now my question is how do you prevent your pot mold from being an uneven mess at the top? We made two batches of six pots each and both have the same issue. No amount of sanding has saved those rims! We made sure the weather was good, it’s Autumn and we made the mix at about 1pm and cured it the full 48 hours. Thanks for your website! Hope you can help us.
Hi Erica,
Yes, I’m familiar with this issue. Your mix is fine, as is your process. Any part of concrete that exposed to air during the curing process will result in what you are describing. In order for it to be smooth like the rest, it needs to be against a surface. The surface is what provides that nice smooth, satin finish. I love that you got a homemade molds from your neighbor. But a professional mold solves this issue as it will be fully wrapped and cover each area or will have the opening where it won’t be seen. I also have never been able to sand them to get them smooth. Other than using a different mold, I wish I had an alternate solution for you. But I hope this at least solves the mystery and assures you that you haven’t done anything wrong. 🙂