Make a Silicone Concrete Planter Mold (from PVC Pipes)
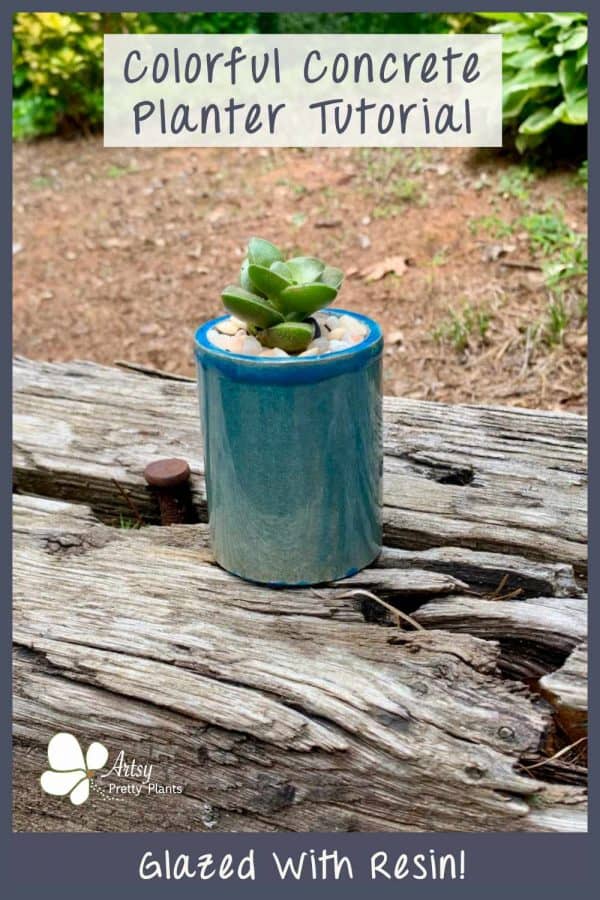
Here is how you can make a silicone concrete planter mold using PVC pipes. For enhanced color, add a pottery-like glaze!
So not only can you create a concrete planter from an existing object using silicone, but you can also make a silicone mold for pots from pretty much any type of supplies.
For this DIY concrete planter, I used two different sizes of PVC pipe that are cut to size.
Making a mold for cement planters doesn’t need to be complicated. And then you can make multiple copies of the planter and decorate them in different ways.
I have always loved the look of glazed pottery, so I decided that’s what I would do here.
An easy and incredibly fun way to do this is to use resin. Painting this was actually a breeze.
Epoxy resin has some very forgiving qualities because it self-levels which makes it perfect for getting a nice even coating.
If you layer it up, you can make such incredibly beautiful designs.
I keep it simple for this tutorial, but if you see where I have the resin layered up more, it can really bring out nice colors and such a cool pottery glaze look.
If you want to replicate a large object, then you should check out this textured glass candle jar or this large glass bowl I copied, both to make planters.
Some of the links on this page have been provided as a convenience for finding materials. These links may also be affiliate links. As an Amazon Associate I earn from qualifying purchases, at no extra cost to you.
I only recommend products I’ve used and loved, unless otherwise stated. Click here to read my full disclosure policy.
DIY Difficulty Level | Easy
DIY Silicone Concrete Planter Mold From PVC Materials List
- Rapid setting cement
- Disposable bowl
- Disposable cup
- Durable nitrile gloves– I like these because they are so durable, you can rinse and reuse and end up costing less in the long run
- Safety glasses
- Silica rated dust mask
- 220 grit sanding block
- Corrugated plastic sheet
- *Silicone -parts A & B
- X-acto knife
- Marker
- Hot glue gun
- Packing tape
- PVC pipe 3” wide and 2” wide- shortest you can find, will cut to length
- Miter saw
- Oil based clay
- Drinking straw
- Vegetable oil spray
- Hacksaw (potentially needed for demolding)
- Table clamp (potentially needed for demolding)
* I used the 30 version of the Smooth-on mold material which has a longer working time and longer curing time than the 25, you can use either one for this. It’s just what I had on hand.

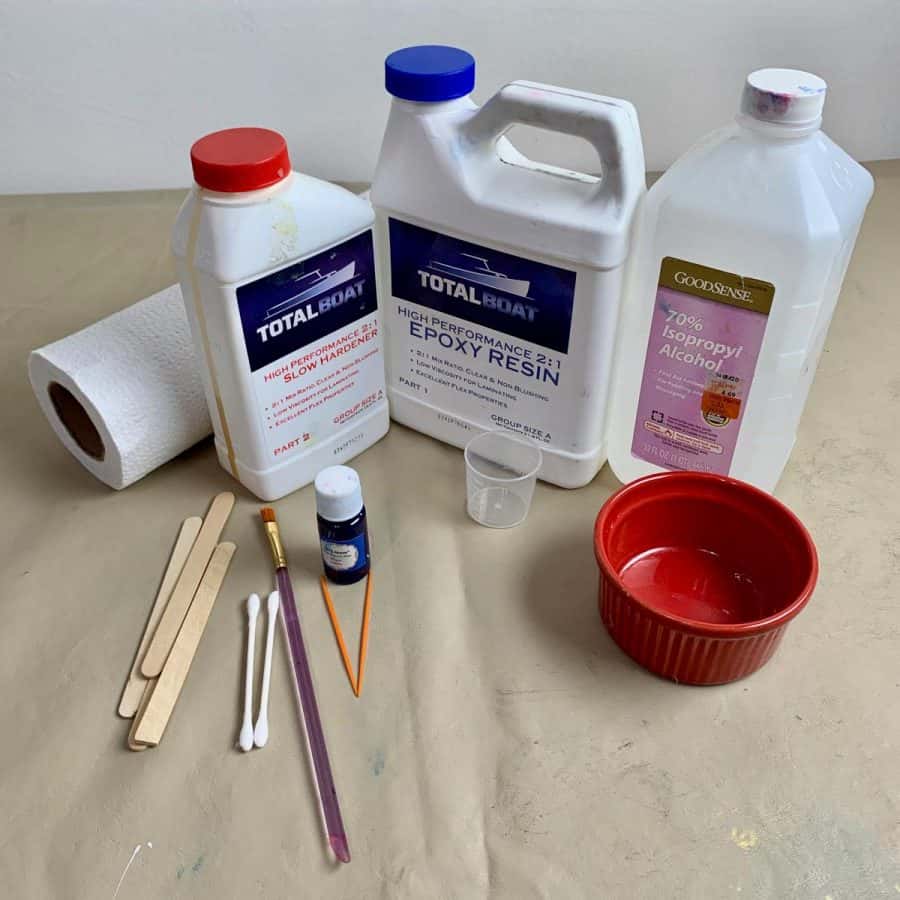
Resin Painting For The Concrete Planter
- Epoxy resin 2:1
- Resin colorant-blue
- Craft sticks
- Old paint brush
- Toothpicks
- Q-tips
- Resin mixing cups
- Rubbing alcohol
- Plastic lids or wax paper
Before starting the tutorial, it may be helpful to read my article comparing the different concrete mixes and sealers– Cement & Concrete Crafts Tests!
Another important article is Making Cement Crafts Techniques & Tips with info on cement materials, mixture consistencies, demolding, safety and clean up!
Tutorial Steps For A DIY Silicone Concrete Planter Mold From PVC
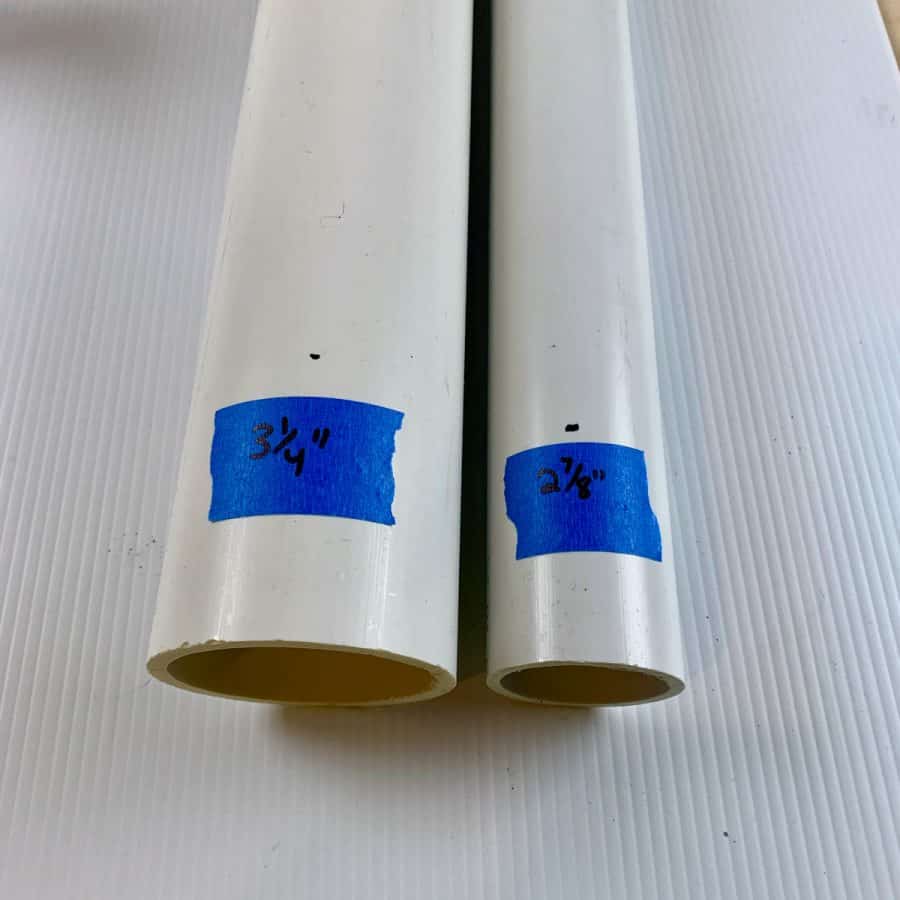
Step 1. Cut The Inner and Outer PVC Mold Pieces
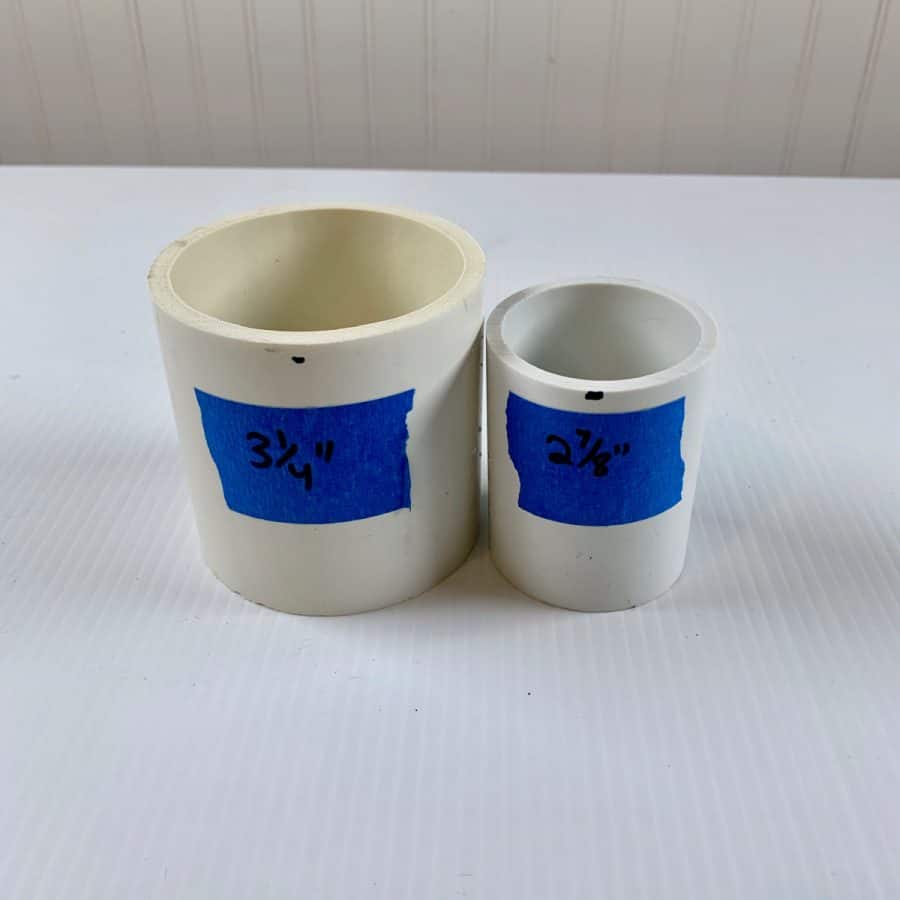
The 3” wide pipe will be the outer mold and the 2” piece will be the inner mold.
Using a miter saw, cut the 3” PVC to 3 ¼” long and the 2” PVC to 2 ⅞” long.
The minimum thickness your cavity wall should be are 3/16th of an inch. Any thinner than this and your planter will likely crack.
Step 2. Secure The Silicone Concrete Planter Mold Containers
Take a rigid board like a piece of plywood and place it on your work surface.
Next, cut a piece of acetate that is 5×5” and lay it on the rigid board. Tape it in place with blue tape.
Trace the outer PVC mold onto the acetate and then take the narrower PVC and trace it in the middle of that, which will be your bullseye to use as your guide for placement.
Now take a piece of the oil based clay and roll it into a ball and place it onto the acetate.
Flatten it a bit with your hand, and then use a rolling pin to get it to about ¼” thick.
The clay you are rolling out needs to be just wider than the inside diameter of the inner PVC because a little bit of clay needs to remain on the inner edge of the lip to help it stick to the acetate.
Take the 2” inner mold and place it in the center and press down as if it’s a cookie cutter, but leave the clay inside.

Now place the inner mold on the inside bullseye mark and press it firmly onto the acetate so that it sticks. Then place the outer mold PVC over the inner mold onto the larger marked bullseye.

Now use hot glue to glue the outside of the mold to the acetate base. Add some clay around the glued area and pack it in to help with potential leaking from the silicone.
Step 3. Create The Drainage Hole For The Planter And Lubricate The Mold
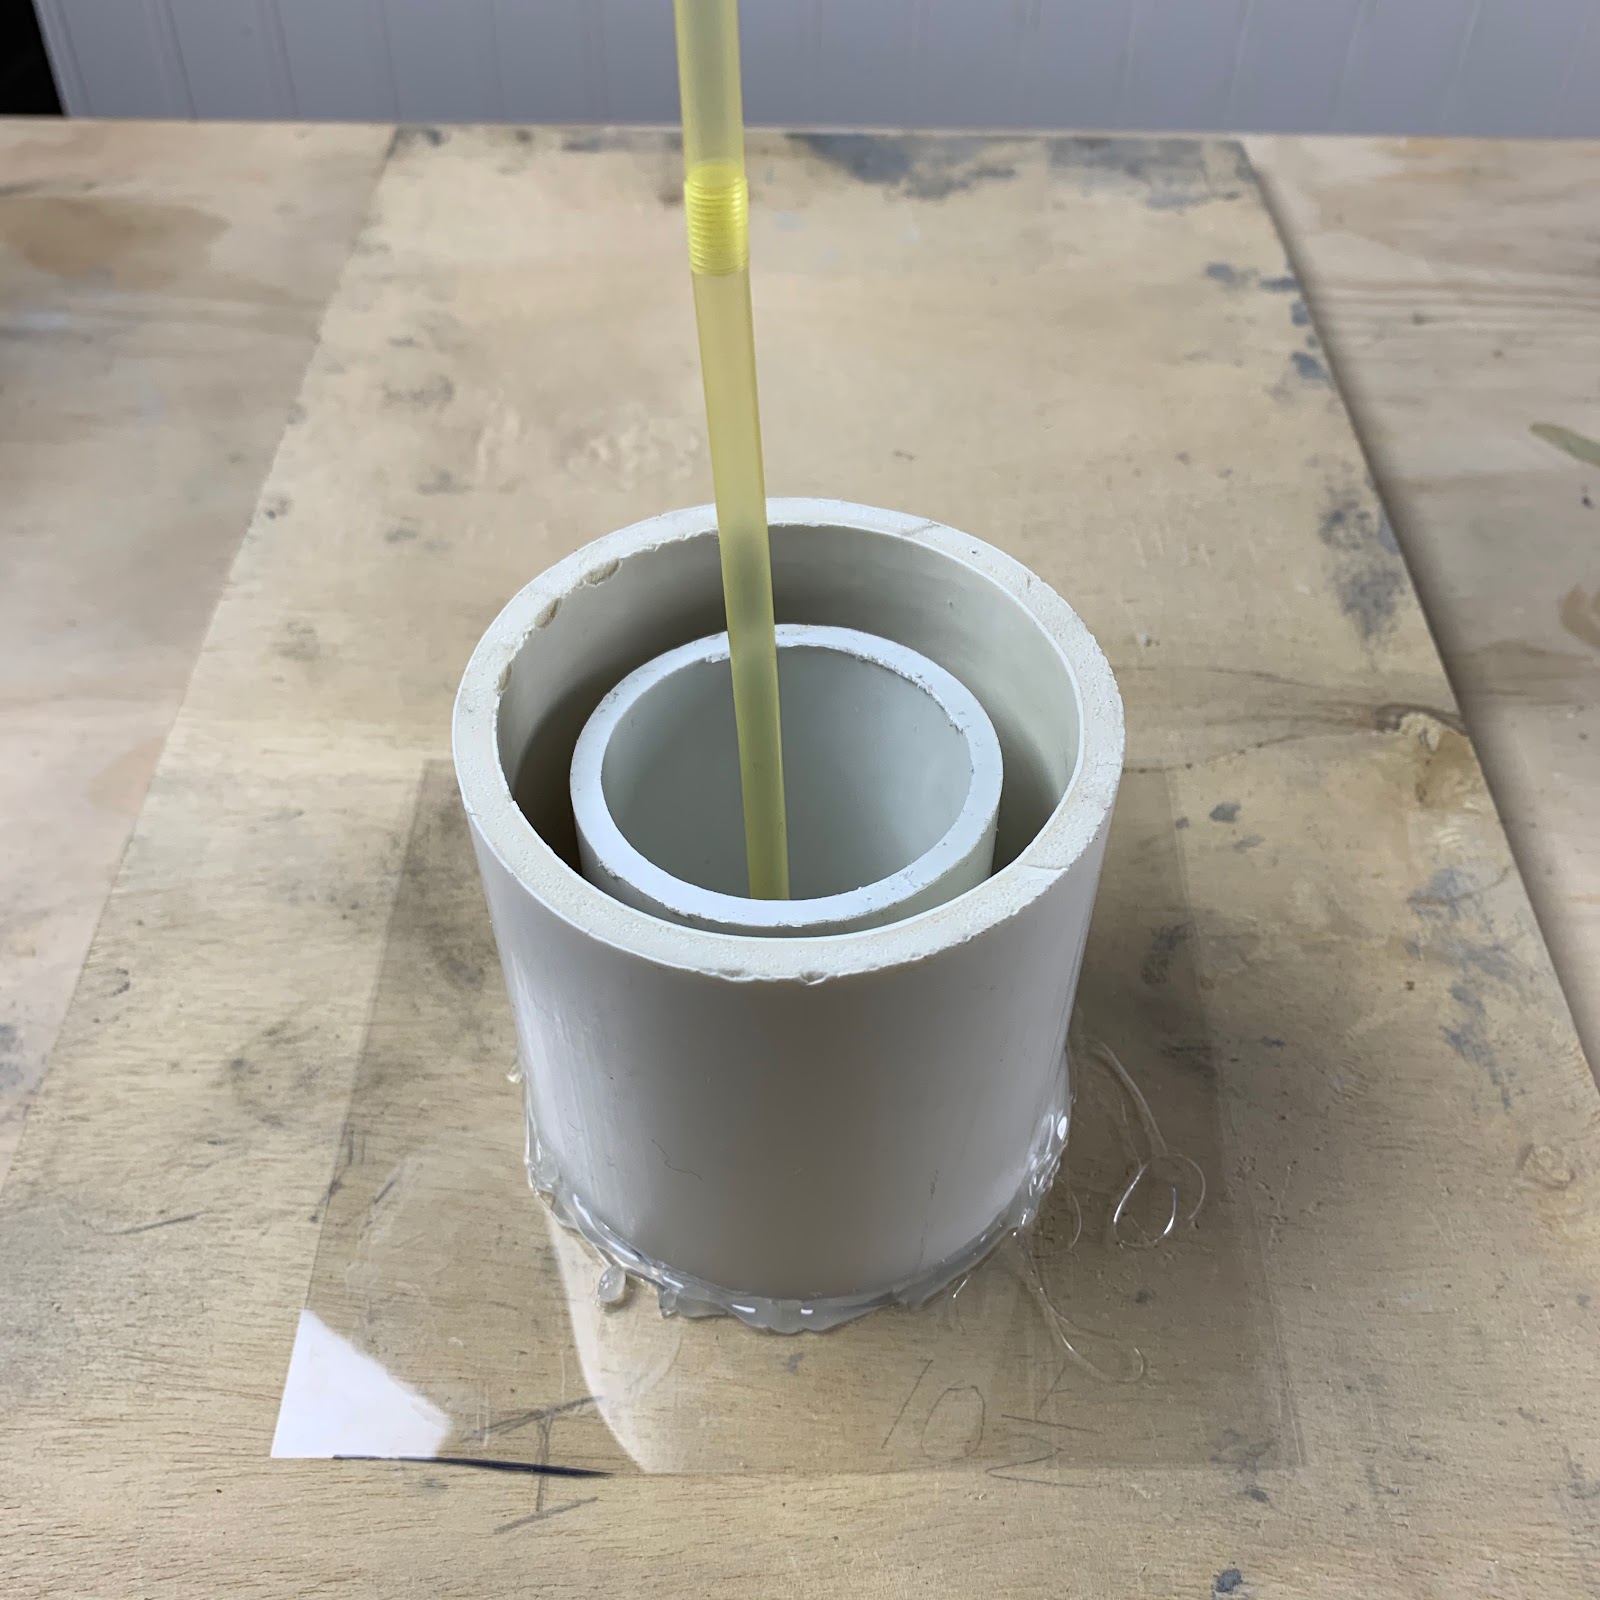
Insert the straw through the middle center of the inner mold. Trim it to get it out of the way, make it about an inch or two taller than the outer mold.
Take vegetable spray and liberally spray inside and outside the inner mold and inside the outer mold.
Step 4. Combine And Pour The Silicone Mold
Check to see how much mold material you will need by using the online calculator from Smooth-on.
In a big disposable cup, mix equal parts of the A & B silicone. Be sure to stir each individually before mixing them together.
Pour the mixture into the mold, starting from the inner mold and then into the outer mold. Let this cure approximately 6 hours.
Step 5. Remove The PVC From The Silicone Mold
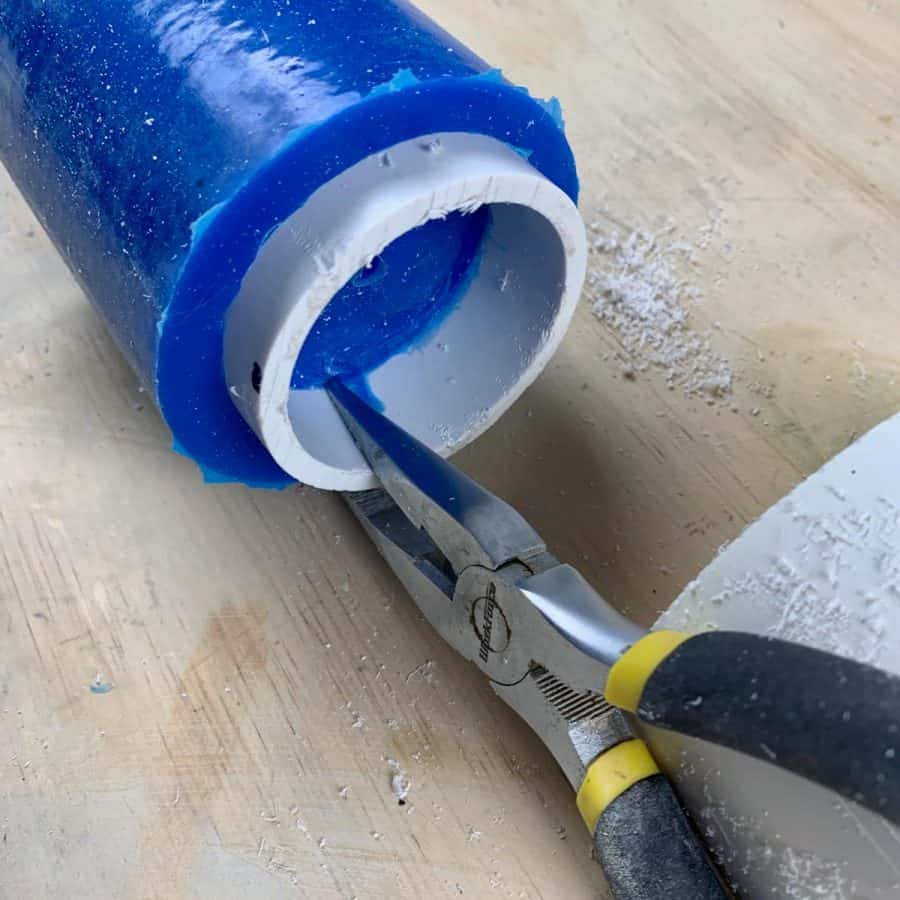
Peel back the acetate sheet, then pull out the straw. If the straw doesn’t come out easily, grab it with needle nose pliers.
With the pieces being lubricated, this should demold fairly easily. It may help to have a second set of hands, one can push while the other pulls.
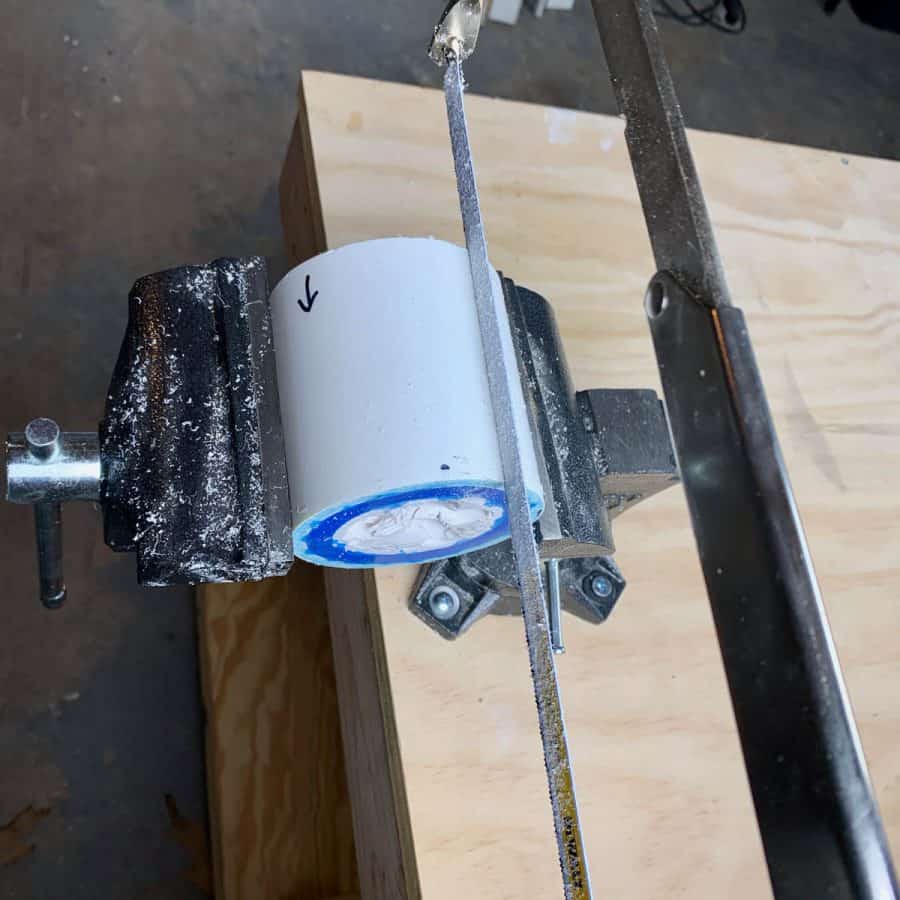
If you have trouble, then clamp the PVC to the table and use a hacksaw to carefully cut through the outer pipe.

Split it apart and pull out the mold. The inner PVC mold should come out without much trouble.
Step 6. Cast The Cement Planter
Note: You are welcome to use lubricant for the cement, but it tends to cause little pinholes when you do.

Place a rigid board on the work surface and place the concrete planter silicone mold on that.
Mix the cement and be sure it’s fluid enough to pour, like a milkshake consistency.
Use a craft stick if necessary to push the cement down in between the voids.
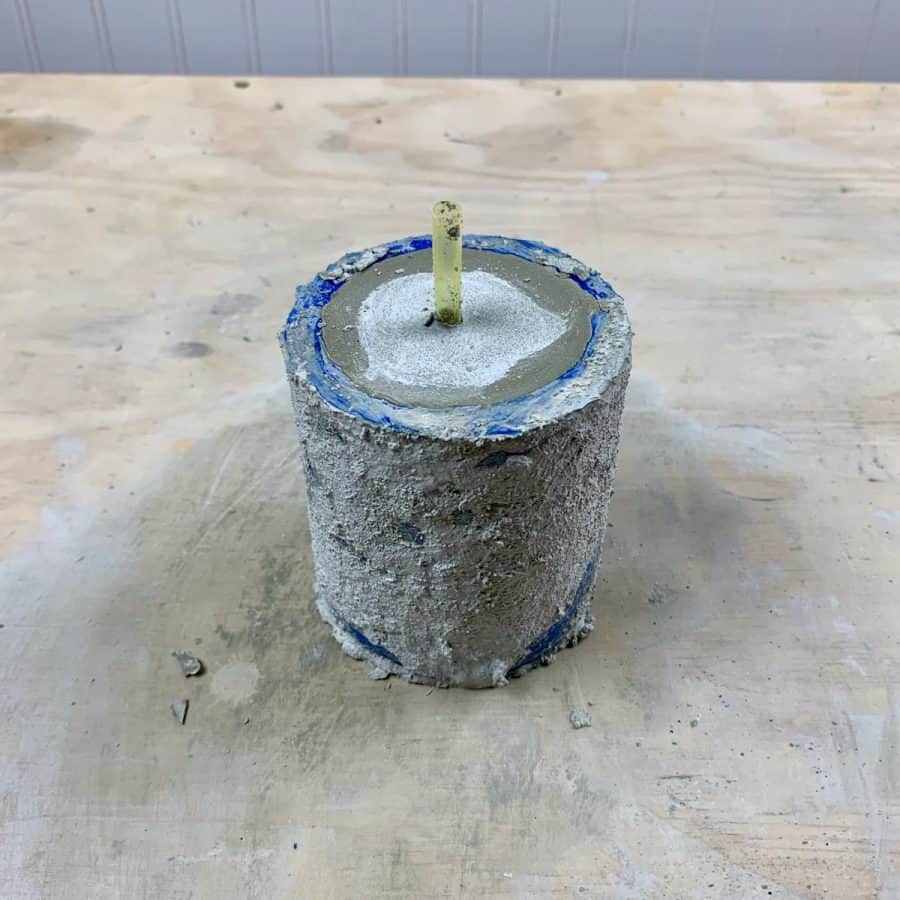
Fill the cement mixture to the top, then lift, tap and shake the board, and tap the sides of the mold to fill the voids.
Let this cure for a couple of hours.
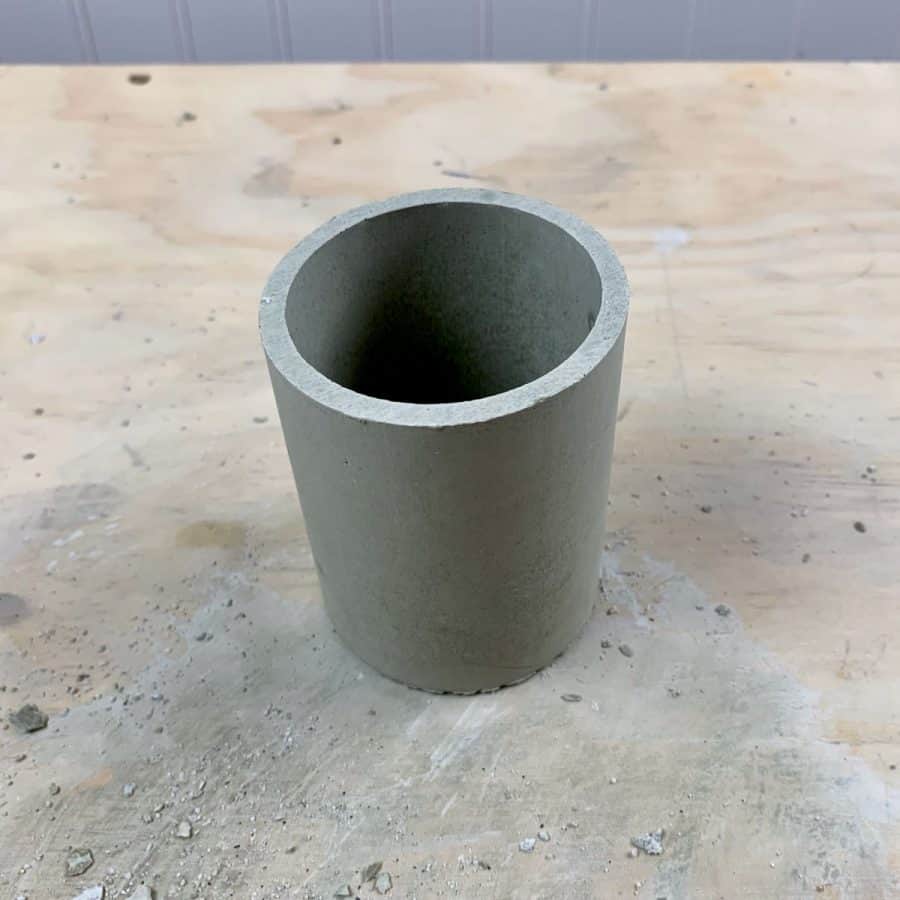
Step 7. Remove The Planter From The PVC Silicone Mold

Get a towel or cloth and demold it over that to help cushion the planter. Use a sanding sponge to sand any sharp edges.
Step 8. Paint The Concrete Planter With Resin
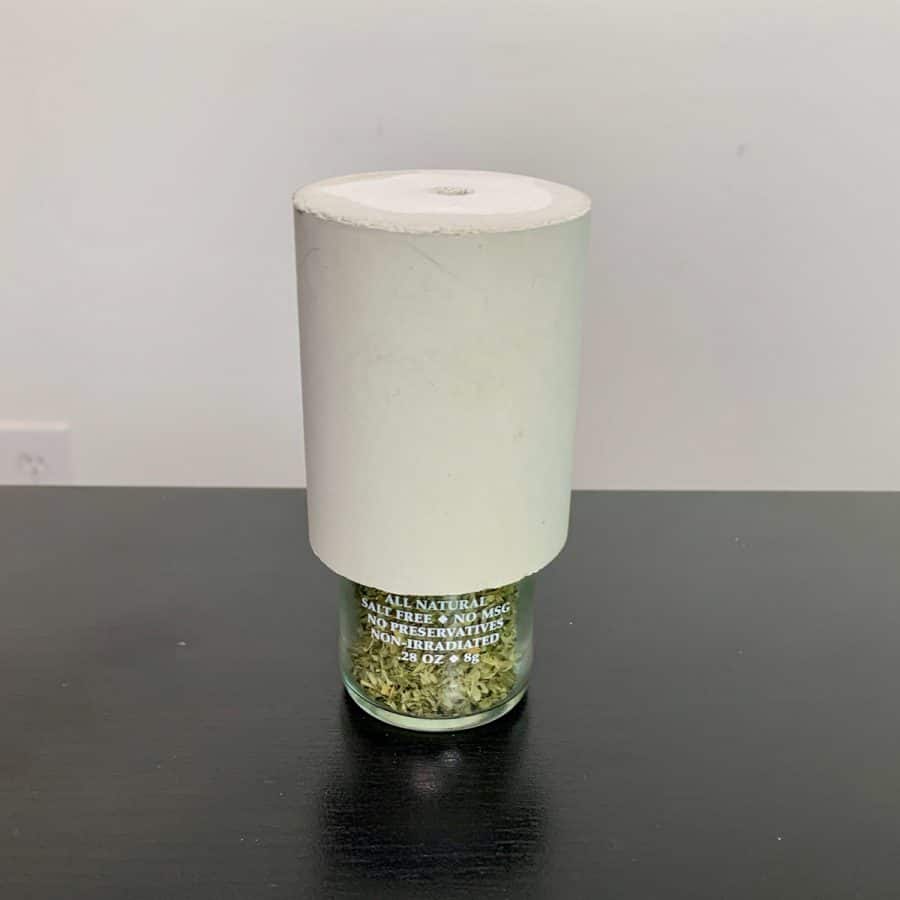
Now it’s time to decorate the planter. It will be easiest to paint if you place something inside to help it stand up (upside down).
A spice jar was the perfect size. This gets a bit messy, so if it’s a jar you want to hang on to, I recommend wrapping it in plastic wrap to protect it.
You’ll also want to place something underneath because this will definitely cause a few drips.
The rubbing alcohol is for clean-up. I usually pour a little into a glass or ceramic bowl and dip my Q-tips or paper towels in that when things get messy.
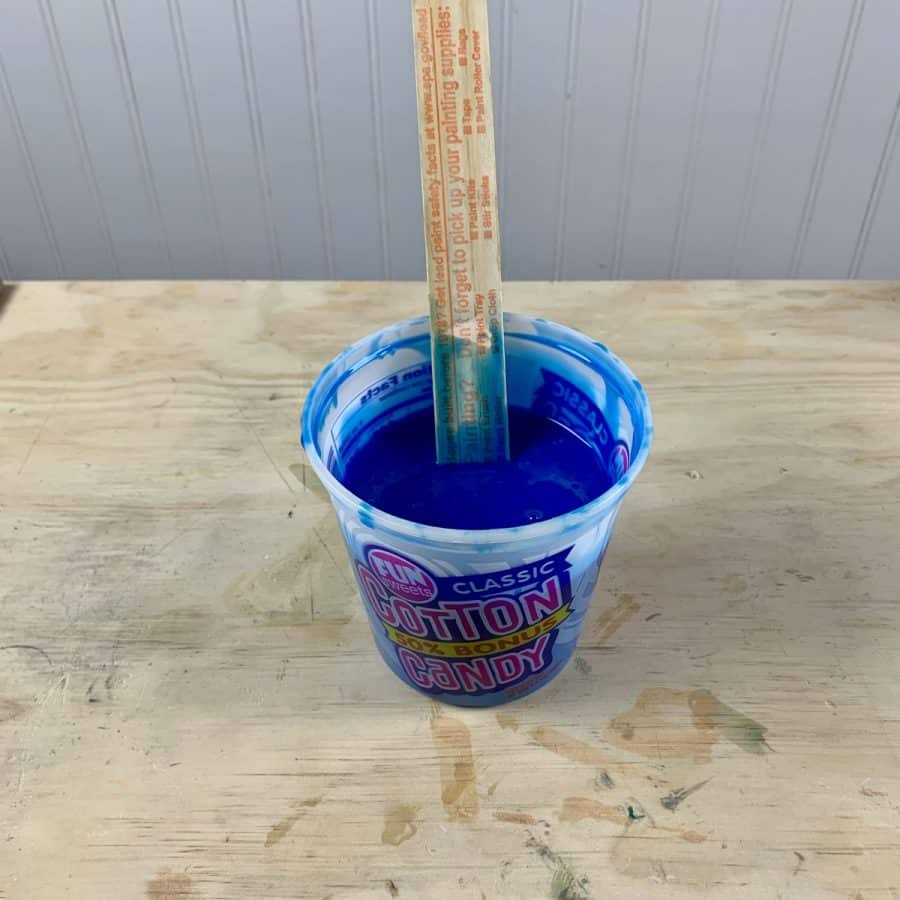
Mix up the resin using a craft stick, at a 2:1 ratio, and for two full minutes- I told my phone to set a timer for me :0).
I used about 20ml total of the epoxy.

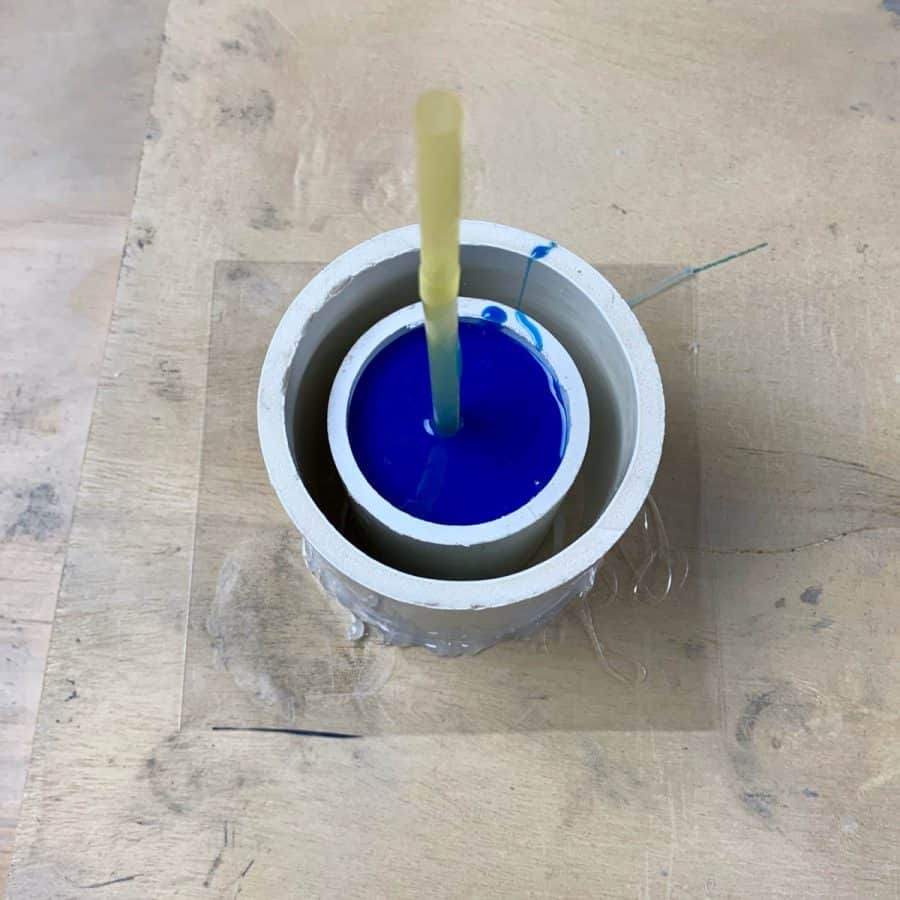
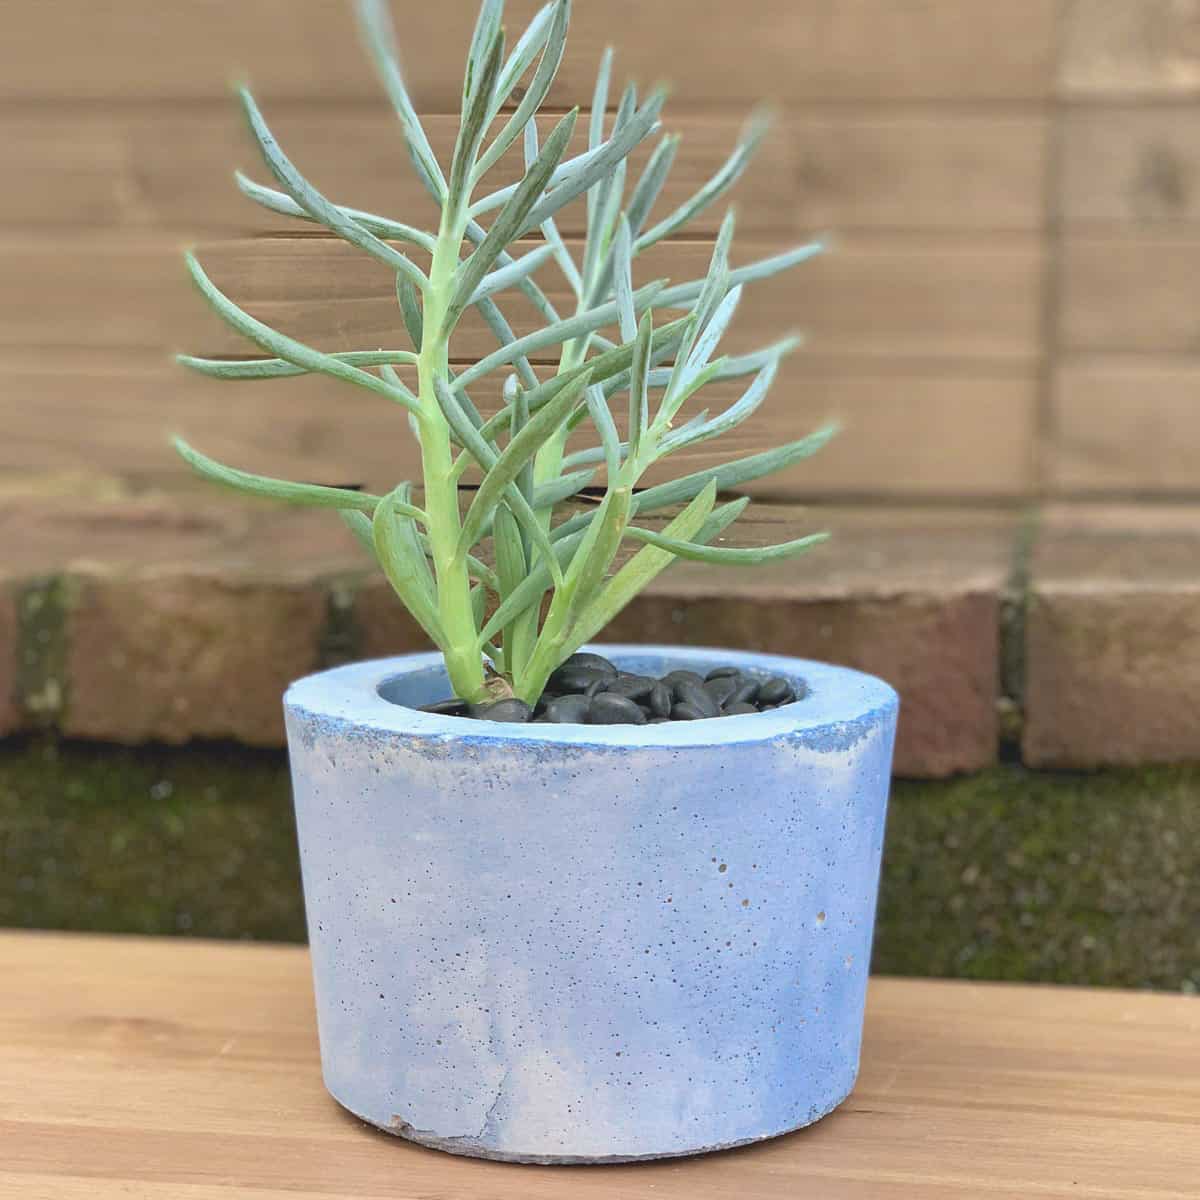
Now mix in a color, I used blue. This concrete planter was naturally very beige, and so when painting it with blue resin, it turned a bit green.
If you want it more opaque, then just add a touch of white to the color you use.
You only need a tiny bit of color, so dip a toothpick into the colorant and mix it in with the epoxy.
I dipped my toothpick into the color twice to get it the color you see here.

Now use either a craft stick or a paintbrush to brush on the resin.
If you start at the top (which currently is really the bottom since it’s upside down), then the resin will drip once it hits the rim of the planter.
This is okay, let it be for now.
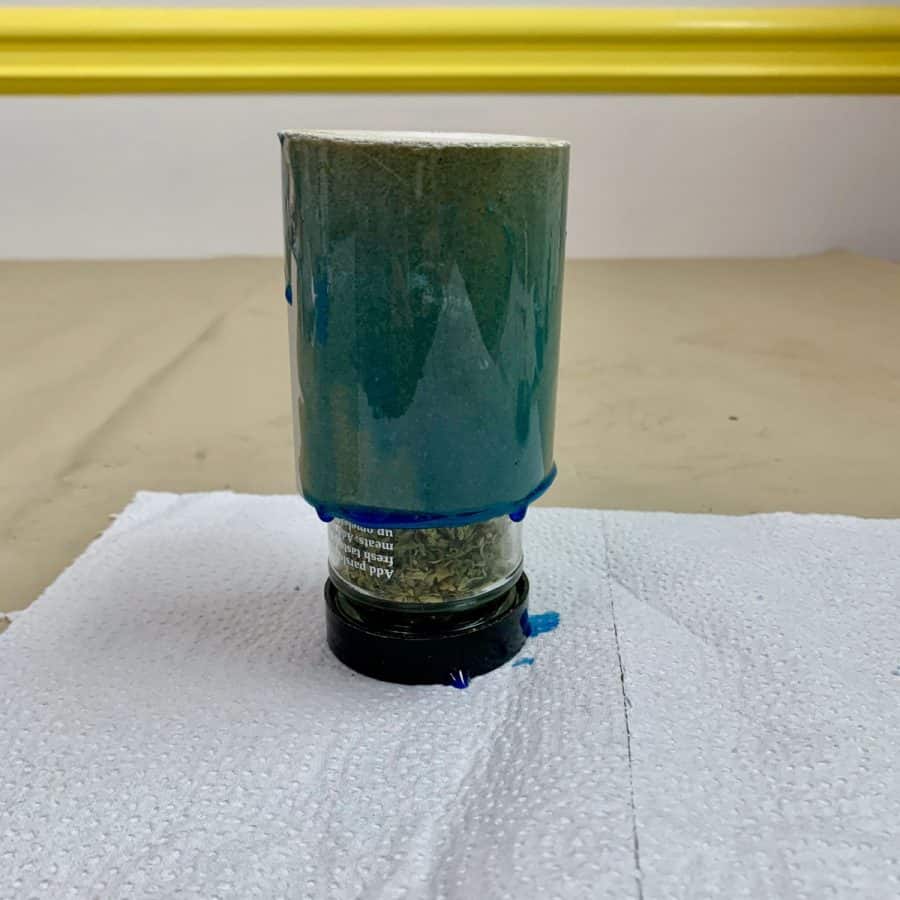
This will happen naturally because it’s where the resin will mound up. It’s part of what I really like about how this turned out.
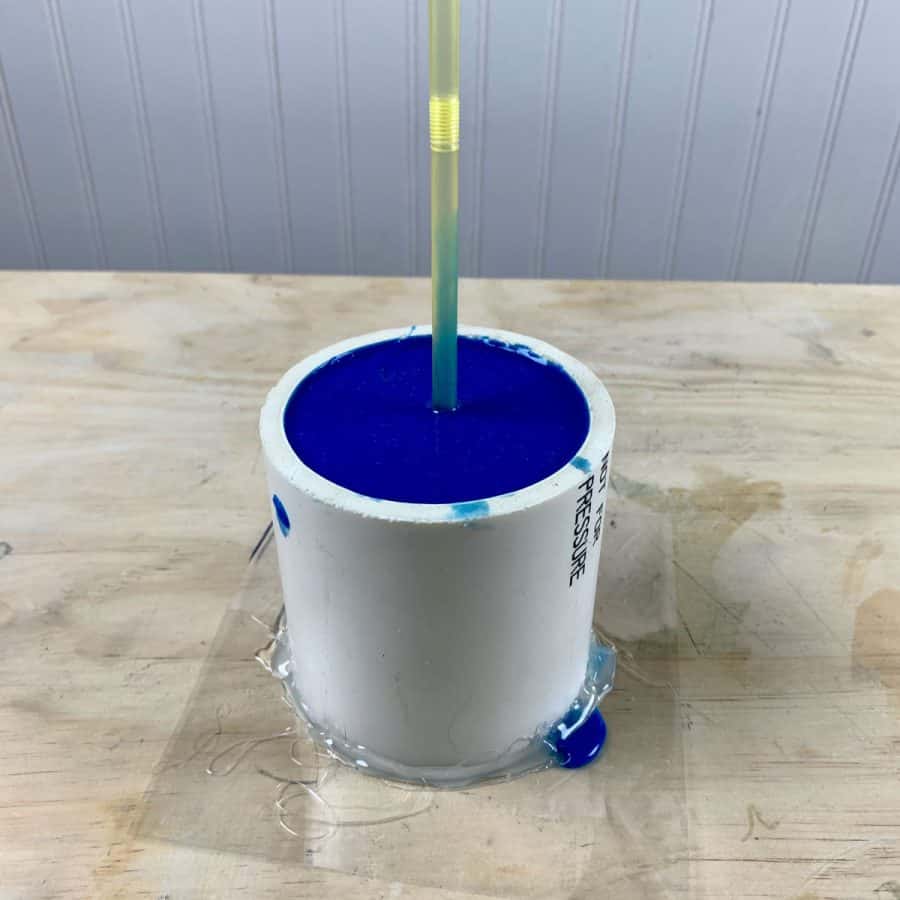
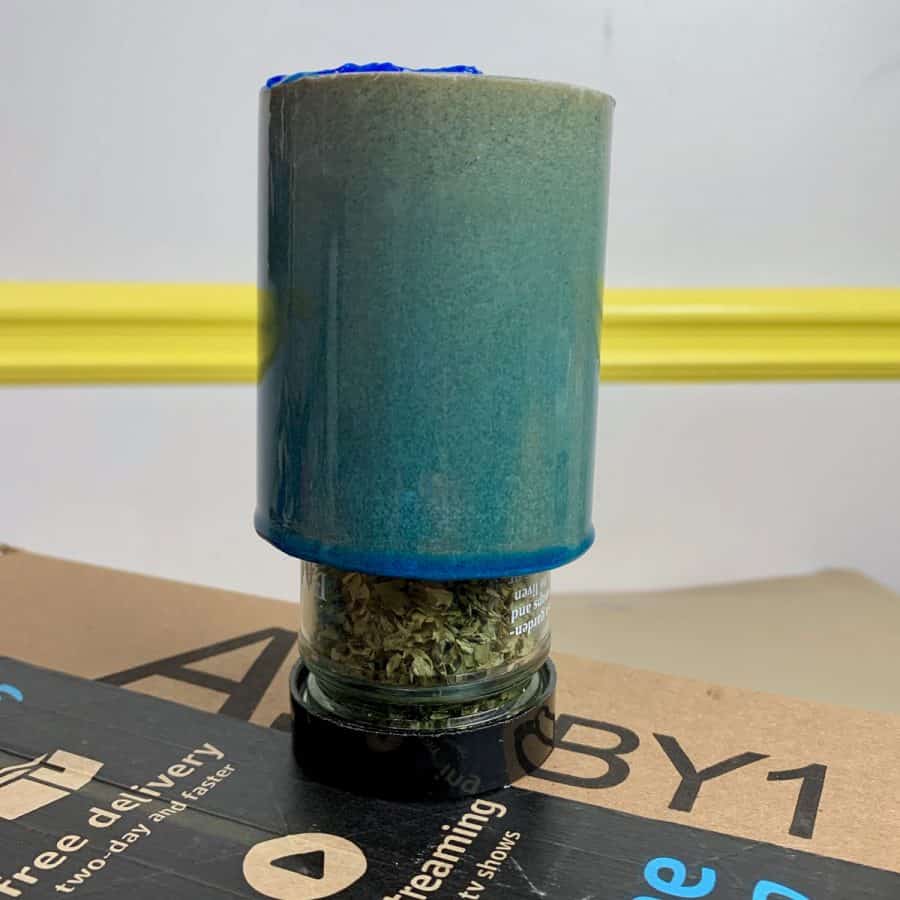
*One important thing to note, is that the bumped out rim of the concrete planter that you see on the top of the planter is actually resin (in the bottom in photo).
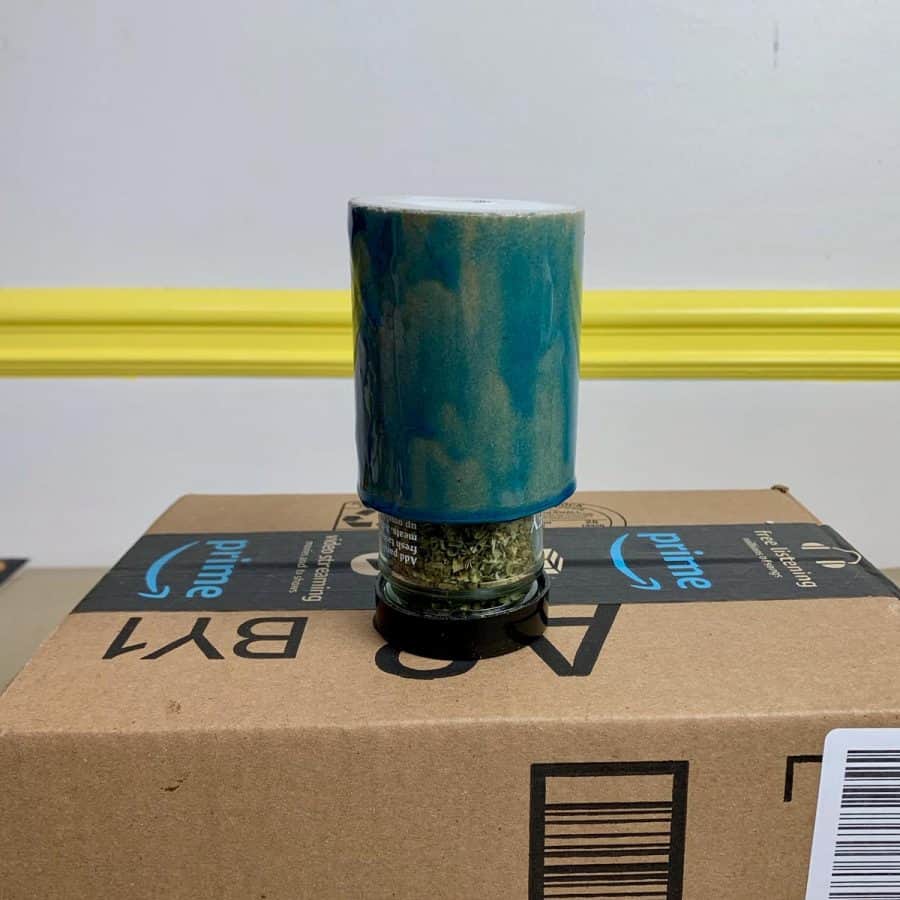
Work your way around the cement pot until it’s covered.
After a little bit of time, you will see that it starts to even out and the unevenness mostly, if not completely, goes away.
If you’re wondering what the blue stuff is on the bottom of the planter (top of photo), it’s extra resin I put on that spot.
I did this because the board I used for letting my planter cure, was warped and caused the bottom to not be level.
This resin shimming trick worked really well.

You can add a second layer if you want it more opaque or darker.
Now to deal with those drips, take a craft stick and put it under the rim and just scrape the drips off. You will likely need to do this multiple times.
I recommend switching to a Q-tip as the drips slow to refine it.
Keep an eye on the drips for up to 15 minutes after you paint it. They will harden if you leave them and you’ll have drip bumps hanging off the rim.
And now at this point, you should be able to carefully flip this over and touch up the areas of the rim that still need the resin.
Now wait 2-3 hours and it should be dry. But be careful not to handle it much until about 24 hours later when it has completely cured, or you risk getting fingerprints in the resin.
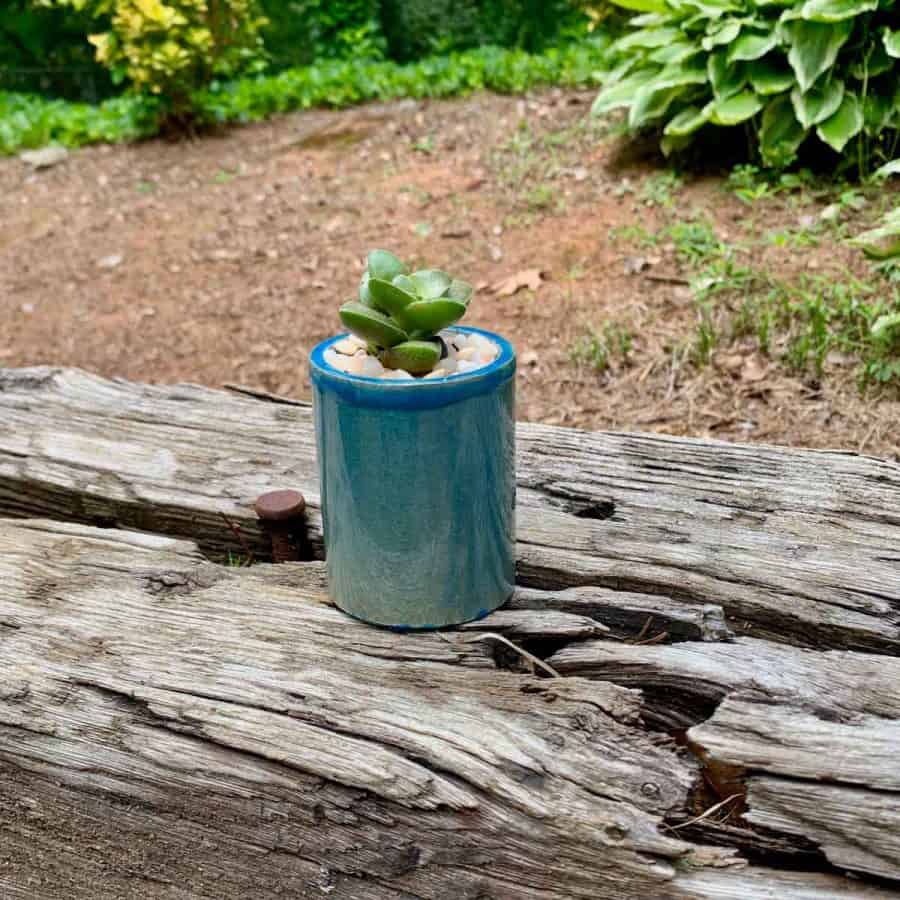
The epoxy resin should be super hard after 24 hours, so go ahead and add plants to your concrete planter, made from a PVC silicone mold.
To learn more in-depth on how to pick the best molds for concrete crafts go here. And to learn everything there is to know about making concrete planters, look here.
Don’t forget to Pin it for later!

Make A Silicone Mold For A Cement Planter, Using PVC Pipes
How to make a silicone DIY concrete planter mold from PVC pipes. Cast the cement and decorate the pot with a pottery-like resin glaze.
Materials
- PVC pipes- 2 sizes
- Silicone -parts A & B
- Cement
- Resin
Tools
- For a full list of materials, please see the Materials list above the tutorial.
Instructions
- Cut The Inner And Outer PVC Mold Pieces
- Secure The Silicone Mold Containers With Glue
- Create The Planter Drainage And Lubricate With Vegetable Spray
- Combine The Silicone Parts And Pour The Silicone Mold
- Remove The PVC From The Cured Mold
- Cast The Cement Planter Into The Silicone Mold
- Demold The Planter From The PVC Mold
- Paint The Concrete Planter With Resin


I followed your instructions, but I think something was left out or not clear because all I ended up with was a mold for a piece of pvc. I’m pretty sure one of the ends should have been sealed or packed and that wasn’t in the post. Can you clarify?
Hi Tim,
Did you use the oil based clay in Step 2 to seal/pack the end of the inner mold? The clay will hold the inner mold in place while you are pouring the silicone in the PVC and creates a seal so the silicone doesn’t leak. It also is what is holding the straw in place. This becomes the top of the planter.
Also, your inner mold should be shorter than the outer. this will become the bottom of the planter. If the inner mold is 1/4″ shorter, then the thickness of the cement bottom will be 1/4″. Does that make sense?
Hey, I did it exactly as it is written. I realize now that the clay around the inner mold should have been trimmed and removed so that when you place the outer mold it will be directly on the acetate and not the clay and it will be slightly longer and creating the bottom of the planter.
Your instructions don’t say to seal and pack the inner mold, they say to seal and then pack clay around the outer mold, which is different than what you just told me. The instructions are unclear and I believe incorrect on the post.
Sorry the instructions weren’t more clear, I’ve just re-written and added a photo that should help.
Hi
I’ve never used resin before but am anxious to try this. You said you used a 2:1 ratio. Which part of the resin mixture was 2 parts? The directions on the bottle says equal parts so I’m confused.
Thank you
Leslie
Then you have a different type of resin. Follow the instructions on your bottles. The 1:1 works too. I used that kind on a different project with the same results.
I’m so excited to try this, thank you SO much for sharing your tips here.
Did you need to do anything to prepare the concrete surface for the epoxy to stick?
I’m sure a good wipe down / surface cleaning is in order but didn’t know if there was any other special treatments.
Hi Carter,
Nope, just wipe the dust off of it. I have had so much fun playing with resin on concrete. Dipping concrete into resin gives a really neat effect too. Enjoy!
Ellen