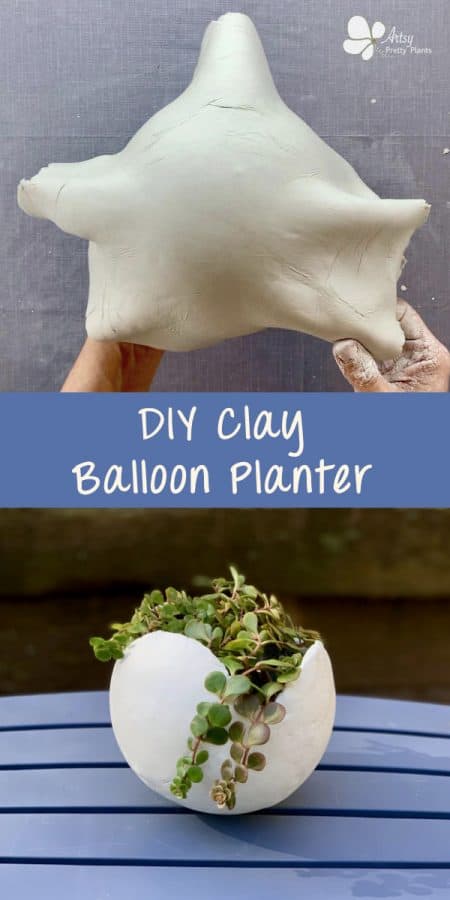
DIY Clay Balloon Planter (Fun & Easy!)
Here is a tutorial for how you can make a clay balloon planter with air dry clay instead of cement! This can be waterproofed and used outside.
I have to admit, I wasn’t sure the Clay Balloon Planter could be done, at least not durably so.
If you’ve been here before, then you may remember my most popular planter- the Cement Balloon Planter (linked below).

When I figured out that you can make a planter with clay, I wondered if a balloon planter could be made.
There’s lots of things that could go wrong- like was it going to mold around the balloon correctly.
And what about something that large, wouldn’t it cave in- especially if it’s not waterproof?
What about waterproofing? Can it even be done?
The answer is yes, you can make a durable clay, outdoor balloon planter.
It just needs a little help some important materials, you can make a balloon planter out of clay and use it outside.
Here is the cement balloon planter I mention in the beginning if you want to take a look.
By the way, I’ve actually put together a list of 55 ideas for making air dry clay crafts. Check it out after reading this tutorial.
Some of the links on this page have been provided as a convenience for finding materials. These links may also be affiliate links. As an Amazon Associate I earn from qualifying purchases, at no extra cost to you.
I only recommend products I’ve used and loved, unless otherwise stated. Click here to read my full disclosure policy.
DIY Difficulty Level | Easy
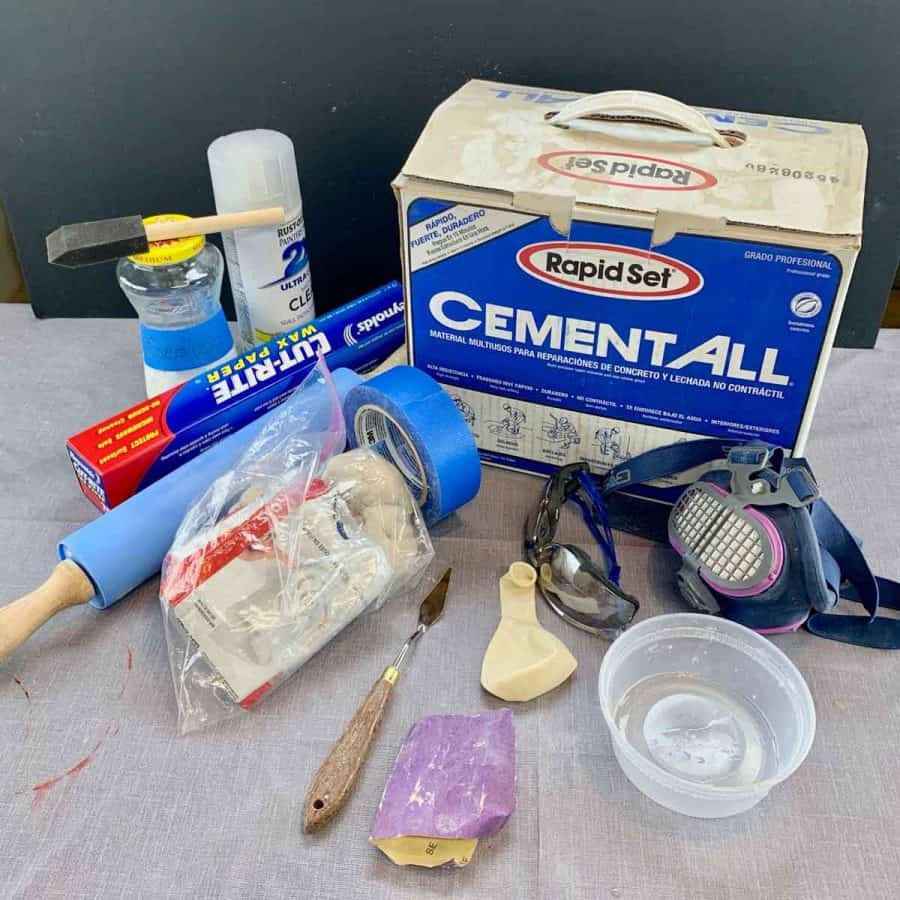
Materials For Making An Air Dry Clay Balloon Planter
- Air dry clay
- Cement– rapid set
- Shallow bowl or dish
- Safety glasses
- Safety mask– rated for silica dust
- Wax paper
- Clay roller or rolling pin
- Palette knife or plastic painter’s knife
- #220 grit sandpaper
- Foam paint brush
- Balloon
- Roll of blue tape or similar size roll (to act as collar to support balloon)
- Concrete sealer
- Acrylic top coat spray
Tutorial Steps For A DIY Clay Balloon Planter
Step 1. Prep The Clay Balloon Planter Mold
Inflate the balloon to your desired size and tie the end. Mine was about 5” in diameter.
Use your hands to gently massage the balloon if you want it to be more round. Place it on a roll of blue tape to keep it stable.
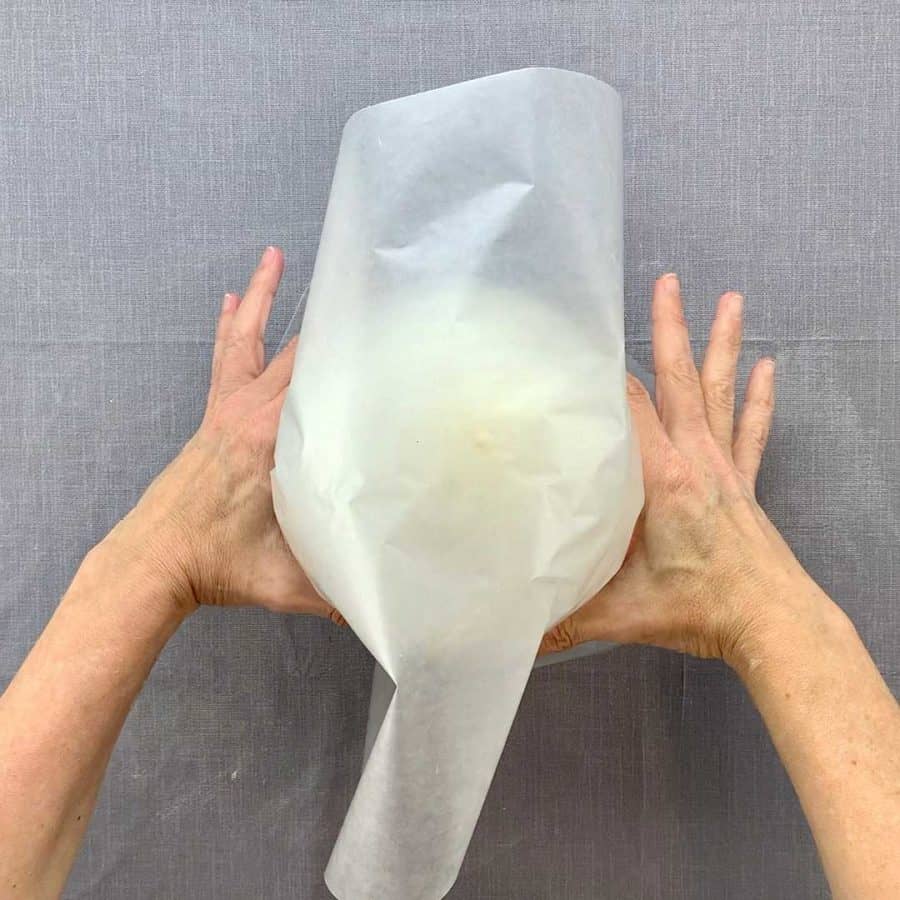
Take a piece of wax paper about 15-18” long and place it over the balloon.

Place your hands where the balloon planter will stop, lift the wax paper and mark the approximate circle of how much clay you will need.
Step 2. Prepare The Air Dry Clay
Break off a chunk of clay and take a little more than you think you’ll need for the size circle you drew.
First, knead the clay to warm it up and soften. Do this for 3-4 minutes.

Now, roll the clay out to a ¼” thickness. It’s better if the clay you roll out is a little bigger than the circle you drew.
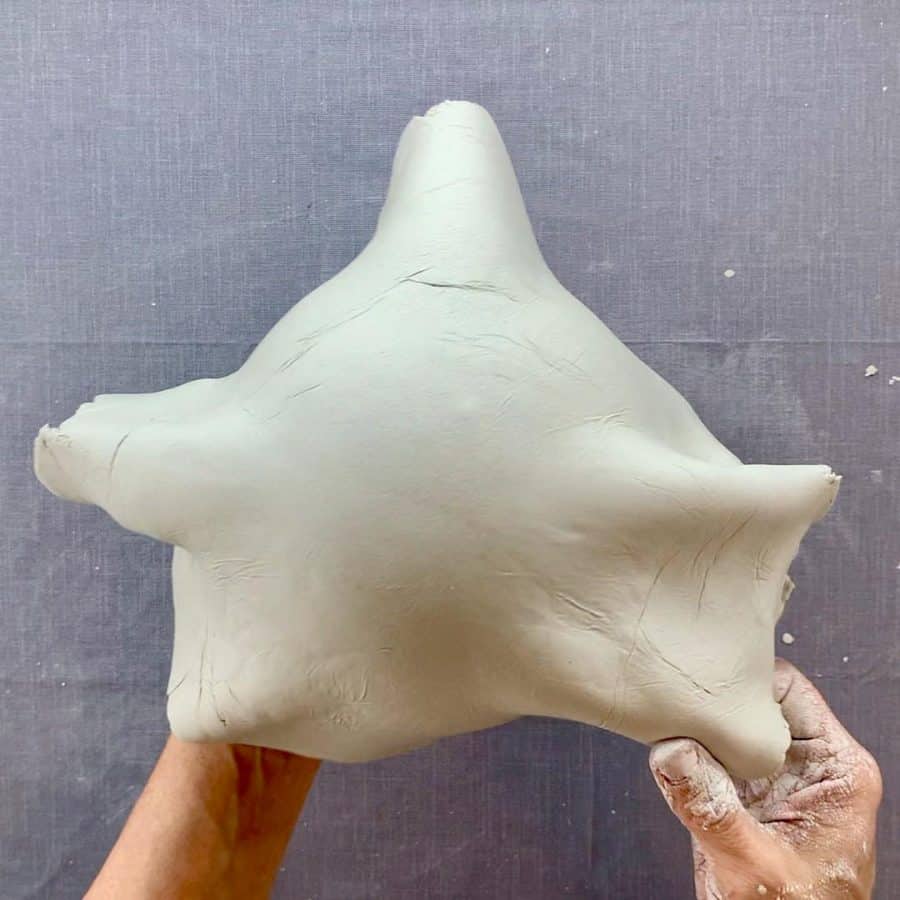
Step 3. Mold The Air Dry Clay Around The Balloon Form

Place the clay carefully over the balloon. If the size is good, then leave it, or remove it and trim it to size. You can choose to make the circle even or leave the piece as is.
If you want to remove the folds, then proceed to the next step. Otherwise, move on to Step 5.


Take a look here to see the original Balloon Planter- made from cement.
Use something with a small, soft tip to create drainage holes. I used a clay smoothing tool, but something like a Q-tip will work as well.
You may need to dip the tip in water to get the holes clear.
Step 4. Remove The Air Dry Clay Folds

To remove the clay planter folds, take the clay and pull it together starting from the top of the fold, down to the end.
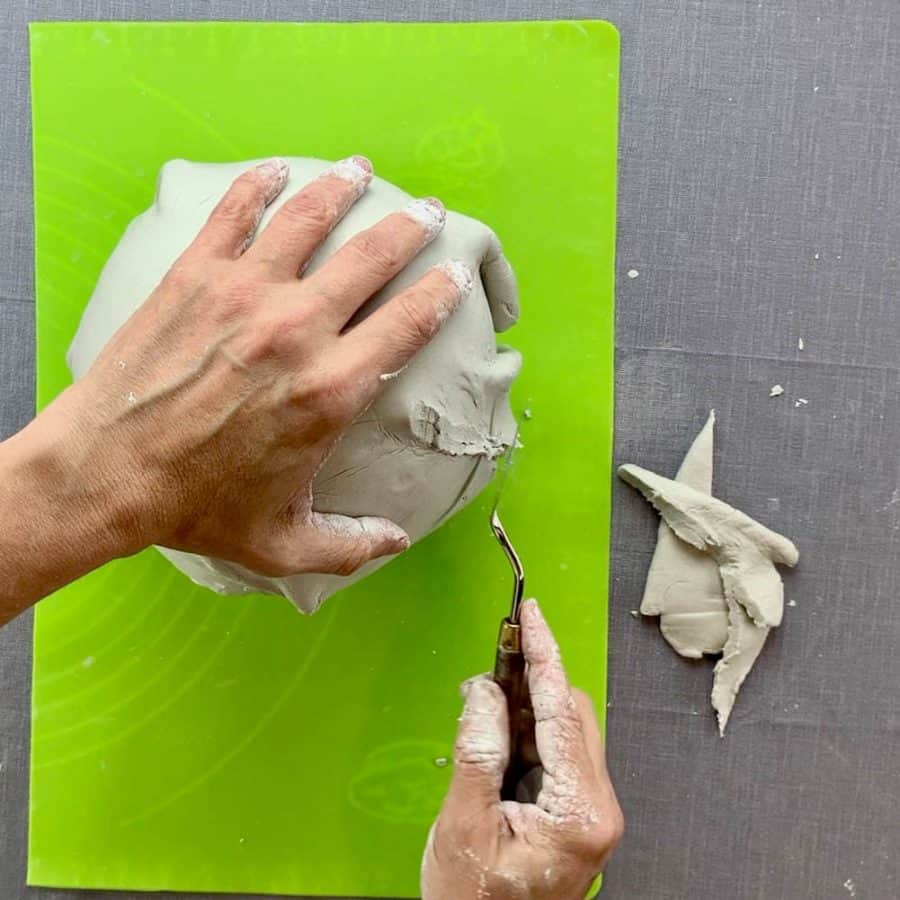
Now pinch this together so that you are actually combining the clay together.

Step 5. Smooth The Clay
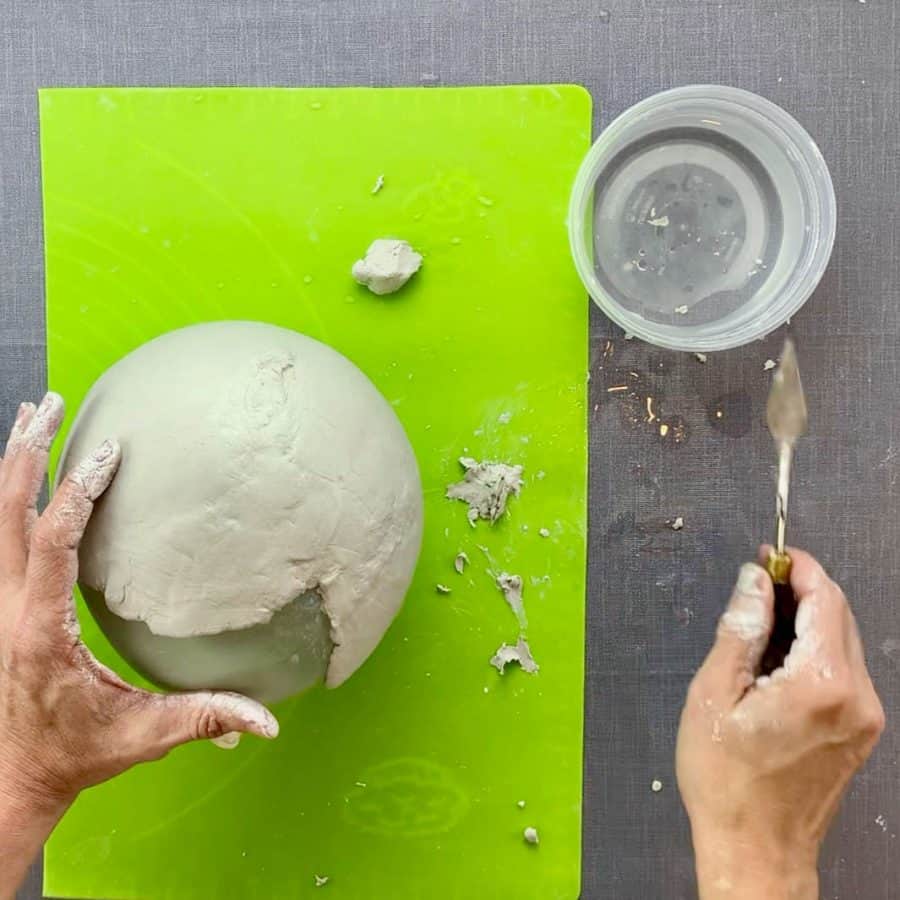
Create a paste with clay and water. Mix it together until it’s like toothpaste.
Now use your finger to fill in any cracks or marred areas. Smooth these over, and then let this dry.
Step 6. Let The Clay Dry
The clay planter needs to dry for a couple of days.
Typically, I will speed up the drying time with a space heater or low temp oven, but you can’t do this for this project – at least not during the first 24 hours.
This is because we are using a balloon, we will have to be patient and avoid getting help with heat- otherwise the balloon will deflate, and so will our planter.
After about 24 hours, you can mindfully use a space heater. Take care that the balloon isn’t too close to it or it will pop.
I had mine at low heat and with the balloon about two feet away. I used the heater off and on for about four hours total.
The clay balloon planter will collapse if the balloon is removed too early, so I recommend waiting two days before popping the balloon to allow the inside to dry.
The clay balloon planter is dry enough when the outside is very hard and the inside between the clay and the balloon is only barely moist.
To check the inside, take your hand and gently push the balloon away from one edge and touch the inside with your fingers.
Step 7. Remove The Balloon
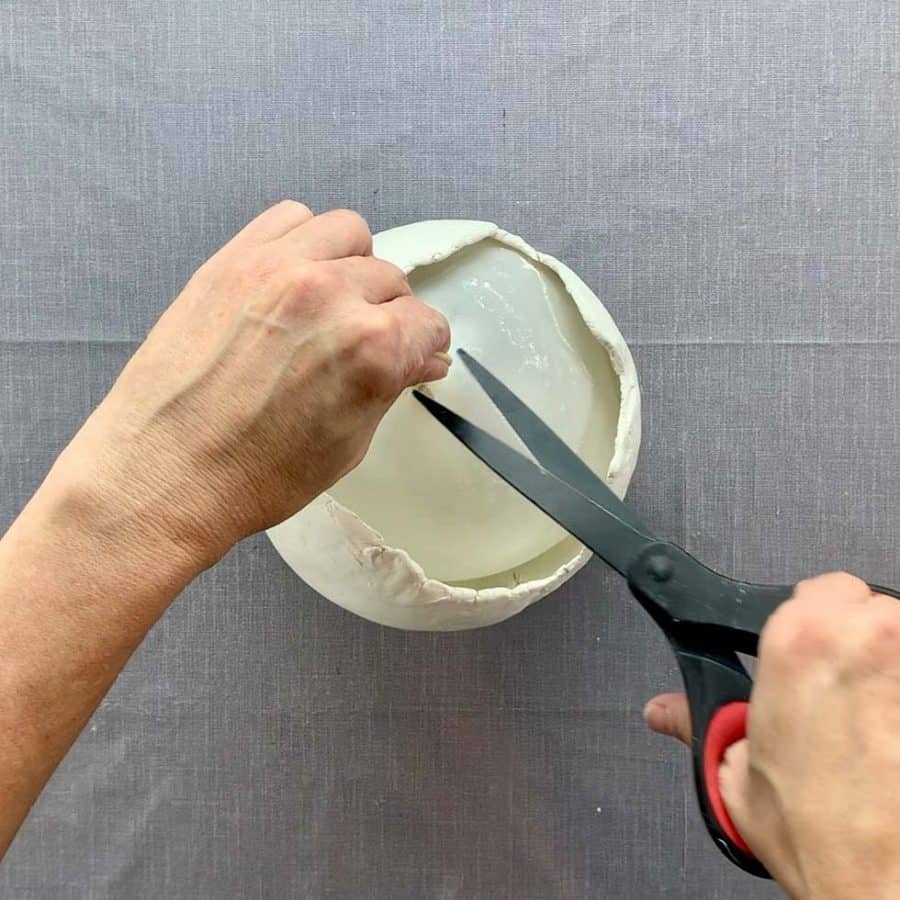

Just in case the clay planter isn’t fully dried, it’s safer to pop the balloon gently. So take the balloon and pull up on the tied area and cut it very close to the tie.
Step 8. Sand The Uneven Clay

Use sandpaper to even out any rough spots on the clay balloon planter.
You can also use a little bit of water to help the process along but if you do, be sure to let it fully dry before moving to sealing it in the next step.
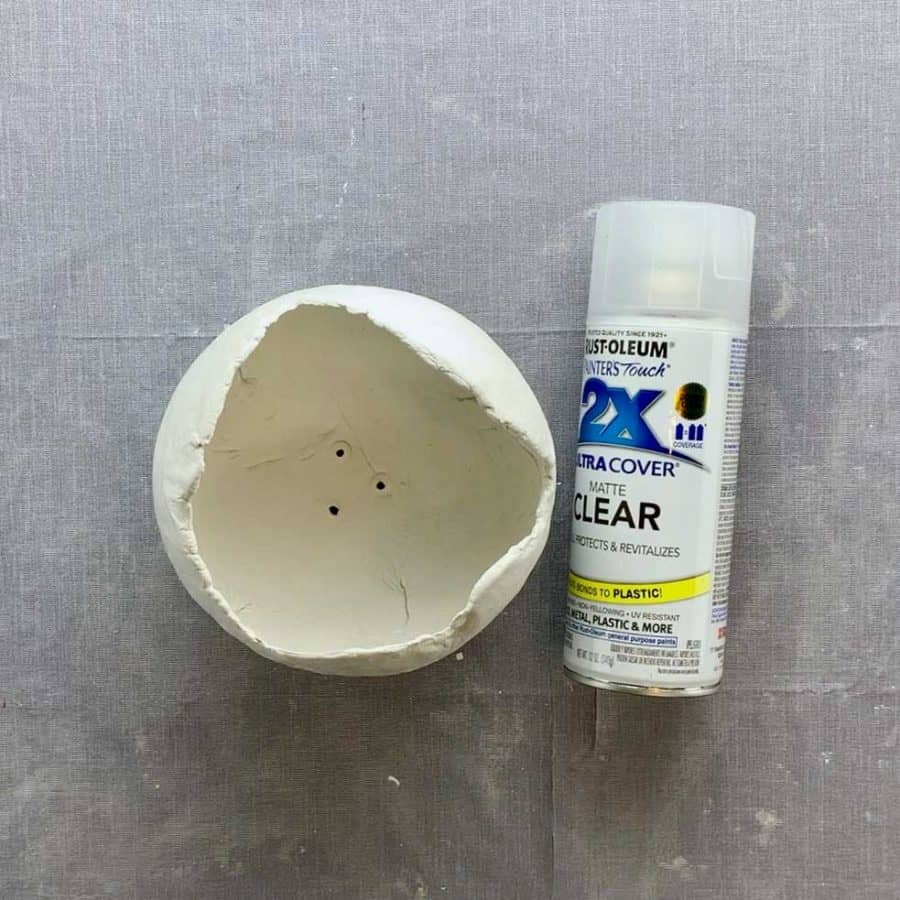
Step 9. Seal The Air Dry Clay
The reason for sealing this is because you will be waterproofing the planter with cement, but you don’t want to apply the wet cement directly to the clay.
The sealer will act as a barrier so that the clay doesn’t suck in the moisture from the cement.

First seal the inside and outside with concrete sealer. Be sure to get inside the drainage holes as well. Take care while holding the clay planter near the top edges.
These get soft while you are sealing it and can tear. I had part of one edge tear, but I just added some clay paste to fix it.

Once it is fully dry, which may take several hours, then apply a coat of clear acrylic top coat spray.
After about 15 minutes, the inside should be dry to the touch. Once it is, go ahead and re-coat the inside.
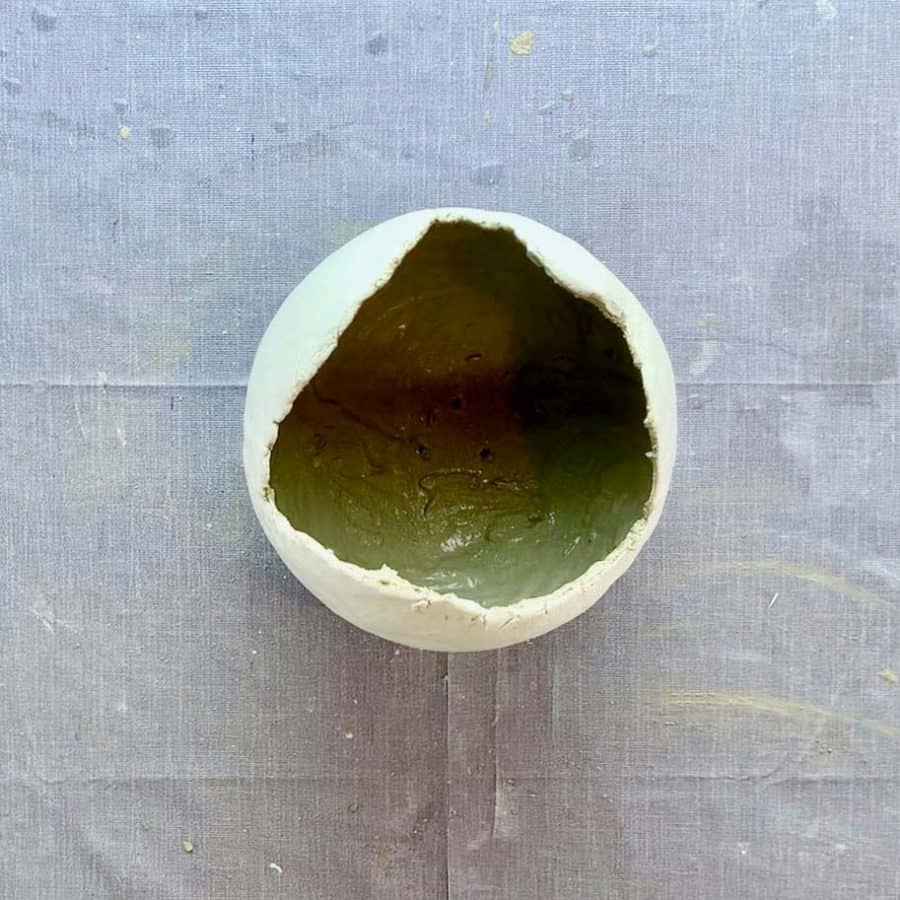
Step 10. Waterproof The Inside Of The Clay Balloon Planter
If you like this tutorial, then you may want to check out my Ribbed Air Dry Clay Planter and yet another version of the Balloon Planter- Minis.
Mix the cement so that it has a thick milkshake consistency. I let mine be too thin and it was very drippy which caused the cement to drip on the outside and discolored it i some place.
You want it fairly thin, but not drippy.

Now pour the cement into the planter and roll it around until it’s evenly coated. You may need to use your gloved hands to assist with coating the inside.
Be sure to use something to clear the drainage holes, if they are filled with cement.
Let this cure and hour and then your plant can be potted.
Don’t forget to Pin it for later!

Clay Balloon Planter
Make a unique clay balloon planter. Use a balloon as the mold for making this round planter. Waterproof it and use it outside.
Materials
- Air Dry Clay
- Balloon
- Concrete Sealer
Tools
- Please see the full materials list above the tutorial.
Instructions
- Prepare The Mold For The Clay Balloon Planter
- Get The Air Dry Clay Warmed Up And Rolled Out
- Mold The Air Dry Clay Around The Balloon
- Remove The Folds On The Clay
- Smooth The Clay Over With Wet Fingers
- Let The Clay Dry Completely
- Remove The Balloon From The Planter
- Sand The Uneven Clay With Sandpaper
- Seal The Air Dry Clay With Concrete Sealer
- Waterproof The Inside Of The Air Dry Clay Balloon Planter