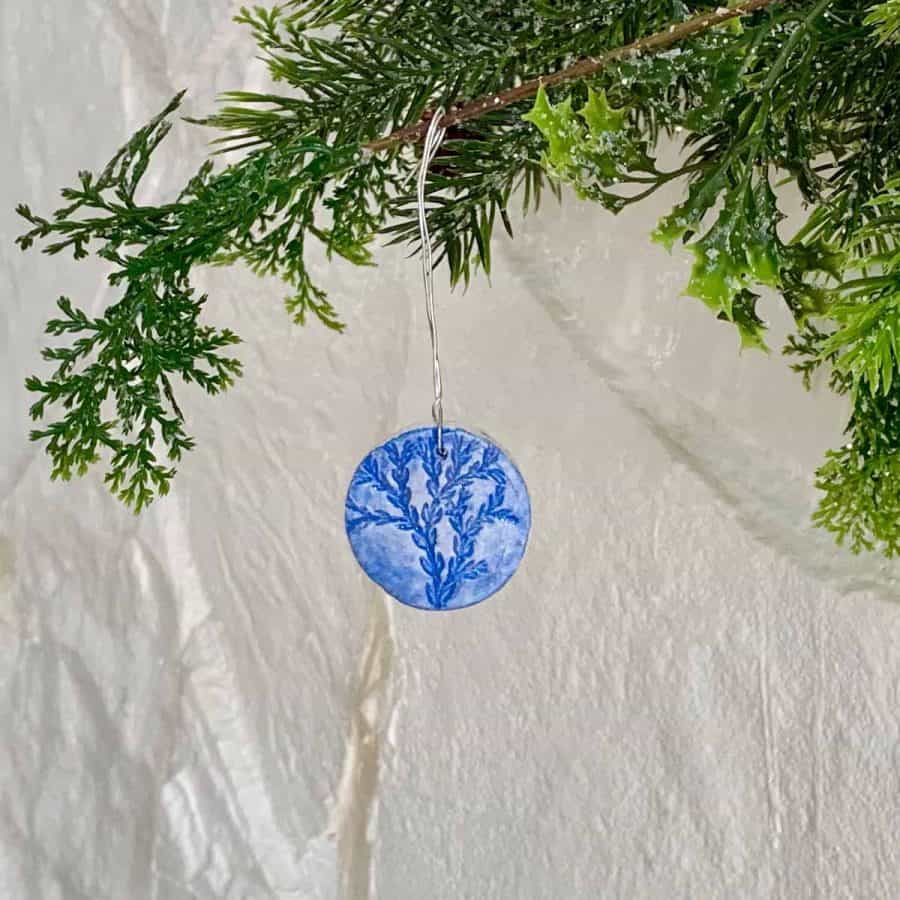
Easy DIY Nature Ornaments from Clay
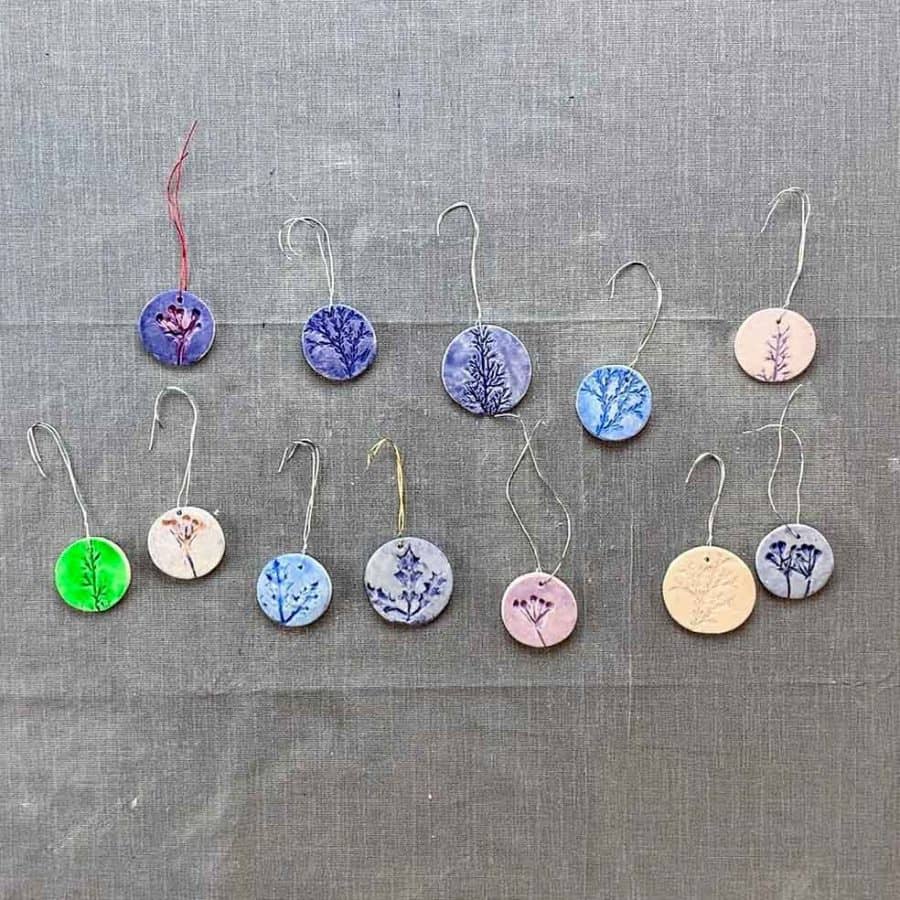
How to make DIY nature ornaments using air dry clay. Use artificial or natural botanicals to create beautiful imprints.
These diy nature ornaments are so simple, yet so pretty. And, they are very easy to make too.
I was in the mood for easy Christmas ornaments to make, but I wanted something with a natural and soft feel.
Since air dry clay picks up fine details so amazingly well, I got to thinking about making imprints of floral pieces.
The funnest part of making these ornaments is when you have rolled the clay over the botanicals and then you get to peel them out of the clay.

The wonderfully detailed imprints that are created are quite gratifying.
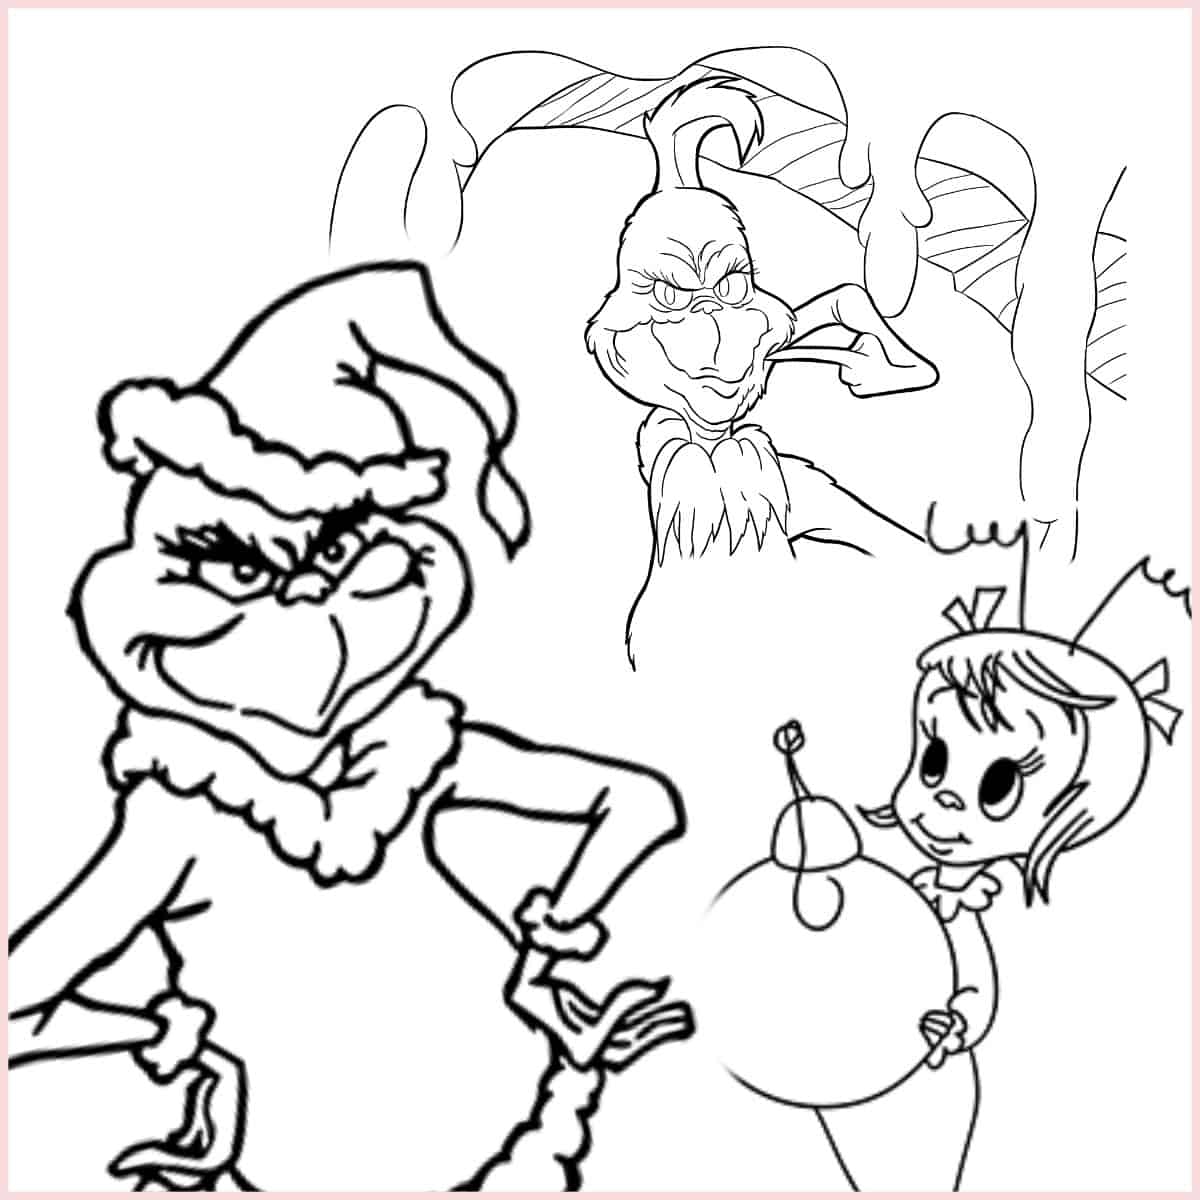
After reading this tutorial, you can head here to get 55 more ideas for making things with air dry clay, or how about an ornament of a clay Grinch?
If you’re looking for general Christmas crafts ideas, here are 99 of them –all using Dollar Tree items for the materials!
Some of the links on this page have been provided as a convenience for finding materials. These links may also be affiliate links. As an Amazon Associate I earn from qualifying purchases, at no extra cost to you.
I only recommend products I’ve used and loved, unless otherwise stated. Click here to read my full disclosure policy.
DIY Difficulty Level | Easy
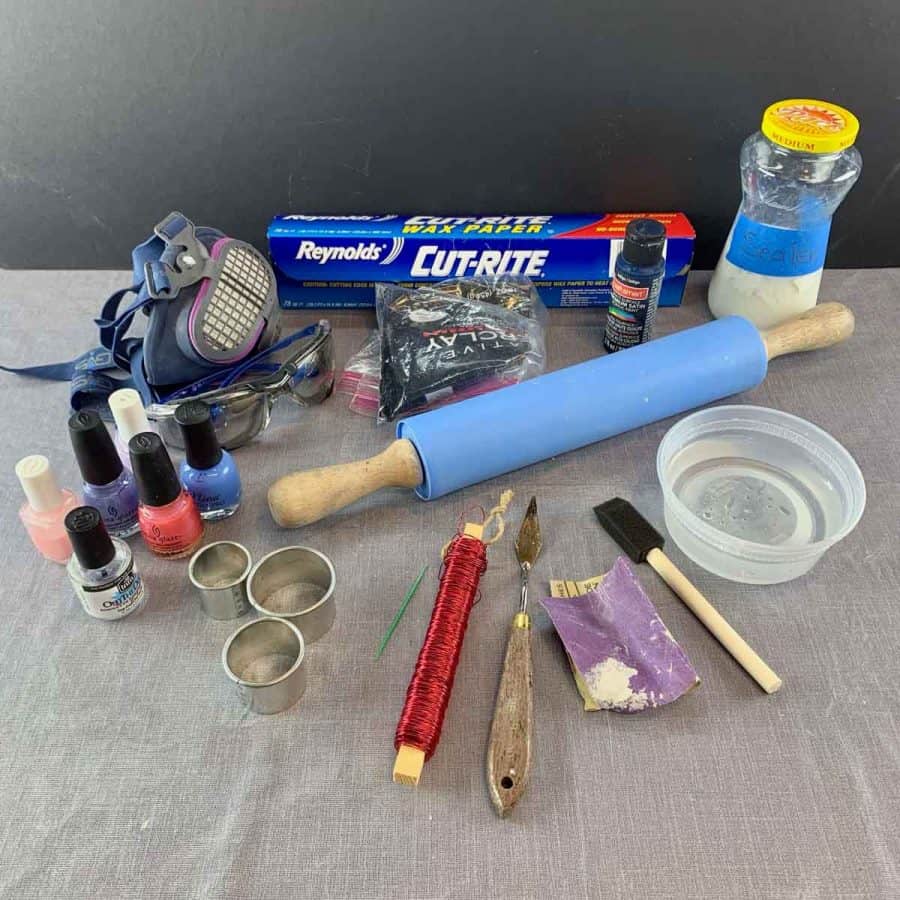
Materials For DIY Nature Ornaments Made From Clay
- Air dry clay
- Shallow bowl or dish
- Safety glasses
- Safety mask– rated for silica dust
- Colored nail poilish- various colors
- Clear nail polish or clear top coat
- Toothpick
- Wax paper
- Clay roller or rolling pin
- Ornamental wire
- Round cookie cutter(s) – 1-2” in diameter
- Paint palette knife or X-acto knife
- #220 grit sandpaper
- Acrylic paint- optional
- Acrylic paint sealer or acrylic concrete sealer or varnish
- Foam paint brush
- Artificial stems/floral
Materials Notes:
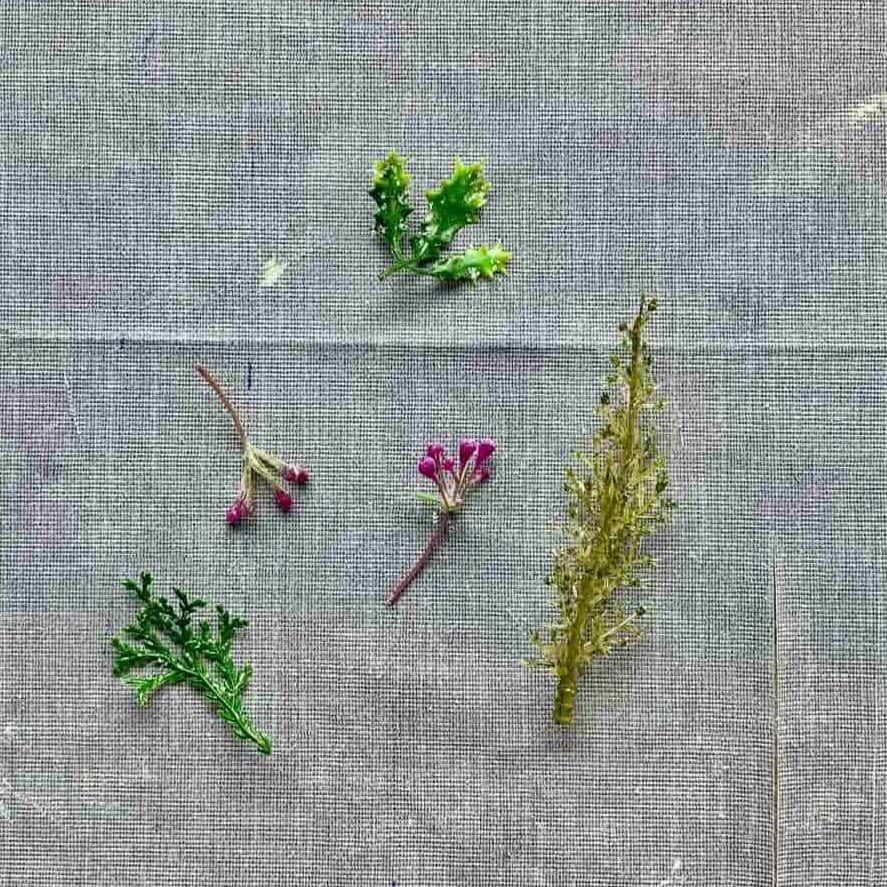
Decide which pieces of floral stems you want to use for your imprints. I was surprised that some of these thicker pieces actually came out great.
One of my favorites was so thick it made a little hole in the ornament, but it’s not noticeable.
The clay will pick up fine details of just about everything.
You just want to select something where most of the piece will fit within the size cookie cutters you have, otherwise you can crop the imprint so that it does fit.
You have the option of glazing the clay with nail polish, or if you want the clay to be a single, uniform color.

If you want a single uniform color like the ornament above, then you will need acrylic paint.
I used Craft Smart paint and it required quite a bit to color the clay.
It also took patience to work the color into the clay to get it looking uniform.
There may be other acrylic paints that are easier to work with. I have more details in the Step 1 below.
Tutorial Steps For DIY Nature Ornaments
Step 1. Pre-Color The Clay (Optional)
Coloring Option: See Materials Note above
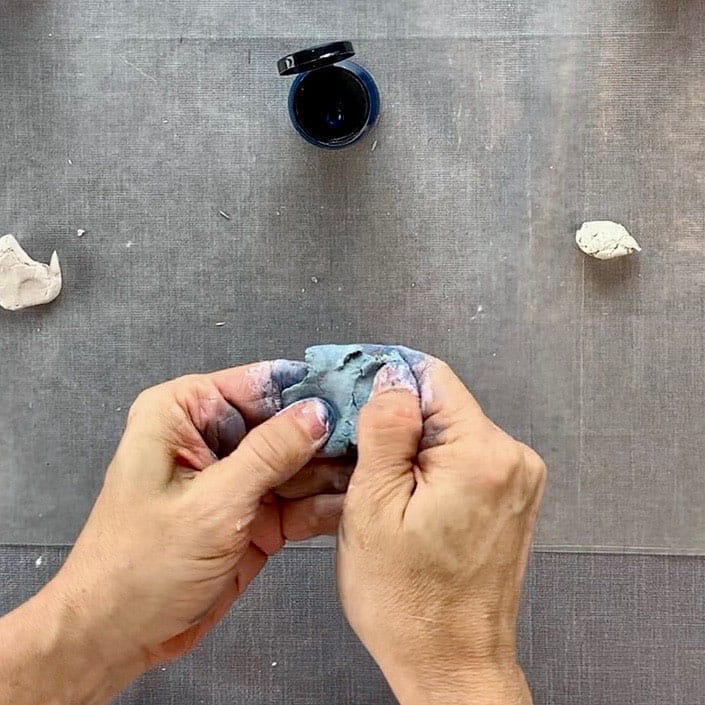
Instead of glazing the clay after the ornament is dry, you can premix the color. This will give you a consistent, uniform color throughout.
If you wish to glaze the clay instead of pre-mix the color, then move on to Step 2.
First, take some acrylic paint and mix it in with the clay.
I recommend trying this with a small piece first so you can see how the clay absorbs and mixes in with the clay.
I used navy blue paint, but you can choose a holiday color instead.
It’s going to take some extra time to get the paint mixed in evenly with the clay.
If you like the look and it mixes well, then go ahead and do this with a larger piece.
If you are having trouble getting the color to mix in, you may want to try a different brand of acrylic paint.
The color you have when the clay is still wet will be lighter when it dries. Once the colors are mixed in well, continue on to the next step.
Step 2. Prepare The Air Dry Clay
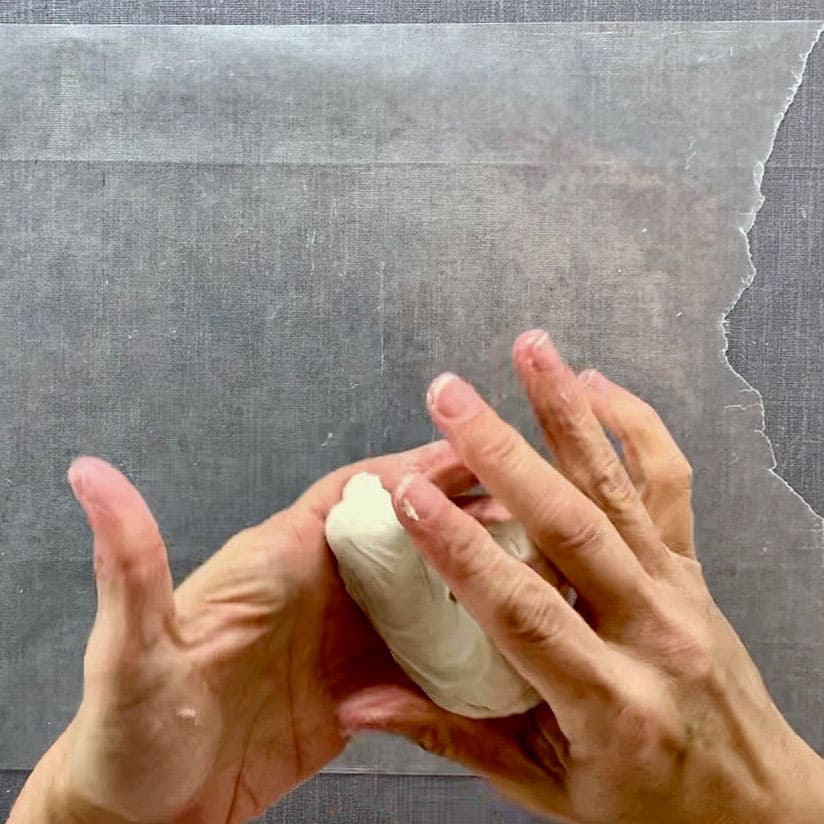
The clay needs to be softened a bit first before rolling, so knead the air dry clay so that it warms up and softens, for a few minutes.
Now, roll out the clay to about a ⅛” thickness.
Step 3. Lay Out The Floral Sprigs
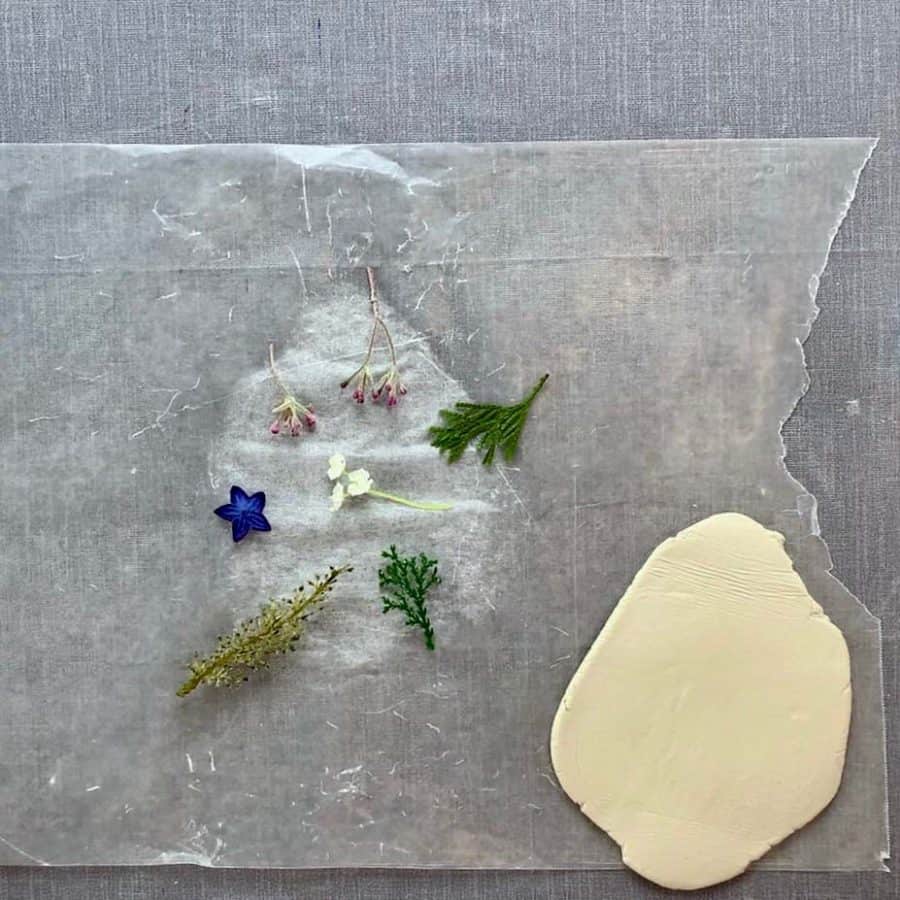
Place the artificial greenery onto the wax paper and space them ample distance apart.
You will be re-rolling the clay and doing it again until you have as many ornaments as you’d like.
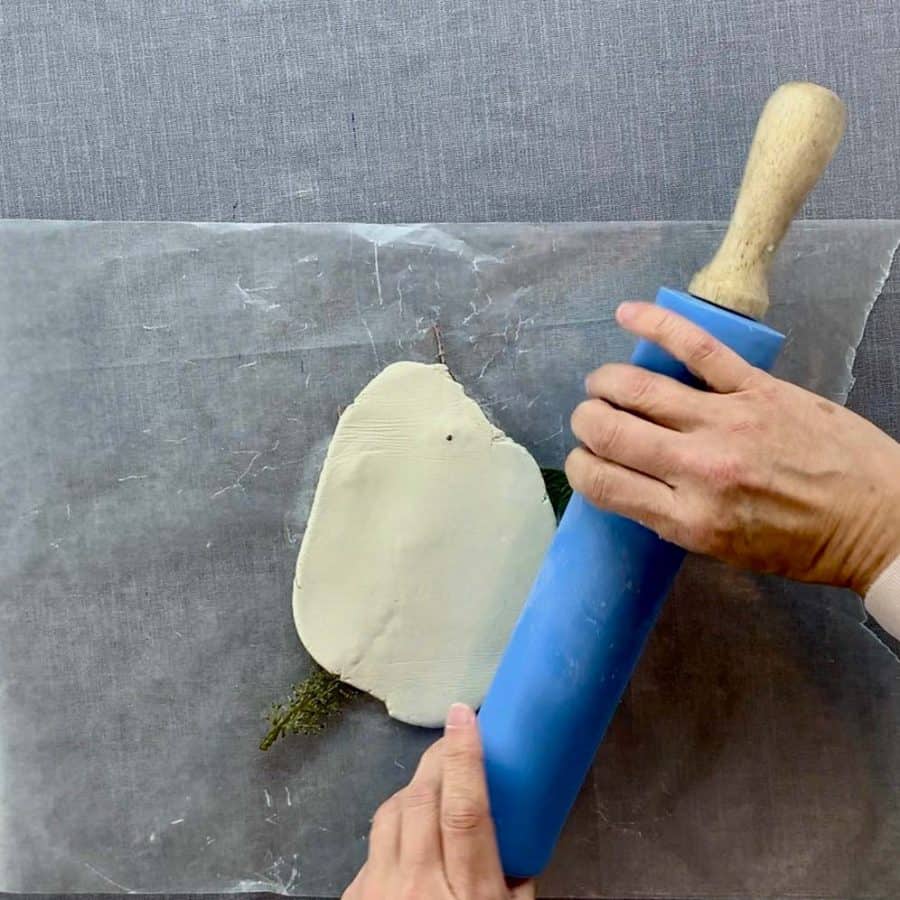
Take the rolled clay and place it on top of the greenery, then take the roller and roll the clay on top of the sprigs so that they make an imprint.

Lift up the clay and flip it over and remove the artificial pieces. If they stick, use a toothpick to lift them out.
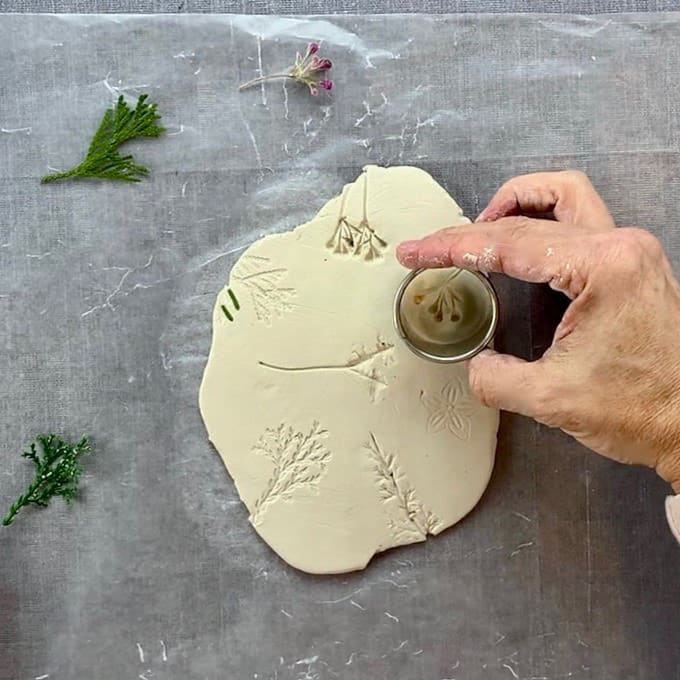
Now take the cookie cutter and cut out your imprints.

Take the remaining clay scraps and put them together into a ball shape and roll the clay again.
Continue doing the same with various pieces of greenery until you have the amount you want.
If any of the ornaments have marks on them, you can dip your fingers into a bowl of water to smooth them over.
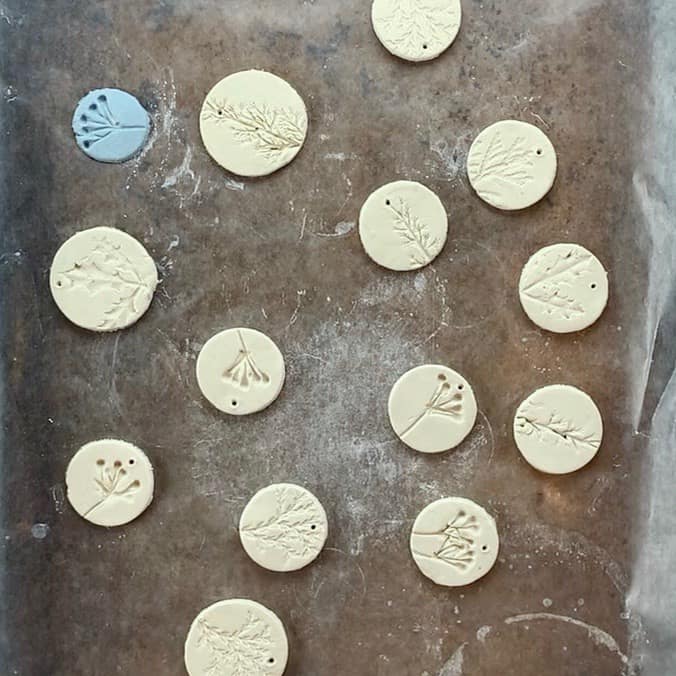
Before letting these dry, take a plastic toothpick and press it through-the top of the ornamen, just take care to not get too close to the edge.
Step 4. Set Aside The DIY Nature Ornaments To Dry
Let the clay ornaments dry. The drying time for these will be 1-2 days, but you can shorten that by using a space heater or an oven.
With a space heater, you can get these dry in about 4- hours, with flipping in between.
I haven’t tried the oven method, but I do know that 180-200 is a good temperature, just keep an eye on this because I don’t know how long it will take.
It’s likely quicker than the space heater. Also, be sure to flip these over a couple of times.
The clay needs to be completely dry before you glaze it. You will be able to tell if it’s dry if the whole piece looks uniformly white.
If it’s still damp, the edges will be white and the middle still beige.
Step 5. Color The Ornaments With A Glaze
First, you should give them a quick sanding. The fronts may have abrasions or finger marks, but it’s mostly the sides that need a quick once-over.
Now that the clay nature ornaments are dry, apply the nail polish glaze.
If you have pre-mixed your colors, then skip the rest of this step and move on to the Final Step.
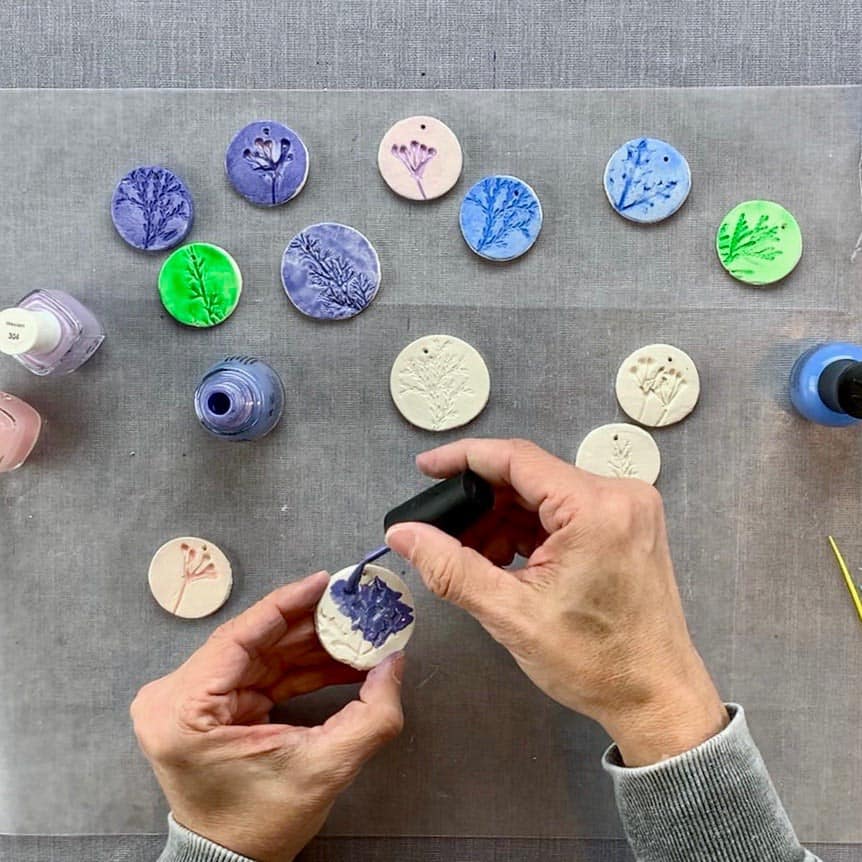
To glaze the clay ornaments, use colored nail polish. Just brush the polish on with the brush that comes with it.

I applied colored nail polish to the fronts and then wiped some of them down with a paper towel.
I thought some of the colors looked better not wiped down and so left those as is.
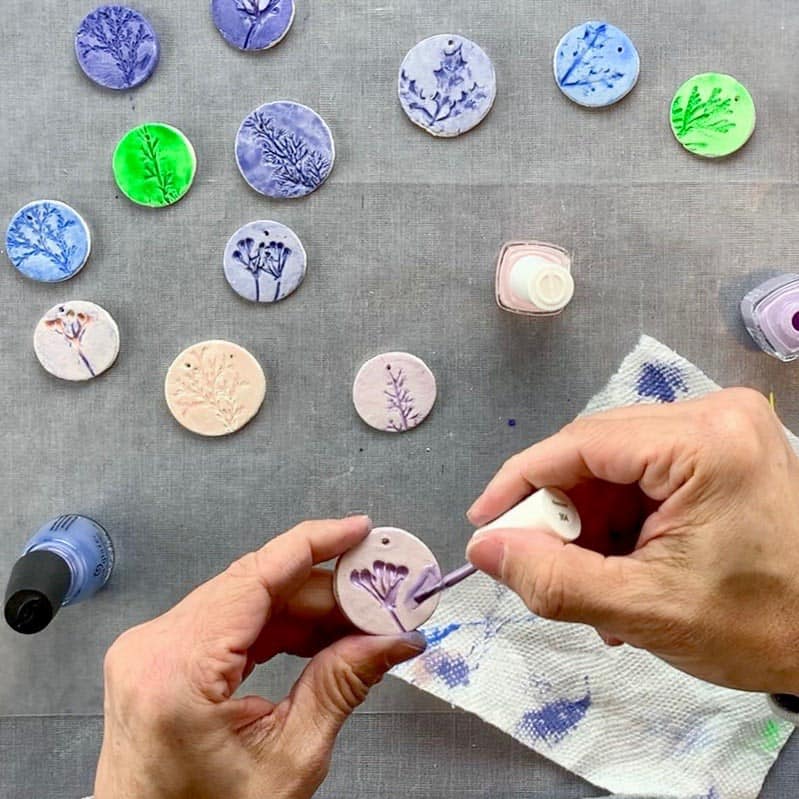
For some of the ornaments, I applied two different colors. The second color was applied after the first one was dry.
I painted the sides of a couple of these diy clay nature ornaments, but I preferred the way the ornaments without the painted sides looked because I like the contrast of the natural color.
So if you prefer, skip applying polish to the sides.
After the colors on the front are dry, go ahead and apply the clear nail poilish.
Step 6. Seal The Clay
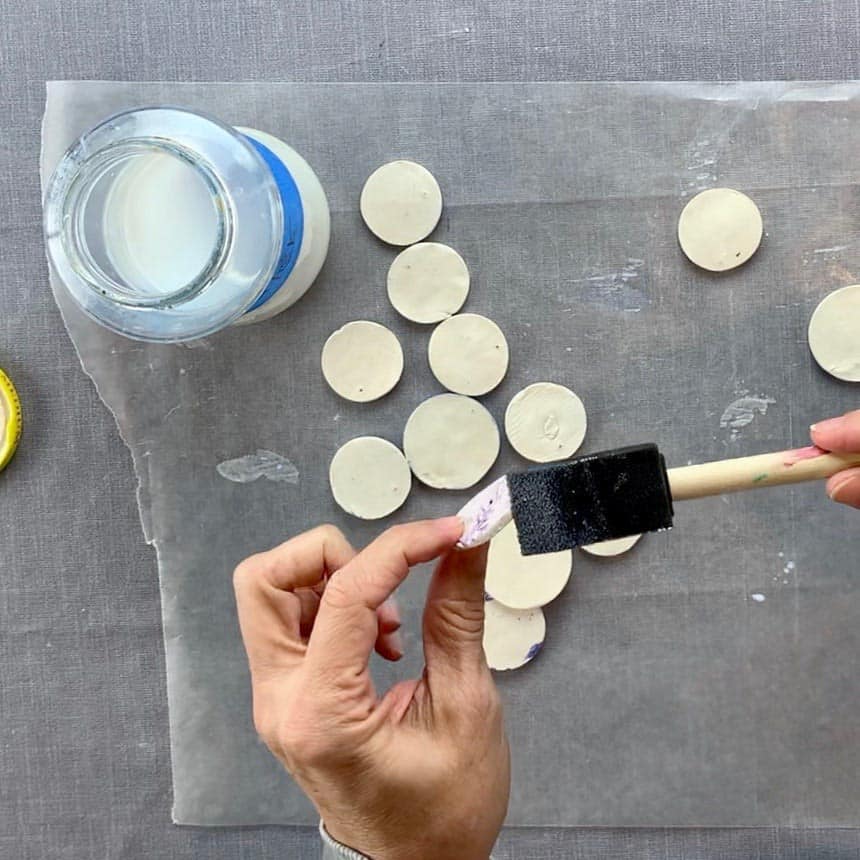
The sides and backs need to be sealed, so use an acrylic sealer and a foam brush to apply the sealant.
I used a concrete sealer that I had on hand, but you can use any type of acrylic paint sealer or a varnish.
Step 7. Hang Your Air Dry Clay Nature Ornaments
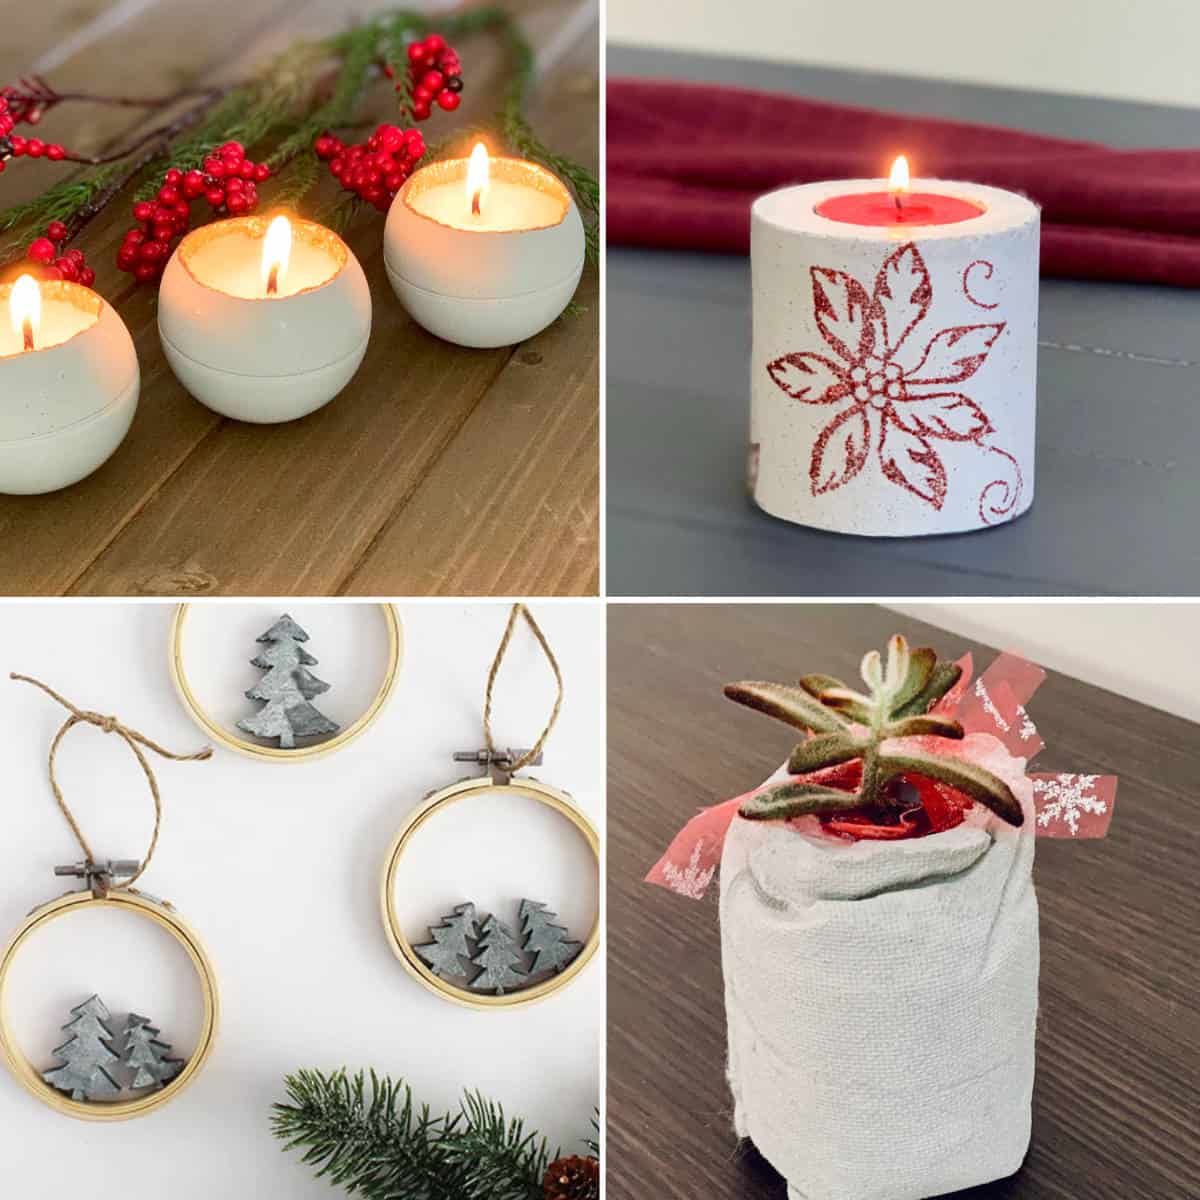
For two other air dry clay tutorials with a Christmas theme, check out this Air Dry Clay Candle Holder For Christmas and the Easy Ribbed Air Dry Clay Planter.
To hang these Christmas ornaments, just thread the decorative wire through the hole and either twist the wire together and create a hook or just create a loop that you can tie.
Don’t forget to Pin it for later!


Make Clay Nature Ornaments
Make easy clay nature ornaments, using air dry clay. A fun tutorial for making sweet Christmas tree ornaments with imprints of botanicals.
Materials
- Air Dry Clay
- Rolling pin
- artificial or natural stems
Tools
- Please see the detailed notes above the tutorial, along with links.
Instructions
- Pre-Color The Ary Dry Clay (Optional)
- Prepare The Clay By Kneading And Rolling The Clay
- Lay Out The Flower And Plant Stems
- Set The Diy Nature Ornaments Out To Dry
- Color The Ornaments With A Nail Poilish Glaze
- Seal The Air Dry Clay
- Run Wire Through The Hole And Hang The Diy Christmas Ornaments
Sweet! I like this project. Makes me wish it was summer so I had more flowers to play with, however.
Thanks Katrina! I know, so many good summer flowers to use for this. And you can make these into magnets or keychains- they don’t even need to be just ornaments.