Decorative Easter Eggs with Yarn
Decorating Easter eggs with cherry blossom branches for an extra spring feel.
My place could use a little color and it would be nice to have some Easter decor to help make me feel like Spring is on its way.
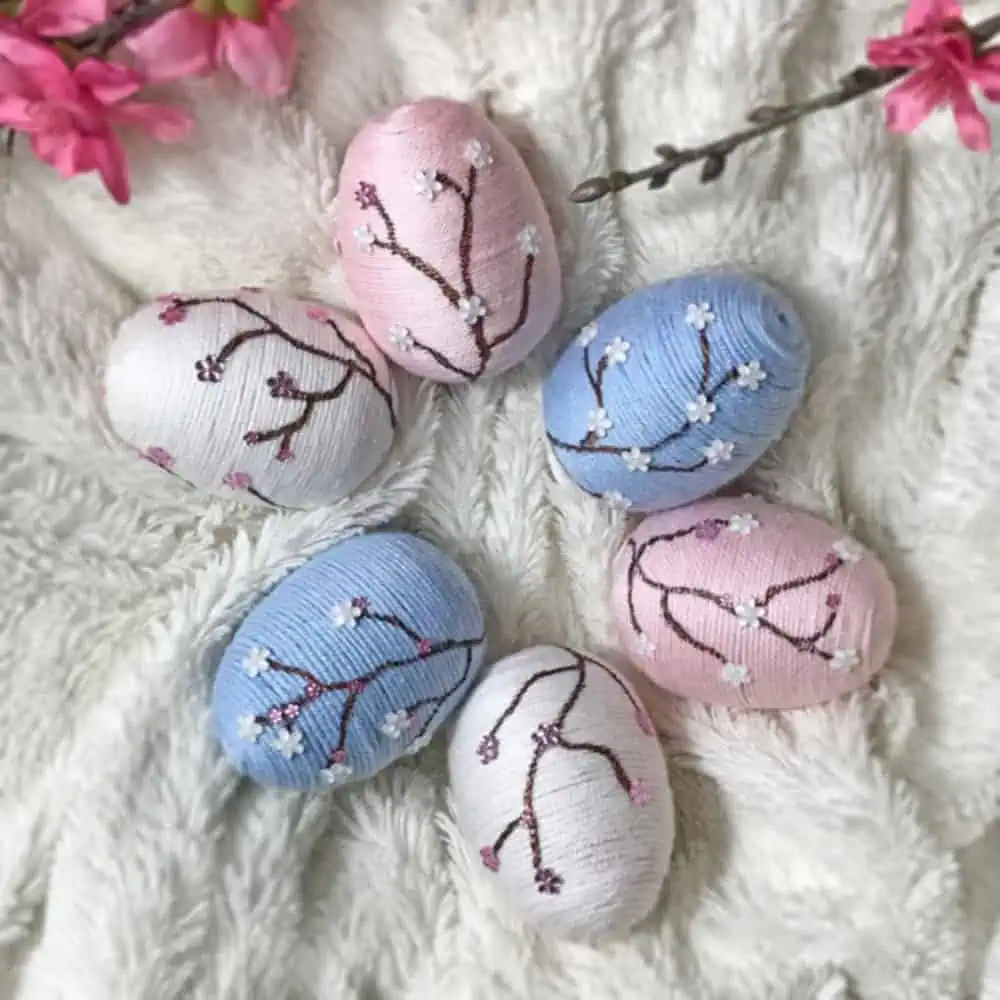
I remembered a tutorial I saw a while back that had decorated Easter eggs with Cherry blossoms on them, they seemed to fit the bill for a springy feel.
If you want to take a look at the tutorial I’m referencing, it’s here. Joanne’s photos are much more beautiful than mine.
Ironically, while I was making the Cherry blossom Easter eggs we had a Nor’easter storm which turned to snow and had wind gusts up to 70 mph resulting in a 2 day power outage.
I’m ready for Spring to come now!!! Please?
These were a lot of fun to make, but you will need a lot of patience.
It takes a good bit of time to do this project, longer than you would think. But I think it’s worth it. So join me in this Easter egg decorating foray!
And you can also check out my other Easter decor tutorial Cement Egg Planters.
What Not To Do:
Don’t use hinged Easter eggs -the hinge will stick out of the yarn. I had to remove mine with an X-acto knife.
Don’t use colored eggs -the color will peek out of the yarn if the yarn isn’t perfect. You can save yourself some extra time by using clear or white eggs. I have linked to these in the materials for your convenience.
Don’t use too much glue.
Don’t move too quickly.
Don’t start with the cone shaped end -the second half is more difficult than the first half because you are now working downward on the egg, which is slippery. The cone shaped end is easier to wrap regardless of which end you start with, but if you start with the more difficult wide end, it’s easier and the results are better.
DIY Difficulty Level | Easy, Patience level-High
Materials For Making Decorative Easter Eggs
- White plastic Easter eggs- *unhinged
- E6000 glue- or other clear, quick-drying glue
- Yarn- 100% mercerized cotton. 100% cotton is easier to wrap than lower % cotton
- Floral embellishments
- Extra fine point marker
- Acrylic paint- Bronze
- 220 grit sandpaper
- Toothpicks
- Scissors
- Tiny paint brush- tip about 1/16th of an inch wide
- floral embellishments
Decorative Easter Eggs Tutorial Steps
Step 1. Prep The Easter Eggs For Wrapping
Roughen the plastic eggs all over with sandpaper so the yarn grabs better.
Step 2. Start The Yarn
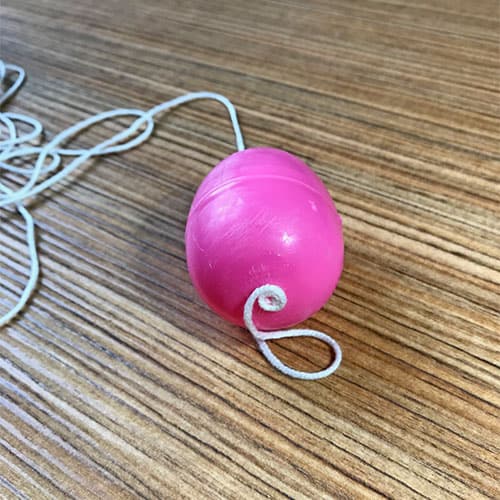
Next, add more glue in a circle around the end and place a toothpick on the yarn end and wind the yarn around the toothpick once.
Step 3. Wrap The Easter Egg

Apply a thin layer of glue around the circumference of the egg and carefully wrap the yarn around.
You should only put glue about 1/4″ wide around the egg otherwise, it will dry out before you get to it.
I used my finger to apply the glue which makes it much easier, but you can do it from the applicator or use something else to apply it with.
Step 4. Continue Working Around The Egg
Continue making your way around the egg. Note: It will get more difficult to wrap after you get past the bottom half.
Step 5. Glue The End Piece

When you reach the bottom, do the same thing you did to start the egg and apply a dab of glue to the end and use a toothpick to wind the final bit. Then just snip the tip with scissors.
Step 6. Draw Your Decorative Easter Egg Design
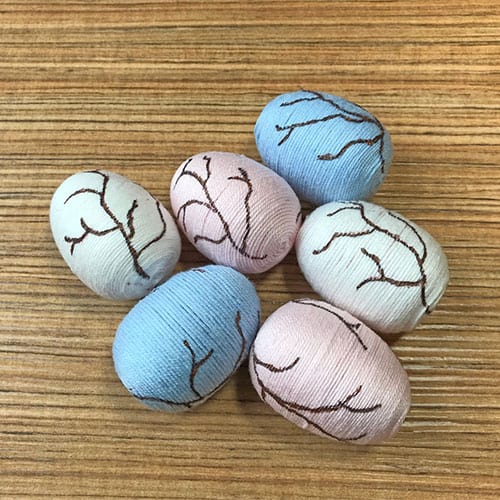
Draw your branches with a marker using the bronze paint. I created branches on both sides of the egg.
If you do this, make sure you paint only one side at a time and move on to the next eggs before doing the other side because the paint won’t be dry and will smear.
Step 7. Add Decorative Embellishments

Now you can add your embellishments. Put a small amount of glue onto some cardboard or grab something else you have laying around.
Next, dab a toothpick into the glue and then onto the backs of the embellishments. And finally, apply them to the eggs.


These are so pretty and delicate looking! Would like to try this. Thanks for sharing!
Thanks Brenda!
Luv the yarn wrapped eggs