DIY Cute Painted Frog Rock
Here’s a fun tutorial for how to make your own adorable painted frog rock.
Rock art is a fun way to improve your art skills and increase creativity. It’s also very easy, relaxing, and rewarding. It’s an activity that adults and kids of all ages can do.
I’ve recently found the craft of rock painting, and I thought a fun rock idea would be to paint a frog.
So many river rocks come in shapes that lend themselves to a frog shape, and a frog itself seemed simple enough, so I just dove in.
Okay, I didn’t really dive in. In all honesty, I agonized for a couple of hours over where I would place each body part, which colors I would use as outlines, etc.
It’s what I sometimes do. I spend more time planning than doing.
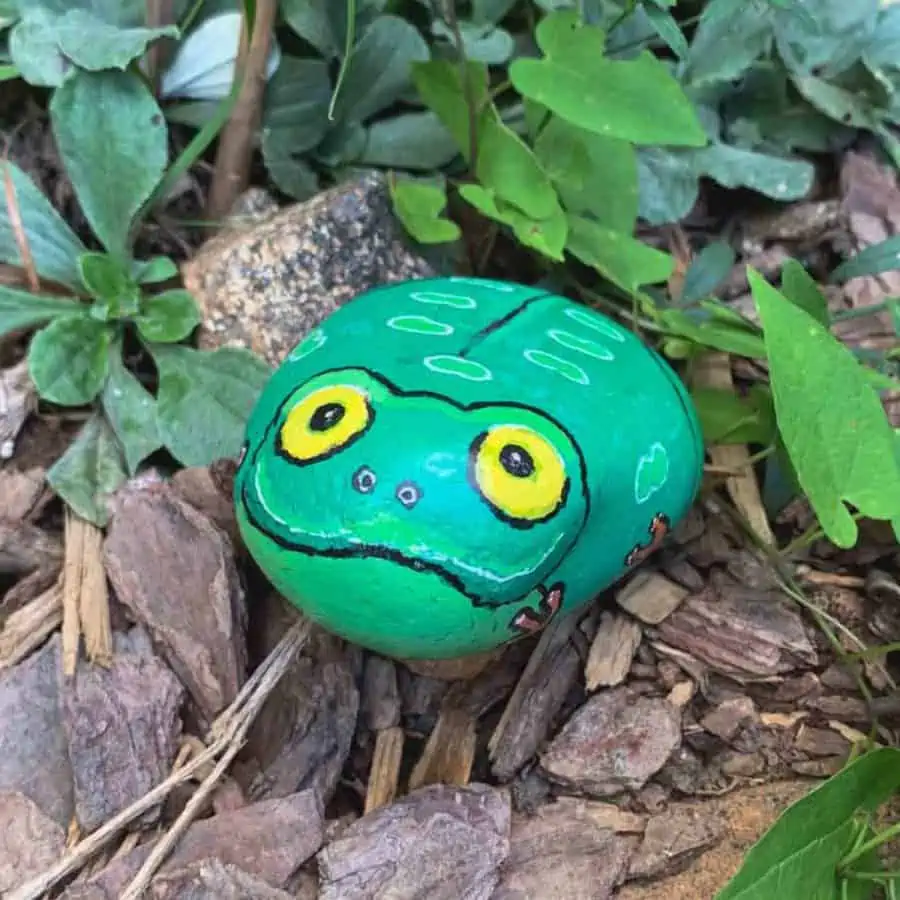
Once I got going, it started coming together quickly and what I ended up with was a painted rock that is a cross between a realistic frog and a cartoon frog.
You may know I sometimes make coloring pages, so I’m fond of a cartoonish look.
But I wanted to challenge myself by trying for a realistic look too, so I pushed my art skills a bit with this by blending the colors to give the frog’s body parts some depth.

If you’re wondering how to draw a frog, I have a tutorial on the Artsy Pretty Colors website. That will be more of a front-facing view of the frog, though.
To get a good visualization of how to draw this frog rock, I looked at images of real frogs on Google and got inspiration from images I found of other rock-painted frogs.
There were a couple of handfuls of pictures of painted ones where I borrowed a particular element from each.
Some of the links on this page have been provided as a convenience for finding materials. These links may also be affiliate links. As an Amazon Associate I earn from qualifying purchases, at no extra cost to you.
I only recommend products I’ve used and loved, unless otherwise stated. Click here to read my full disclosure policy.
DIY DIFFICULTY LEVEL | Easy
Materials List For Making A Painted Frog Rock
- River rock
- Oil paint pens or Acrylic paint pens (multi-pack)
- Pencil
- Clear top coat spray
Materials Note:
Smooth rocks will be the best for painting. You may be able to find these naturally in your area.
Otherwise, I found the best ones from Home Depot, which aren’t sold in any of the local stores so I needed to order them, but shipping was free.
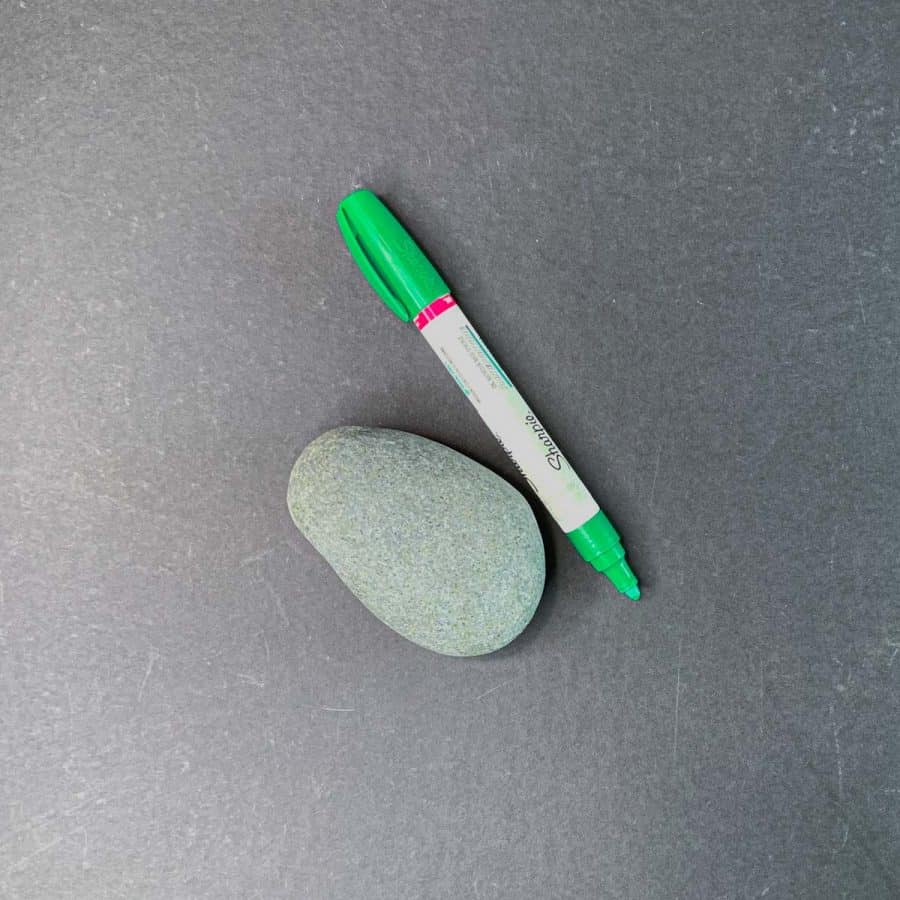
For the paint pens, I prefer the smooth glide of the oil pens, however, the acrylic has the benefit of easier clean up.
So I ended up using a mix of each for this project. You will definitely want two shades of green.
The multi-pack acrylic ones has both a light and dark.regular green. You may need to purchase a separate sharpie oil pen to get the light green.
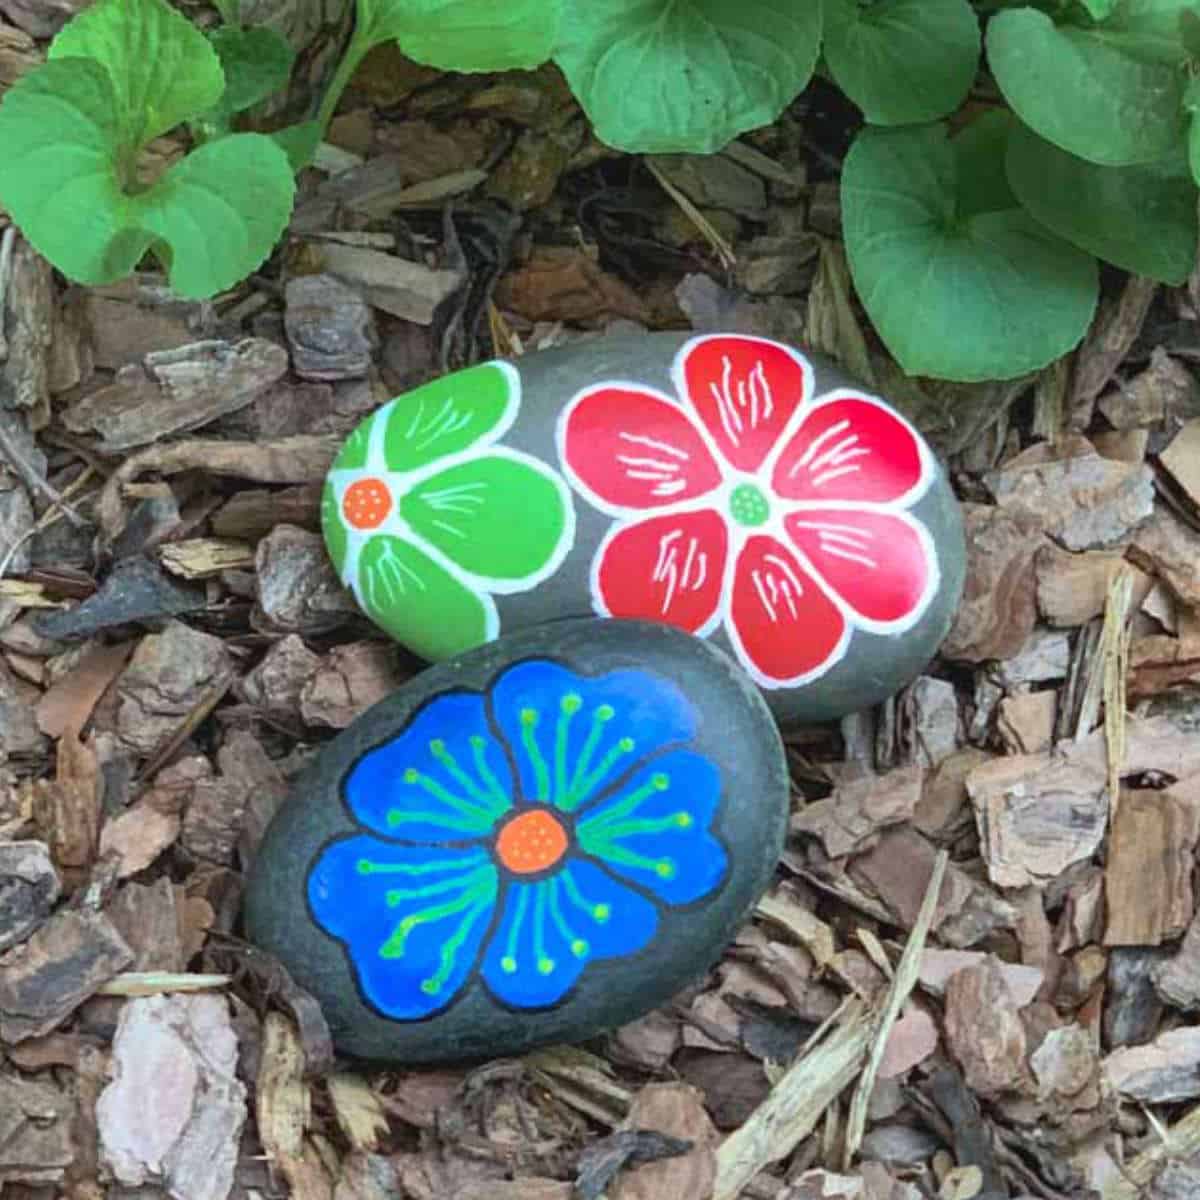
For other painted rock ideas, check out this flower rock, this adorable owl, and these 15 best rock painting ideas for Halloween and Christmas themed rock ideas.
DIY Painted Frog Rock Tutorial Step By Step
You’ll need to paint the base color first, but after that, you can paint the frog’s features in any order.
I recommend painting the more significant body parts first and then moving on to the smaller parts.
I’ve written the tutorial in what I think is the most logical order and the order I planned, but because you have to wait for the paint to dry, you may wish to paint the features of the frog out of order, which is perfectly fine.
Step 1. Choose A Rock That Fits An Owl’s Body Shape
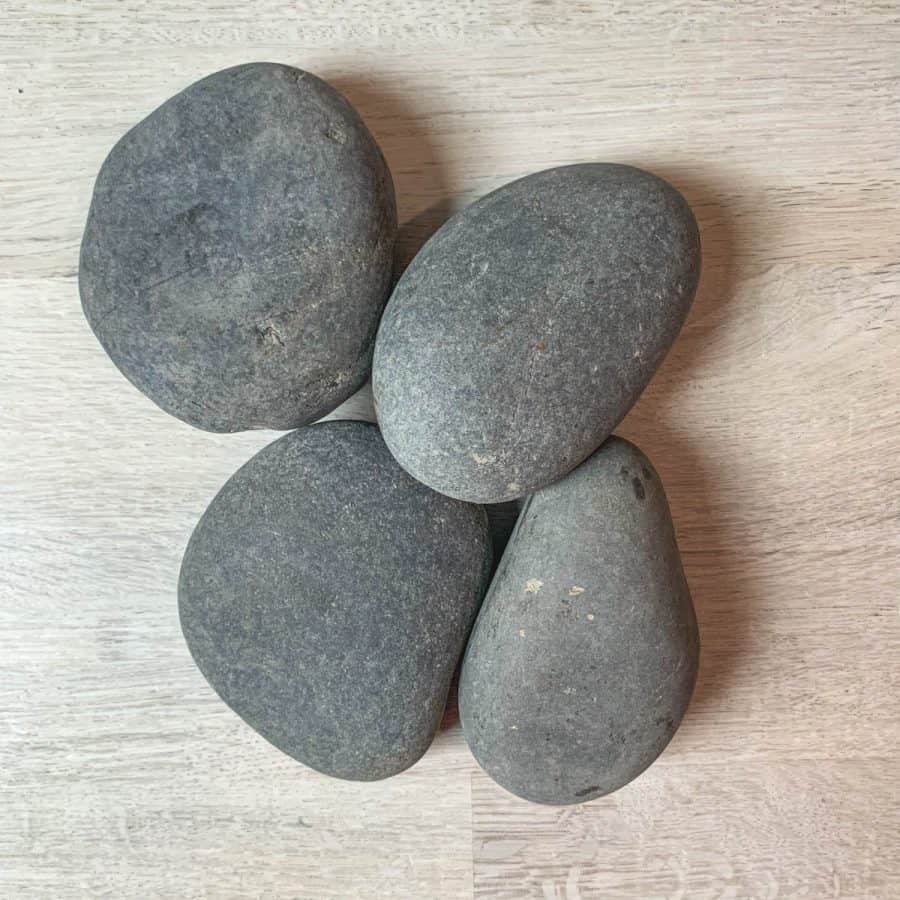
The first step is to find a rock that will work well for the shape of a turtle. Hopefully, you have several to choose from.
You’ll want a somewhat oval stone but wider at one end. It helps if it’s a thicker (taller) rock because it will allow you to draw the frog’s legs, hands, and feet onto the sides.
Once you’ve chosen rock, rinse it with water and wipe it dry with a paper towel.
Step 2. Paint The Base Dark Green

You’ll need most of the rock painted, so paint the top and sides using a dark green paint pen.
The paint should cover the stone from every visible angle. Please wait until it’s completely dry before moving on to the next step.
Step 3. Paint The Owl’s Hind Leg Shape And Eyes

Next, you will hone in on where the hind legs go. I chose to use black to create my outlines.
You want to find the most natural position where the legs would go, which will be at the wider end.
Make a curve on each side, but don’t carry the line down at the front side. You’ll leave this a little open for the feet in a later step.
For the eyes, again, find the most natural position. Furthermore, using a pencil to first play with the placement is helpful.
I moved the frog’s eyes twice because I didn’t like where I had them positioned. I went with a yellow color, but you may want to do white, orange, or even blue.
To paint the eyes, you can start with painting the color first, outlining them, and then filling in the colored part.
I chose to outline and then fill, knowing I could paint over the outline if I wanted to make them bigger.
Step 4. Paint The Trunk Line And Add Depth To The Legs And Spine

Now paint a line up the middle of the back. I stopped the line before it got too close to the eyes.
You can see here, this is where I went out of order and drew the line above the eyes first.
If you want to add some depth to the body then paint a little bit of the lighter color green on each side of the spine outline, as well as on the inside of the thigh.
I used my finger to blend the colors together.
Step 5. Add The Face Shape And Nostrils

Draw a line that follows the frog’s chin and cheeks. I extended this line above and around his eyes.
Step 6. Detail The Face And Color In The Vocal Sac
To bring out the keys a bit more, you may wish to highlight the upper part of the eyes.
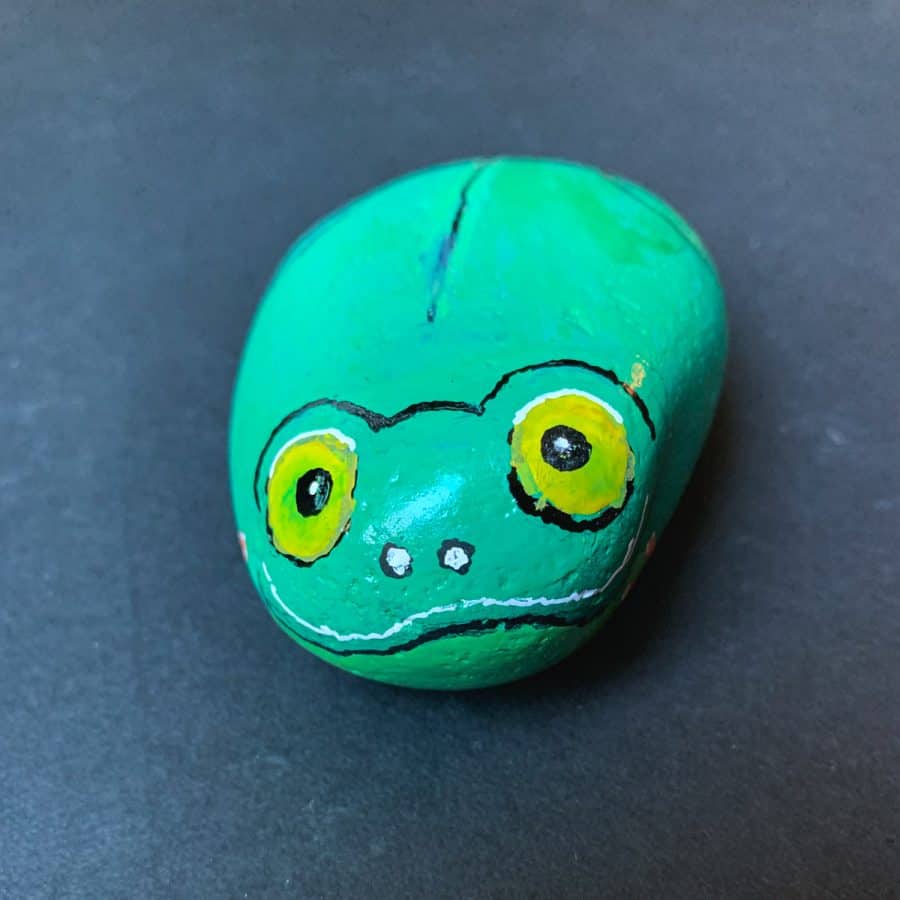
I found that the nostrils looked odd just being outlines and didn’t want them black, so I filled them in with white.
Add a mouth line just above the chin. It’s not shown in this photo, but I also added another line of light green on top of white line, in the middle section of the mouth and blended that in (see the final pic below the last step).
The vocal sac under the chin line should be painted a lighter color. This will do a lot to help it look more like a frog. I used the light green pen for this.
Over time, I refined the eyes and redrew the outline. Inside the yellow, I added a pupil with a dot of white.
Step 7. Add The Body Spots

For the spots, I decided on peanut-shaped spots. This was, of course, after trying randomly placed circles first and then again in a different pattern.
I like the controlled, opposing peanut-shaped spots the best.
You can make these any color or omit the spots altogether.
Step 8. Paint The Frog Hands And Feet
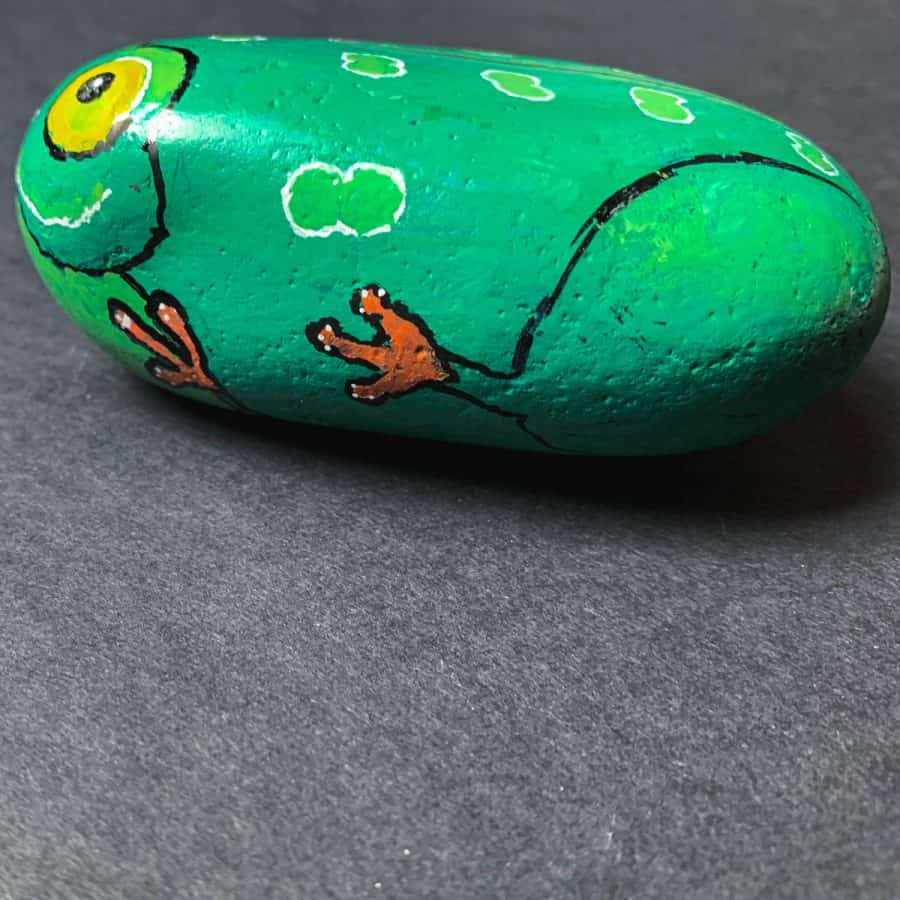
The uneven shape of the sides of the stone made it difficult for me to paint the details on the sides.
My hand didn’t want to hold steady when drawing, but I managed okay.
On the sides, I first painted the hands with three fingers and then attached the feet at the thigh with three toes.

Next, I highlighted each of the fingers and toes with white dots.
If you plan to keep your adorable frog rock painting outside, you should follow the next step. Otherwise, enjoy your fun new froggy friend!
Step 9. Seal The Painted Frog Rock
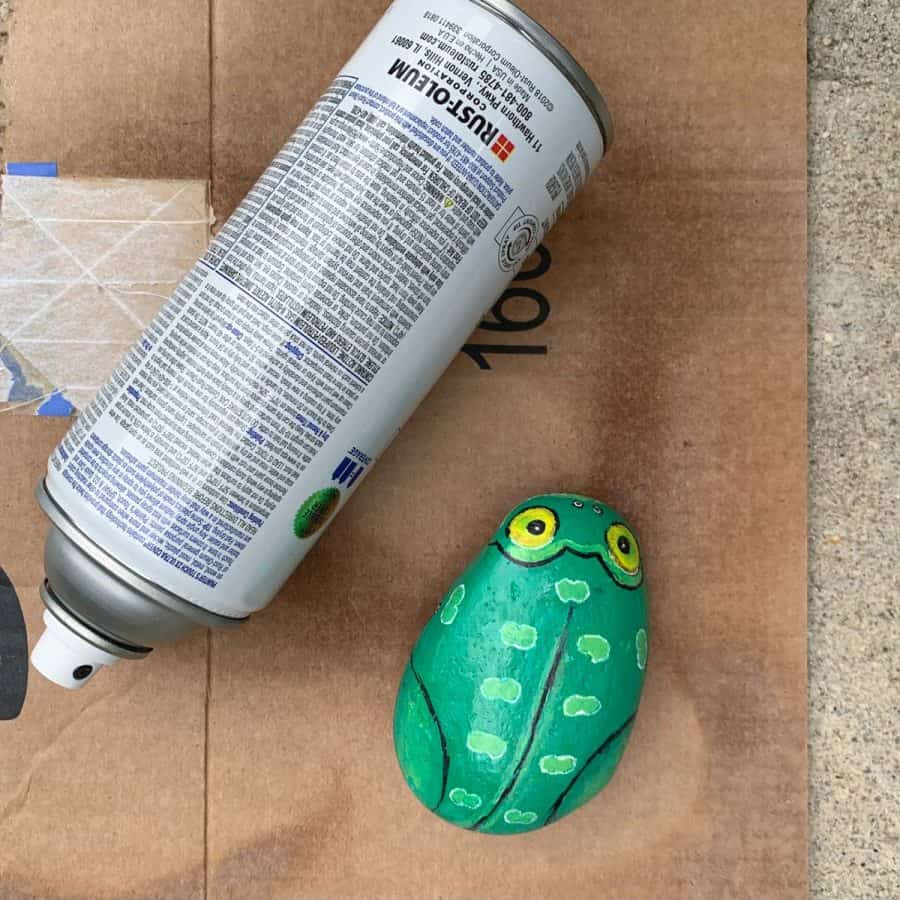
Wait at least 24 hours before sealing the frog. Then, use the acrylic clear coat spray to spray an even, light coat over the frog.
Be sure to do this from further away than the instructions say and also spray very lightly to avoid bleeding.
You can spray a second coat at the recommended distance an hour later.
Also, remember to spray the bottom so the stone doesn’t gather moisture from underneath.
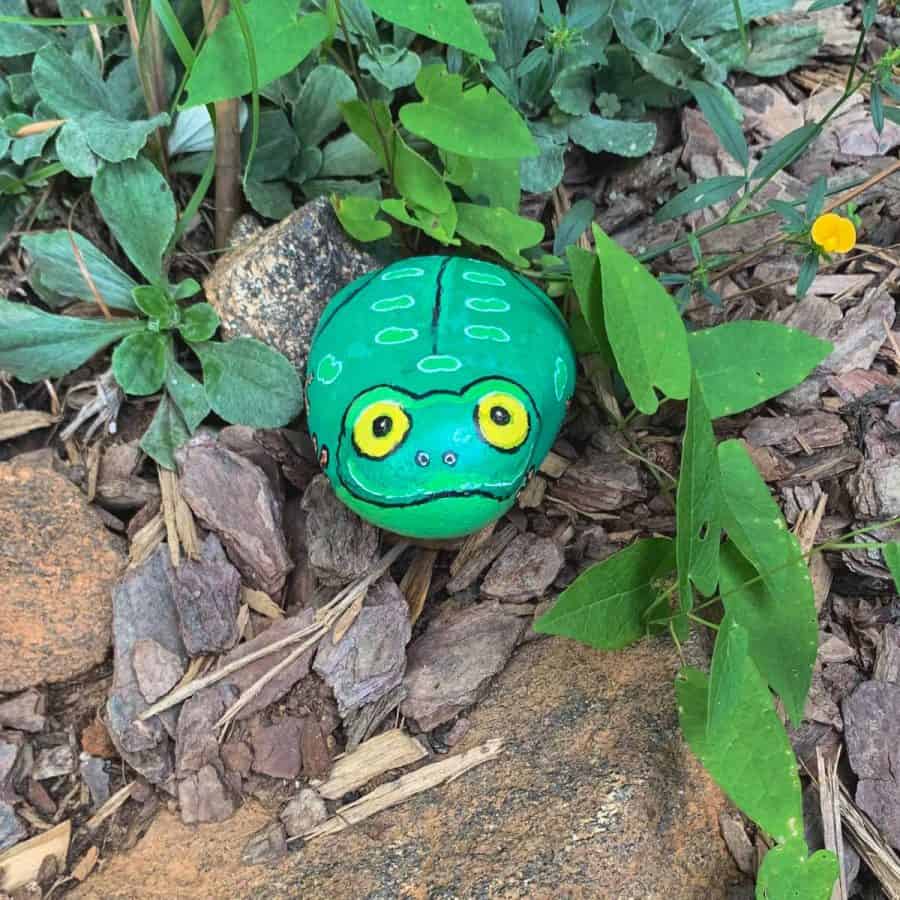
Now when finished, placed your adorable frog in your garden.
Here is a list of 50 different ideas for ways to decorate clay pots.
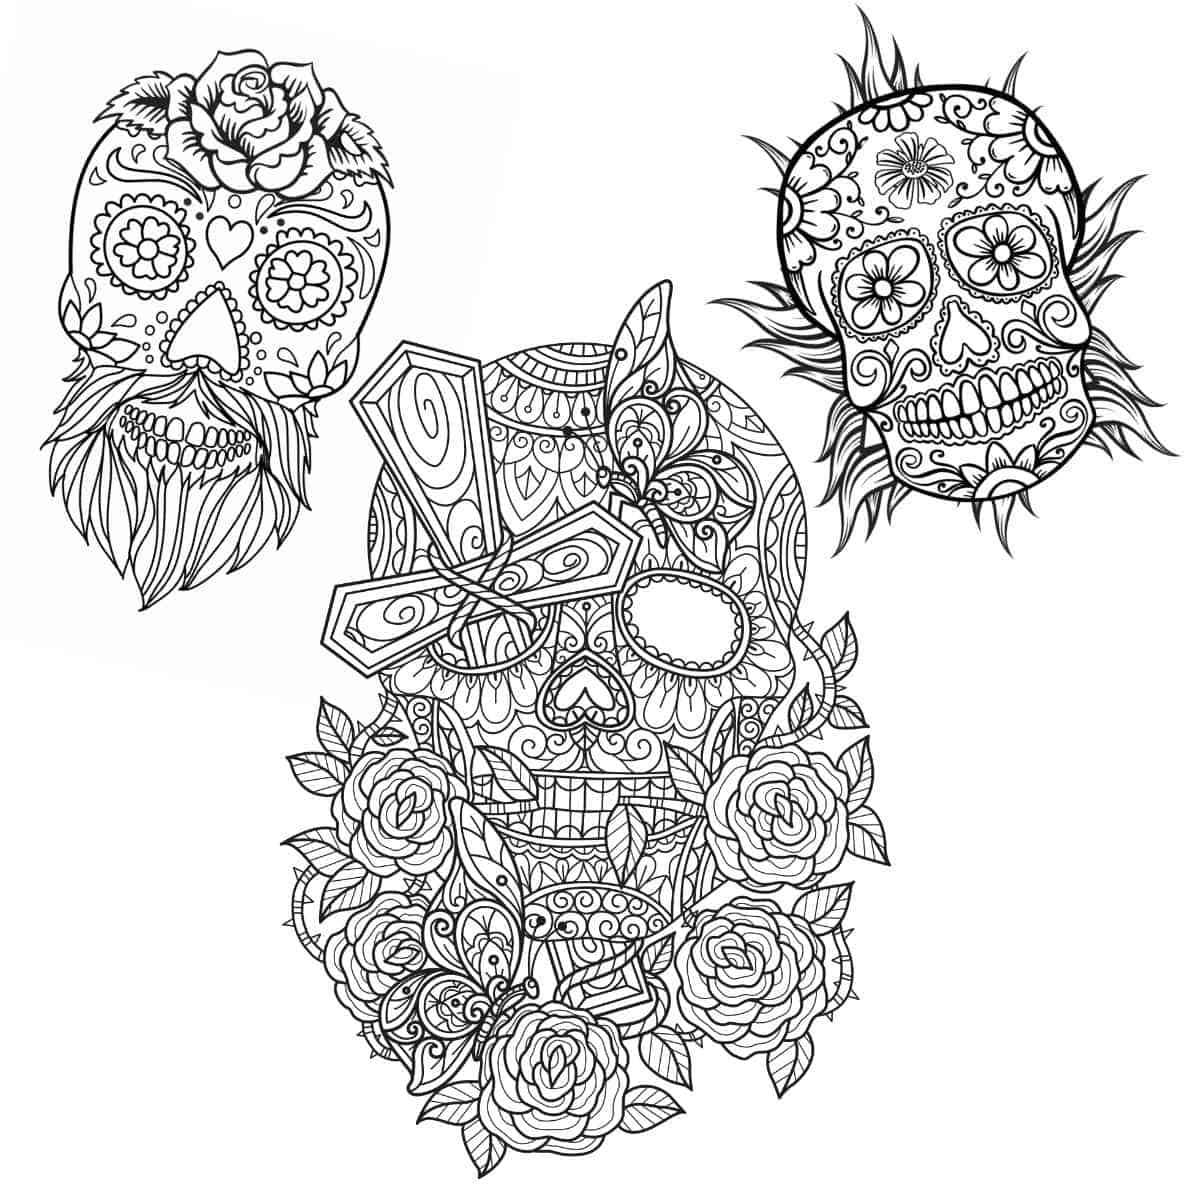
For more fun garden related things to do for a rainy day, check out these garden coloring pages.
Don’t forget to Pin it for later!

DIY Cute Painted Frog Rock
Learn how to make a rock painted frog in this easy tutorial. Rock art is extremely rewarding and something everyone can do.
Materials
- Smooth rock
- Paint pens- various colors
- Pencil
- Acrylic top coat
Tools
- Please see the full materials list above the tutorial for details and links.
Instructions
- Choose A Rock That Fits An Owl Shape
- Paint The Base Dark Green
- Paint The The Hind Leg Shape And Eyes
- Paint The Trunk Line And Add Depth To The Legs And Spine
- Add The Face Shape And Nostrils
- Detail The Face And Color In The Vocal Sac
- Add The Spots
- Paint The Hands And Feet
- Seal The Rock Painted Frog