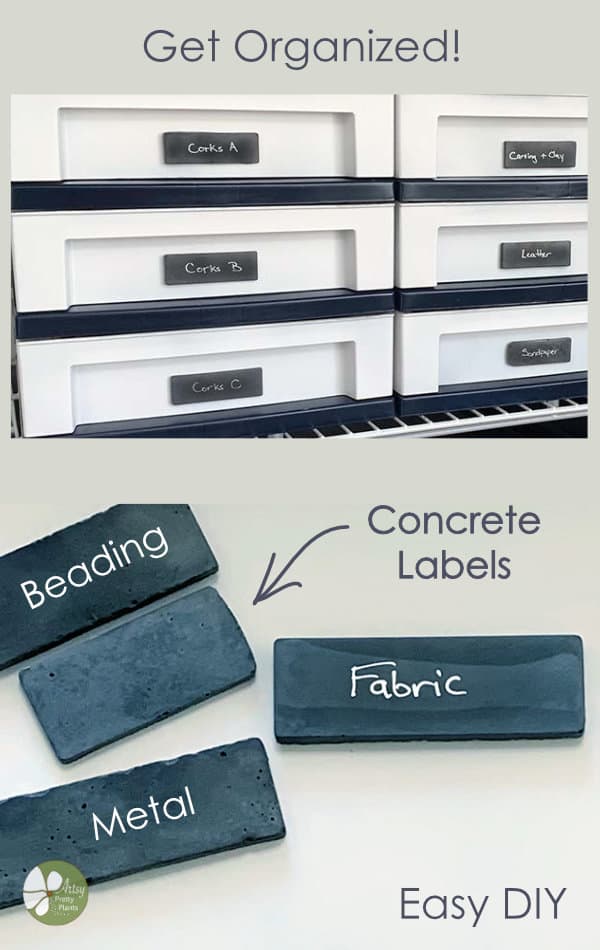
How To Make Concrete Organization Labels (DIY)
How to make your own concrete organization labels! Yes, that’s right, in this tutorial, I’ll show you how you can utilize concrete to make custom labels for things.
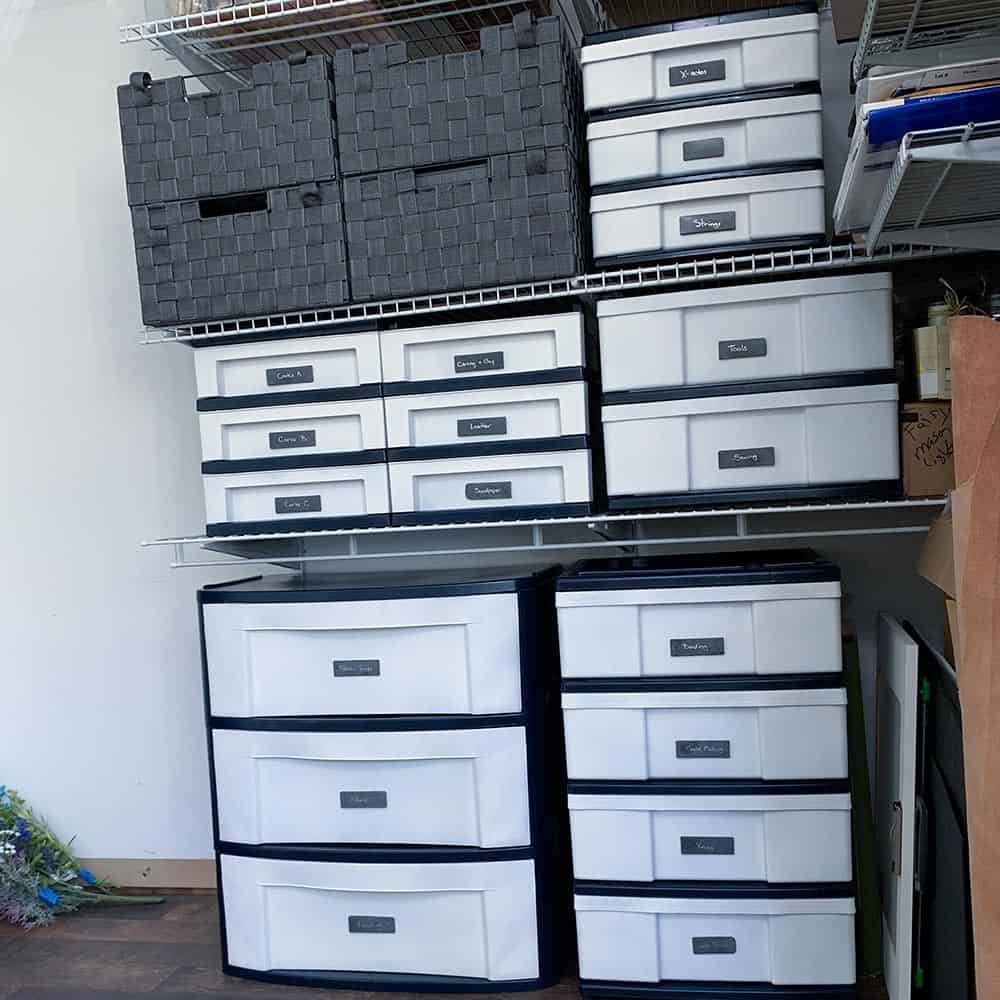
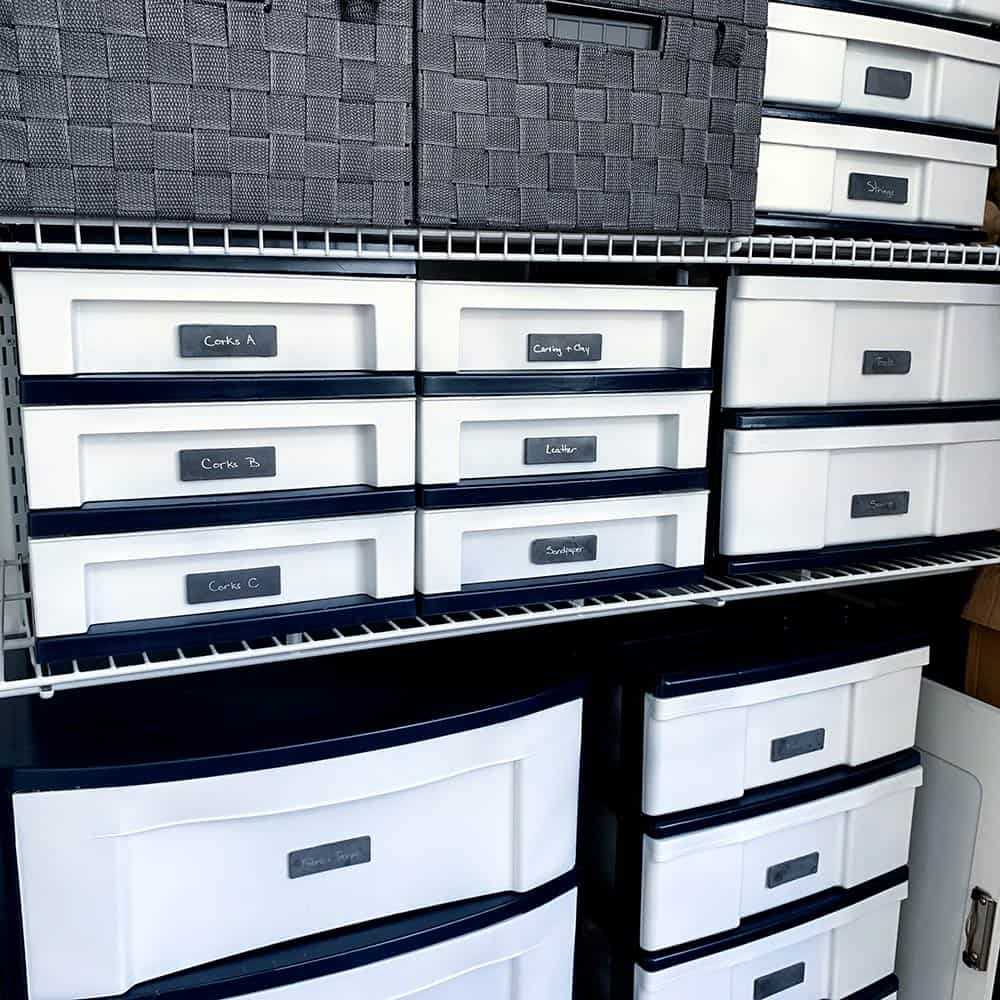
I had some old plastic drawers I painted and couldn’t see myself slapping on the extra printer address labels I had lying around.
Not after all the effort I one through to make those drawers look so nice and neat.
That’s when the idea of using concrete to make a label came to me.
Why do something the easy way when I can do it the cool way! Haha.
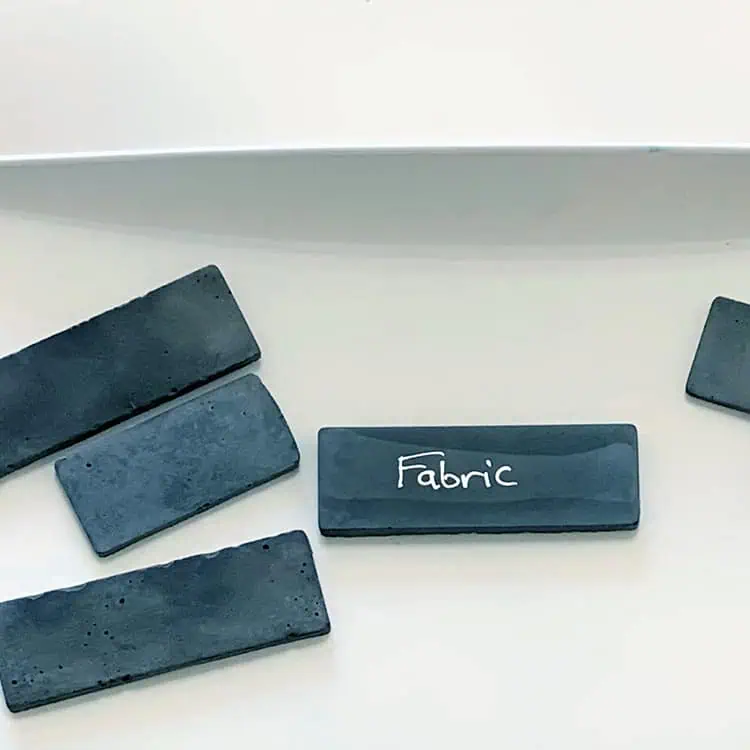
These labels have actually turned out fantastically from a functional standpoint.
I can see them, they are nice and clear to read and they give the drawers visual interest.
I love the modern and rustic feel of the concrete labels give.
And yes, once again I’m throwing around the concrete and cement terms interchangeably because they are basically the same thing.
Cement is concrete without all the aggregate so it’s much smoother.
I used the charcoal colorant here to give contrast with the drawers, but you can totally skip the colorant if you want and keep them light.
Some of the links on this page have been provided as a convenience for finding materials. These links may also be affiliate links. As an Amazon Associate I earn from qualifying purchases, at no extra cost to you.
I only recommend products I’ve used and loved, unless otherwise stated. Click here to read my full disclosure policy.
Difficulty Level | Moderate
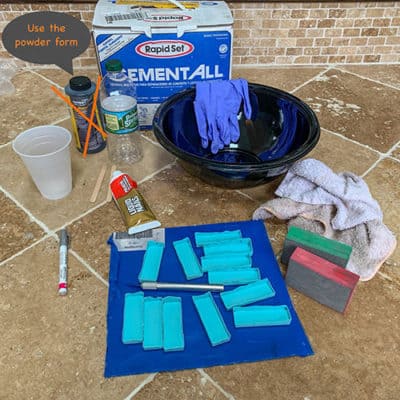
Materials For Making Concrete Organization Labels
- Silicone mould
- Cement All, Rapid Set-10 or 20lb
- Latex/nitrile gloves- lots of them
- Disposable plastic mixing bowl
- Plastic grocery bag
- Disposable plastic cup
- Disposable measuring cup
- Charcoal colorant
- Plastic water bottle
- Sharpie Oil Marker- silver
- X-acto knife
- Liquid Nail adhesive
- Craft sticks
- Rags & Paper towels
- Plastic floor covering


Before starting the tutorial, it may be helpful to read my article comparing the different concrete mixes and sealers– Cement & Concrete Crafts Tests!
Another important article is Making Cement Crafts Techniques & Tips with info on cement materials, mixture consistencies, demolding, safety and clean up!
DIY Concrete Organization Labels Tutorial Steps
Step 1. Mix Up The Colorant

Add about ½ cup of water to the disposable measuring cup and then add some of the cement charcoal colorant powder.
Now mix it up with the craft sticks (I usually just use my gloved hand).
You will need to play with this to get the color where you want it.
I ended up adding at least a tablespoon to this amount of water.
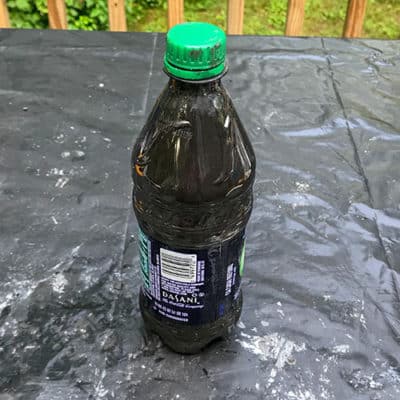
Don’t worry about mixing it completely in the measuring cup, because it’s too difficult to mix it this way, instead just pour the mixture into the plastic bottle and shake it.
Be sure to shake it each time before use because the colorant settles quickly.
Step 2. Trim The Concrete Mould
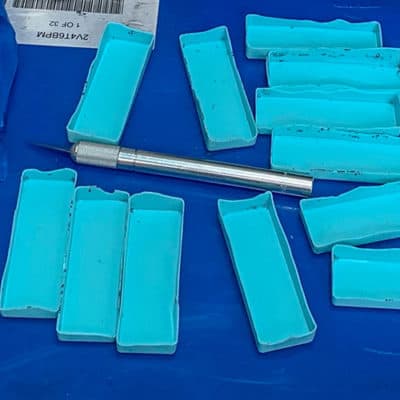
Using the X-acto blade, trim each cavity from the concrete mold.
If you don’t then the mould will bend in on itself and be sloped on the bottom and you won’t be able to glue them flat.
Step 3. Mix The Cement
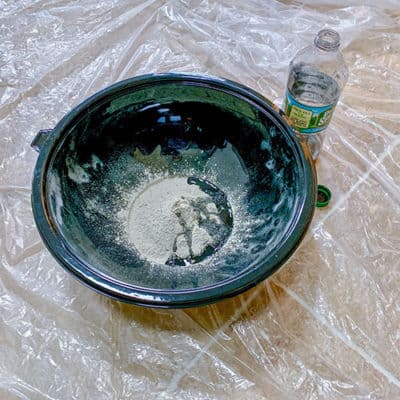
Mix the cement with the colored water. First, scoop some cement into the disposable mixing bowl and then add some colored water.
You don’t need much for this, so start with ½ a cup of cement (remember to shake the bottle first), then add a little water and mix.
Now add a little more cement or water.

You should end up with about ¾ of a cup of cement altogether and it should be like a thick shake so you can pour it.
Step 4. Pour The Mixture

Pour the mixture into each piece. Make sure you only pour in a tiny bit, just enough to cover the bottom after it is spread out.
I would say I used less than a tablespoon per rectangle. If you add too much, just scoop it out.
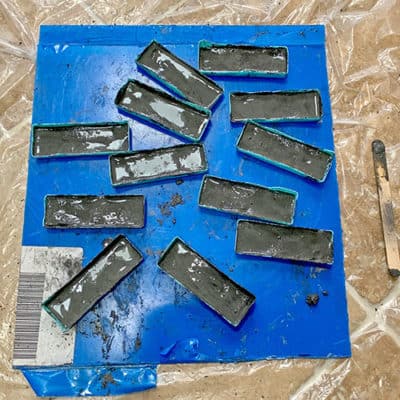
Tap the mould on your work surface multiple times to get it nice and level.
I ended up picking it up from its siders and sort of slamming it onto the counter like you might when making dough.
This was the only way I could get it somewhat level.
Be sure to wipe out any cement that has gotten on the inside edges and is touching your soon to be label because it will create sharp edges- see pic above.
Step 5. De-Mould The Cement
Wait about 4 hours to de-mould these.
Even though this is supposed to cure in an hour, I think because they are so thin, they need to be more hard-cured to remove without breaking.
Push out the short ends first to avoid breaking them.
Step 6. Sand If Necessary

Once removed, if you have little flares or sharp edges, then sand them.
I used the diamond sanding blocks for this, but you can use any sanding blocks.
I started with the #60 grit and rubbed the edges on it, then moved up to the finer grit blocks.
Be very careful when sanding and make sure you hold the labels from the edges and don’t press down in the middle.
Pressing down in the middle is a sure way to break them.
Step 7. Label The Tags

Now you get to label your cement tags. Use the Sharpie oil marker to write the names on them.
Follow the instructions on the marker to get the paint flow started