How To Color Concrete & Cement Crafts– The Pigment Tests
In this article, I will show you how to color concrete crafts. After my testing, I can definitively show you which techniques and mediums produce the best results.
Did you know there are at least nine different mediums and techniques you can use to color your concrete and cement?
Each method has its own benefits. Additionally, there are a couple of handfuls of concrete crafts colorants that you can use. So how do you choose?

Toward the bottom half of the post, I performed a series of tests on several types of concrete crafts pigments.
It is a deep dive to determine not only how much colorant is needed to achieve a high concentration of color, but also which colorants perform best.
Some of these tests show side by side comparisons of the techniques discussed here.
Click here if you’d like to jump straight to my tests with concrete pigments. Otherwise, here’s an explanation of the different types of concrete color mediums, and when to use them.
What Are The Different Types Of Concrete Colorants?
Pigments made to color concrete come in many forms, including powders, dyes, paints, and stains.
A big factor in which type you choose depends on whether you are applying the color to pre-existing concrete, or pouring your own.
This is because you can color concrete two ways, either by applying integrally into the mix or by applying color after the concrete has cured.
The following types of concrete color are considered to be integral concrete coloring since they are added to the concrete mixture:
- Water based paints- acrylic, latex
- Concrete powdered pigments
- Liquid colorants
- Dyes
These concrete colors are topical since they are added to the cured concrete after it has dried:
- Water-based paint
- Water-based stains
- Acid stains
- Dyes
- Other paint-like topical coloring agents
-resin
-alcohol ink
How Do You Color Concrete?
Mixing Pigments Into The Wet Or Dry Mix
Water-Based Paints
When using acrylic paint, you mix it into the wet mix. It can be a cheap way to color concrete crafts.
The same goes for using latex paint.
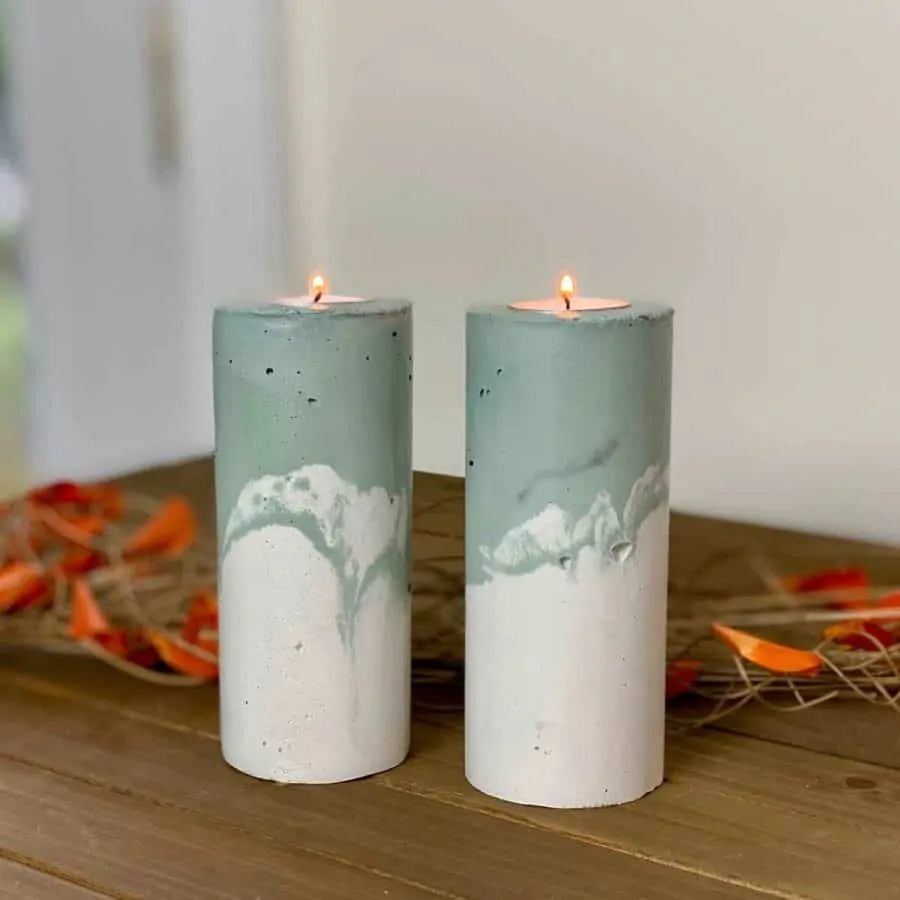
An example of this are these concrete pillar candleholders I made using a white cement mix with a green colored acrylic paint.
Even though the cost for acrylic and latex paint is low, these water-based paints are not as concentrated as a pigment or liquid colorant that are made specifically for concrete will be.
The acrylic will require adding a good bit more paint to a mix to get to your desired color, than if you use specially designed coloring.
You can learn more about this below where I performed tests coloring cement with various ratios with acrylic paint.
Using Dyes To Color Concrete Crafts
You can use dyes to color concrete, such as food coloring or fabric dye. The method for coloring concrete this way is to add the dye to the water before mixing it into the dry concrete mix.
Adding a food coloring dye won’t make the concrete color as concentrated as it would with a fabric dye.
You will need to add more with the food coloring dye than you would with the fabric dye.
A concrete powdered pigment and a liquid colorant are more concentrated than dyes. This is because they are designed for coloring concrete and cement.
Color Cement With Powdered Pigments
You directly add concrete powdered pigment to the dry powder mix. These are made of oxide or mineral powder.
These can carry a high degree of concentrated color.
Synthetic forms of concrete powdered pigments are also available.
These are even much more concentrated and can provide more vibrancy, though they are pricier than the organic oxides.
You can use powdered pigments to color cement white. However, it won’t be quite as white as an actual white concrete mix is naturally- out of the bag.
It is much easier to accomplish a white color in cement if you use a mix such as Cement All, which is an off-white mix- as opposed to a grey mix.
Click here to jump down the page to the tests using the powdered pigments.
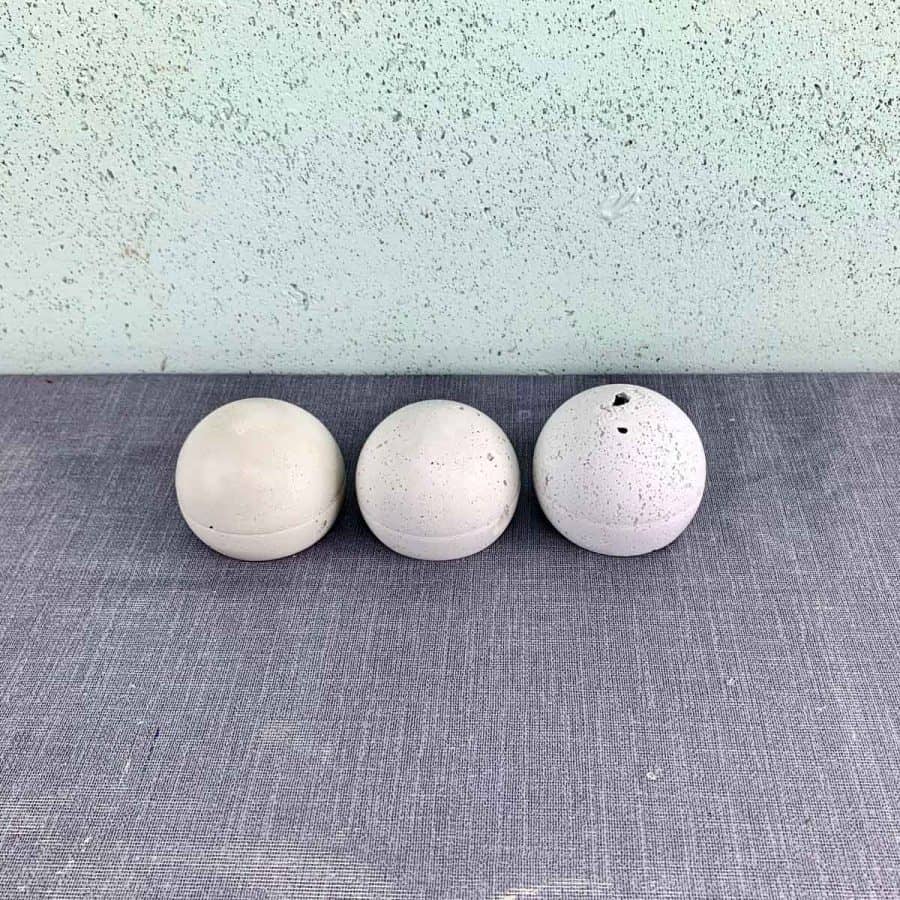
These three planters were made using Cement All. The one on the left doesn’t have any added pigment.
White titanium oxide powder has been added to the mix used in the middle planter shown.
And the one on the right is made from a concrete mix that is manufactured to be white.
I was also able to achieve a close to white concrete by adding acrylic paint to the wet mix, but it required so much paint that it could have risked the durability of the planter.
Adding too much paint can cause cracking or crumbling.
To read more about how much acrylic paint you need in comparison to an oxide pigment jump down to here.
Use Liquid Color
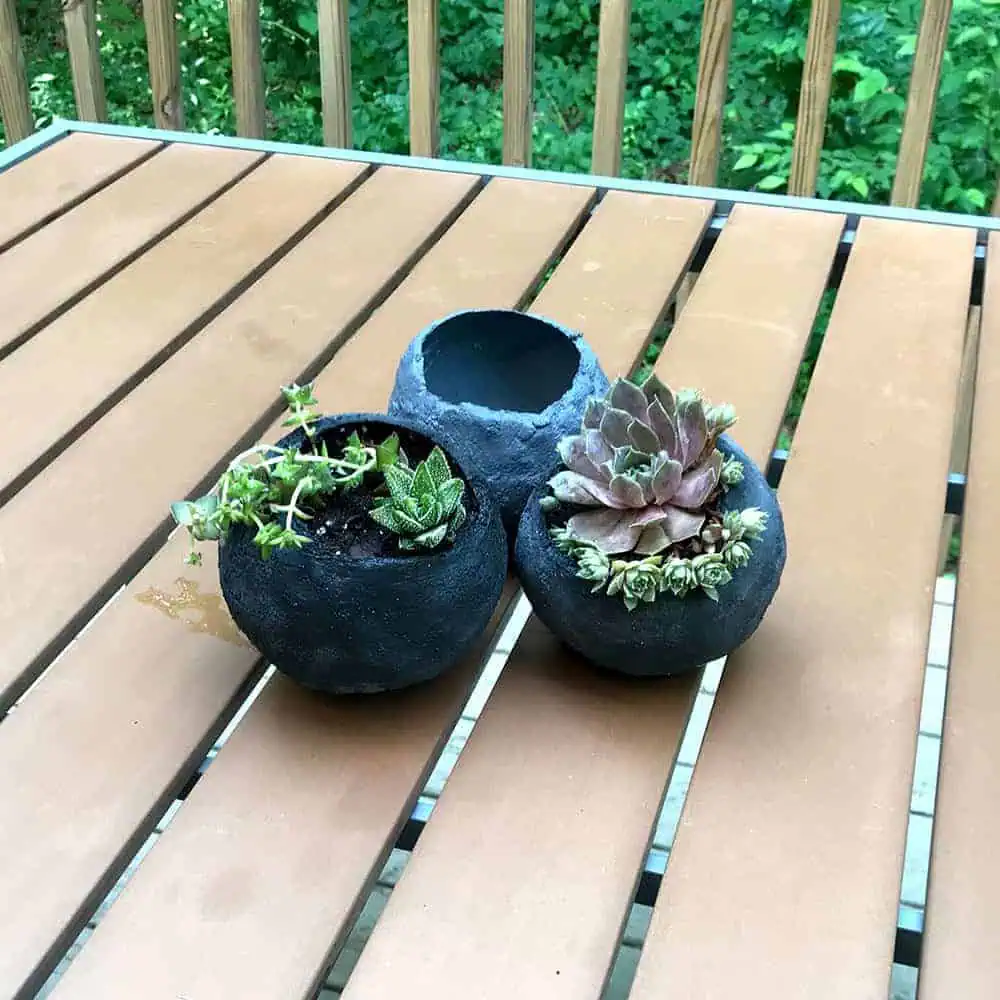
These mini cement balloon planters are colored with a liquid colorant.
You can also use liquid colorants to color concrete.
Liquid colorants actually are powdered pigments that have been pre-mixed with water. They have the same visual effect, but maybe easier to handle.
You add these concrete coloring agents to the water that you use to mix with the dry concrete.
Topical Coloring Of Concrete Crafts
Paint With Water Based Paints
The most common way to color concrete crafts after they have cured is by painting them.
Acrylic paint is the easiest way to paint cement and concrete.
Some colored concrete can fade and this depends on the ingredient you are using to color it.
Concrete pigments that are specially made for concrete typically won’t fade, because they contain properties that will prevent that.
I have painted concrete flower pots with both acrylic and latex paint. And another way to paint cement is to spray paint it.
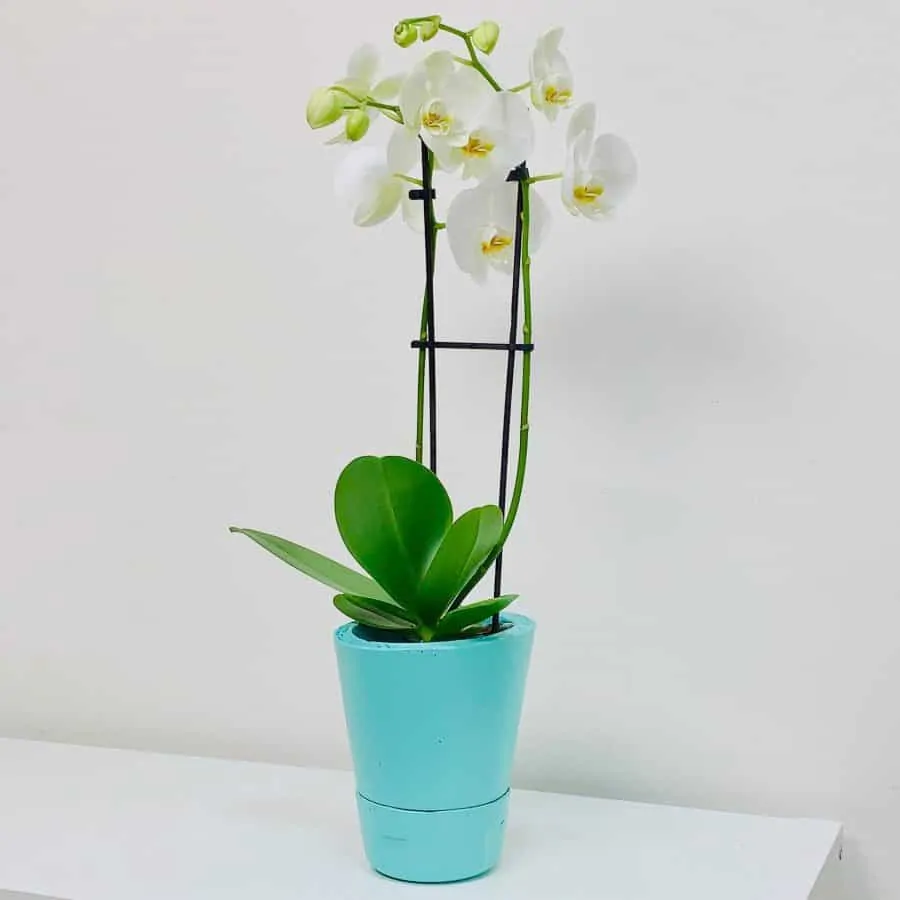
I painted the self-watering concrete flower pot, pictured above, with latex paint.
You do not need to use a primer when painting concrete crafts, but using a primer may give you a better finish.
It’s important to know that when you apply paint after concrete has cured, it can fade- just like any paint.
It’s not likely you’ll notice fading, if the concrete crafts are being kept indoors.
If the concrete craft is outdoors, then exposure to light and elements can contribute to fading.
You can help prevent paint from fading by using a paint made for outdoor use, and by sealing it with a protective coat of concrete sealer, after painting.
Coloring Cement With Dyes
Concrete dyes will penetrate the cured surface and will dry quickly.
While this can be helpful, it can also be a little trickier to apply as you have to work quickly.
Use Water Based Stains
Using water based stains on cement and concrete will give a transparent or semi-transparent look. These stains are the ones that are the most common.
These stains will coat the surface but won’t fully penetrate, and may not be long lasting.
You do get a longer working time with these which can make it easier to get an even coating.
You should seal these water based concrete stains after.
There are other types of stains that are penetrating and will last longer.
Coloring Method With Acid Stains
An acid stain can be a great way to color concrete and provides a unique look to concrete.
Acid stains contain metallic salts and hydrochloric acid. These chemicals will react with the minerals in cement and concrete.
It is the most permanent means of topical coloring for concrete. This look will provide a marbled, mottled or variegated appearance.
A Hybrid Method Of Coloring Concrete: Topical And Integral
It is possible to color concrete after it’s poured by doing a hybrid of integral and topical coloring of concrete.
Simply rub the color into the concrete’s surface while it is still wet, before the concrete has set. Do this before it has cured.
You can see the hybrid coloring technique with this faux rock concrete planter.
My Concrete Colorant Tests And The Results
For a fun, deep dive into my experimenting with the various types of concrete coloring agents and how effective they were at achieving a concentrated color, then read on below.
When I first started working with concrete and cement, I was anxious to start experimenting with types of pigments and techniques for coloring concrete.
And I always say, there’s no better way to learn than by experimenting.
If you haven’t seen my article on making concrete and cement crafts and the in-depth tests I did on six different concrete mixes, then you may also want to take a look after reading this.
Integral Coloring Tests With Concrete Pigments
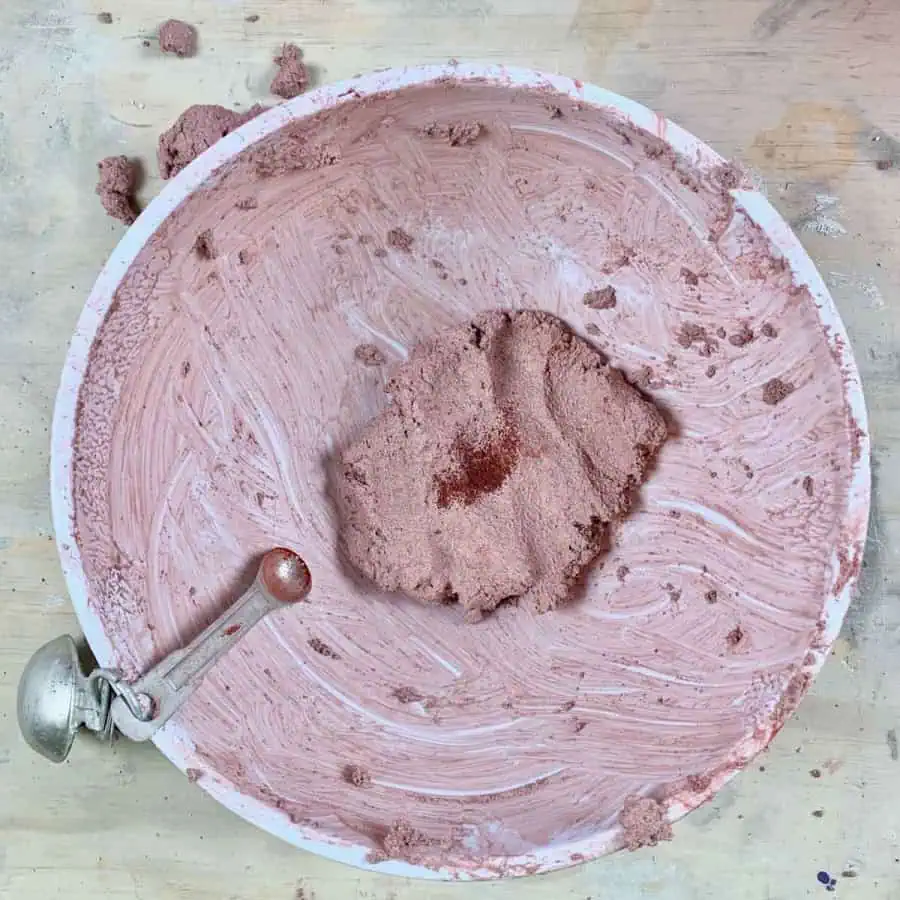
The Test Set Up And Goal:
For this set of tests, my goal was to check the levels/depth/loads of color and what the saturation point would be.
The saturation point is the point in which a deeper level of color can no longer be achieved by adding more pigment.
In other words, if you want your cement craft to be a deep navy blue, you can add 25% color, then another 25%, then another.
Eventually, it won’t get any darker or bluer because you will have reached the saturation point.
And once you reach the saturation point, you have also reached the point where adding more pigment may weaken your concrete craft.
I also suspected that not all pigmenting materials would be equal in terms of pigmenting concentration. So let’s see what happened.
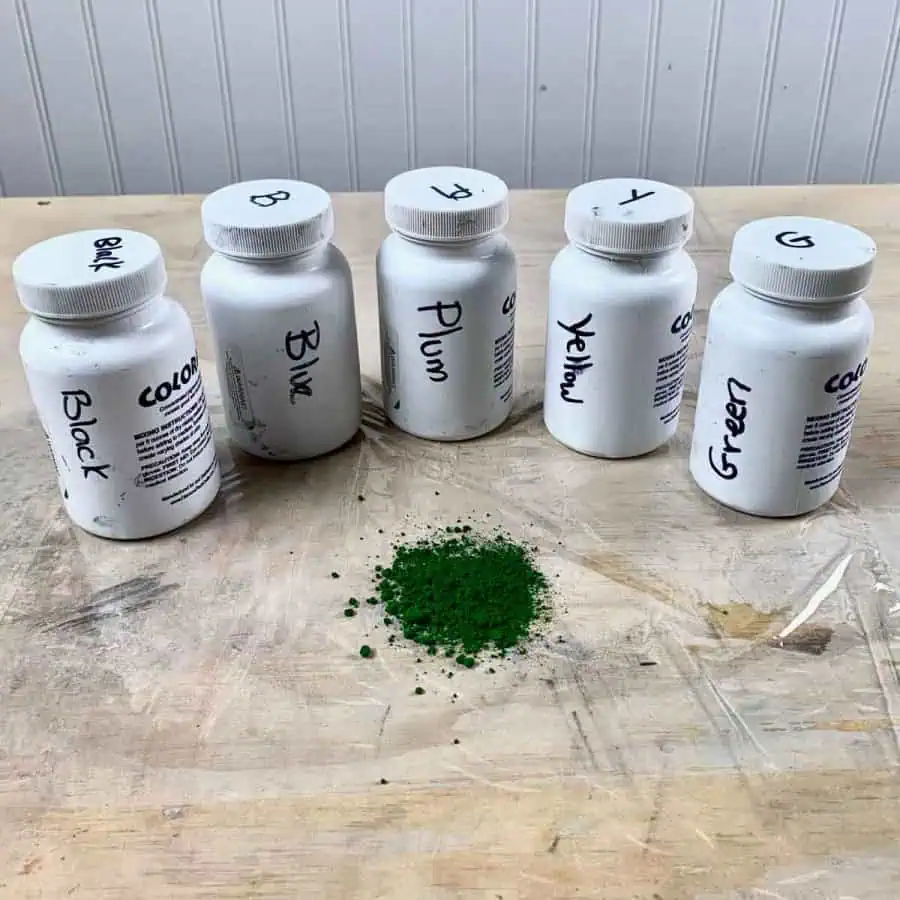
Since powdered oxide pigments are the most common type of colorant used in integral concrete coloring, I started there.
My goal was to find out how much powdered pigment is needed until it reaches the saturation point or its highest level of concentration.
Also, how different will the color concentration levels be until that point?
Note: I used a naturally white cement mix for all the integral coloring tests.
Integral Coloring With Oxide Pigment Powders


Materials: White cement mix and red powder oxide pigment.
I used a silicone muffin mold to cast these pieces in since I could make everything the same size to properly test the pigmentation.
I wasn’t terribly fond of using it for cooking anyway. :0} I’ll call the concrete muffins “discs” because it sounds silly to call these muffins. ;0}
First, I filled one disc with the white cement so we’d have a baseline to compare.
Next, I added varying amounts of red pigment to 6 more disc molds.
I’m listing the amounts here, but it is important to know that each pigment color- red, blue, white, green- has slightly different saturation points.
They aren’t the same across the board. Not only are the saturation points different between colors, but they are also different between brands.
These amounts are really low, but what’s important is the increase in %.
Each disc held about 1 cup worth of wet cement.
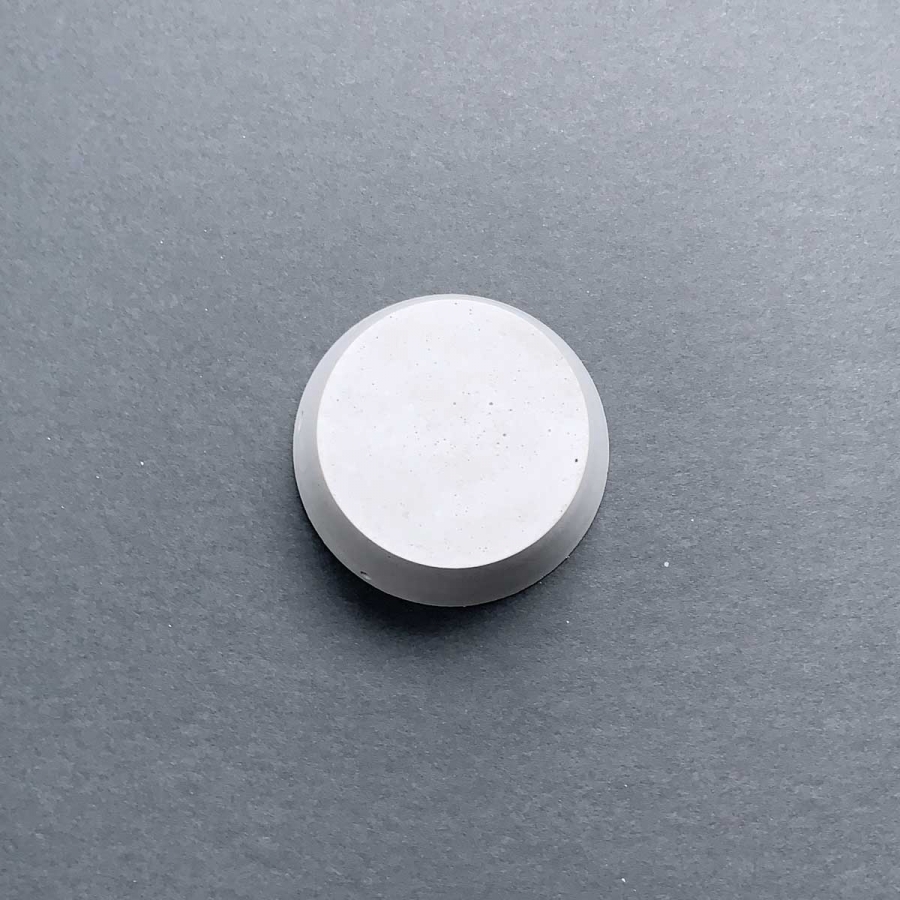
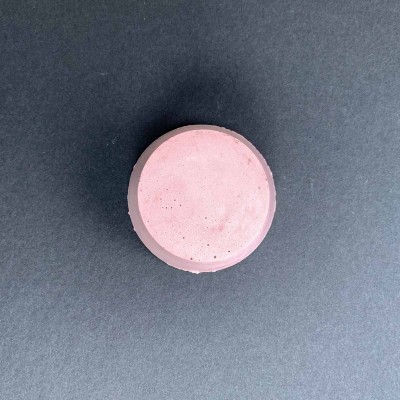
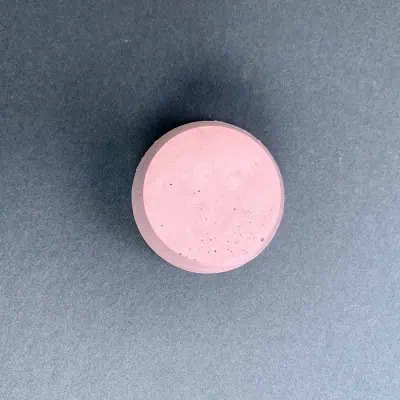
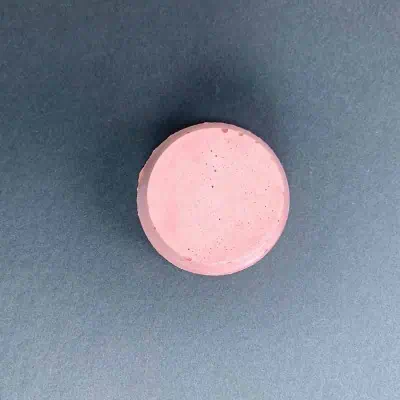
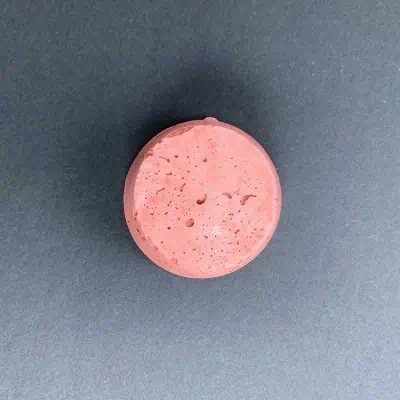
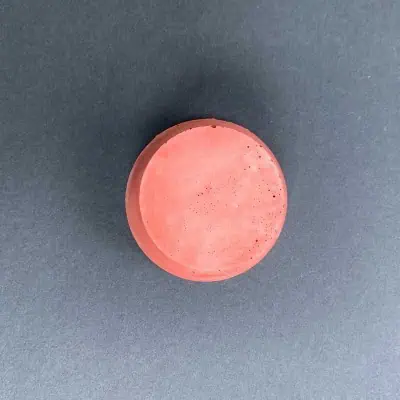
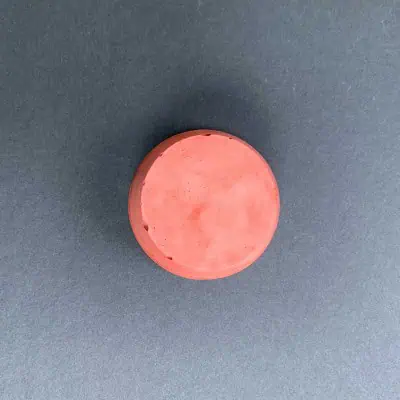
As you can see, the increases in color depth are incremental until you get to #6.
The 83% increase is the same as the #7 at the 100% increase, so somewhere between 75% and 85%, I had reached the saturation point.
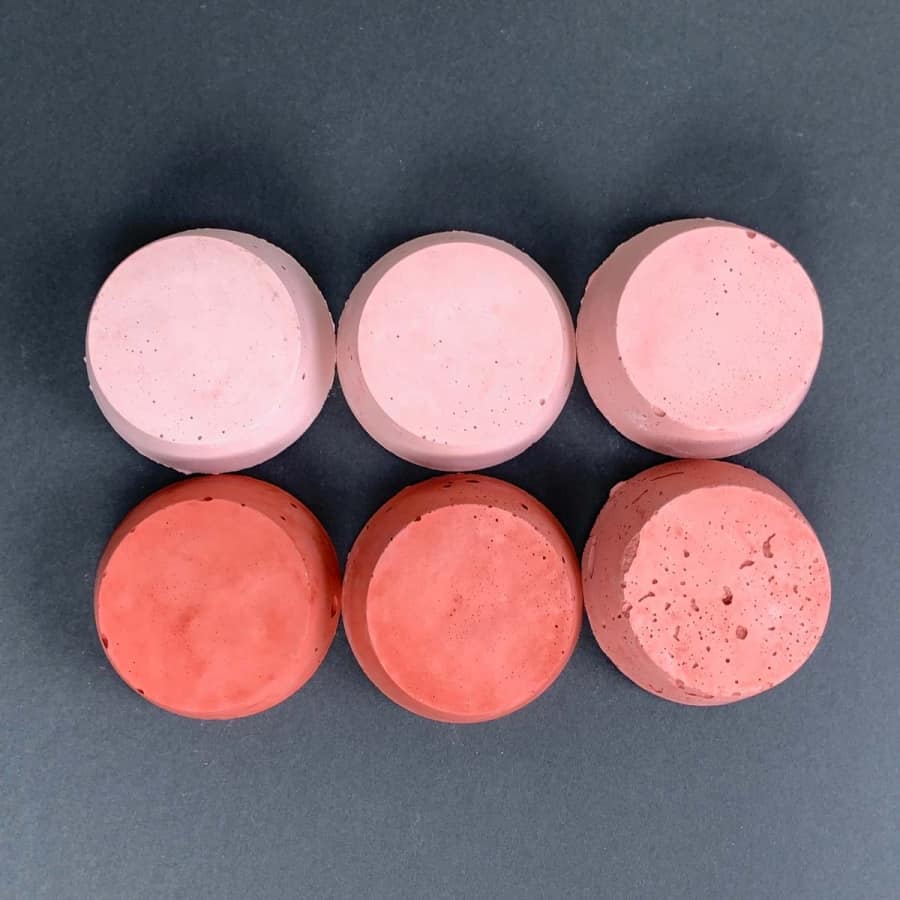
Adding more color beyond that won’t make the color deeper.
In fact, once you reach that saturation point, adding any more will start to mess with the structural integrity of the cement.
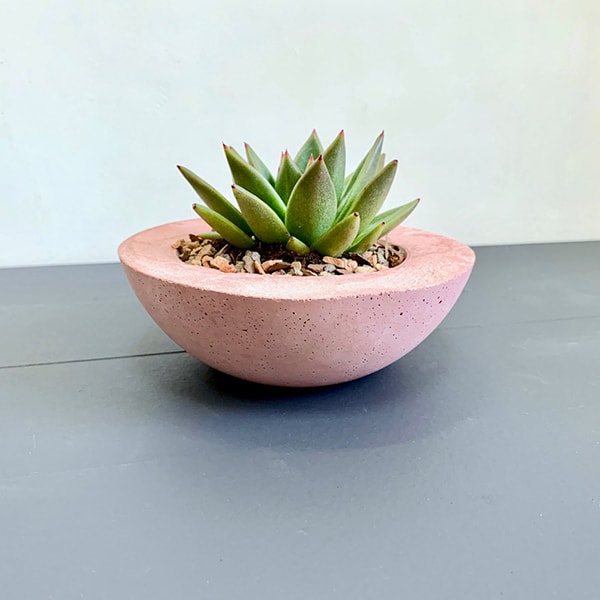
Here is a project where I added the concrete pigment integrally- cement planter in pink.
And this one was a liquid version of the powdered colorant- the black mini balloon planters.
Equal Amounts Of Color Added To Different Colored Mixes -Comparison
For this particular test, I added the same amount of pigment to each of these three types of cement.
In the bottom row, the one on the left is Portland cement, which is naturally grey.
The one in the middle is the off-white (sometimes beige) Cement All. and the one on the right is the white cement.

So when compared alongside the added red pigment, the Portland cement on the left (both top and bottom) shows the color of the natural Portland cement, and directly above it has the added color.
It’s hard to tell from this photo, but the Portland cement resulted in quite a brownish, dark grey/pink color.
In the bottom middle you can see the off-white Cement All which is the Cement All’s natural color and directly above it, has the added red pigment.
It is more muted than the white cement with pigment (to the right).
It is also darker and in comparison almost looks like it has a touch of brown to it, but still much less brownish-grey than the Portland cement.
The white cement mix (far right, top and bottom) shows a much purer the color than the other two cements.
Different Colored Pigments With Equal Saturation
Since I hadn’t used each of my pigment powders yet, I wanted to see how they would turn out.
I also wondered if some colors would look like they were at a deeper level, even though I was using the same amount of concrete pigment.
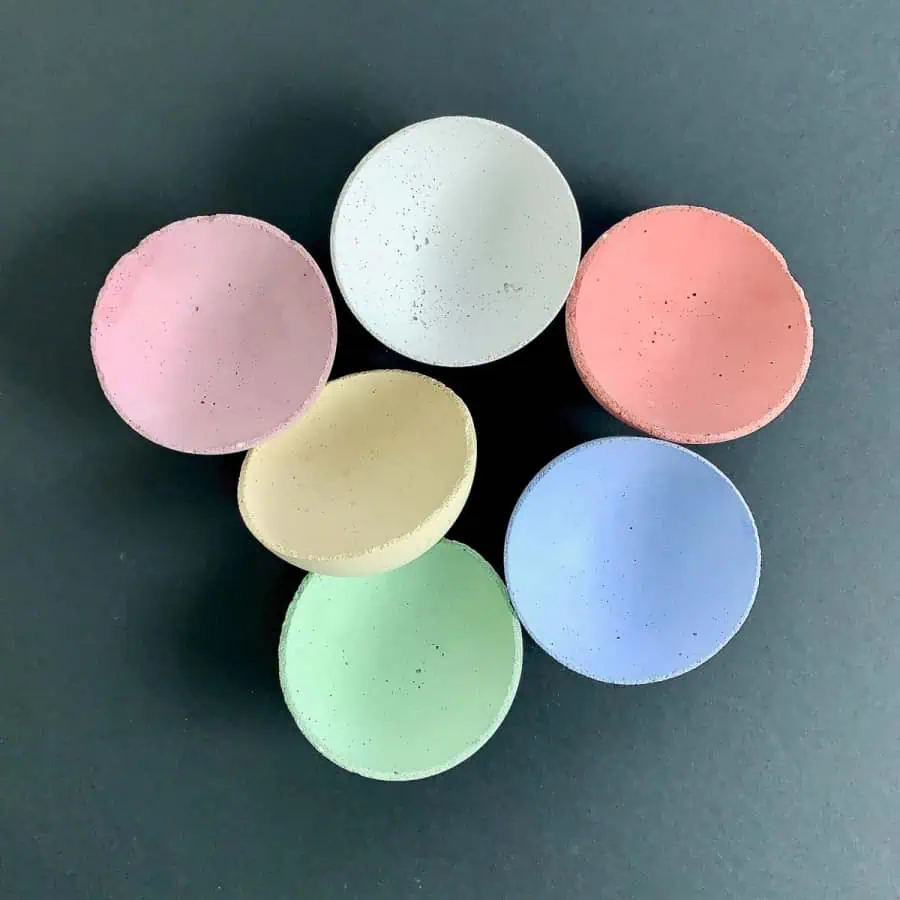
Using ½ of a teaspoon of powdered pigment, I added equal amounts of each color of pigment that I had on hand, to each dish.
This amount of powdered pigment ended up making each dish at about a 50% saturation. To me, it looks like the levels of pigmentation are all the same.
The next step in these colored concrete tests was to compare the colors of three cement mixes that each has naturally different shades/colors.
And although I performed all these tests, it still doesn’t mean I get it right every time.
I colored the concrete semi-topically in this DIY Concrete Stepping Stones article and ended up being disappointed that I didn’t get the stepping stones looking dark enough.
Tests For Coloring Concrete With Acrylic Paint

It’s true that you can use acrylic paint in your wet cement mixture to achieve pigmentation in your cement crafts.
I had tried this a while back but the paint I used apparently wasn’t the best for coloring cement and it didn’t give it much color at all.
After trying the acrylic craft paint, I was initially super excited. It’s easy to work with, much less messy than powdered or powdered with water mixed in first.
There are so many colors to choose from, you’d never have to mix colors to get a specific color if you didn’t want to.
Plus the paint is cheap, but… guess what? It’s actually not more economical. Read on.
For this test, I used Craft Smart matte acrylic paint.
Here are different proportions of the paint where I increased the amounts gradually by two increments.
By the way, another article I wrote will be helpful for information on the important supplies needed for concrete, vs. what’s nice to have.
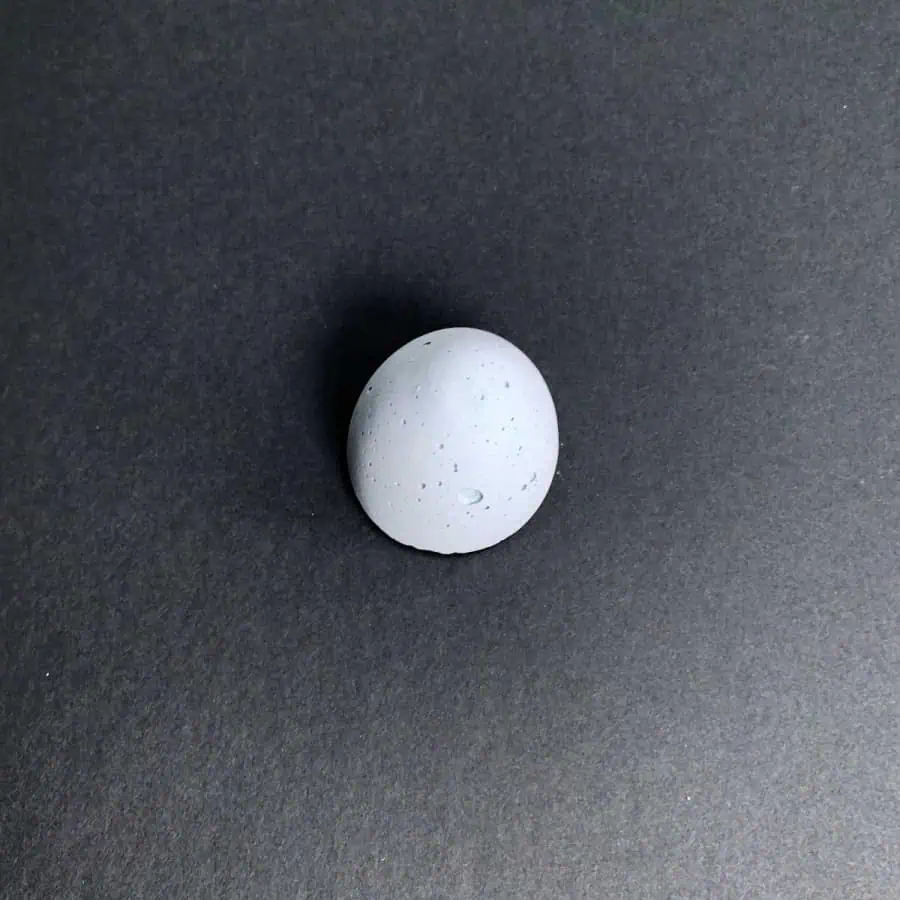
- One teaspoon of acrylic paint
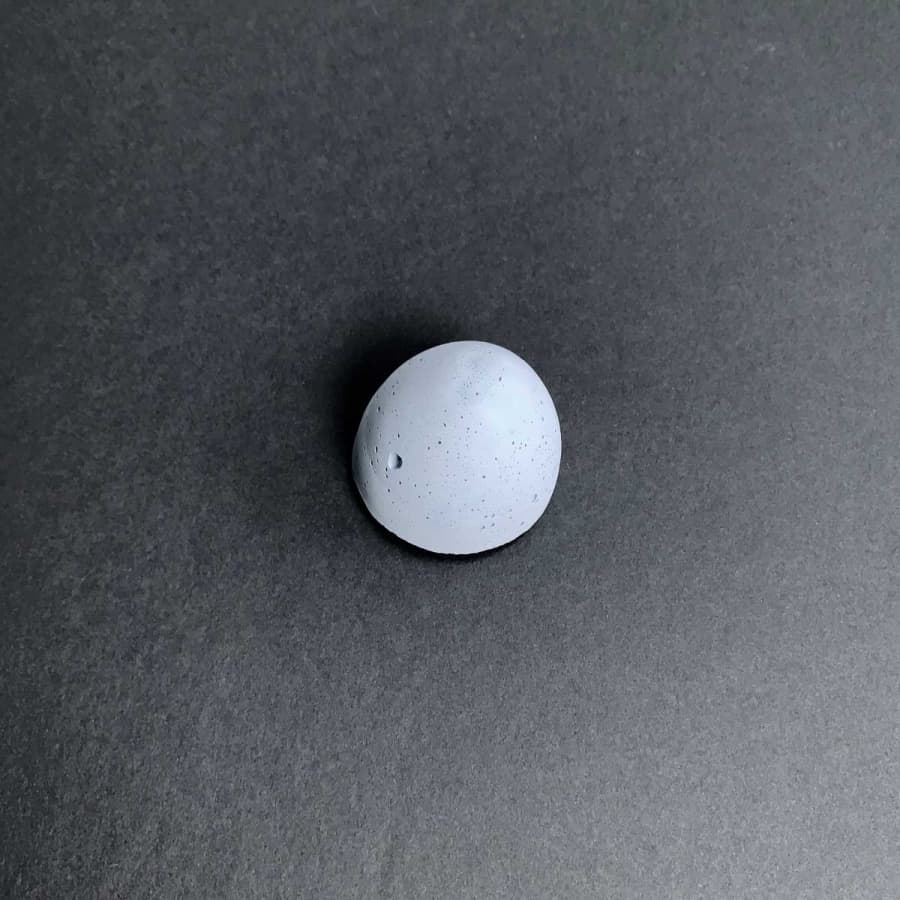
2. Two teaspoons of acrylic paint

3. Four teaspoons of acrylic paint
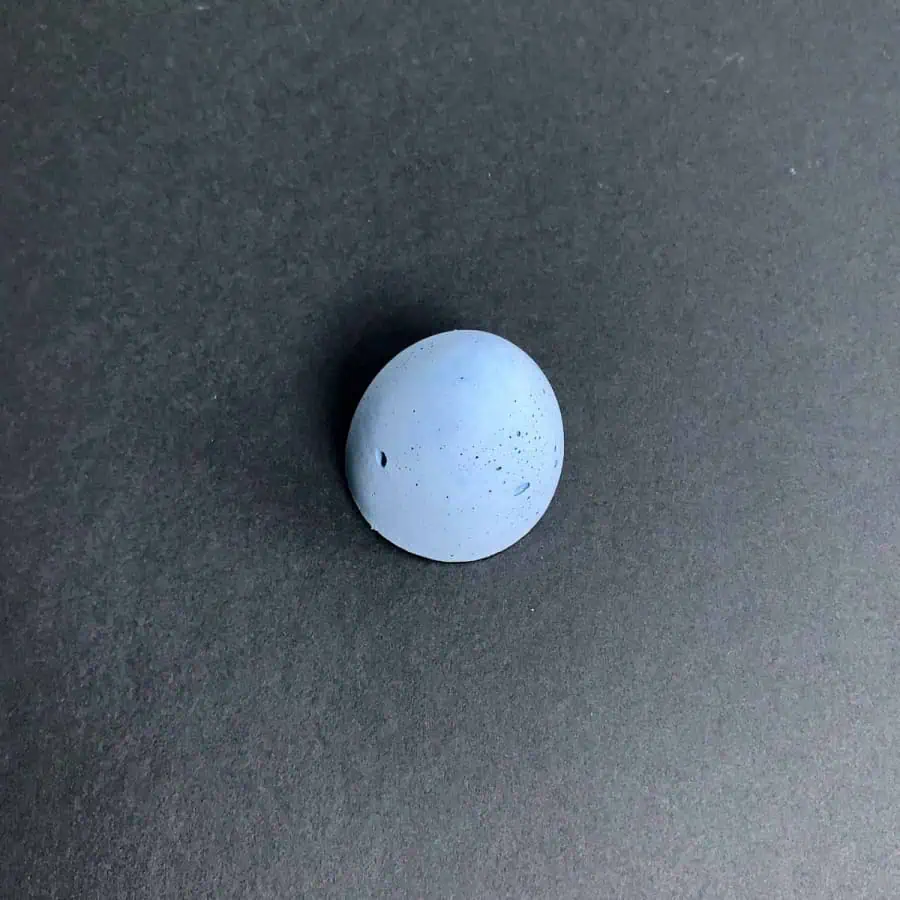
4. Six teaspoons of acrylic paint
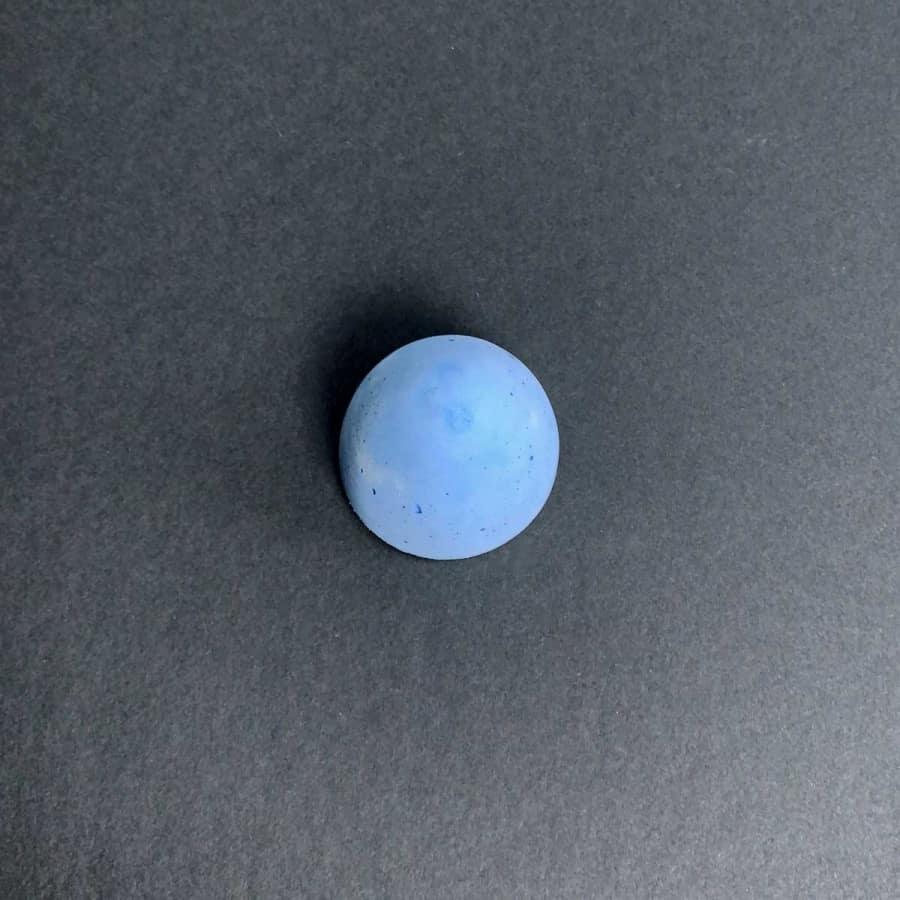
5. Eight teaspoons of acrylic paint
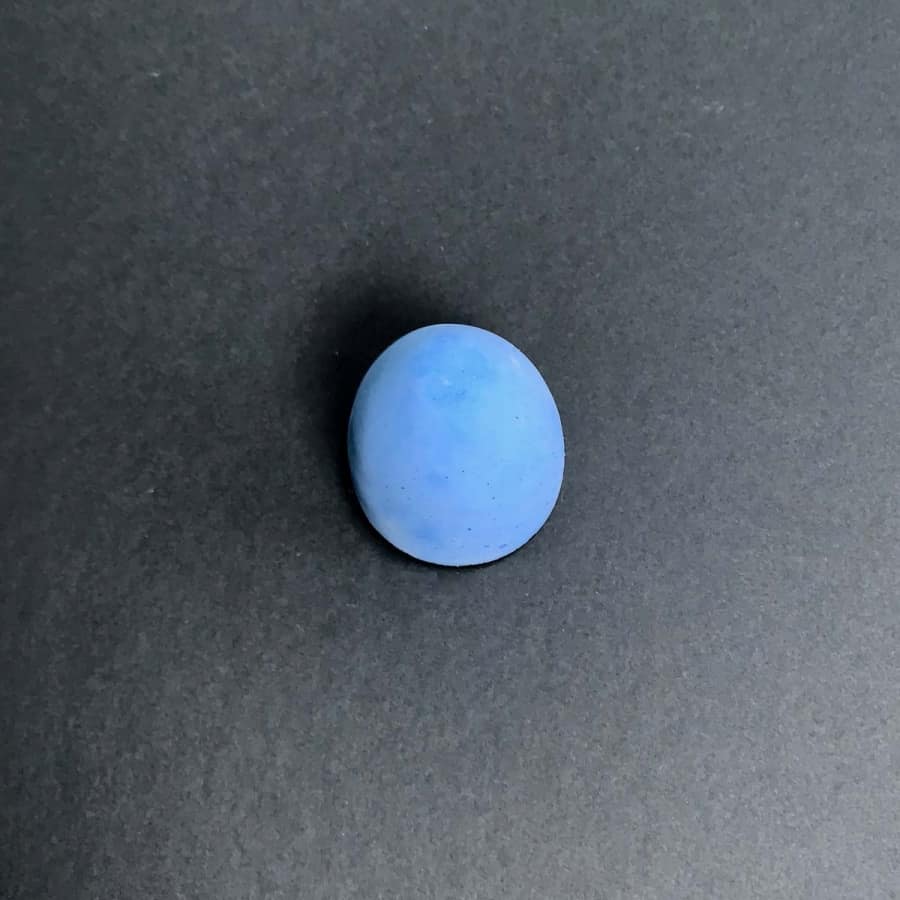
6. Ten teaspoons of acrylic paint
These cement pieces required a whole lot of paint to produce color and as I mentioned earlier, not all types/brands of acrylic paint are made alike.
Even though this one isn’t highly pigmented, it does play nice with the cement.
It mixed in easily and was easy to clean up. The paint I tried a while back -though highly pigmented, didn’t mix well.

I’ve done the math on this and if you were to make cement crafts that took ¾ cup of wet cement (a little less than the small dishes above) and wanted 100% saturation, the breakdown goes like this.
This calculation is assuming you use a color other than red and black, which you can get at a big box retailer for cheap.
The other colors tend to come in between $14-18 per lb. And let’s assume you get the paint for $3 at 8oz.
Each colored cement piece will cost you .17 cents with the oxide powder. The acrylic paint will cost you .60 cents per piece. That’s quite a difference.
Hint: Since Craft Smart paint can be found at Michaels you could wait for the 40% off coupon and then purchase the 64oz-sized paint.
Now the paint is only costing you .22 cents per piece! Here’s another hint- with Michaels, you can order online and pick up in the store.
It makes life easier- I’m a big advocate. Plus they tend to have better coupons for the pick up in store option.
For additional information on integral concrete color, you may want to read this article from The Concrete Exchange.
This marbled planter project is an example of a project where I used acrylic paint integrally and also created a marbling effect- differently from the one below.
Experiments With Marbling Concrete

These were less of tests and more of an experiment.
One thing to note is that marbling can be done integrally and topically. These descriptions are for integral marbling effects.
A marbled look can be any effect that looks like marble.
For instance, real marble stone can have layered veins, pronounced veining or blended, subtle veining.
It can have blended or harsh ripples, waves or bubbles. Basically, it can be any form of smushed up colors. :0)
Another look is an ombre look effect which is two colors that blend gradually.
Ombre is often the effect of marbling, so I’m going to categorize these as the same thing and call it “marbling” for this article.
Here are some techniques for creating a marbling effect.
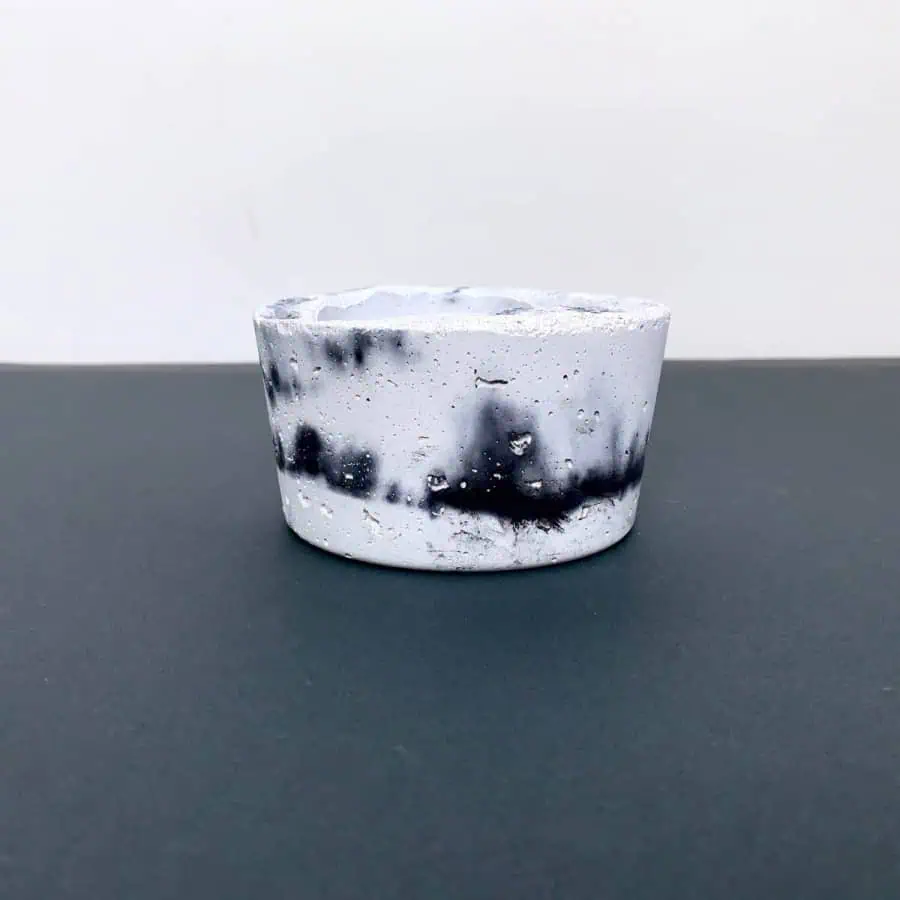
Premixed pigment, stacked and added to container.
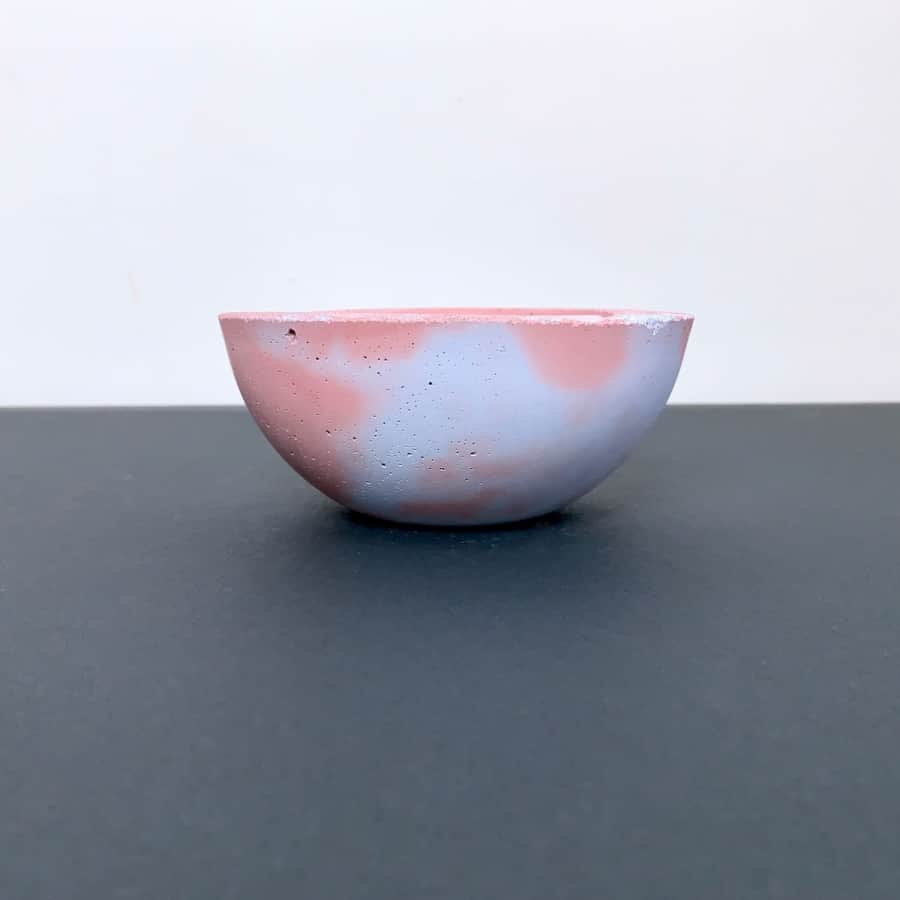
Premixed pigment, abutted to each other.
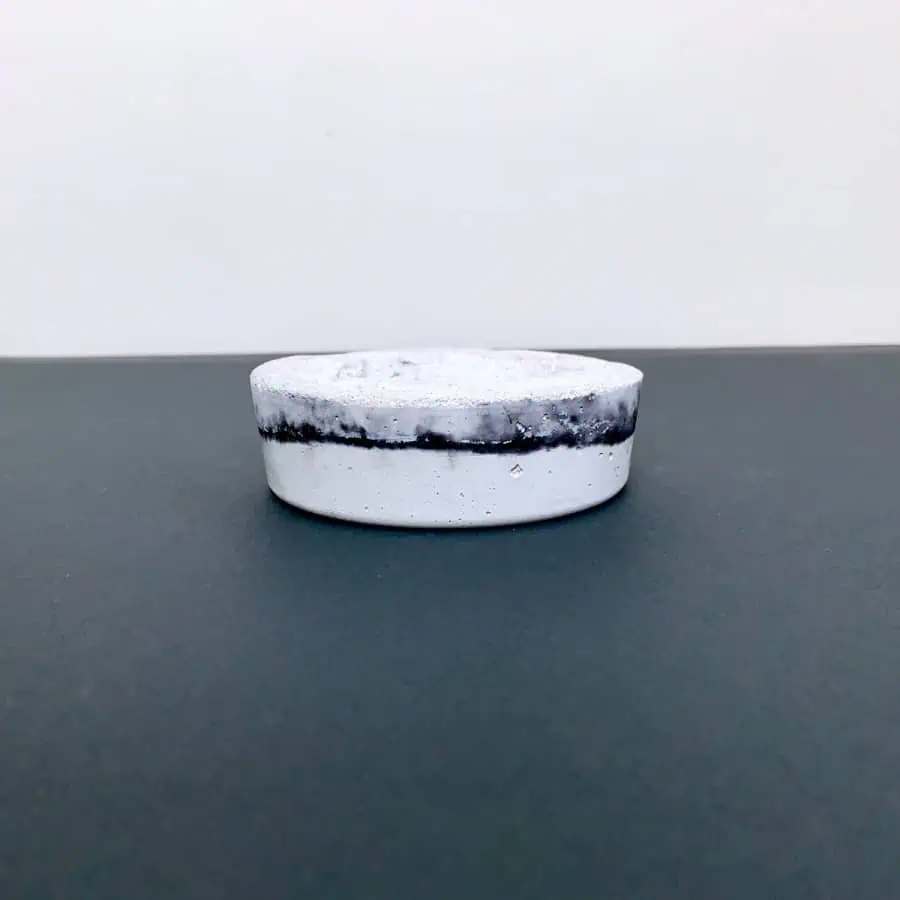
Dry powdered concrete pigment sprinkled onto the cement in between layers- causes bleeding of the dry pigment.
Here is a project where I marbled the cement with powdered pigment- magnetic ball planters.
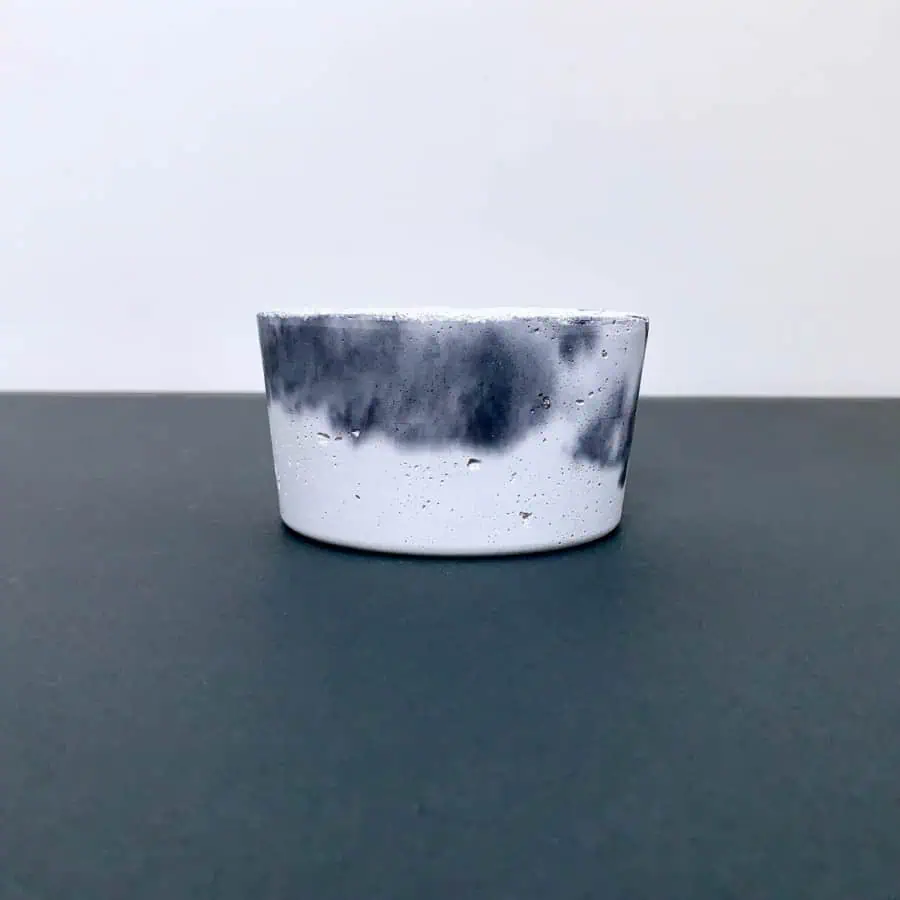
Powdered pigment has been mixed with water to make a liquid colorant, which can then be applied to the top or between layers.
Two-tone (may also be ombre)
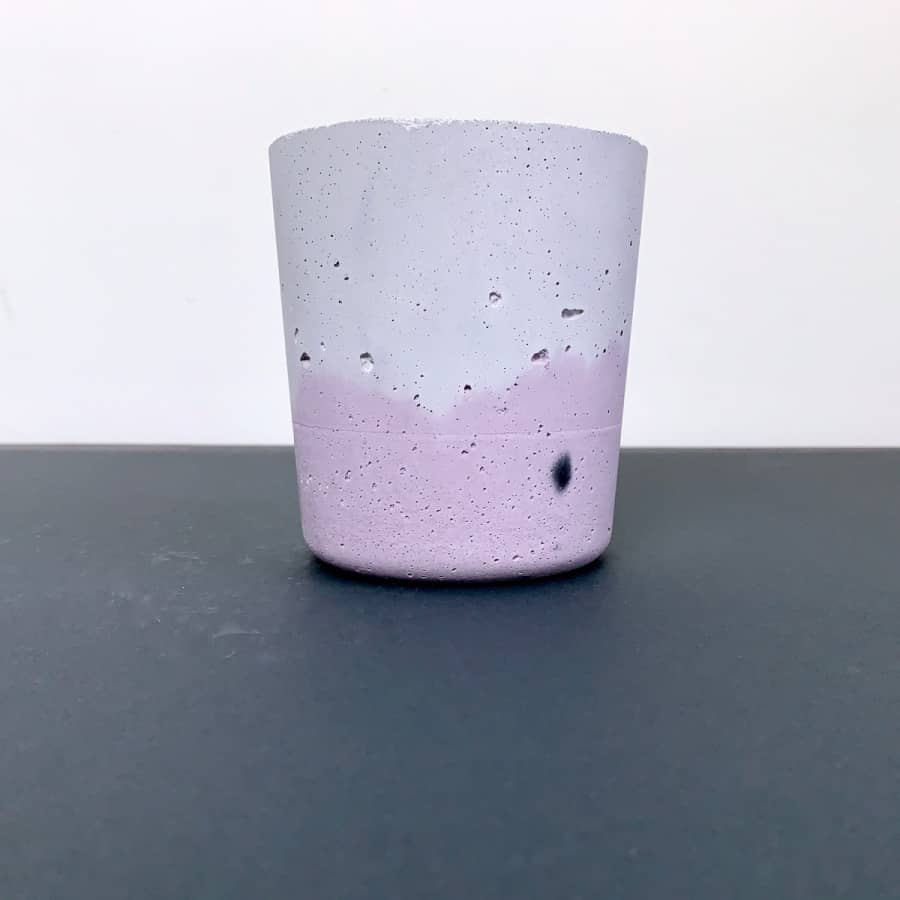
Two different tones of the same color. They may or may not blend to create a graduated color.
To do this, I divided white cement into two piles and then added dry powdered pigment to each pile of cement.
I then added the plum color to the mold, then the pale purple/grey to the mold.
Once I added the inner mold, the pressure caused the cement to slide up and create a gradient color effect.
Tests With Topical Coloring Of Concrete Crafts
If you are making a planter or bowl, then your best bet is to pour a layer of cement into the container, then sprinkle color along the top edge, where it meets the container.
Beware that although this technique has a beautiful, dramatic effect, the pigment is exposed after curing and can bleed.
I haven’t found a sealer yet that prevents this bleeding.
A poly-acrylic varnish and acrylic paint varnish will do the trick, but the pieces will also be noticeably darker and have a texture.
I do love this look though and will continue to search to see if there is a solution.
Testing Alcohol Inks Topically For Cement & Concrete Crafts
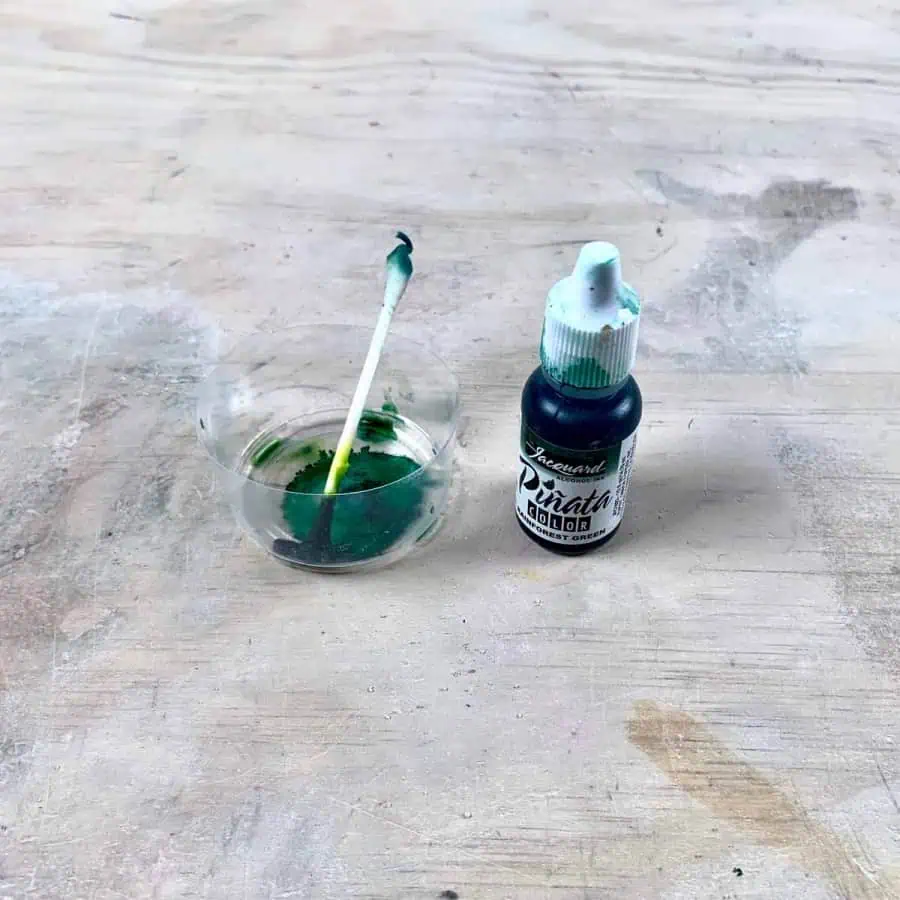
I had some alcohol ink laying around because I planned on using it for a resin project.
It’s a very thin, usually transparent and quick-drying pigment. I was curious to see how this would look painted onto cement.
It has a really neat effect on the cement and I kinda love it. You will need to add water in order to apply it to the cement.
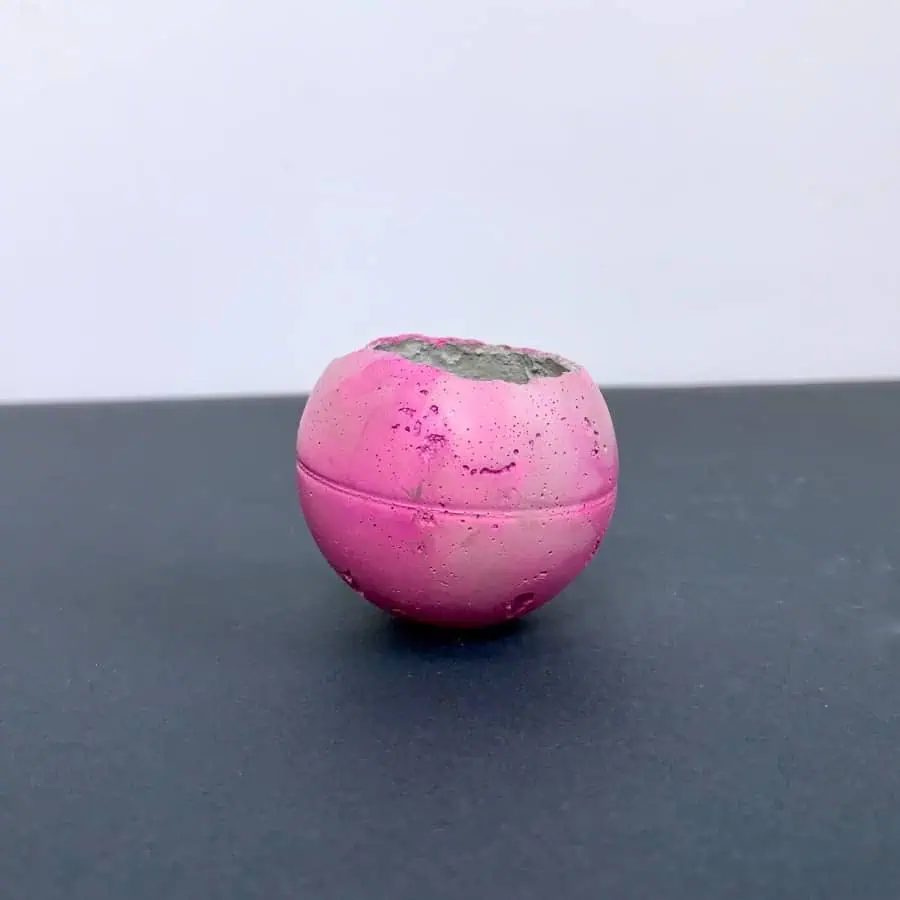
In this photo, I used a cotton swab and rubbed it in the alcohol ink and water and rubbed it around the cement planter.
I wanted it to look like a watercolor and this did that.
Note that you should seal this or some of the color will rub off onto your hand, however, this one is sealed.
For this cement planter, I did a combination of a q-tip dipped in the ink and water as well as used a foam paintbrush to blend it more evenly.
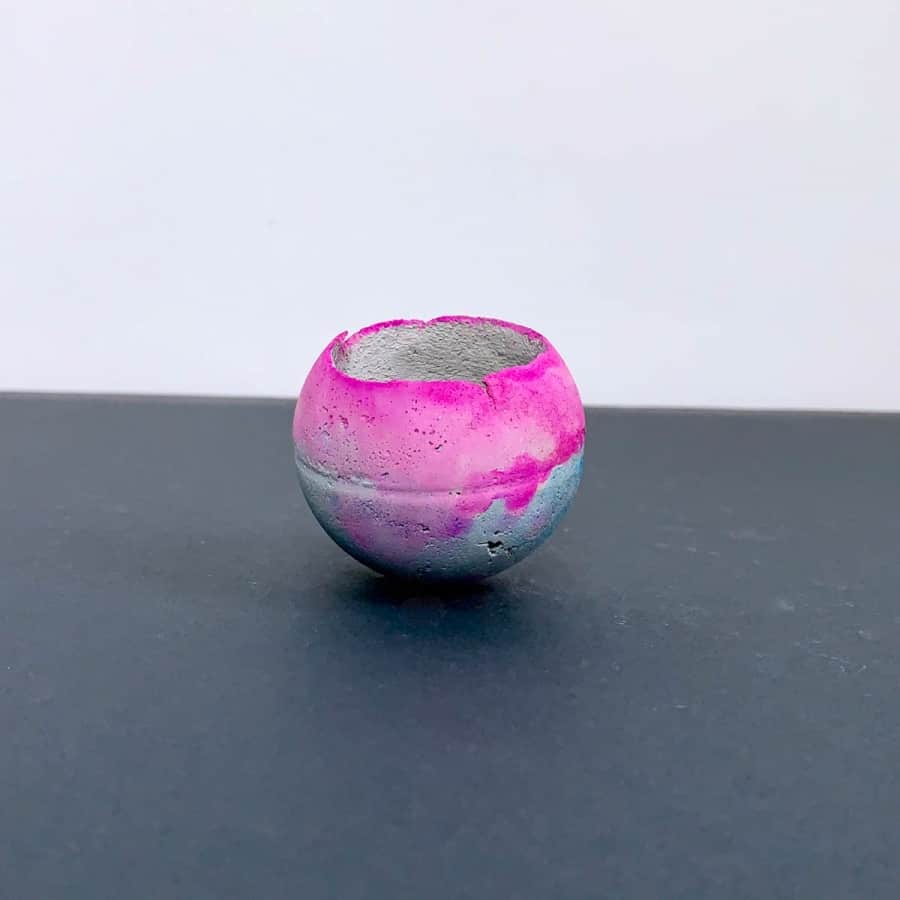
Be on the look-out for future tutorials using this concrete colorant!
Tests With Resin Pigments For Cement/Concrete
This one didn’t require testing since I have already used resin to paint on concrete.
The resin pigments come in opaque or translucent and actually, alcohol ink is one of the pigments used to color resin.

Here are photos of two of my tutorials where I used resin to paint on concrete.
Topical Test With Acrylic Paint & Washes For Cement/Concrete
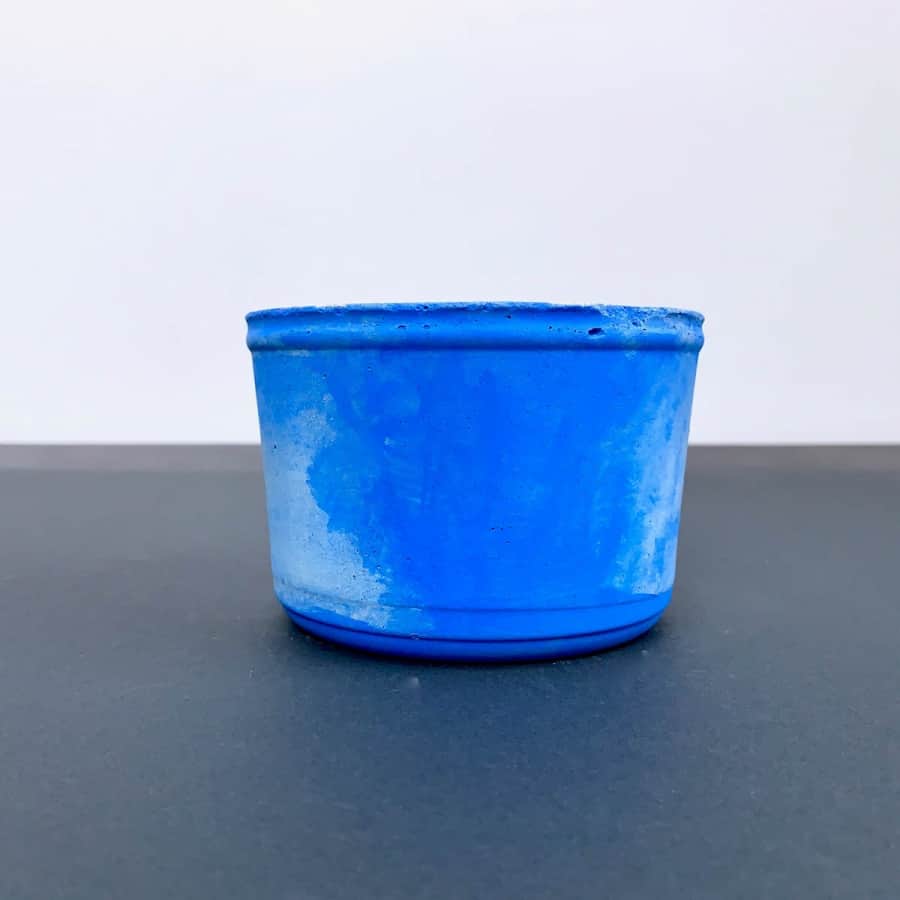
Painted with acrylic paint.
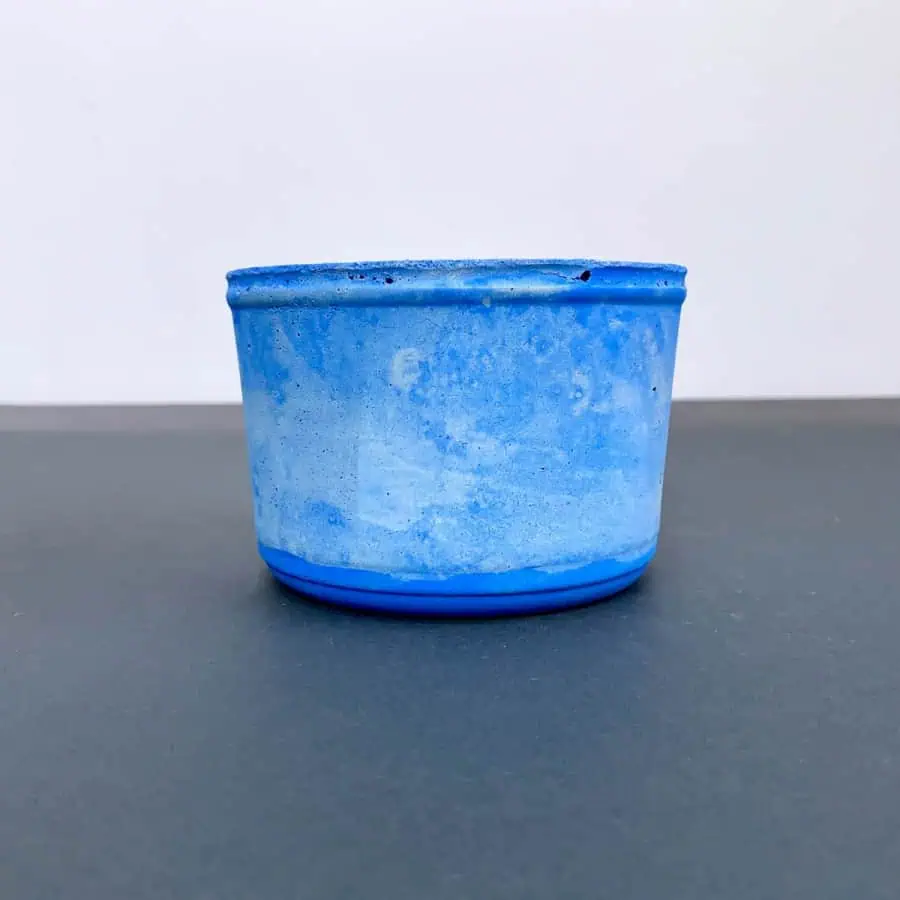
Paint with acrylic paint and water, to create a watercolor/wash effect.
You can always paint your concrete and cement crafts with acrylic paint.
I recommend sealing them before and after painting to help avoid fading.
For the homemade cement bird bath I made, I used acrylic craft paint and this concrete sealer.
It’s been over a year since I made the bird bath and it has not experienced fading. It is also only in direct sunlight for about 3-5 hours a day.
I painted this cement self-watering planter after the cement had cured.
In summary, there are probably endless ways to color concrete.
Going forward, based on these results, my plan will likely be to use red and black/charcoal powdered oxide pigments from the big box retailers (Home Depot/Lowe’s etc.).
For the other colors, I will most likely switch over to the acrylic paints.
I still like the look of sprinkling in the powdered oxides on the surface to achieve intensity, but will probably reserve those for that purpose the majority of the time.
UPDATE: I have an article that is a follow up to this one, that shows the results for many of the different types of colorants after outdoor exposure. Come see which pigments performed best outside, long term.
And last, but not least – have fun with concrete crafts pigments and don’t be afraid to experiment!
Don’t forget to Pin it for later!
Don’t forget to Pin it for later!



Hi Very good info on coloring concrete,,,I have been using some of these methods over the years, Just wanted to let you know there is a very good pigment available,,,its Terracotta,,,most of the finishes look like thye came from a clay-fire,,,,,,On some i white paint wash ( very light and in the recesses,,,a quick wipe ) which comes out like old plaster from the Roman days !
Hi Mike,
Thanks for the tip. What exactly is the terracotta- do you mean a terracotta pigment? Or do you mean like actual terracotta dust that you paint onto the concrete?
Terracotta pigment,,,,
What about Mica pigments? Have you tried those?
Hi Jenny,
I did and they weren’t very potent, but I only tried one brand. However, I suspect in general it will take a lot of mica powder to make the cement as concentrated in color compared to pigments made for concrete.
Thanks for generously sharing your experiments and findings! I really love your work.
You’re welcome!
Have you ever tried mica powder pigment to color concrete?
Hi Valerie,
I haven’t tried coloring concrete with mica powder. It will probably work, but my best guess is that it won’t be very concentrated and you’ll probably need a lot to get the color to show.
Hi Ellen,
I really appreciate your blog!
What is your favorite white cement?
Hi Alina,
We only have 2 options for white cement where I live. One is Glass Block Mortar Mix which Lowe’s carries, but it’s not very strong. The other, which is a little pricey if you are doing large projects, is Michaels White Outdoor Cement. It’s very smooth and moldable.
Hi there. Is it possible to make white cement coasters and add alcohol ink to it for a marbled affect? I’m struggling to get small hexagon ceramic tiles to make coasters with locally to me.
Hi Jem,
I wouldn’t use alcohol ink with cement. It’s very watery and dries almost immediately. It also won’t be very pigmented. You can use acrylic paint or latex, or actual pigments made for concrete. You’ll have the most success mixing the color into the cement- make a white batch and a bath with color and swirl it together for marbling. Just test the acrylic paint first because I have had some acrylics dry out the cement and cause it to crack. Here in the US, I have found that CraftSmart acrylics work well for this.
Now I’m channeling my inner 90’s teenager (ya know, before the colorful hair dyes were mainstream) and think I might experiment mixing some Kool-Aid powder with Cement All just to see how it goes. Kook-Aid is soooo cheap and stains everything it touches, lol.
Lol! Yeah, I bet Tang would work too- if that’s still around!
awesome! this site is so helpful for my concrete crafts! do you find that the alcohol ink treatment needs a sealer to protect it from fading? Thanks!
Hi Allison,
The alcohol ink definitely fades, but I don’t know if sealer will help. The problem is that the alcohol ink just keeps absorbing into the concrete. You can try sealing first, but that changes the effect. Sealing after, might help some. Sorry, I’ve only done a tiny bit of experimenting with it.
Hi and thank you for this info.
I’ve been using Cement All, and most of my small projects come out smooth, but there are always plenty of airholes and ‘fish eyes’ (as some call them) in the final product.
Does white cement tend to reduce this?
Also, would the following be a good choice for white smooth cement?
Hi Raymond,
Are you vibrating the cement when it’s in the mold? As long as I vibrate it well, I don’t usually have any airholes- especially with Cement All. I like keeping the mold on a big tile and vibrating the tile on my table by tapping it up and down repeatedly and shaking it. Whether cement is white or not, really isn’t related. It’s how the mix is made. Michael’s White Outdoor Cement is smooth, but would have the same amount of pinholes as Cement All. It’s all about vibrating the entrapped air to get the air bubbles to rise to the surface before the cement starts setting. I find those two mixes to have the least pin/airholes of any mix I’ve used.
I’m not sure what the following white smooth cement is?
Thank you for this info! I will try vibrating the mold on a smooth surface to hopefully get better results, as I was just leaving it on the floor to dry 🙂
The white cement i was linking to was Plaster of Paris, but its not really cement, so I guess I will stick with Cement All
Oh, yeah, Plaster of Paris is a totally different thing and not waterproof. Vibrating will make all the difference! You can also just tap the sides of the mold with your hands. It just depends on if the mold itself is soft. If it soft, it’s better to use the board or tile underneath, but if it’s rigid, tapping the sides works just fine.
i have been usiing rit dye to color cement. it works but I will try painting it now also,
Hi Tina,
Yes, after I wrote that article, I also discovered the RIT. I used it for this planter https://artsyprettyplants.com/diy-dyed-cement-planter/ and was pretty happy with the results. I think they are pretty comparable but you have to be careful with the paint because some acrylic paint brands will dry out the concrete and make it crack.
Hi, thanks for sharing your research. Great work!!
Have you tried using watercolor paint?
Thanks
Hi Alexis,
For topical coloring I have, but it fades. It’s never going to have enough pigment to create any substantial color in concrete if you were to add it to the mix. The more dense the colorant, the better it will do. It wouldn’t hurt it, but I think you’d end up with a a very muted tone, if you could see it at all.
How to enhance the vibrant and shiny effect of a colour in a mortar ?
Through adding a superplasticizer? or through the quality of the pigment (iron, chrome, cobalt, …) ?
Hi Fatma,
The shininess actually comes from the texture of the mold you use. If your mold is shiny or glossy, you will have a brilliant sheen. It also helps to leave your mortar in the mold longer than the cure time. Concrete/cement/mortar will inherently pick up the texture of material it is cast against, and the longer it sits, the more it picks up these qualities. I like to use glossy acetate sheets to help get high glossy sheens. It doesn’t matter what color the mortar is, or what pigment you use. I don’t know of any way to increase sheen after demolding, unless maybe with special tools that can polish it, but even then, I’m not sure it’s possible.
FYI- A silicone mold will produce a satin sheen- not really matte, not really shiny, look for super smooth and glossy molds. Even a water bottle will produce a shiny finish, but not as much as glossy acetate because the acetate is already shinier to begin with. I hope that helps.
Hi what brand of red pigment do you use for the swatch tests please? I really love the pink colour! Many thanks, Letitia
Hi Letty,
For the red color in that article, I just use the red from Home Depot- https://amzn.to/2SuuahO. It looks like a brick red on the box, but comes out pink when used with Cement All.
Here’s a tutorial where a made a planter with that color and it came out pink. https://artsyprettyplants.com/colored-cement-planter-pink/
Ellen
Does this concrete not need to be sealed if using on a table top etc? what would you use there.
Also what if you are using it in very tiny molds / miniatures, how to make this flowy?
Hi Nik,
I would definitely seal the concrete if it’s a table top. Anything that you think will get stained. I used it on my concrete side table/stool and concrete coasters. I use Easy Seal which is the strongest, but sometimes can show marks. Otherwise stone g=care granite and stone sealer. Both are on Amazon.
For molds where you need the mix to have fluidity, it’s all about the mix. I have two pots that discuss this. Some mixes can’t handle too much water or they will crack, so you need a mix that is made to have better flow. Look for labels that say for thickness for feathering, up to 2″. These have more details:
https://artsyprettyplants.com/best-mix-for-concrete/
https://artsyprettyplants.com/making-cement-crafts-techniques/
I hope that helps.
Hi, could you tell me please where yo purchase your powder pigment from that are in the picture showing small white bottles?
Hi Roz,
I got it from Amazon, but it hasn’t been available for a while, which stinks because it’s really good- you only need a tiny amount to get a lot of color. It was this- https://amzn.to/3aJrDqP
Another way to color concrete is to use Rit fabric dye. Lots of great Color’s to choose from. Just dip or soak your concrete piece and voila, and the left over dye can be used again. And it’s cheap, total game changer
Hi Bev, I did this for my cheap dyed cement planter tutorial. Unfortunately my experience wasn’t good. It faded so much that almost all the color is gone. This has faded the most of all my colored planters. :0(
I wrote an update for the different types of colorants I’ve used over the years, here: https://artsyprettyplants.com/best-concrete-colorant/.