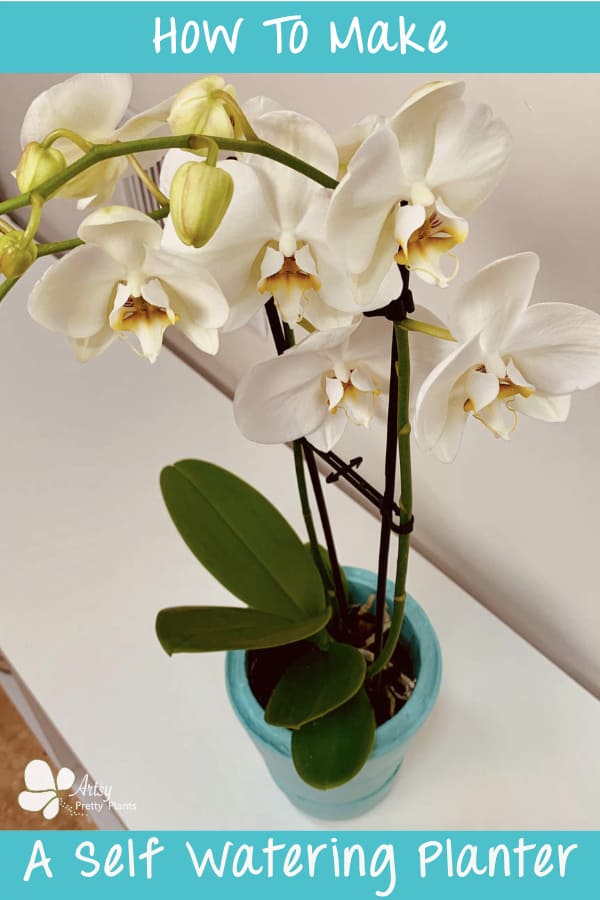
DIY Self Watering Concrete Planter
How to make an easy DIY self watering concrete planter for orchids, with a self-wicking system.
So what exactly is a self watering planter?
Well, there are many different types of DIY self watering planters, but the concrete planter in this tutorial is one that is self-wicking.

The reason for having a self watering planter is maybe you aren’t the best at remembering to water your plants?
This gives the plant nice consistent access to water. Or maybe you are going on vacation? A self watering planter can solve these issues.
Video For How To Make A DIY Self-Watering Concrete Planter
Now, not all plants will do well in a self watering planter.
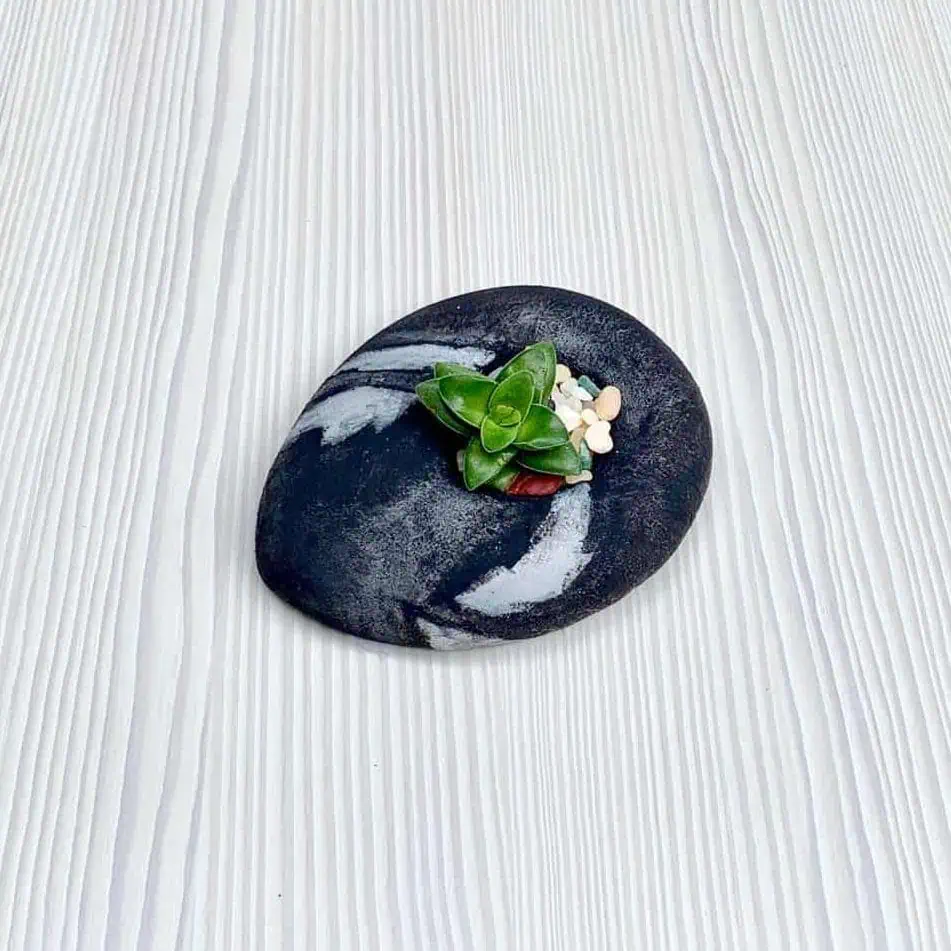
For plants that like to dry out in between waterings- like succulents, you will want to avoid some self watering planter types.

Self-wicking planters are best suited for plants like orchids and other tropicals.
The key to making a good self wicking container is using the correct type of self-wicking cord.
Also, you’ll need a relatively non-porous reservoir and a little extra wicking rope to allow for adjusting the amount of water absorbed by the orchid.
Do self watering planters really work?
Yes, they definitely can work as long as you have the proper set up and materials for the type of plant that is being potted in it.
You also need to consider how long you need it to water itself.
If you are going on vacation for a full week and need your plant to stay watered during that entire duration, then this can easily be done with a self-wicking planter.
You just need to make one with an appropriate sized reservoir.
What size self watering planter reservoir do you need?
That will depend on the material of the reservoir and the humidity in your home.
We are making a concrete reservoir but will be painting and sealing it so that the water doesn’t evaporate too quickly.
Did you know that not all plants thrive in concrete planters?
The phalaenopsis orchid should be in a sealed or painted concrete planter because the concrete will may the soil too alkaline for the orchid.
You can read all about plant health in concrete pots here.
Some of the links on this page have been provided as a convenience for finding materials. These links may also be affiliate links. As an Amazon Associate I earn from qualifying purchases, at no extra cost to you.
I only recommend products I’ve used and loved, unless otherwise stated. Click here to read my full disclosure policy.
DIY Difficulty Level | Easy
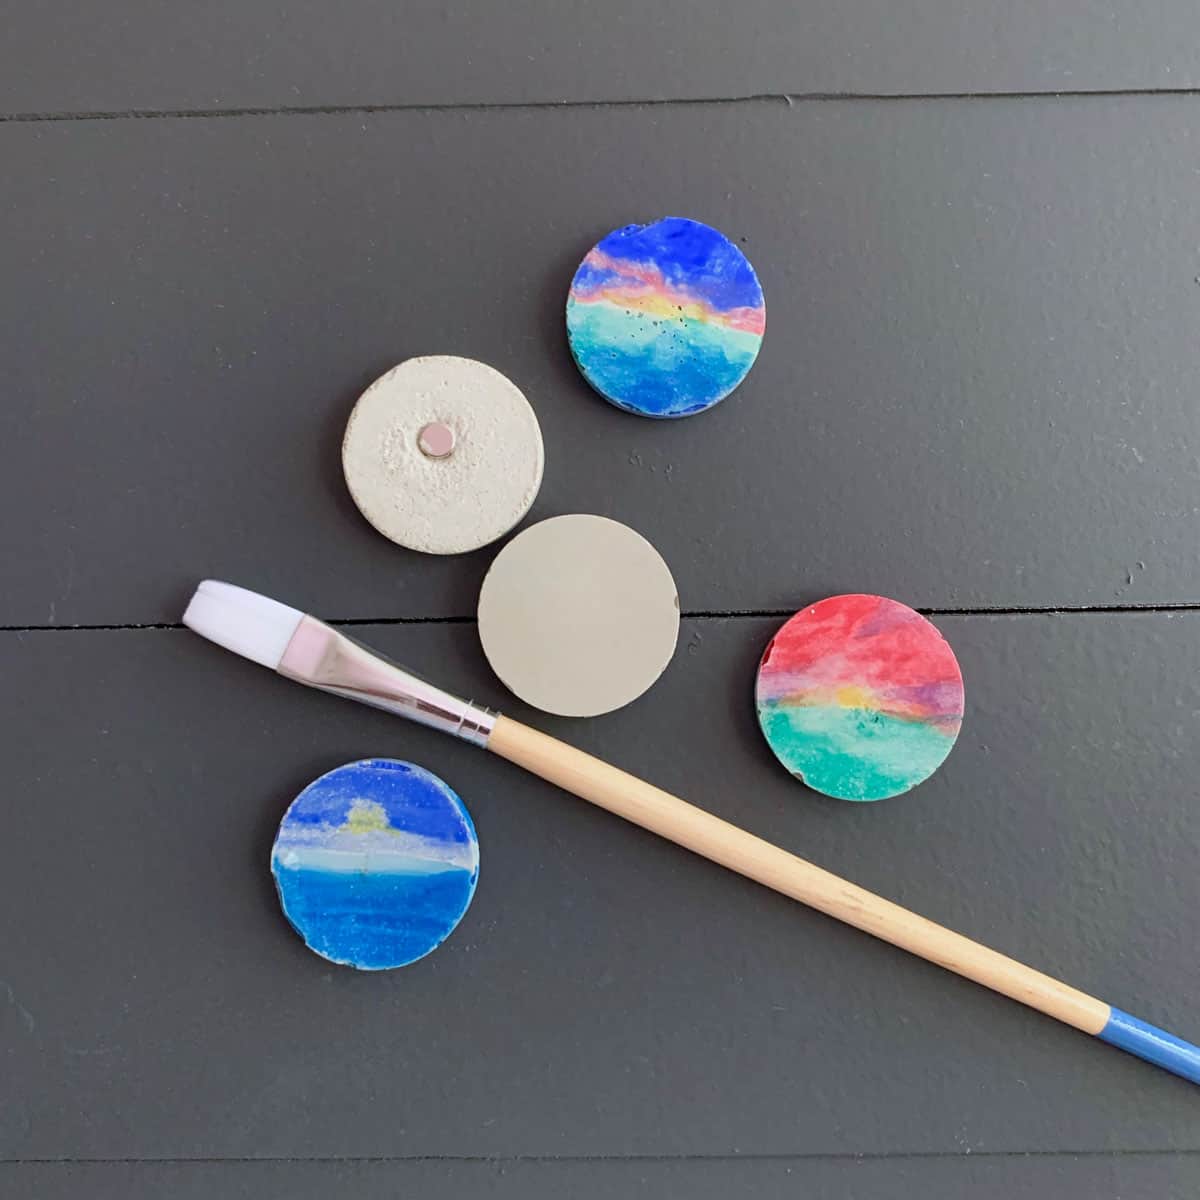
DIY Self Watering Concrete Planter Materials List
- Cement, Rapid Set
- Disposable bowl
- Disposable cup
- Durable nitrile gloves– I like these because they are so durable, you can rinse and reuse and end up costing less in the long run
- Safety glasses
- Safety mask– rated for silica dust
- Self-wicking cord
- Utility knife
- Ruler
- Marker
- 100% Silicone caulk
- Hot glue
- Blue tape
- Lubricant- vegetable spray, mineral oil or other
- Small level
- Pliers
- Scissors
- Lighter
- Concrete sealer
- 200 or 400 grit diamond sanding sponge
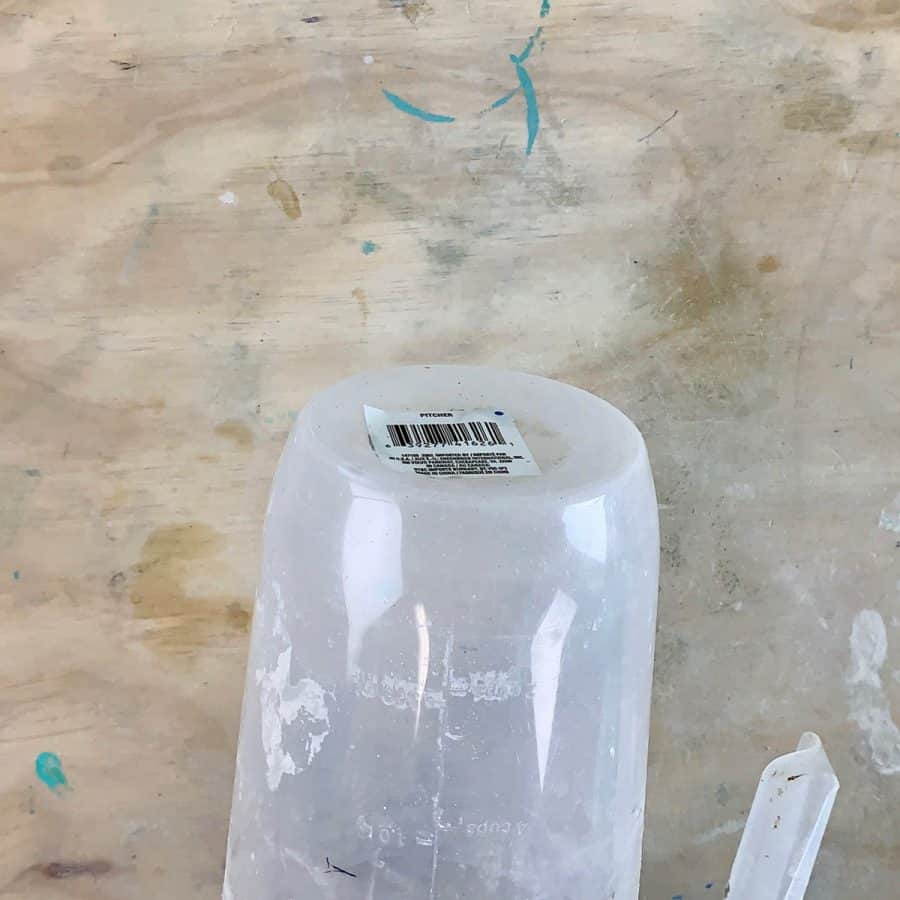
- Containers (4)- see materials notes below
- Heat gun– *for demolding- may not be necessary
- Paint- acrylic or latex – *optional
- Nylon paint brush- *optional
- Foam brush- *optional
- Phalaenopsis orchid- or other Tropical plant


Materials Notes:
To make this self watering system, you will essentially be making two planters.
One is the bottom reservoir, and one is the actual pot for the orchid.
For the orchid pot, keep the interior width at 4-6” in diameter.
According to the website Just Add Ice, most orchids need pots that are 4-6” in diameter.
That interior width will be based upon the inner container mold diameter.
Mine was 5”, leaving enough room for the orchid’s roots as well as enough concrete planter wall thickness to make it durable.
For the bottom reservoir, look for a container with roughly the same bottom diameter as your pot’s outer mold.
Since most containers are tapered, you can use one that is slightly larger and trim it.
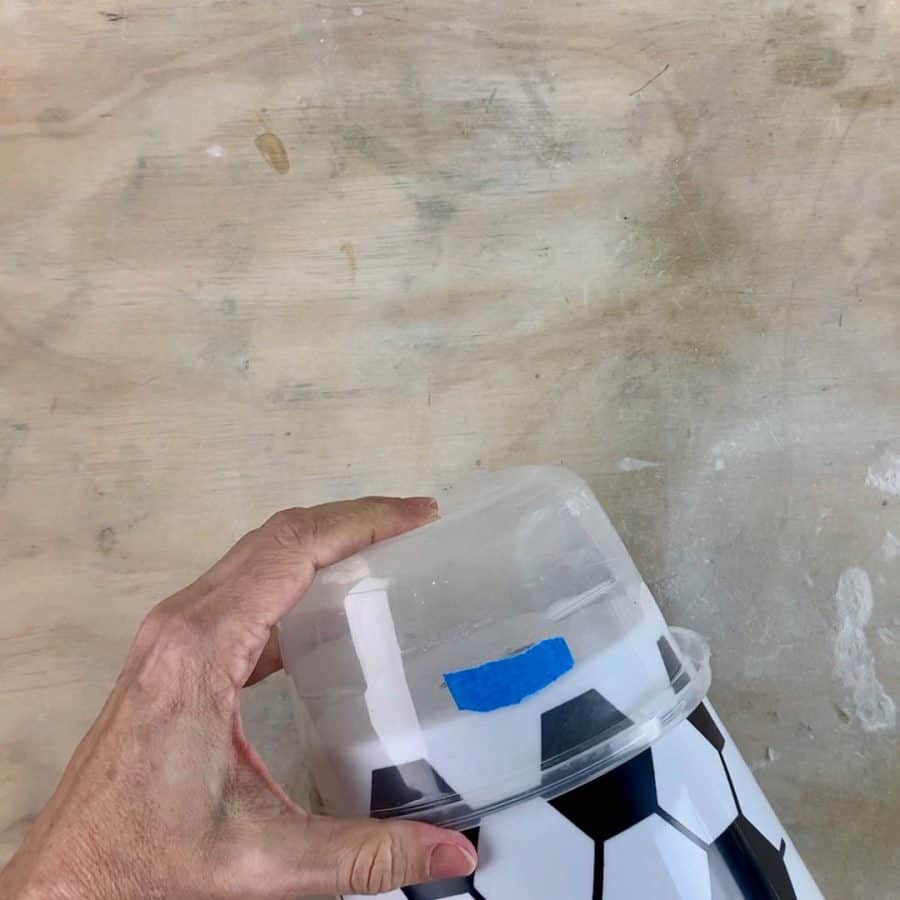
I marked mine where the two containers met with a piece of blue tape so I’d know what size inner mold I would need.
Also, make sure your container is sized so that it leaves ample room for the water.
With my soccer pail outer mold, the outer diameter was 6”, and my insert had a diameter of 5”, so the inside of my pot would also be 5”.
Note: Check the bottom of the planter’s inner mold to see if it is indented- this is fairly common that containers are indented.
This indent depth will need to be accounted for when you cut the straws in Step 1 that will act as the holes for the wicking cord- more on this in Step 1.
I forgot to check for the indent, which caused my measurements to be off and so my bottom ended up more than ½” thick.
This required me to drill through the bottom to finish the holes.
To learn even more about making concrete planters with in-depth information, take a look at How to Make Concrete Planters– a full article to help you master making these!
Tutorial Steps For Making A DIY Self Watering Concrete Planter
Step 1 | Prep The Straws To Create The Self-Wicking Cord Holes
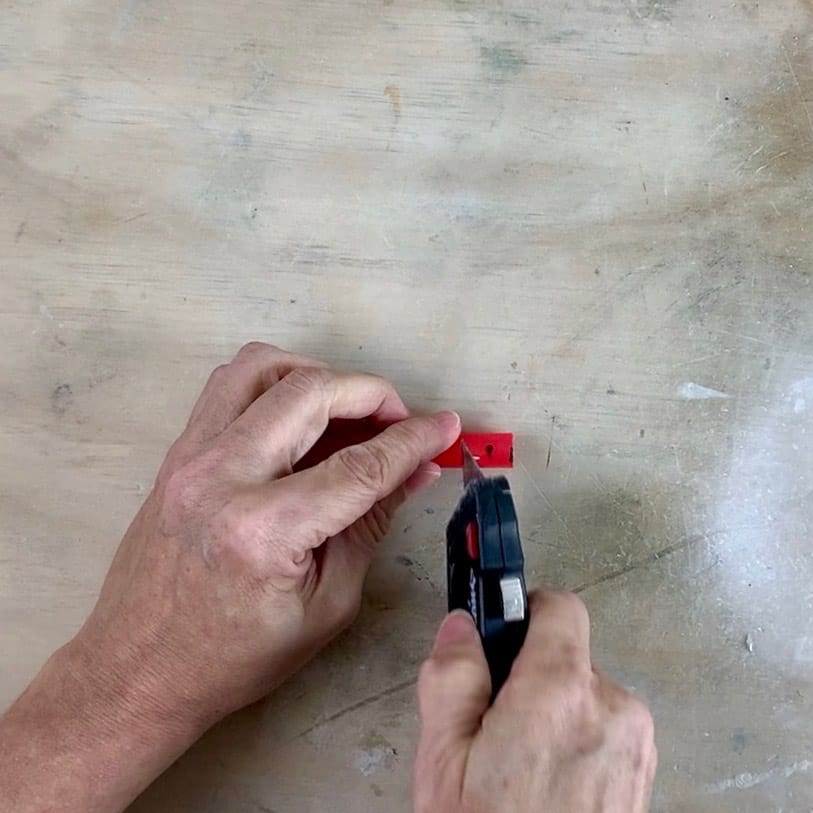
Cut two pieces of the jumbo straw to ¼” long.
If the inner mold container for the planter has an indent, then you will need to add the depth of the indent to this ¼” measurement (see materials notes for more details).
Fill the ends of the straws with 100% silicone caulk and let the caulk set. This should be about 1-1 ½ hours.
Alternatively, you can fill the ends with hot glue, but they won’t remove as easily as they will with silicone.
Step 2 | Prep The Reservoir Molds
Assuming your containers don’t have the magical perfect dimensions, to begin with, you’ll need to trim them to size.
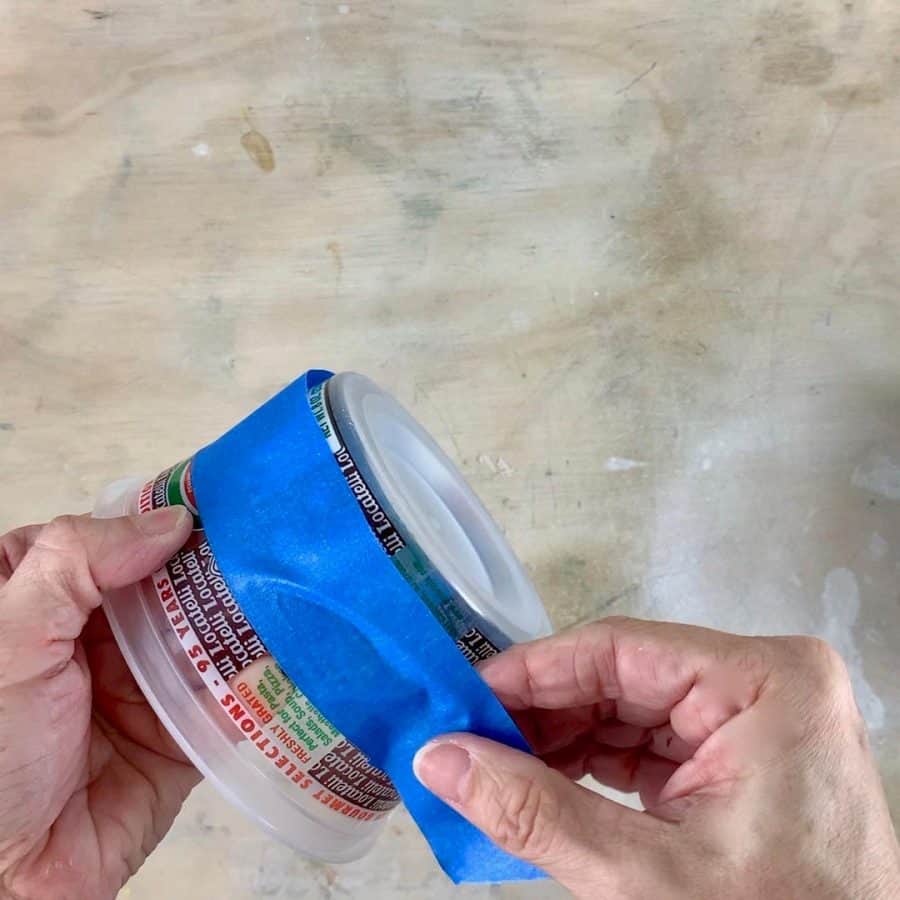
First, take your planter mold and place it inside the outer reservoir mold. Mark the point where the containers meet in two or three locations.
This is where you will want to trim the height of the inner and outer mold of the reservoir.
I took a shortcut here, but it would have been better if I hadn’t because trimming these will give you cleaner lines and a better fit.
To trim this to size, use blue tape and wrap it around the container where your lines meet, then use a utility knife to trim it.
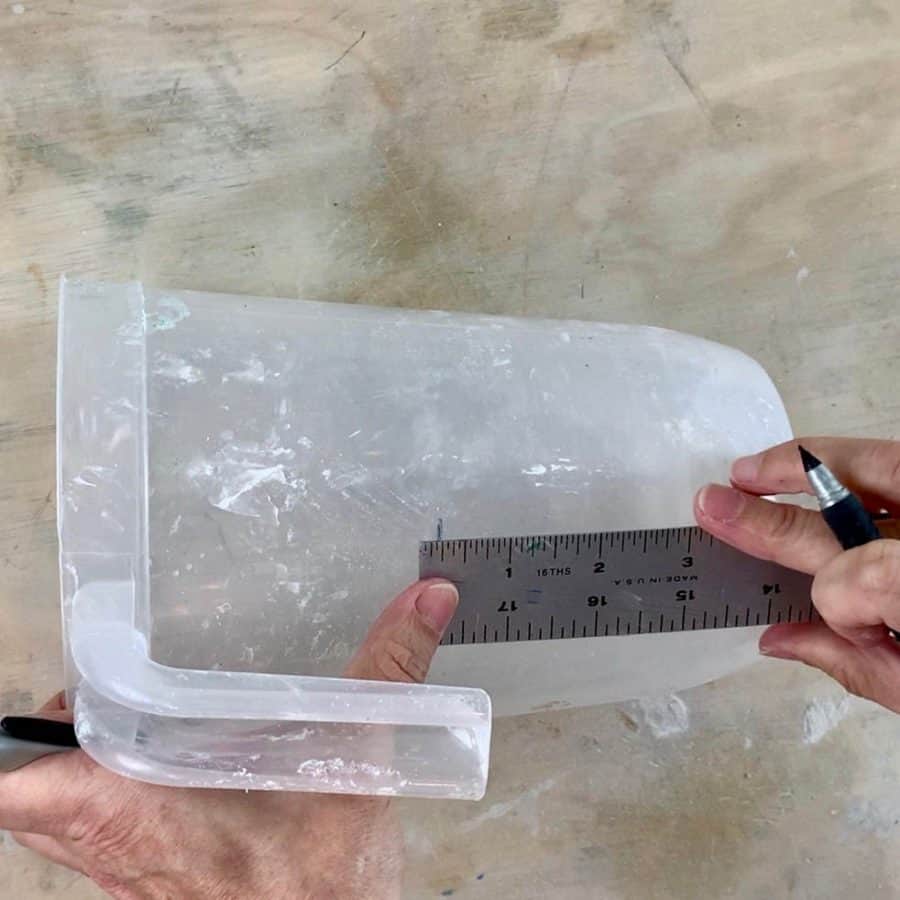
Next, take the insert for the reservoir and place it inside. Raise it about ¼” to allow for the bottom thickness.
Line this up with your trimmed to size outer mold and mark the location where these meet.

Do this in two or three points around the container, use the blue tape as a guide, and cut this to size.
Step 3 | Prep The Molds For The DIY Planter
For this step, I also skipped trimming the heights.
I would have been better off trimming both of these because it made it impossible to get the top even all the way around and so I recommend trimming them to size.
You’ll notice in my final photos that the planter is taller on one side-so if you trim the heights, you will be able to avoid this and get it even.
Just follow the same steps as in Step 1 to trim the height of the outer mold.
And for the inner mold, keep in mind it will be raised to the height of the straws you cut.
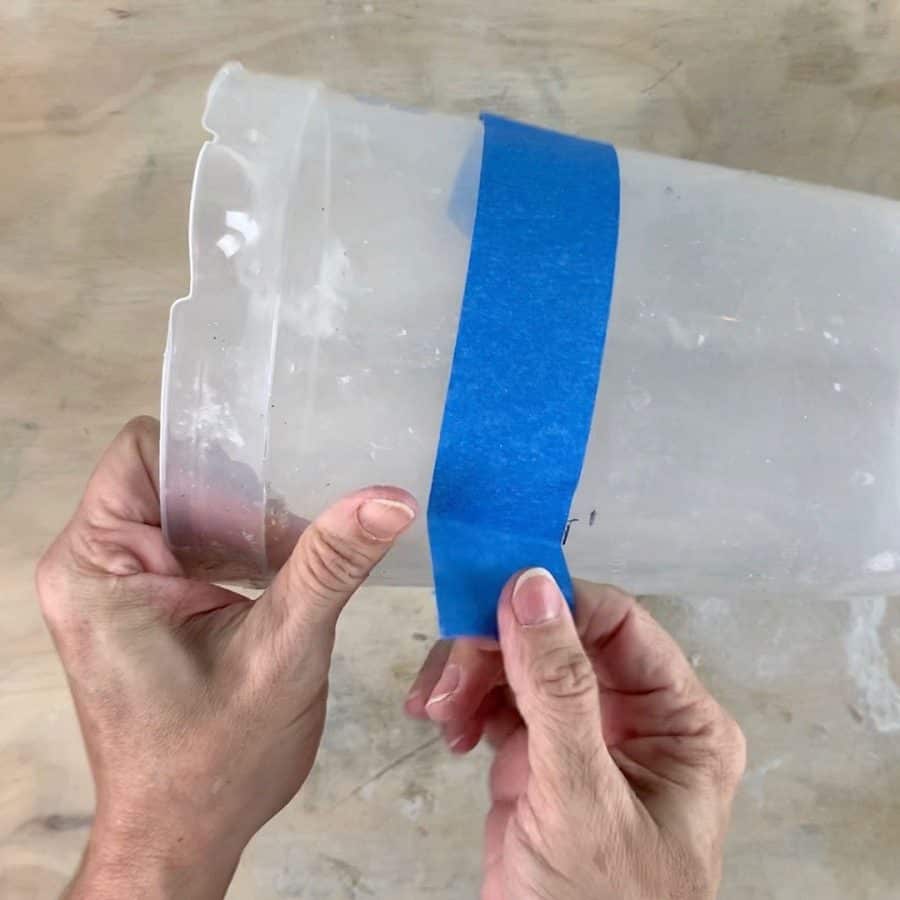
So if the straws are ¼”, then insert the inner mold and raise it ¼” and mark this on the outer mold.
Use the blue tape as a guide and cut with the utility knife.
You also may just want to wait until the straws have been glued to the bottom in the next step to get an exact dimension.
Step 4 | Glue The Straws And Prep The Inner Molds
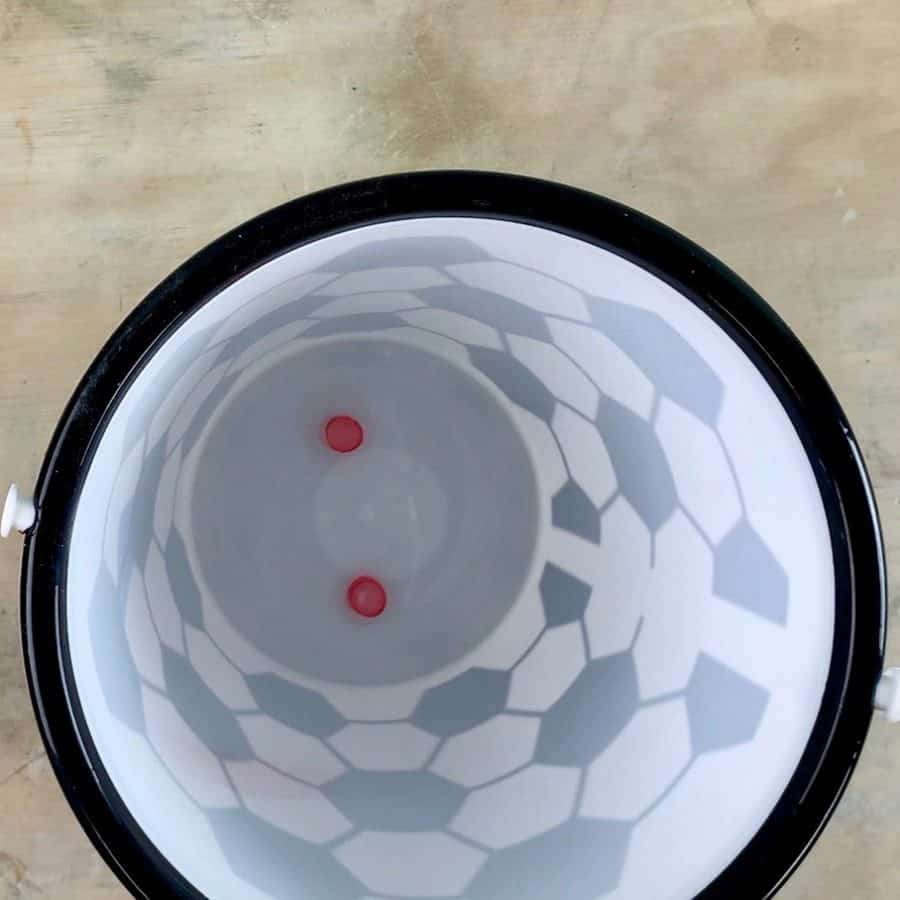
Once the caulk has set in the straws, go ahead and glue these to the bottom of the outer planter mold.
Place them equally apart and spaced from the sides of the container for the best wicking placement.

First, prepare the inner molds by adding something weighted inside of them. I like to use sand.
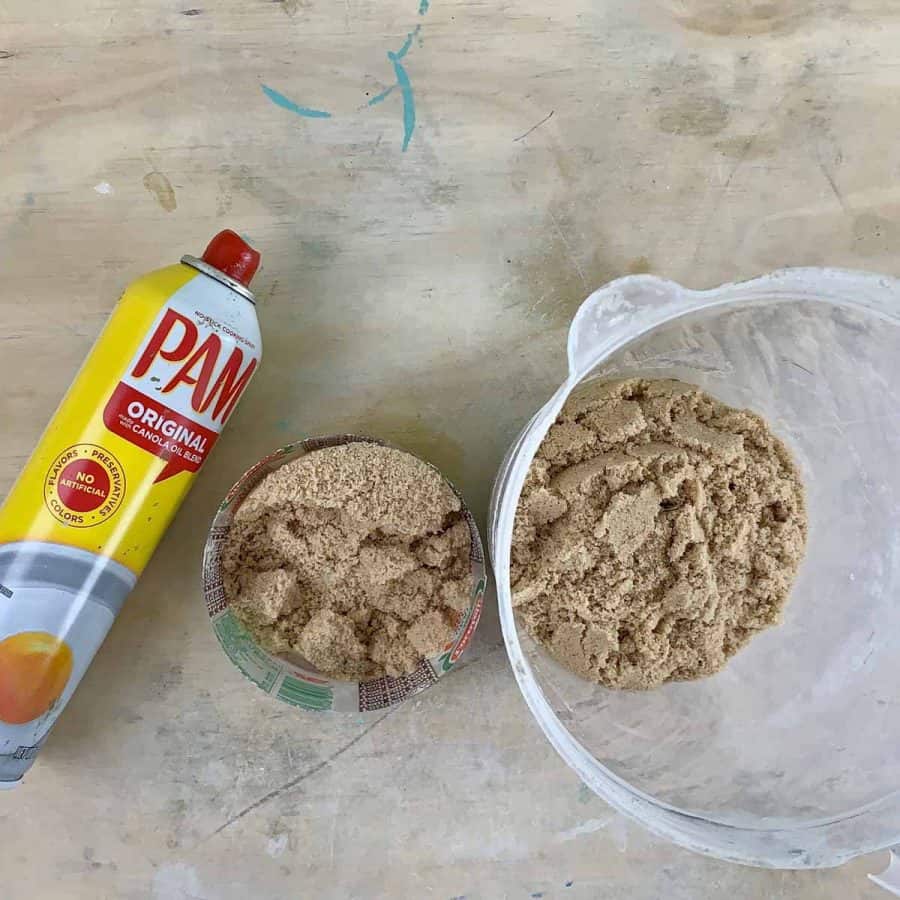
Now apply lubricant to the outside of the inner molds for both the planter and the bottom reservoir.
Step 5 | Mix And Cast The Concrete
The planter mold will get cast first and the reservoir will be cast after this has cured, in Step 7.

Mix the concrete to a consistency that is like a very thick milkshake and ensure there are no lumps.
Then pour it into the outer planter mold until it’s about ½ to ⅔ of the way full and insert the inner mold. Be sure to center it first, before inserting it.
Vibrate this until most of the air bubbles release and let the concrete planter cure for about two hours.
Step 6 | Demold The Planter

You may also be interested in another unique planter tutorial- Cement Balloon Planter, and the Triangle Planter.
With the sloped walls of my soccer pail, I was able to remove the planter just by tipping it upside down onto a soft towel. The inner mold also pulled right out.
You may need to use a heat gun or utility knife to demold yours.
Try to keep the outer mold intact because you are going to use it in the next step. You will also want to keep some of the sand inside.
Remove the silicone straws either with your fingers or use pliers to pull them out.
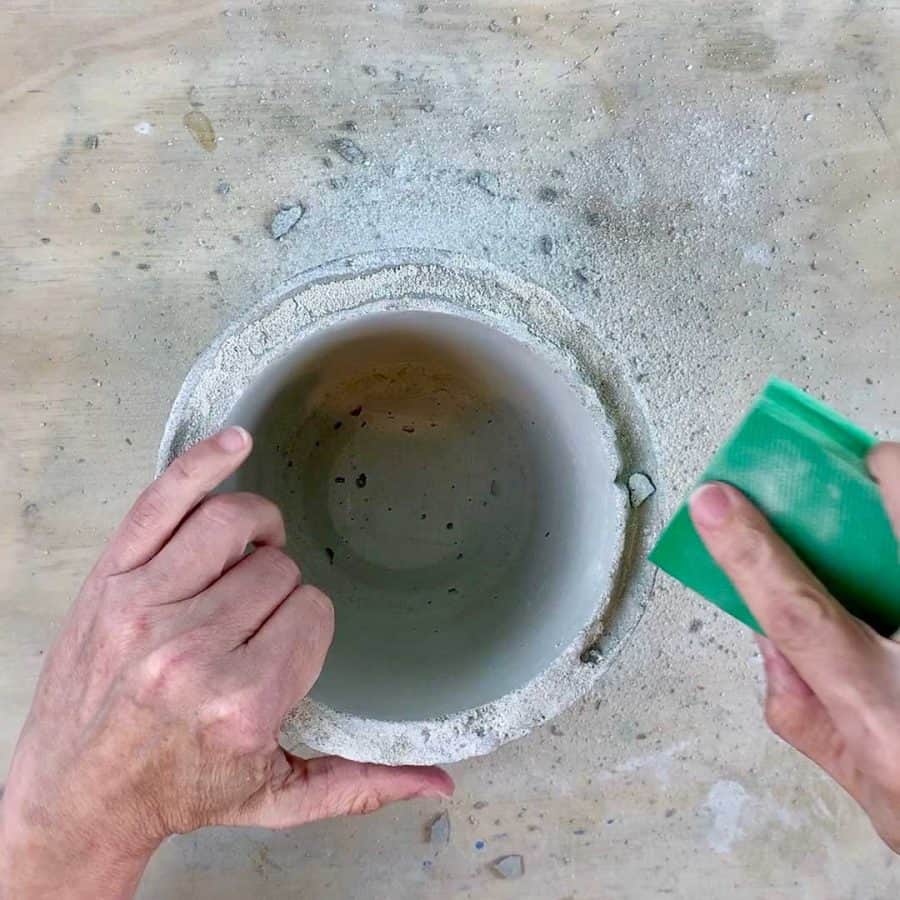
If you have rough or uneven top edges, then sand them with a 400 and 220 grit diamond or a regular sanding sponge.
Step 7 | Mix And Cast The Self Wicking Reservoir

Once you have demolded the planter, make the concrete mix for the reservoir.
This will also be mixed to a very thick milkshake consistency like the planter mold.
Pour the mix and insert the inner mold and shake and tap to vibrate.
Now take the planter mold, with sand or something else weighted inside and place it on top of this cast reservoir to create an imprint of the container and ensure a nice fit.
Use a small level to check that it is sitting flat.
You can remove this after the cement has set which should be about 15-20 minutes.
Let this cure about an hour
Step 7 | Demold The Self Watering Reservoir
Remove the reservoir from the mold. Use a utility knife or heat gun if needed.
Step 8 | Painting And/Or Sealing The Concrete Planter -*Optional

I wanted this planter to be a bright color to give some pop against my white orchid, and so decided to paint it.
If you prefer to keep your self watering planter unpainted, then I recommend sealing the inside of the water reservoir so that the water doesn’t evaporate too quickly.
Concrete is porous and the water will dry out very quickly without sealing or painting.
I opted to both paint and seal the inside of the reservoir for extra protection from evaporation.
If painting it, then wait a day after your DIY concrete planter cures before painting it.
Because although the cement has cured, it does still retain moisture, so wait until it is completely dry to avoid peeling paint.
To paint concrete, you can use either latex or acrylic paint. I used “oops” paint from Home Depot that I got for cheap.
I always keep an eye on the mistake paint because you can also use this house paint for pigmenting wet cement.
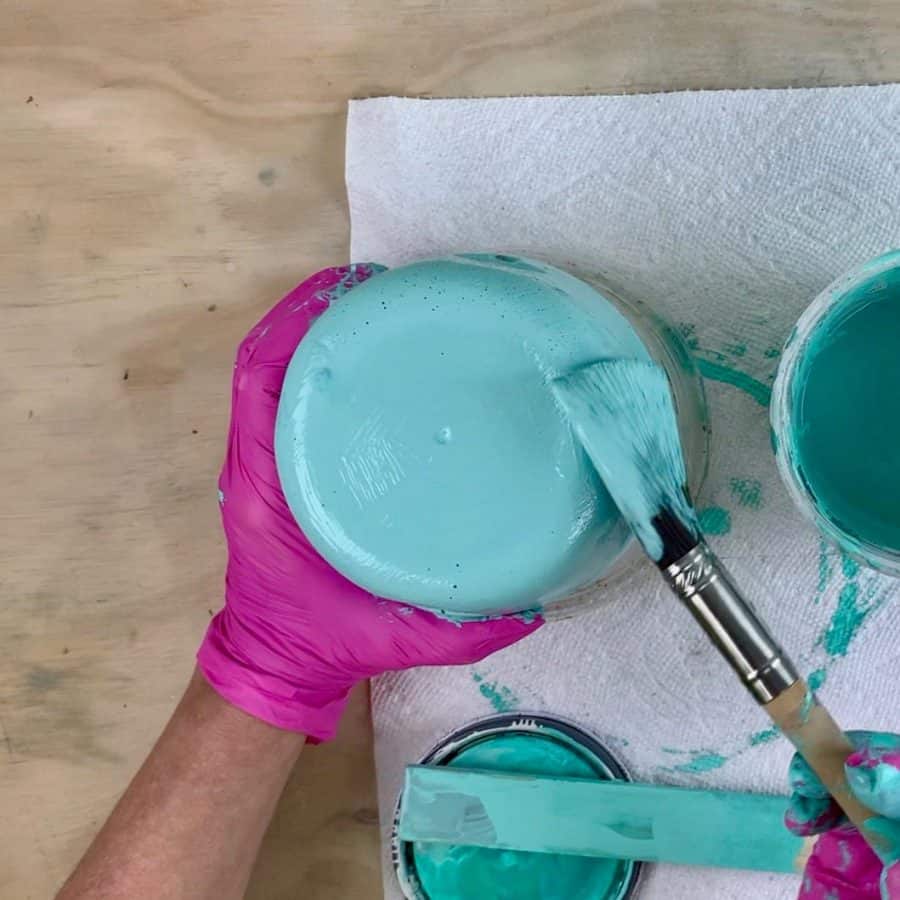
Use a nylon paint brush to paint the concrete planter. You don’t need to paint it inside, plus it’s better if the pot itself is a little porous.
Be sure to paint about an inch or two inside from the top so that the area above the soil is painted.
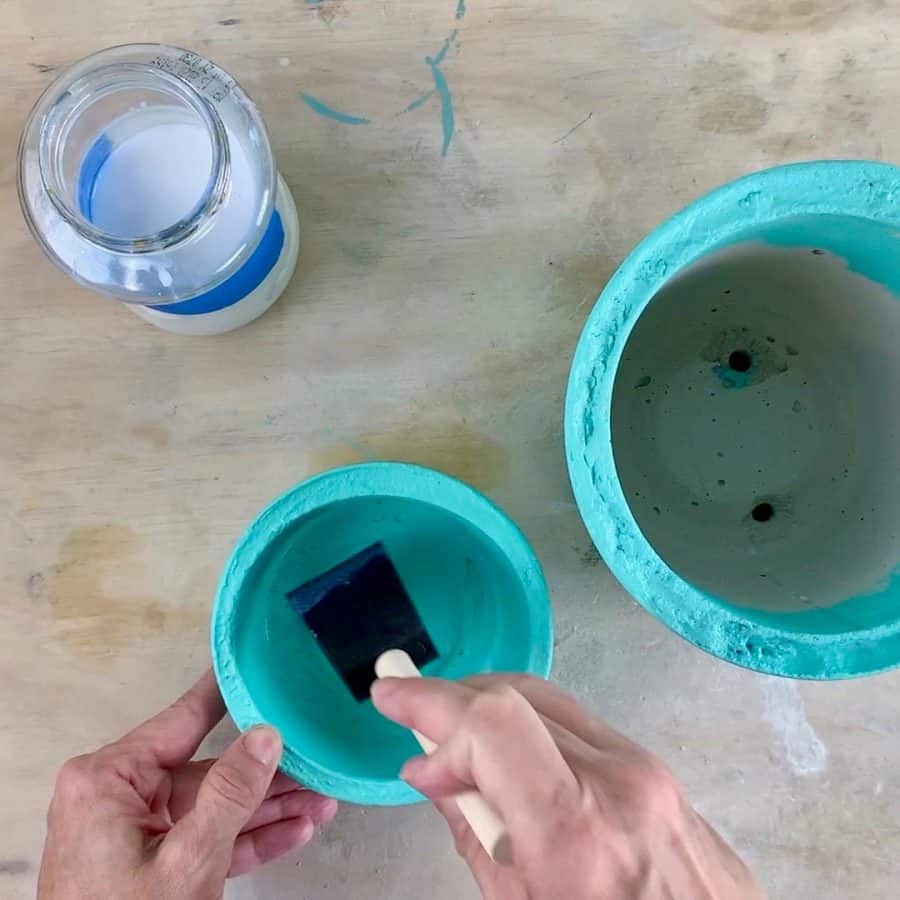
To help protect the painted finish, I recommend using a concrete sealer as a topcoat.
And for the reservoir, I recommend applying two coats of sealer to make sure most of the pores are closed.
Wait a few hours for the paint to be completely dry, before sealing. Use a paint brush or foam brush to apply the sealant.
Final Step | Thread The Self Wicking Planter Cord
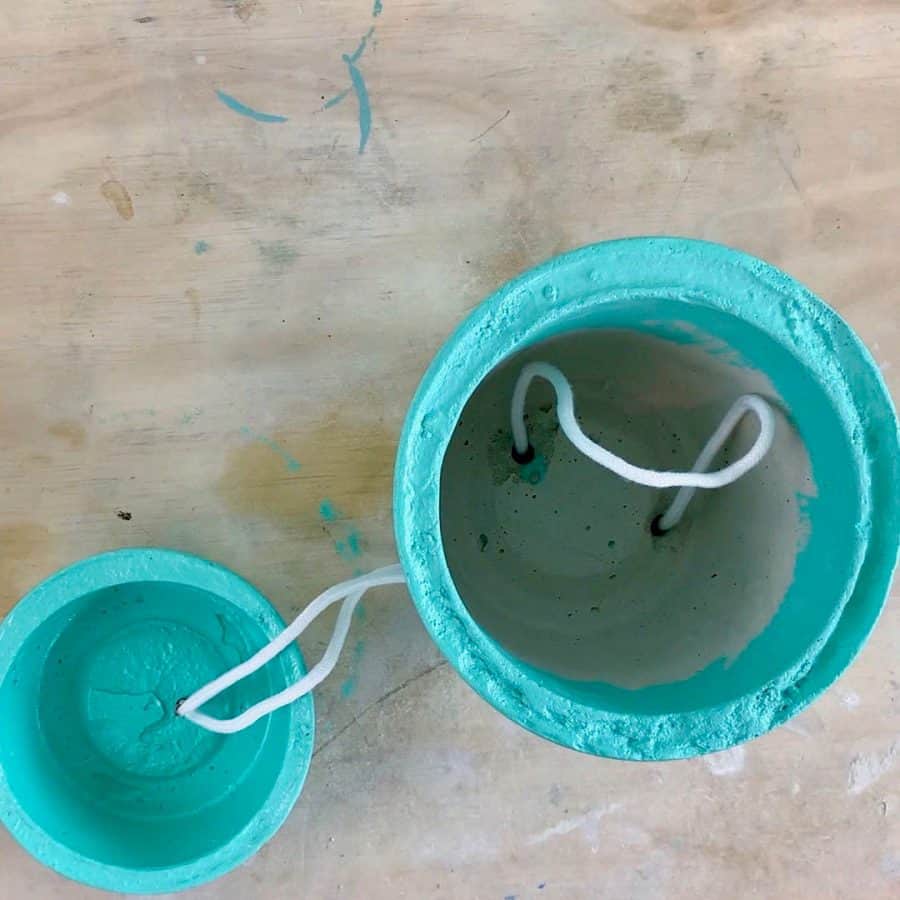
Take the self-wicking water cord and thread it through one of the holes- from the inside of the planter.
You want to make sure the cord will be touching the roots and you also need to leave some slack inside the reservoir so that the cord can reach all the water.
Inside the pot, a u-shape works nicely for getting a good bit of the roots.
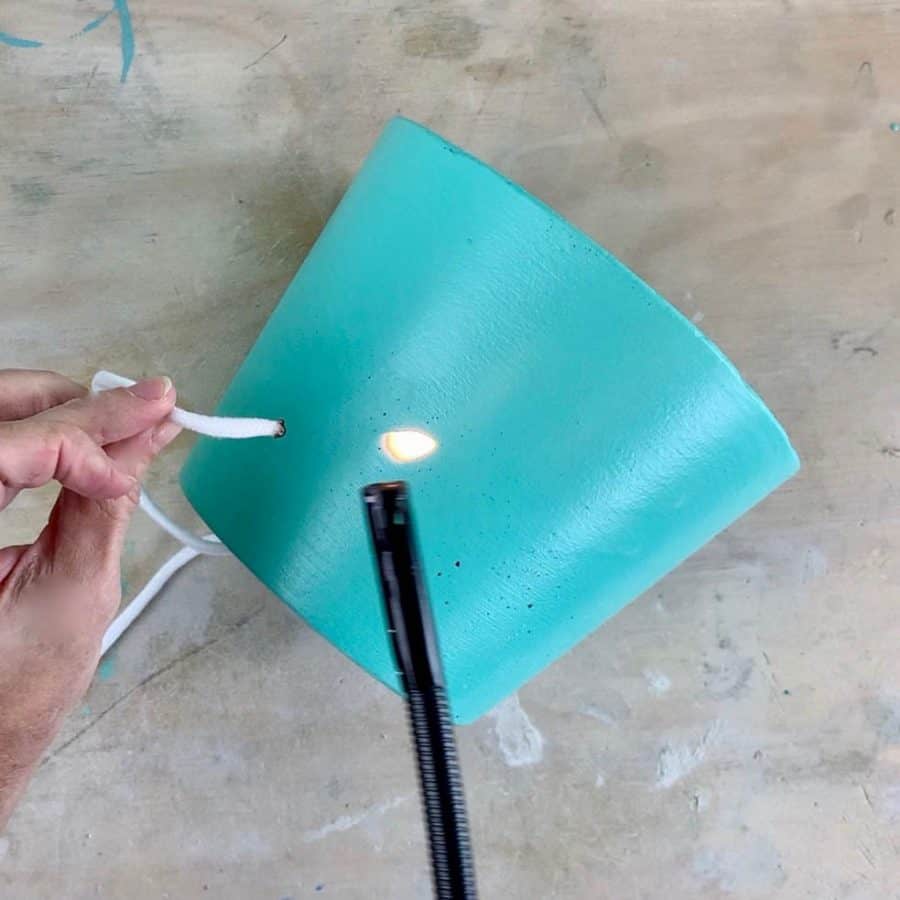
Once you have the wicking cord length where you want it, go ahead and cut it.
To help avoid fraying, I also recommend using a lighter to carefully burn the ends.
For now, it may be a good idea to try to leave the cord extra long.
This is because if for some reason, the cord is absorbing more water that the plant needs, you can always tie a knot in it which will slow down water absorption.
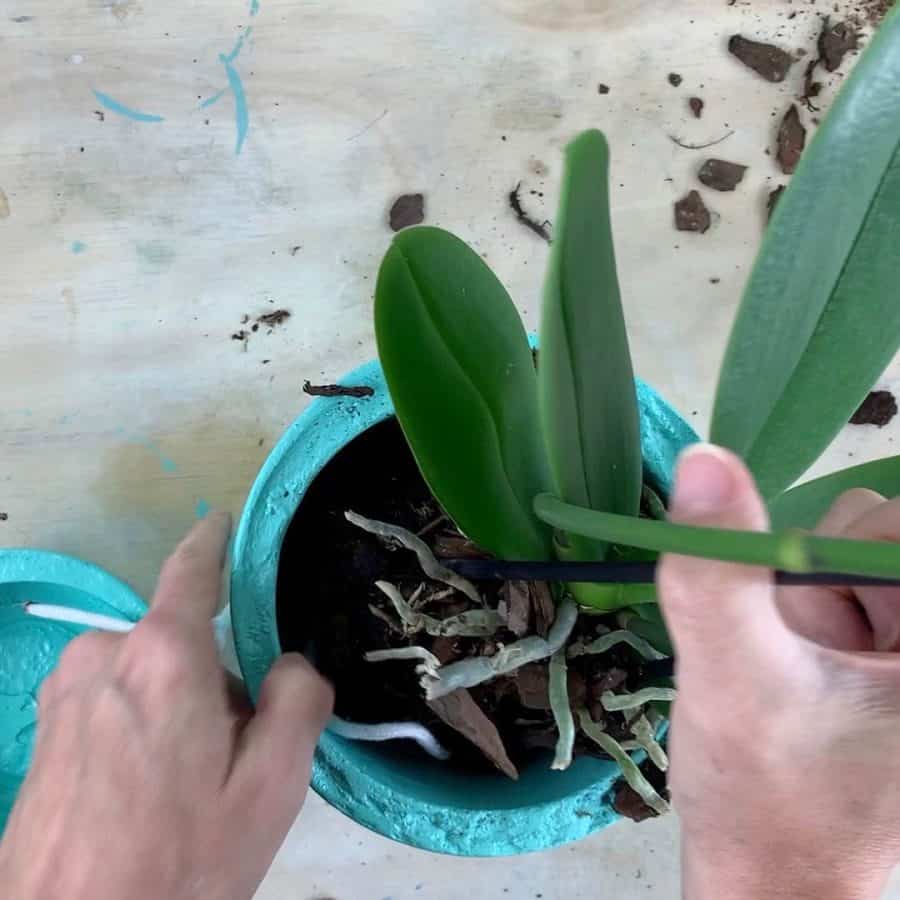
Next, add some special orchid potting mix and insert the orchid.
Be sure that the orchid root ball is touching the cord and then add more potting mix until the orchid sits nicely within its self watering planter.
Note: Orchid soil is typically fir bark, sphagnum peat moss and sometimes perlite. Read more in depth about caring for Phalaenopsis orchids.
Add fertilized soil to about ½ to ¾ full and pot your plant. Add more soil so that it comes up to about 1” from the top.

Now just fill the reservoir and stack the orchid planter on top. My reservoir held one full cup of water.
Don’t forget to adjust the cord by tying a knot in it, in case the orchid seems like it’s getting over watered.

Would like to know is anything needs to be done with the new concrete to prevent any leaching of chemicals that might harm the plant or alter pH of the soil?
Hi Doug,
I normally plant succulents (which prefer an alkaline environment) in my concrete/cement planters and so alkalinity hasn’t an issue. However, orchids prefer a neutral soil. So yes, it is a good idea to soak the cement pot in water to help leach out the alkalinity from the lime. I don’t have evidence of this, but I believe that sealing and painting the cement will minimize leaching of alkalinity and so I didn’t do this. If you want to play it safe, soak the pot in water for a day, replace the water with fresh water and do this one or two more times. It may be overkill, but it will definitely prevent an alkalinity issue. Thanks for the reminder, I’ll update the post with this information.
Thanks for responding. I have seen that the alkalinity was a problem for concrete items used in aquariums and fish ponds and assumed it would also apply to plants. Might be a good warning for any planter article.