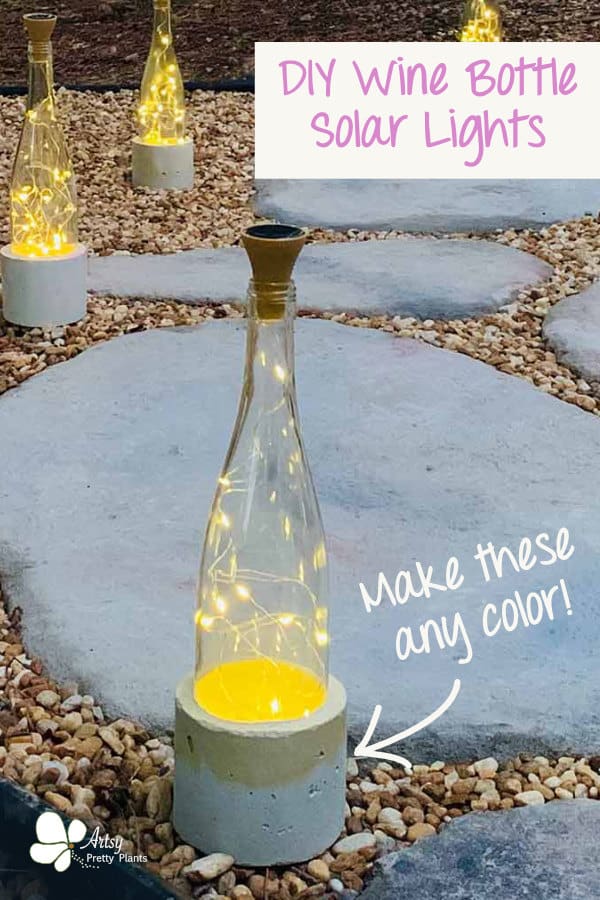
DIY Wine Bottle Lights with Pretty Cement Bases
Illuminate your outdoor space with cement DIY wine bottle lights that are solar. Use them to create a beautifully lit patio, path or garden.
DIY wine bottle lights made with cement are an easy way to liven up your outdoor space. It amazes me how much of a difference lighting makes in any space, especially outdoor lighting.
If I were a realtor, I would be strongly encouraging all my home sellers add outdoor lighting to their outdoor spaces-it adds super curb appeal.
I’m willing to bet those houses would sell faster than the identical home without the outdoor lighting. Am I right?
You can easily create your own outdoor paradise just by combining cement, wine bottles and solar LED fairy lights.
The cement base adds a decorative element as well as stability, and you can make it any color to match your decor.
Video For DIY Wine Bottle Lights With Cement Bases
Please click the button to subscribe to my YouTube channel and be notified when I have a new video tutorial!
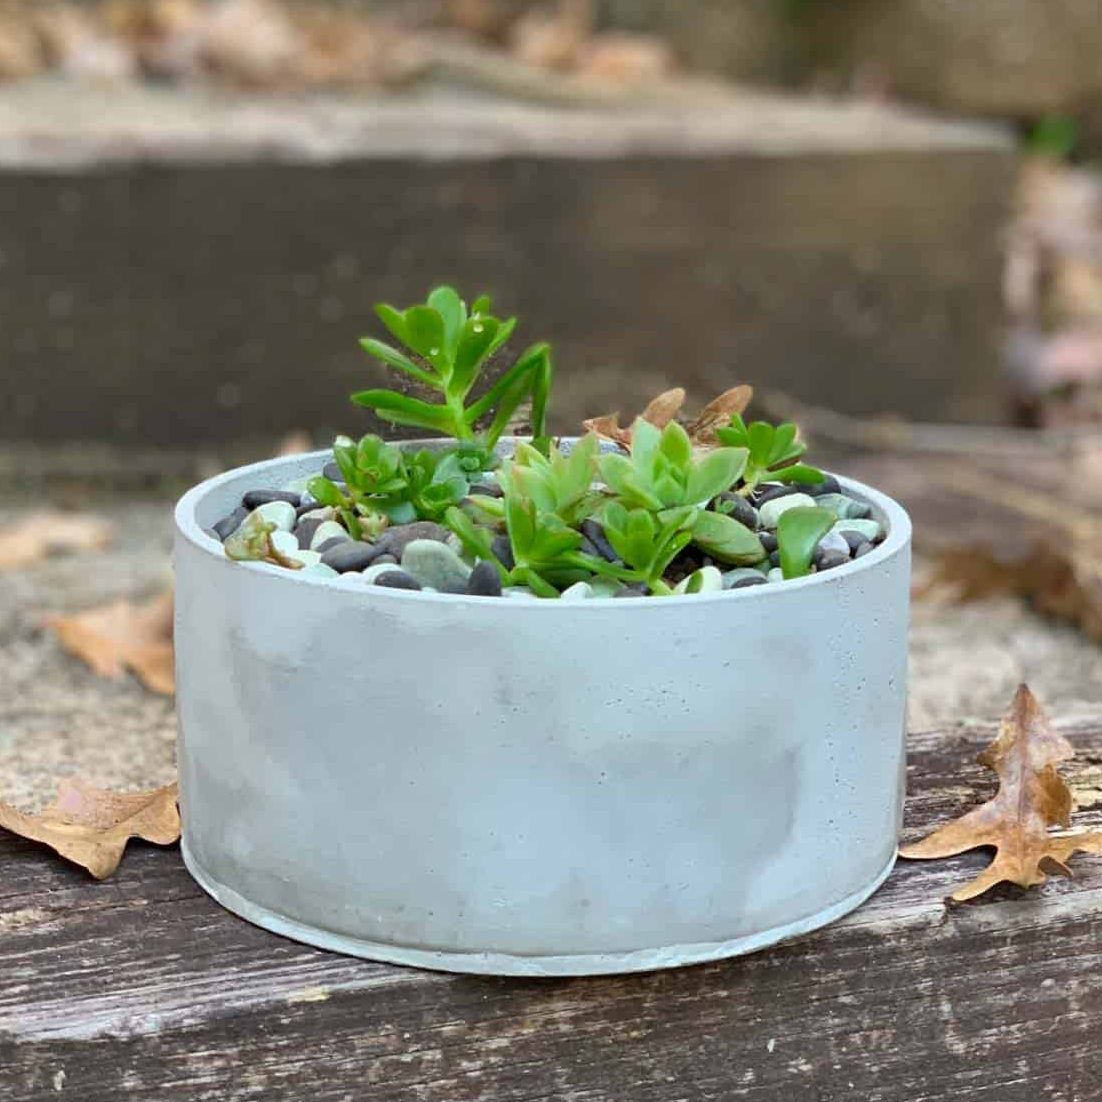
A whole different type of upcycling for wine bottle crafts.
Could there ever be a day when we run out of cement crafts ideas? I don’t think so!
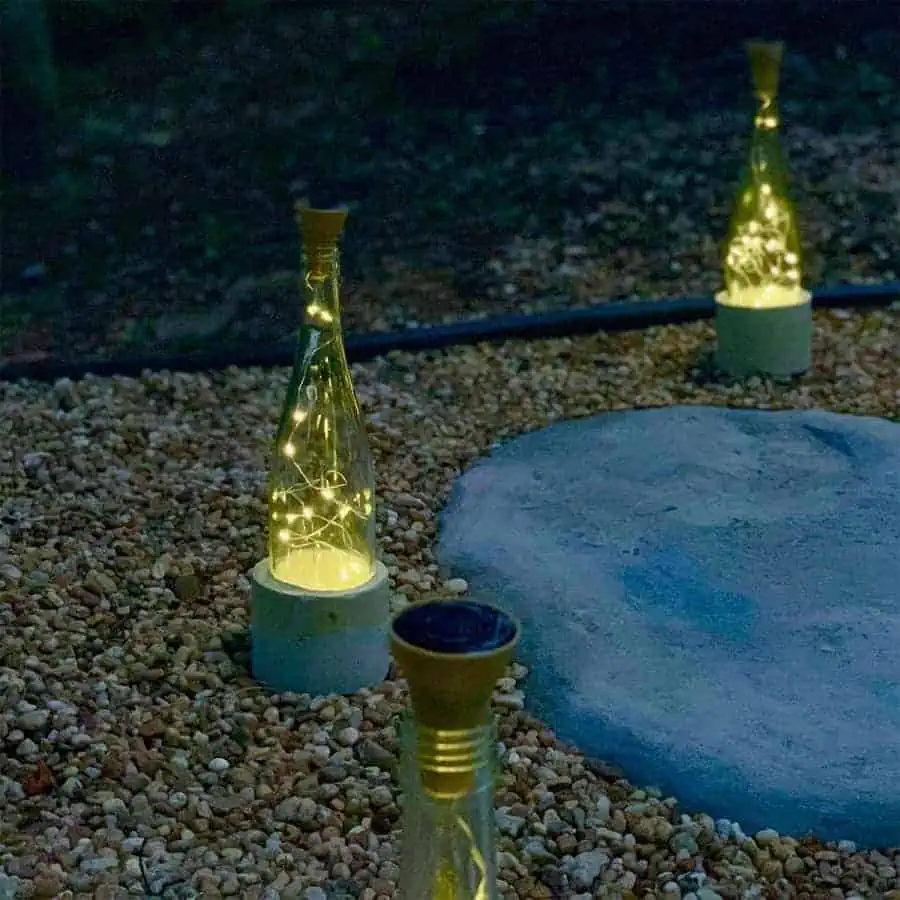
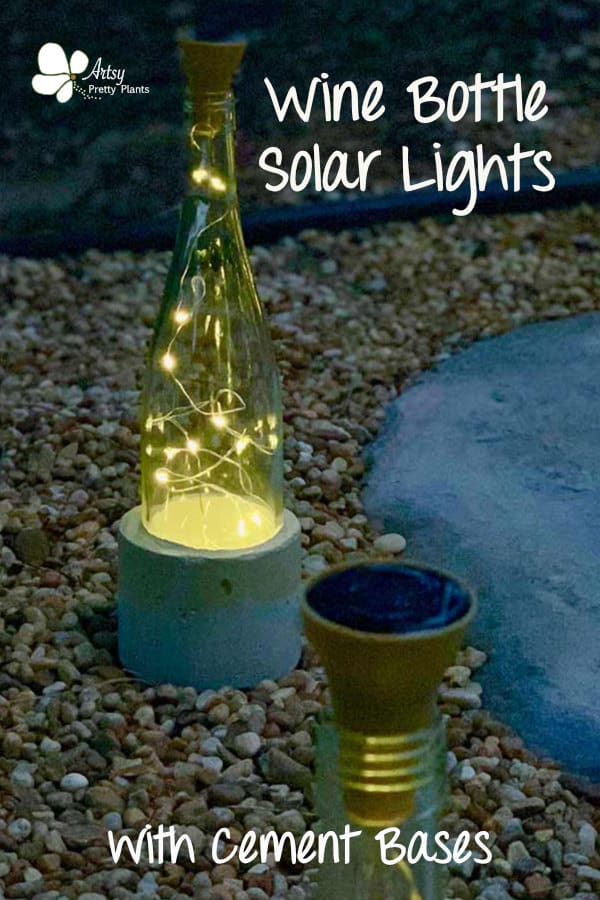
Take a look below and make note of how the “cork” looks. It’s plastic and that’s were the solar panel is located.
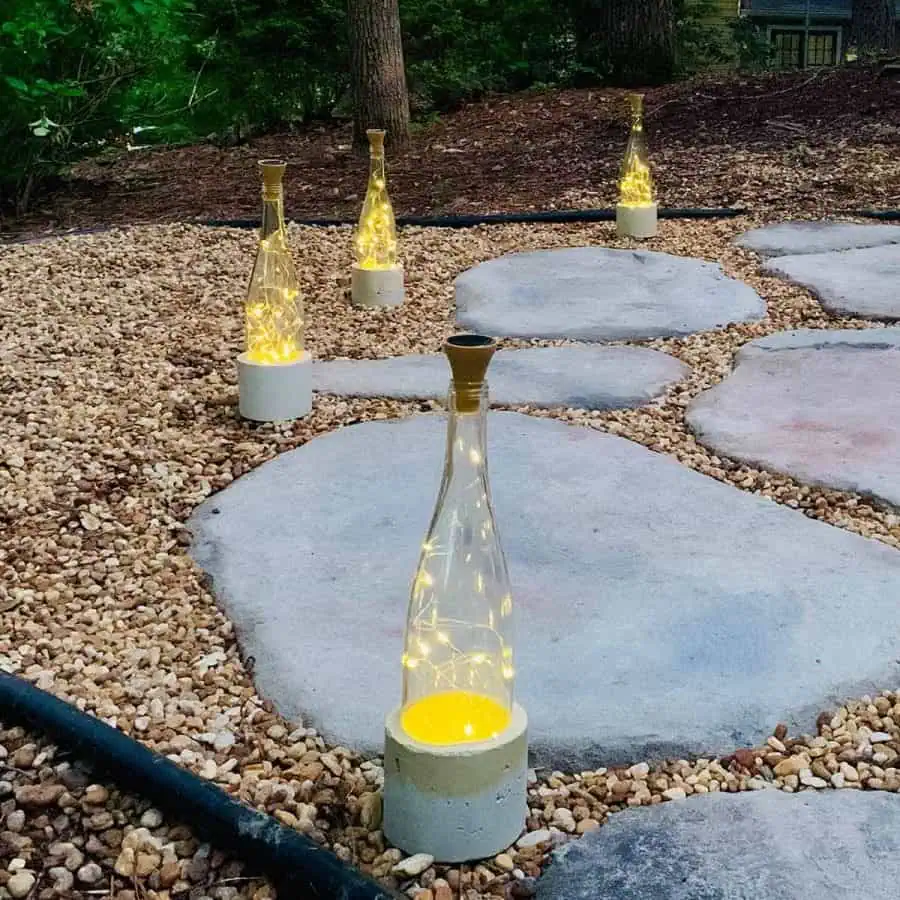
And this is the effect of illuminating a concrete stepping stones path.
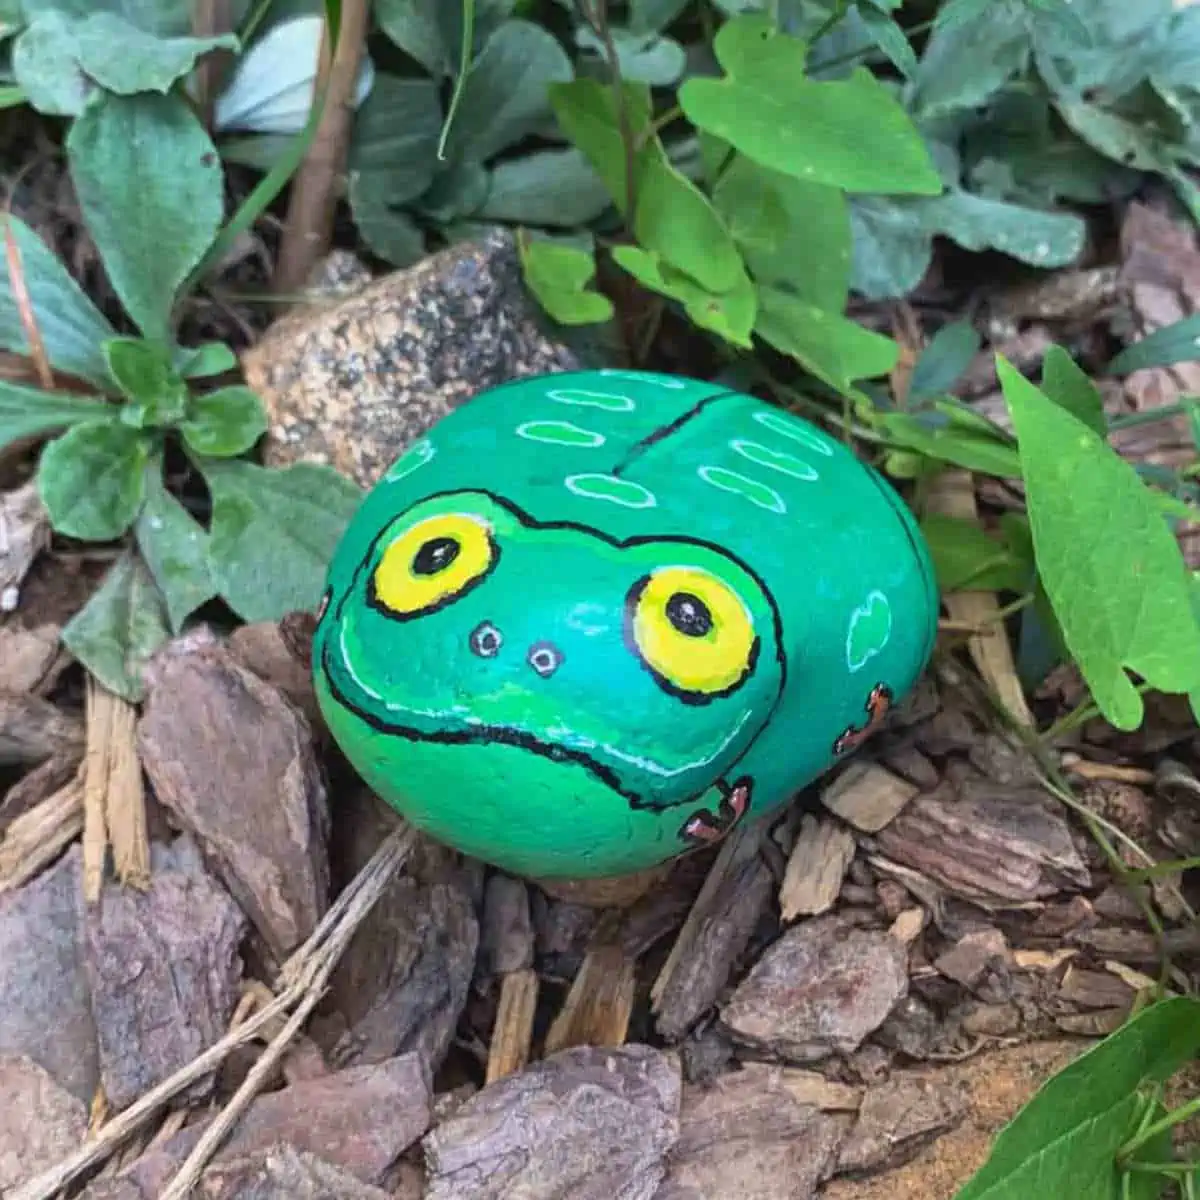
In this tutorial, I made fake rocks from concrete to hide solar lights during the day and light up my gravel garden by night!

How about on the stairs, lighting the path to your front door.

For other great outdoor lighting tutorials that incorporate concrete, check out this floating stand of twig lights for your porch, and this gorgeous concrete fire bowl.
Some of the links on this page have been provided as a convenience for finding materials. These links may also be affiliate links. As an Amazon Associate I earn from qualifying purchases, at no extra cost to you.
I only recommend products I’ve used and loved, unless otherwise stated. Click here to read my full disclosure policy.
DIY Difficulty Level | Easy
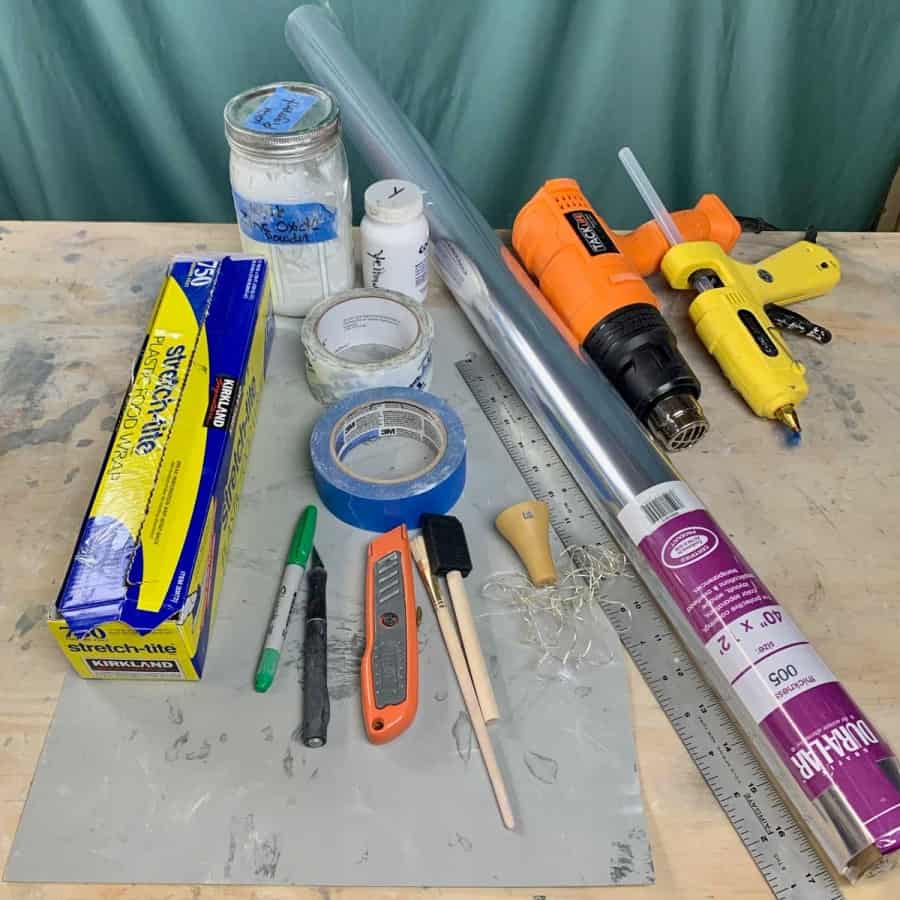
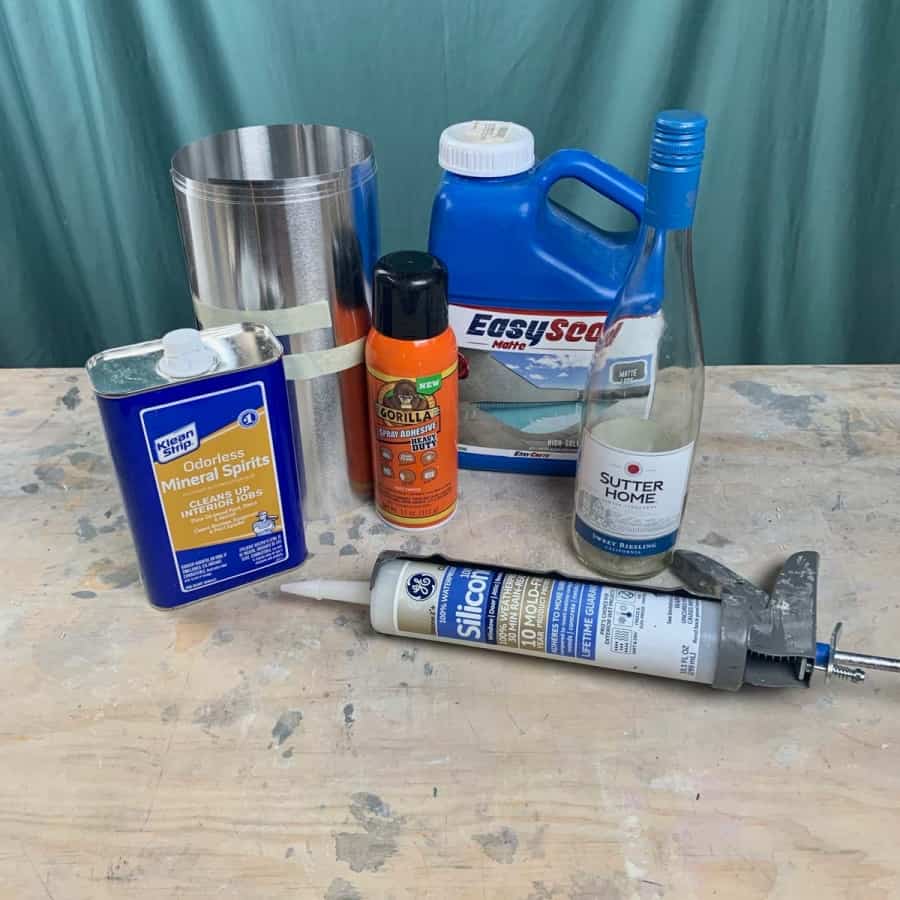
Materials For DIY Wine Bottle Lights
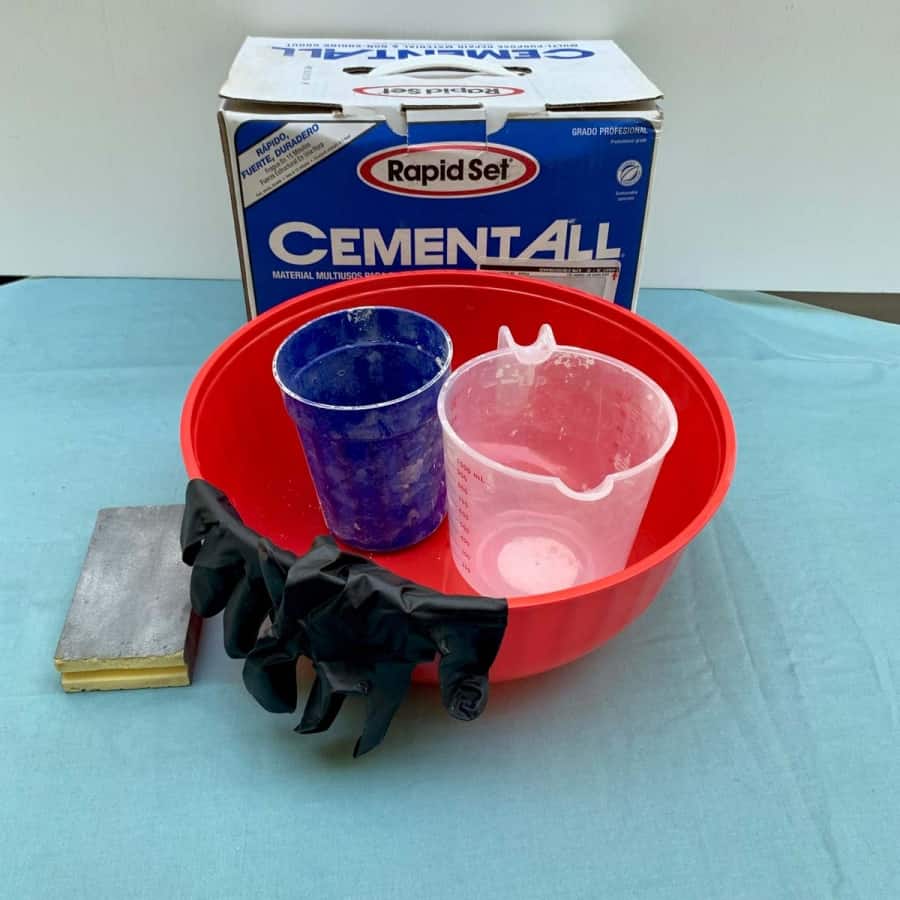
- Cement, Rapid Set
- Disposable bowl
- Disposable cup
- Durable nitrile gloves– I like these because they are so durable, you can rinse and reuse and will end up costing less in the long run
- Safety glasses
- Safety mask
- X-acto or craft knife
- Box cutter
- Wine bottles (with lids or corks) – 8
- Concrete pigment- if desired –white, yellow
- Aluminum flashing– 14″ high, the thinner, cheaper stuff that comes in rolls
- *Acetate sheet .005 (recommended) or Glossy contact paper
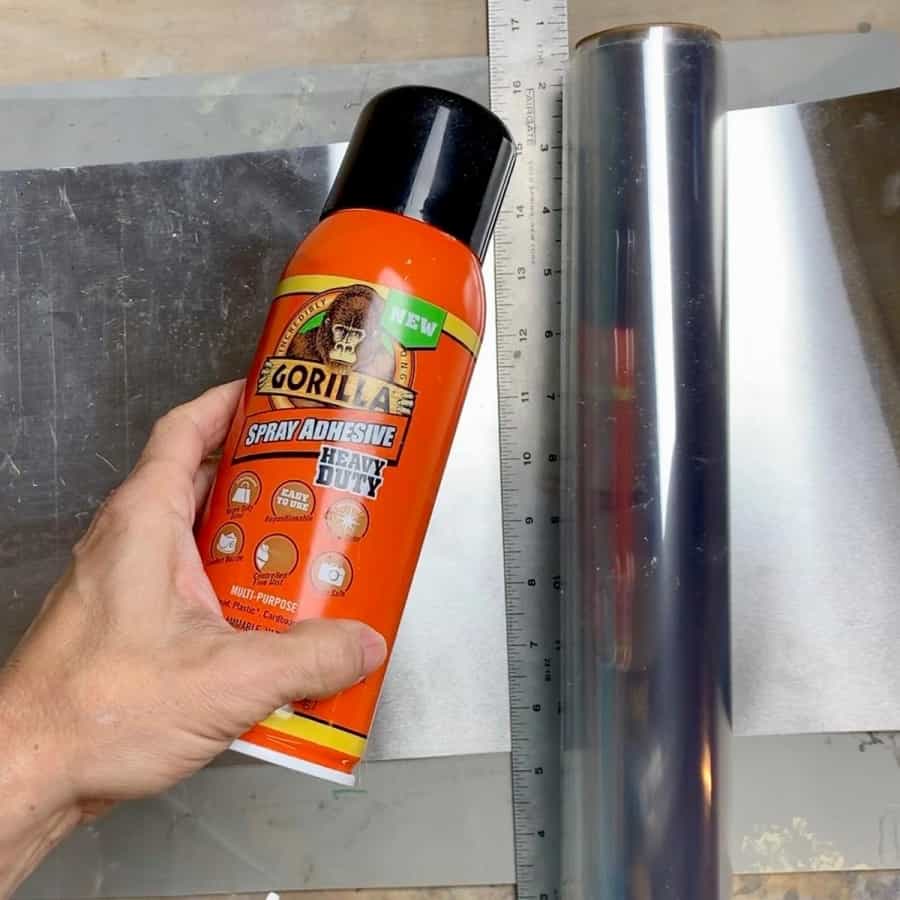
- Spray adhesive (if using acetate)
- Solar fairy lights (comes with 8 lights)
- Cork backed ruler
- Sharpie
- Blue tape
- Packing tape
- Plastic wrap
- Hot glue gun
- Heat gun
- Mineral spirits
- Small paintbrush
- Foam brush
- Matte Sealer
- Silicone caulk- clear – *may not be necessary
Materials Details
You will use both the aluminum flashing and either the acetate or contact paper as the mold that will become the cement base for the wine bottle.
The photo below shows 3 different results- using contact paper, using acetate and not using any barrier at all.
You can decide based on this, which material you want to use as a barrier, if any.

Alternatively, you can just use a plastic container instead of flashing with acetate or contact paper.
I couldn’t find one that looked to scale with the bottle and didn’t have a flared shape, so I opted for the flashing mold method.
I have this tutorial written so that you can make three bottles at a time- (except the casting of the cement which you will do one at a time).
The reason for making three at a time is for batch processing efficiency and also because that’s how many strips fit into a single width of the flashing roll.
I have been especially conscious of trying to reuse materials as much as possible. There are some silver linings to the current stay at home situation- conservation.
Conserve as many materials as you can, including reusing those nitrile gloves.
If you have the double thickness kind gloves that I typically recommend, then you should be able to get away with 3-6 uses before having to dispose of them.
You can batch process these in any amount you would like. And you can reuse these molds so you don’t have to cut more flashing or acetate strips.
The silicone caulk is for sealing the cork inside the bottle. The “corks” are plastic, not cork material and appear as though rain could easily get inside.
The lights themselves will probably be fine but you will always have condensation and blurry looking bottles.
Before starting the tutorial, it may be helpful to read my article comparing the different concrete mixes and sealers– Cement & Concrete Crafts Tests!
Another important article is Making Cement Crafts Techniques & Tips with info on cement materials, mixture consistencies, demolding, safety and clean up!
Tutorial Steps For DIY Wine Bottle Lights
Step 1. Charge The Solar Wine Bottle Lights
Take all your solar bottle fairy lights, and place them in the sunlight for a day. You’ll see a black switch on the side that says on/off.
Push each of them all the way over to the On position. The switch needs to be on for the lights to charge. You only turn them off if you don’t want them on at night.
Step 2. Remove The Wine Bottle Label
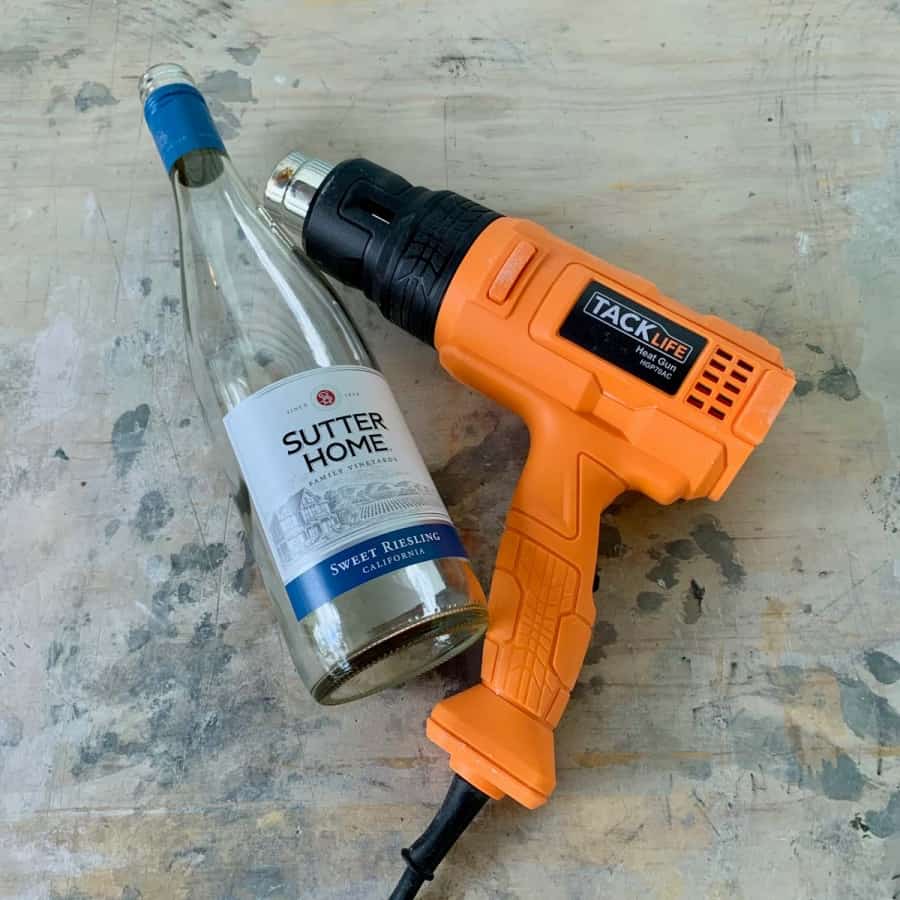
Use a heat gun on the high setting and run it over the label, sweeping the gun back and forth.
Within about 30 seconds, you should be able to lift the label away from the bottle. Be careful when peeling this away because the glass will be very hot.

*This method is magical, but only works if your wine label is the sticker kind. It’s not easy to tell beforehand, so test one out before you start stocking up on wine.
By the way, if you like sweet wine, and they sell this in your area, then I highly recommend Sutter Home Sweet Riesling.
Wouldn’t it be nice if they sponsored this post? 😉 If you are near a Publix grocery store, then you may be in luck.
It is the least expensive wine out there, but the quality isn’t at all cheap- in my opinion. :)) They also have a regular riesling, but it’s the “Sweet” version I am recommending.
Since not all wine labels are made of the same material or even use the same type of adhesive, they all may not come off easily with a heat gun.
If your label is the sticker type like mine were, this will be a breeze.
The paper kind is a bit more finicky and you may need to soak your bottle in hot water for an hour and then try with the heat gun.
Some people use Oxiclean to add to the water to make it easier. A quick Google search will show you loads of methods.

Once the label has been removed, use mineral spirits to wipe the remaining residue off of the bottle. Make sure you wear gloves when working with the mineral spirits.
Step 3. Trim The Materials For The Cement Molds
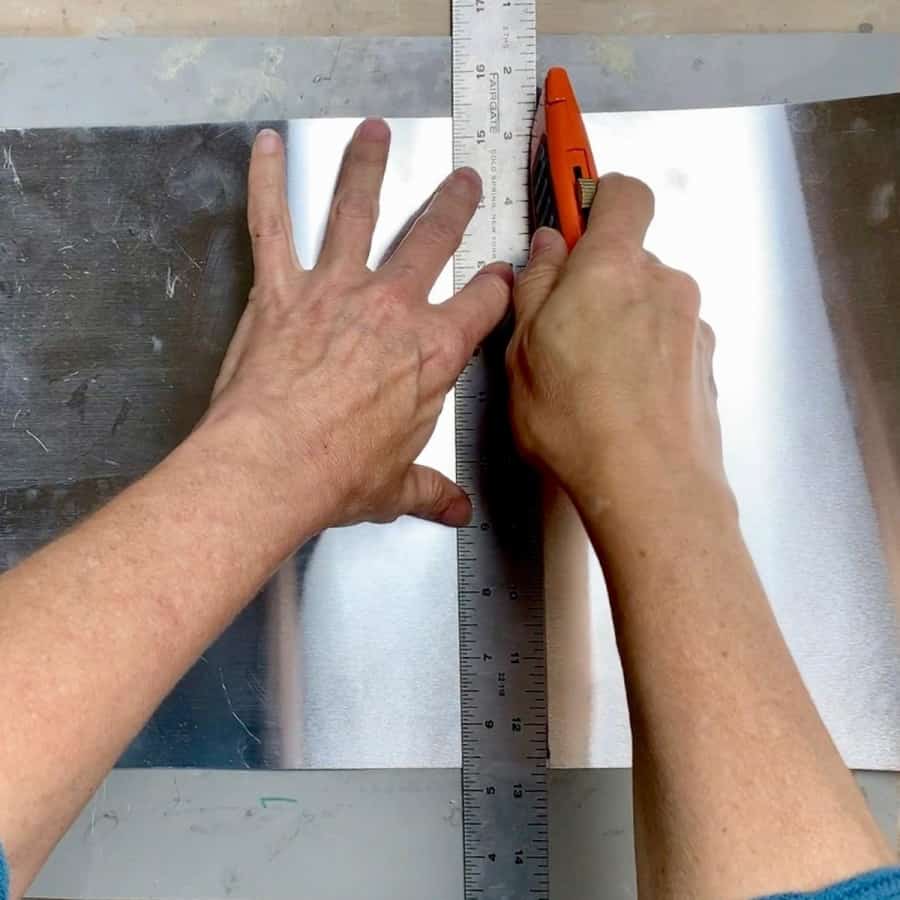
The width of a roll of flashing will allow for (4) base collar molds.
Measure four strips at 3” x 14”. These proportions are assuming you are using a wine bottle that is a standard 750ml size.
You may want to take a piece of string to make sure the wine bottle base is measuring 10” around. With a 10” diameter, 14” is what you will need for the concrete wrap.
The 14 ¼” will add a sufficient amount of weight to the bottle so it doesn’t tip easily in typical windy conditions.
You want the piece of flashing to be 14″ x 12″. Your 14″ is already set- assuming your roll is 14″. Now measure 12″.
Place a cutting mat beneath the flashing and use a box cutter (with a fresh blade) and a ruler with a corked back to cut this piece.
Don’t trim the strips to the 3″ yet, you will do that after the next step.
Step 4. Create The Cement Collar Molds
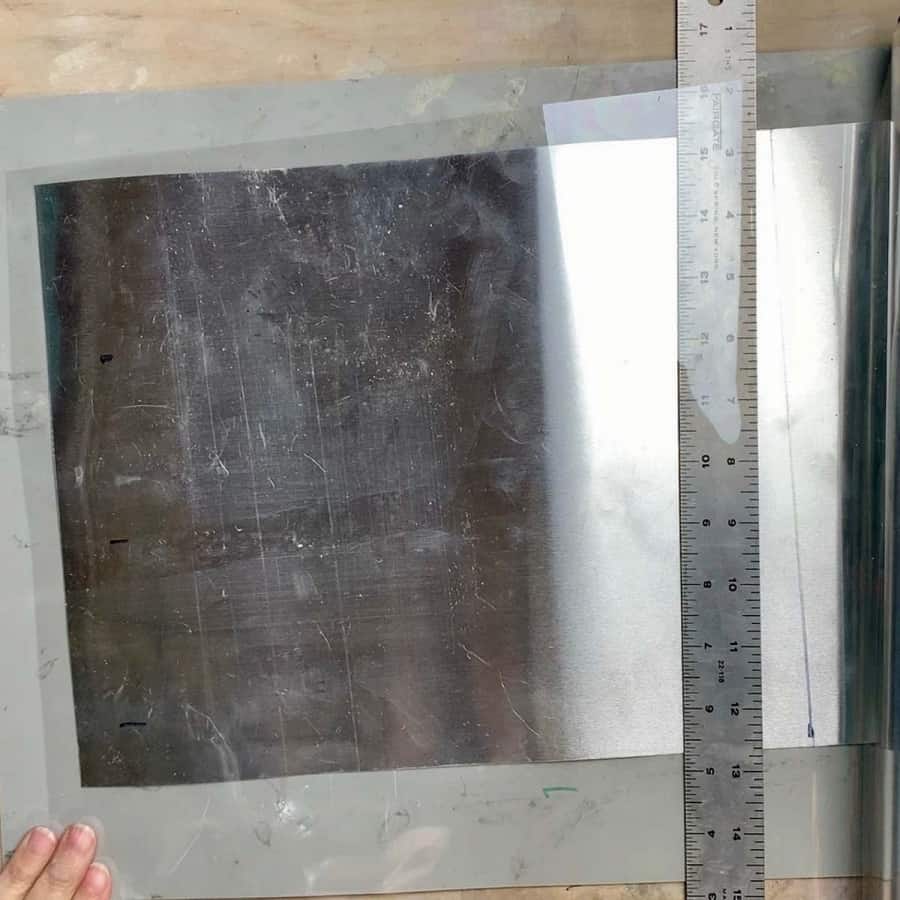
The acetate or contact paper is used as a barrier to keep the metal and concrete from interacting with each other, causing a reaction.
The reaction will cause the cement to look like a pumice stone if you have direct contact and it also won’t wear well outdoors. See the Materials Details for comparisons.
With the X-acto, cut out a piece of acetate that is a little larger than the 14×12 aluminum piece.
This will make it much easier to position onto the aluminum because you won’t have to worry about lining them up. 15″ x 13″ should be a good size.
If you are using contact paper, then skip the spray adhesive and directly attach it to the flashing.
If using the acetate sheets, apply spray adhesive to the acetate and then attach it to the aluminum flashing. Trim the excess acetate or contact paper with the X-acto.
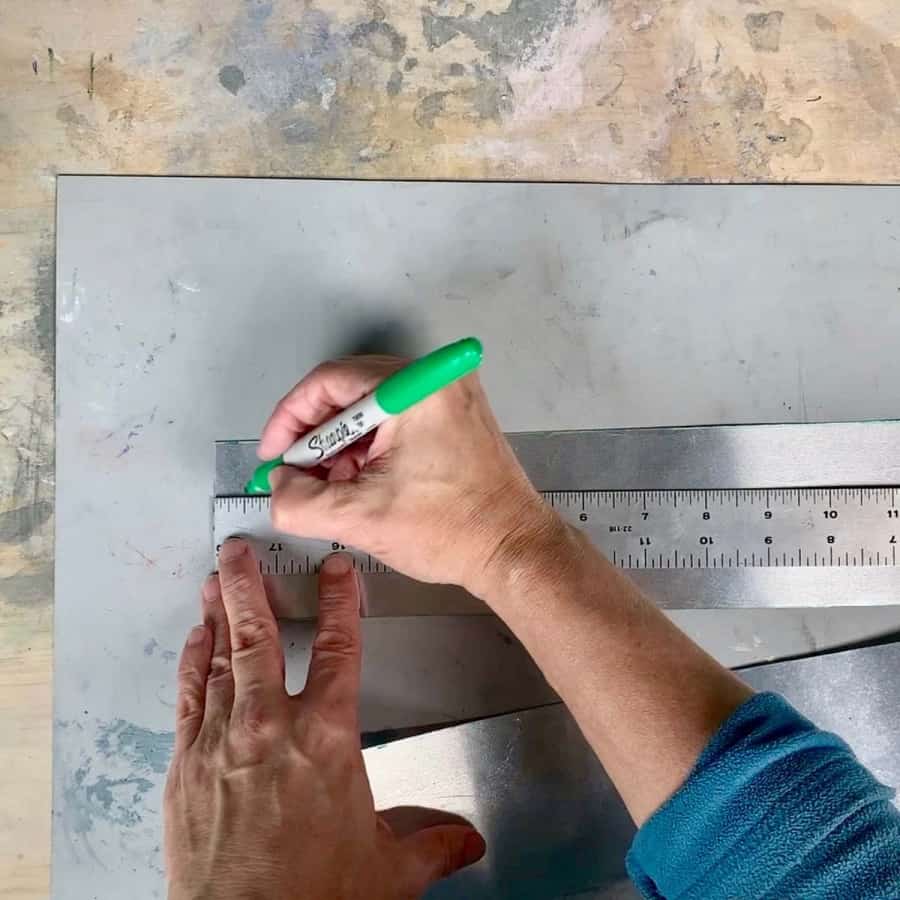
Next, on the outside of the flashing collar, make a mark at ⅝” from each end so you can see where they will overlap.
Then take a piece of packing tape that is just under 3” and tape the two ends together.
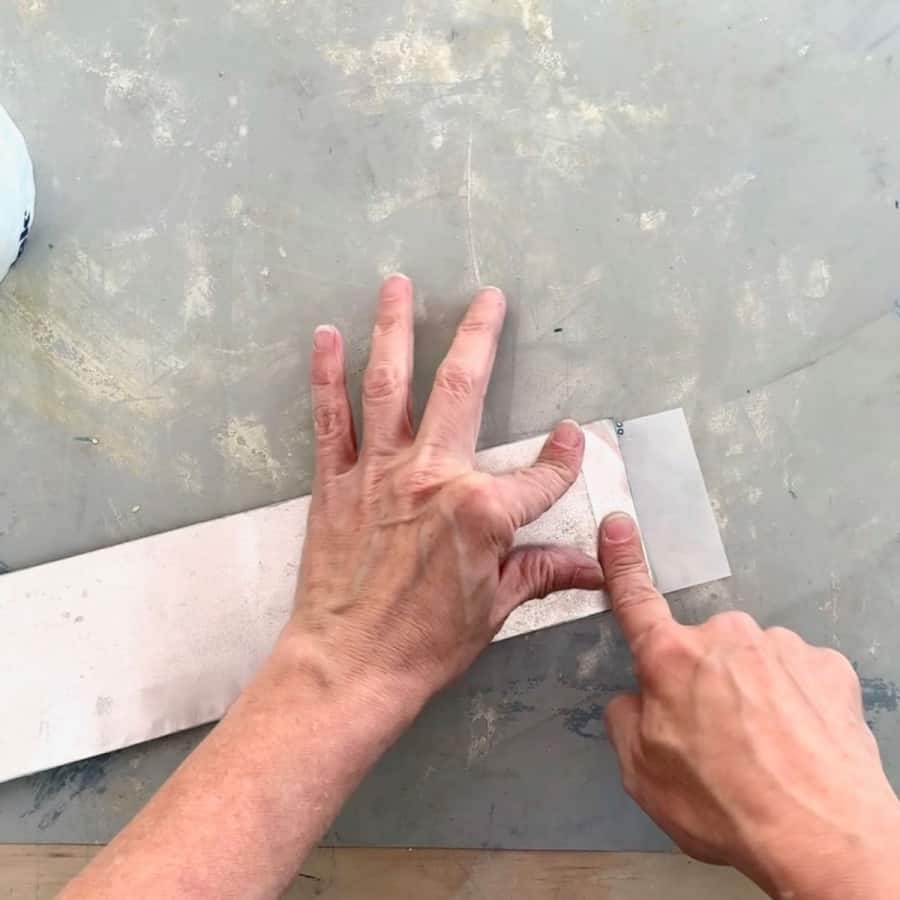
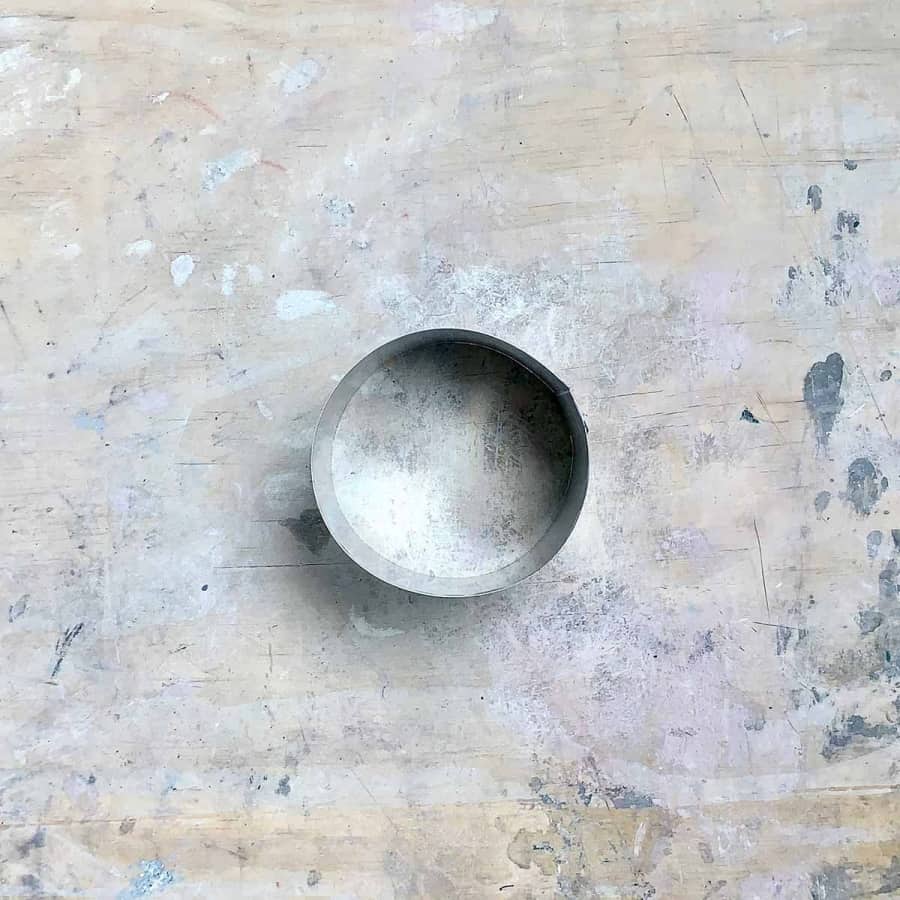
The reason you are overlapping instead of abutting the ends together is that you won’t be able to keep the collar in a round shape unless you create an overlap.
Step 5. Create The Base For The Cement Mold

Heat up the glue gun to a low temp. While it’s heating, cut 4 squares of acetate about 5×5”.
If you idon’thave acetate, then use any smooth disposable surface in case you can’t remove the glue.
These pieces will serve as the bases that you sit the collar molds on.
Once the glue has heated, then place the collars on the acetate base and glue them to the acetate from the outside.
This will prevent cement from leaking at the bottom.
Step 6. Prep The Wine Bottle
Take four of the label-less wine bottles and fill them with water and make sure to close the top with the caps or with the corks.
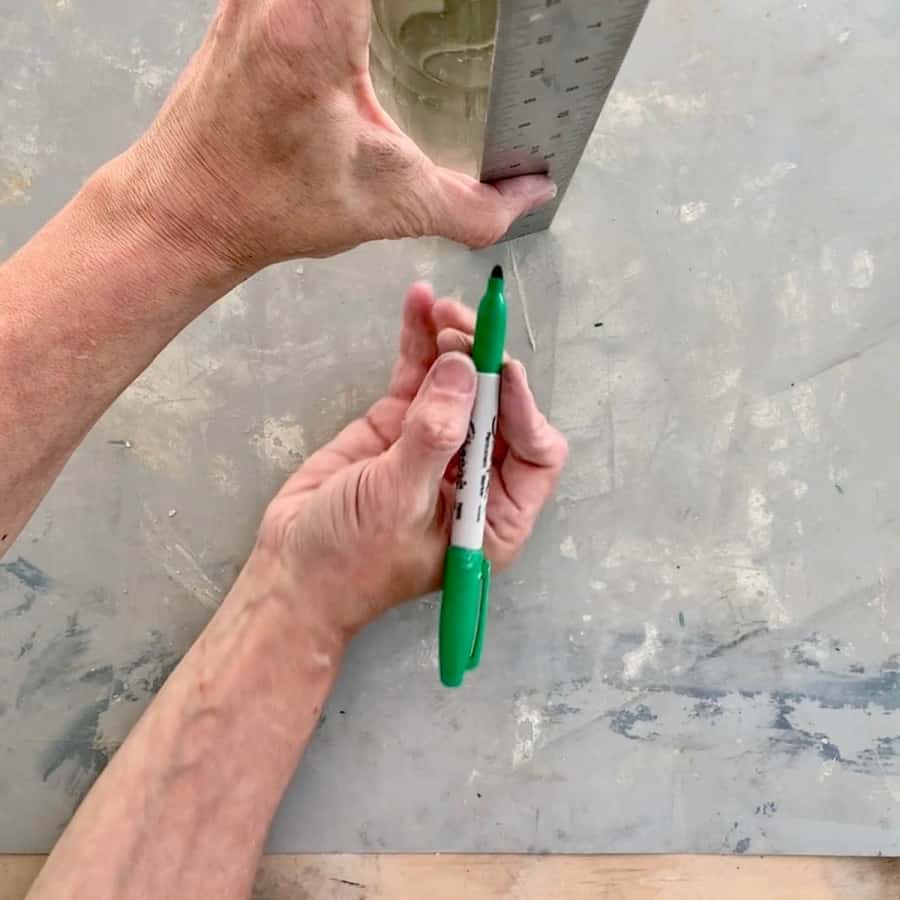
Now mark a line, that is at 2 ¾” from the bottom of the bottle. Mark these at 3 different points around the bottle.

Now take a piece of blue tape and place it around the bottle just above the line by about ⅛” of an inch.
When your mold is filled and the bottle goes in, you’ll want to get as close to the blue tape line as possible, without letting the cement overlap.
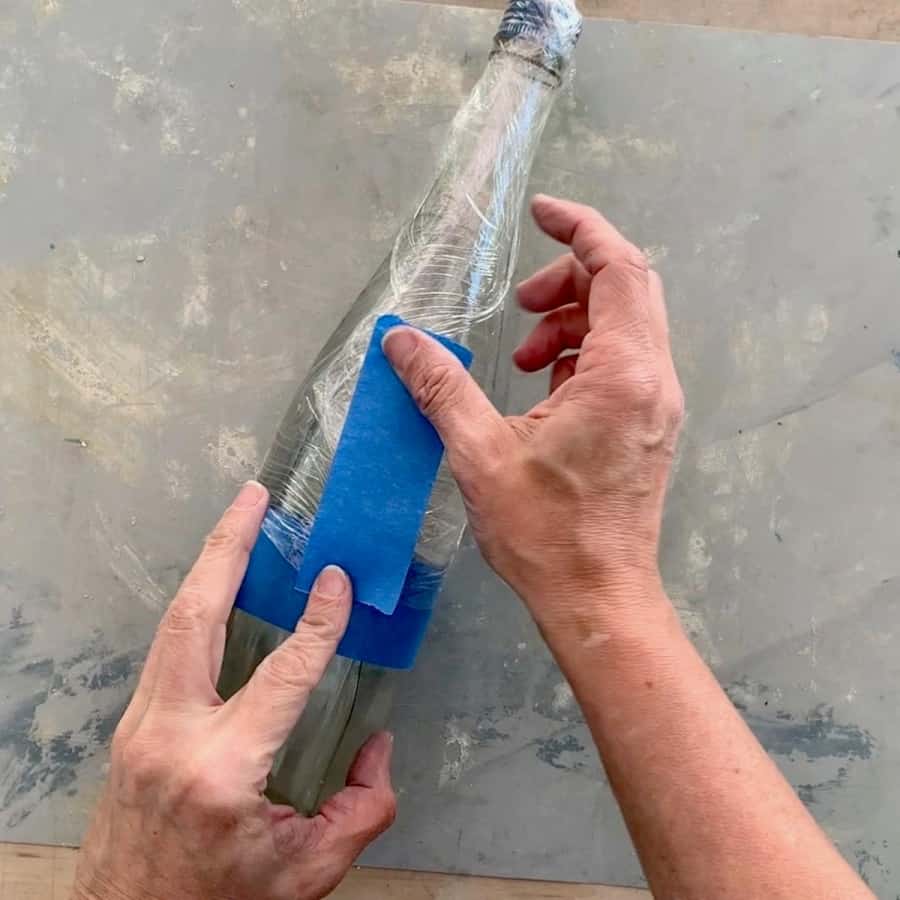
When you insert the wine bottle into the mold, it gets kind of messy. So take the plastic wrap and wrap it around the bottle to protect it from cement.
You’ll want to only slightly overlap the top portion of the blue tape. Then take another short piece of blue tape and tape the seam of the wrap in place.
Step 7. Cast The Cement Mold
You will only be able to cast one bottle at a time- assuming you are using the rapid set cement.
After casting one mold, and setting aside to cure, I moved on to each subsequent bottle.

First, pour 2 cups of cement into a mixing bowl and add the white pigment. I added 4-5 slightly rounded teaspoons of white pigment and mixed it into the dry mix.
Next, add cold water to the pigmented cement. The consistency should be on the thicker side of a thick milkshake.
I made one of my mixes too thin and had hairline cracks because of it. The should be scoopable, but not necessarily pourable (see the video for reference).

To get the marbling look, I separated about ⅓ of the white and put that in the bottom.
Then I added either yellow or plum colored pigment to the remaining mix and mixed well and poured that in. Shake and tap the mold at this point to help release air bubbles.
Now center the bottle over the mold and push it down inside, ensuring you have stopped it at your stopping point.
Make sure your bottle is standing straight. Take a look at it from a couple of different angles.
You will have to hold this in place for a few minutes until the cement starts setting. If you let go and it doesn’t move, then you are good to go.
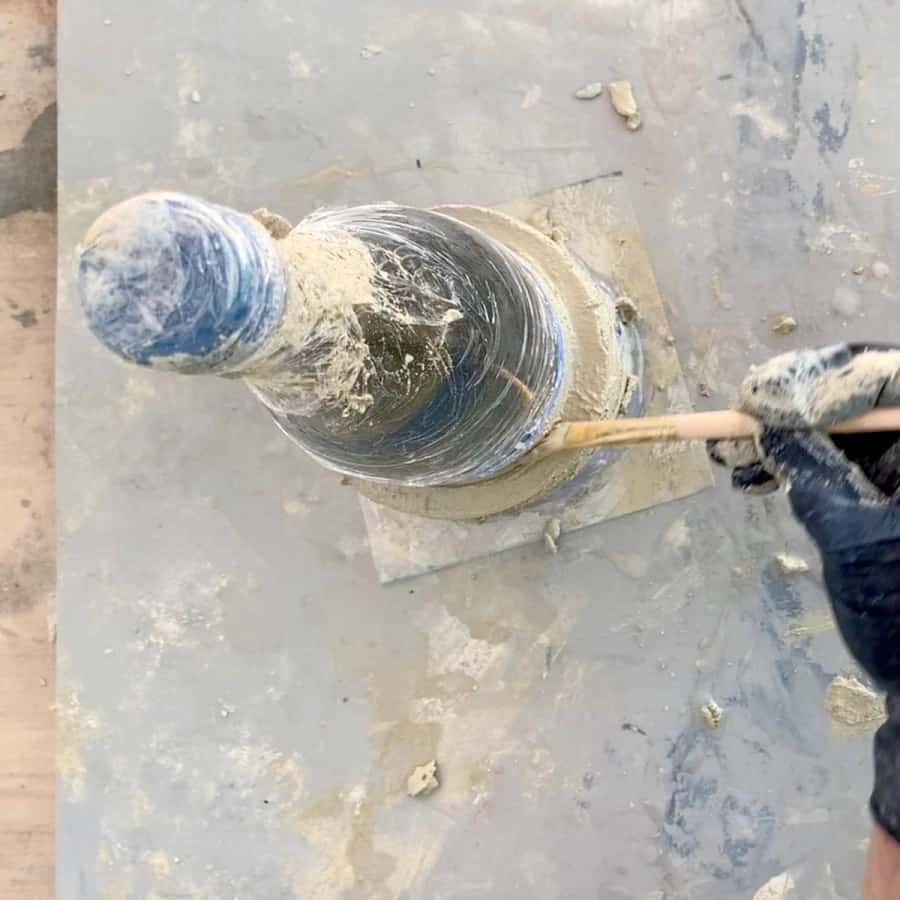
You can use the small paintbrush to clean up the top edges of the base. Just dip it in a little water and brush the top to smooth and level it.
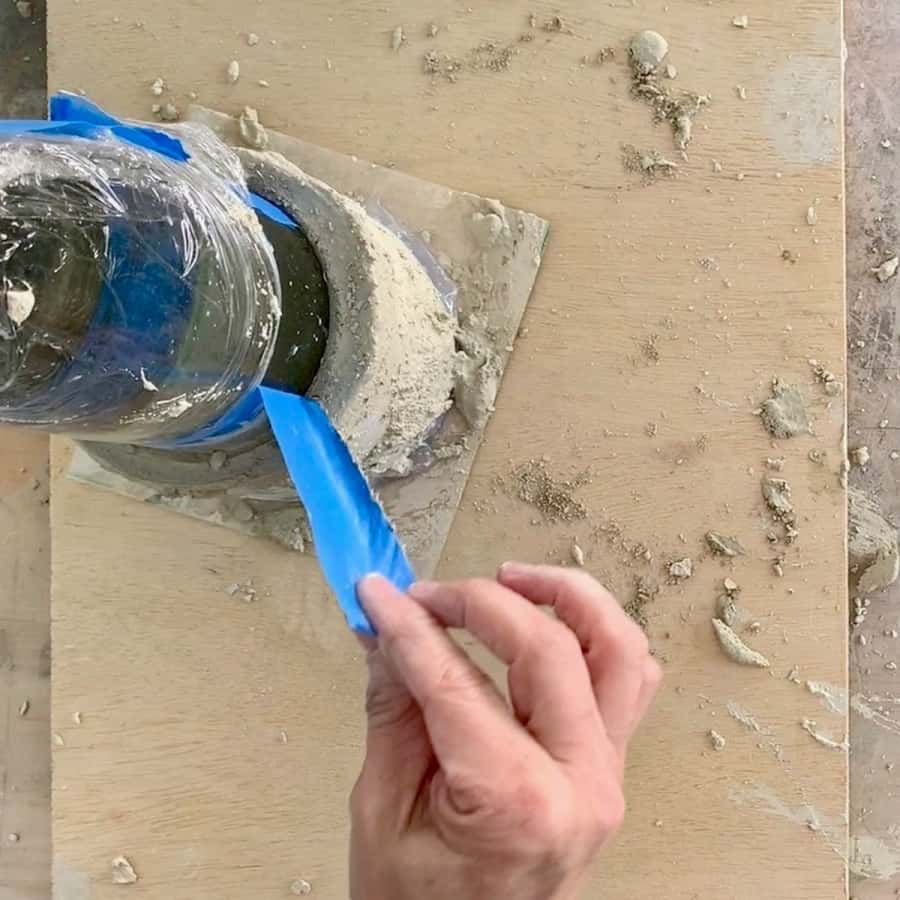
You are best off removing the blue tape before this cures in case the cement has overlapped any part of it.
At about 20-30 minutes after pouring, you should be able to safely remove the blue tape. Pull it gently.
The demolding time will depend upon climate conditions. I made these when the weather was in the low 70s, with cold water and outdoors with good ventilation. At this time, you can start casting your next bottle light.
Assuming similar conditions to mine, if you want the cement shiny, then let it cure for at least 2 ½ hours. If you want it matte, then demold in about 1 ½ hours.
Step 8. Demold The Cement Solar Wine Bottle Lights

Demold the cement wine bottle by first peeling off the plastic wrap and then cut through the tape on the side of the collar.
Pull the collar off and the acetate base should come with it. Now pour out the water.
Step 9. Seal The Cement

These will be outdoors and exposed to elements, so I recommend sealing them. Using a foam brush, pour some sealant into a bowl or cup and brush the sealer on.
To keep things efficient, just seal the bottom of each one first, then go ahead and seal the top edge and them middle.
The sealer dried to the touch in about 10 minutes, so once you are done with the bottoms, you’ll be good to go with the rest.
Once the wine bottle is dry, take the fairy lights and put them inside and arrange them to your liking.
Step 10. Seal The Bottle Opening – *Optional
Like I mentioned in the Materials Details, these “corks” are plastic, and I believe water can get inside when it rains.
If your wine bottle lights will be exposed, without a roof to cover them, then I recommend sealing them.
*Whether you have a roof covering or not, you will likely see condensation inside the bottles for up to a week.
I believe this happens because the cement, though cured, still retains moisture for a period of time beyond the initial cure time.
After a week, each of my bottles were dry and stayed dry. Once they are dry, you can start sealing the bottle opening.
To seal the opening, apply a thin bead of silicone caulk to the inside edge of the bottle opening and then place the plastic cork inside.
Let this dry for a day. Silicone caulk is flexible so you will be able to remove the corks if necessary.
Now place these solar DIY wine bottle lights on a path, patio, garden or deck, and marvel at the beautiful ambience they create for your outdoor space.
Don’t forget to Pin it for later!


I love these soooo much ! Question…. when you mention sealing… you mean just the cement bases right ? Also what is on the top of the bottles ? You mention corks but yours look very different in the photos. Could you use a screw top bottle and maybe pain the top to look decorative? Or ? Thanks got the great project!
Hi Arlene,
Thanks! Yes, only sealing the cement bases.
Those lights have a “cork” built in, that’s where the solar panel is. The cork is actually plastic. So you are stuck with the look of the plastic cork top unless you get different types of lights, but I’m not sure what would be available that would work. I have a link to the lights in the materials so you can get a closer look.
I love these so much. I think I’m going to order the lights right now! Do they last a decent while?
Hi,
I’ve only had them for a month and so far so good. But if you are asking how long they last – hours wide, they seem to last surprisingly long. I know they last at least 4 hours after Dark. I’m always asleep beyond that, so hard to say. I’m impressed though.
Also, if it rains, water does get inside the bottle. I added a bead of silicone caulk and water no longer gets inside. I will try to update the post this week with that info. I just used my finger to smear it around the part where the cork meets the glass.
Hi, Ellen.
Thanks for all of your wonderful concrete project tutorials. I’ve only worked with concrete a few times; but, there are so many cool things you can do with it.
I’m sure you get all sorts of comments regarding your tutorials, since there are so many ways to attack most projects. I would like to add a tip that I’ve, unfortunately, discovered over the years working with metal…WEAR GLOVES! I’ve used flashing for a number of projects and am very careful because metal cuts are horribly painful. I always run a piece of steel wool around any cut edges–even uncut ones– to make sure they aren’t razor sharp. Just a thought for those who are new to working with any kind of metal.
Hi Jessica,
You are right, I should mention that. I cut myself all the time on just about everything and I keep waiting for it to happen with the flashing too. Thanks for the steel wool tip!
Thanks for responding so quickly, Ellen. Even when being really careful with the steel wool, I’ve cut myself. If you fold the steel wool over the metal edge and hold it on both sides (below the edge), the likelihood of cutting yourself is tremendously reduced.
Jess
Hi,
Great tutorials, very detailed!
Have you tried flashing for larger molds? I never tried it and wonder if it will hold. Also, how do you address the probable mark resulting form the overlap? I believe sanding would change the effect of the glossy finish, right?
Many thanks!
Hi,
Thanks! I haven’t tried flashing on larger concrete molds because I am concerned about it bowing. If you can find cardboard tubing that’s the right diameter for your project, then that, with an acetate sheet is a good way to go.
And yes, if you use Cement All you will remove the sheen, plus it gives a greenish hue when sanding the face like that. If you use another cement, it should be sandable without detracting from the finish.
I was also concerned about the overlap, but they are actually minor and haven’t bothered me.