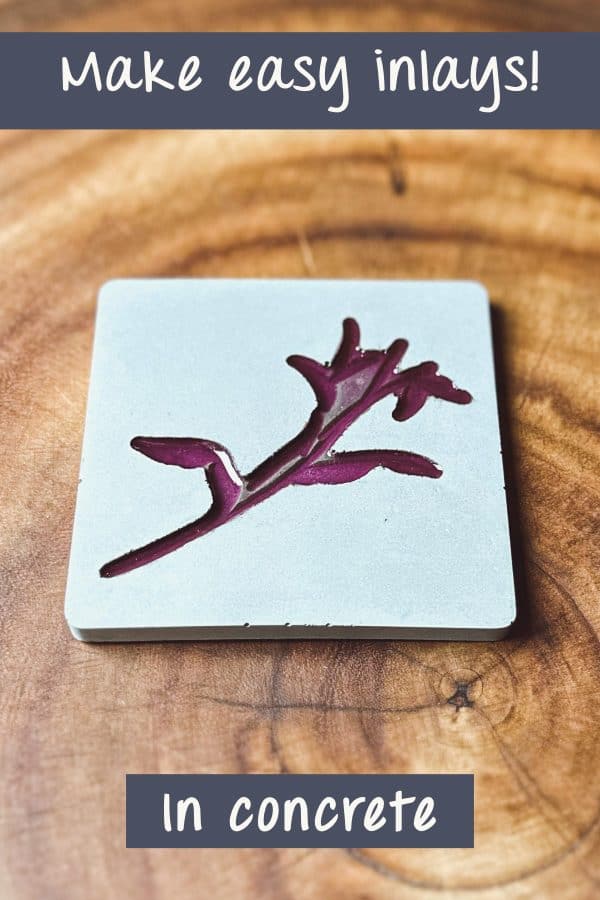
Make Concrete Inlay Designs (The Easiest Way)
I’m here to show you the easiest way to make your own beautiful concrete inlay designs. Have you always loved the look of design that is inset into concrete and thought it was difficult to achieve?
Several years back, I tried creating my own inlays, and they worked out great.
But you need to make your own design on the computer, turn it into an SVG file, and cut it with a Cricut cutting machine.
But now I found these awesome silicone stamps which make concrete inlays a cinch!
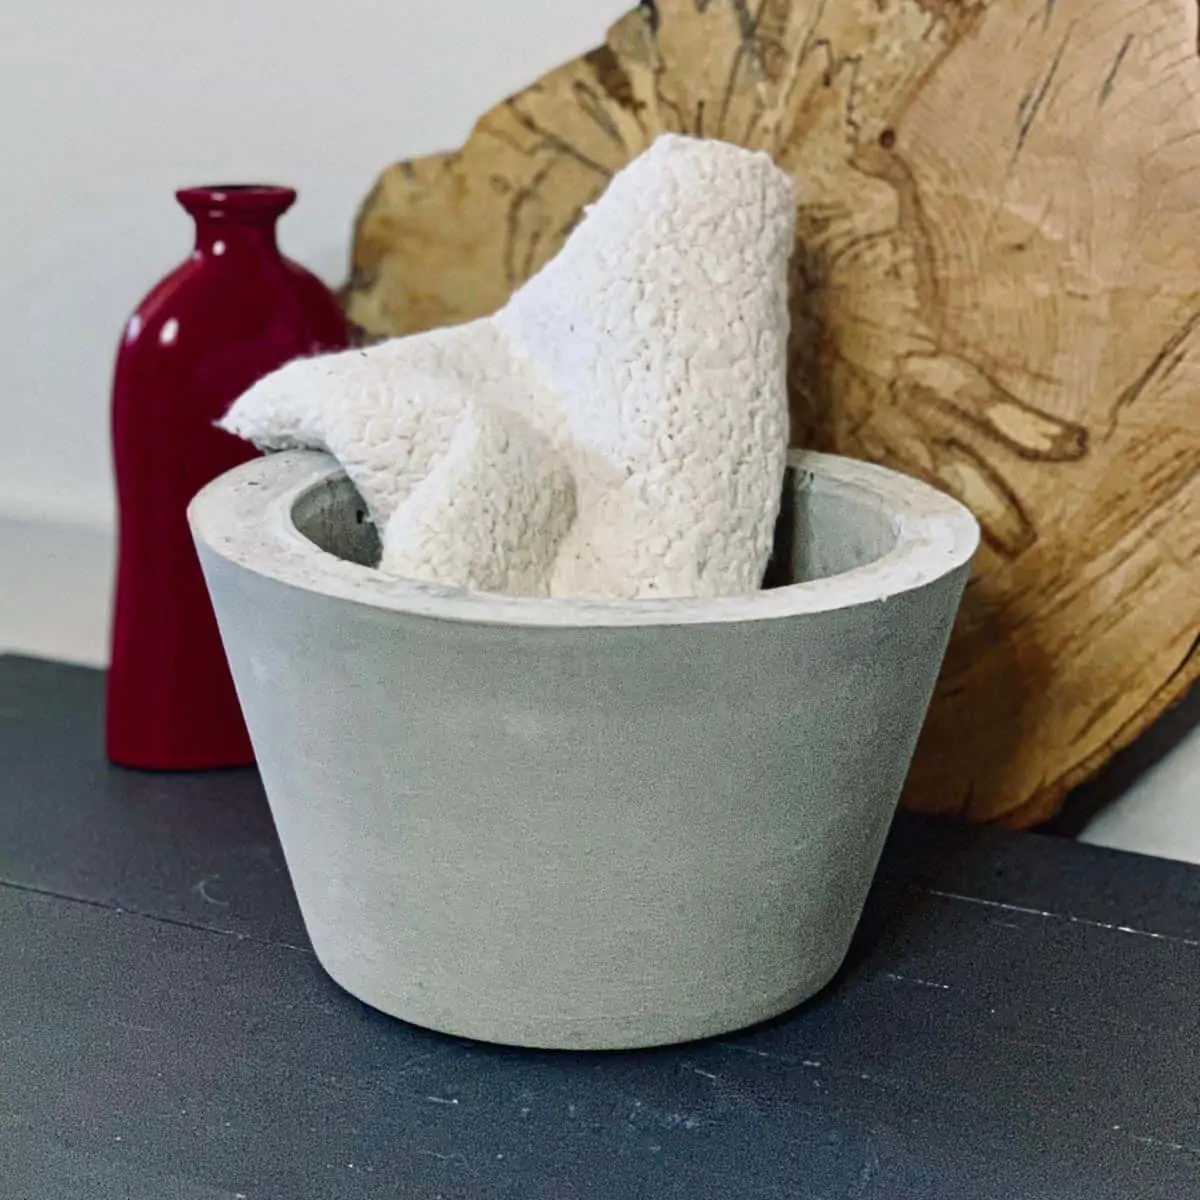
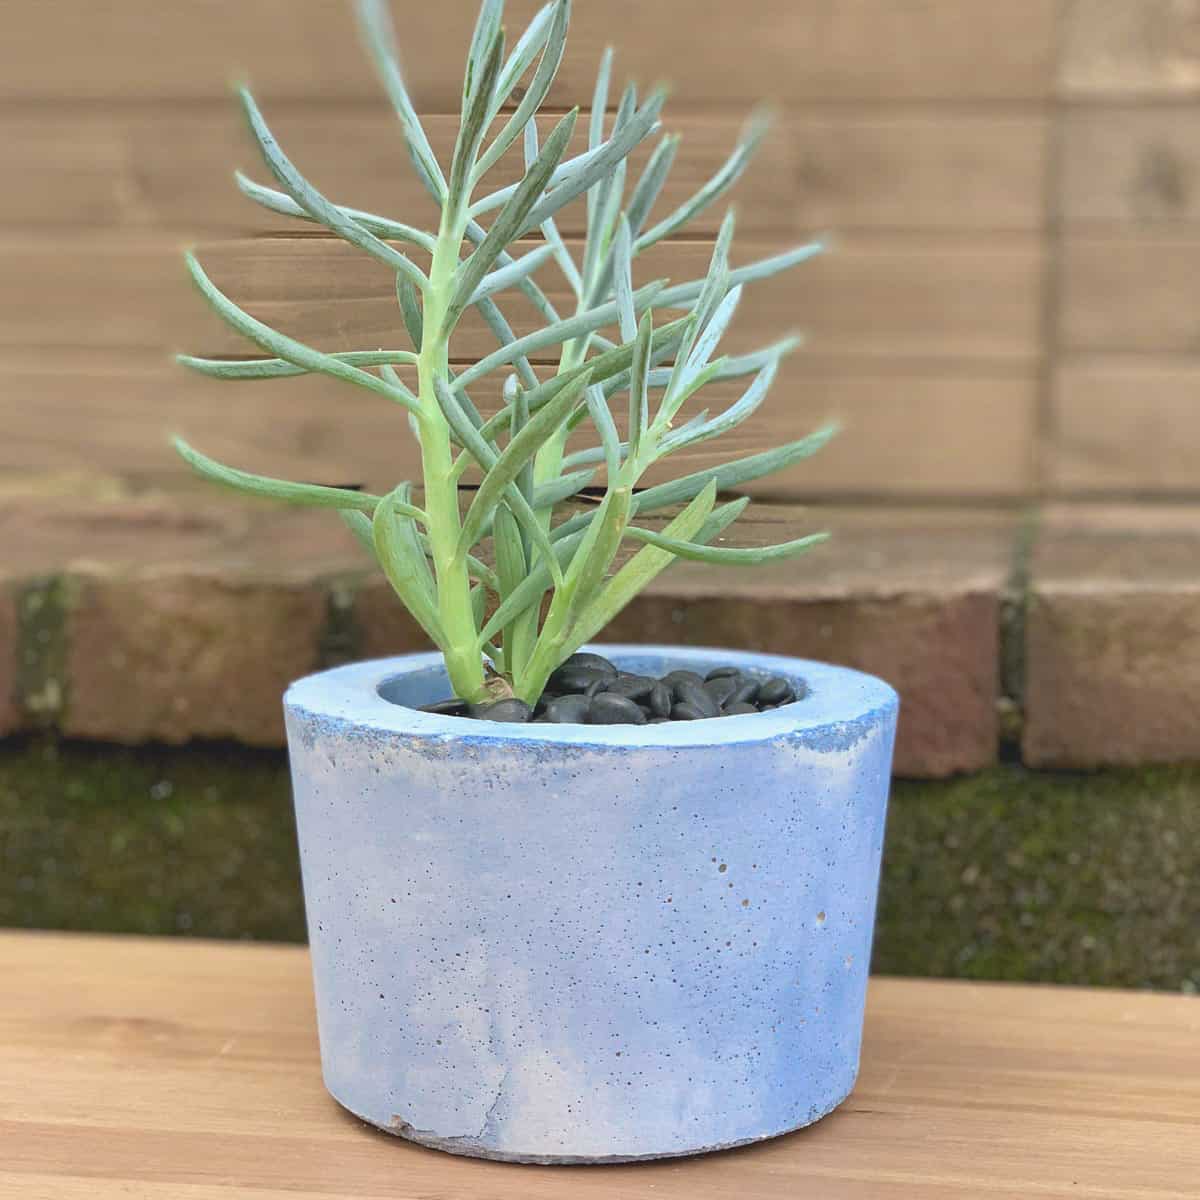
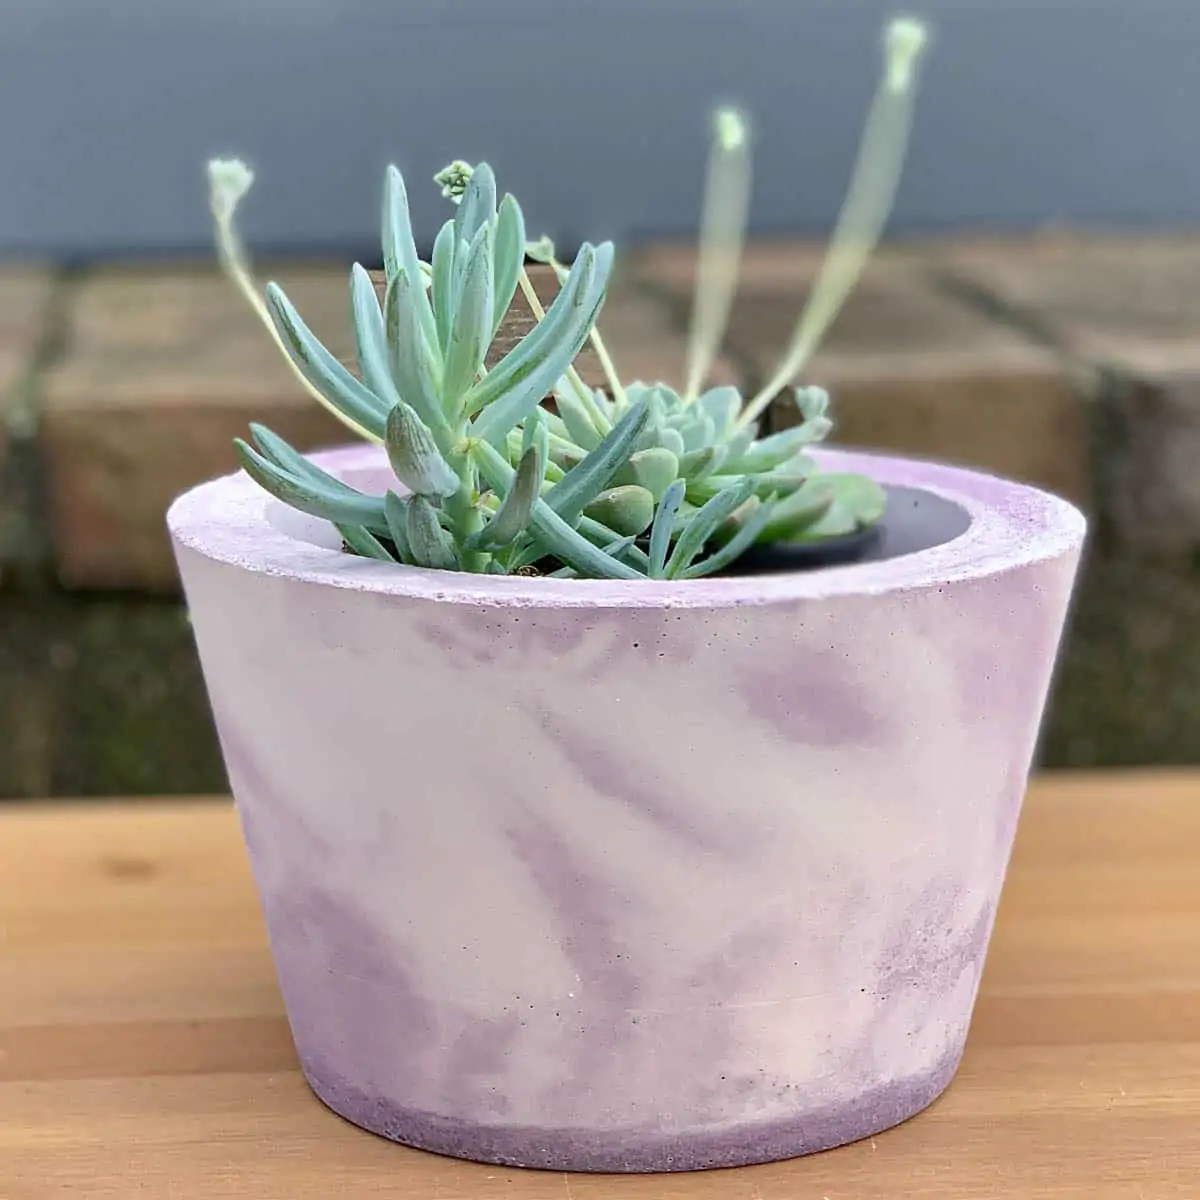
Of course, you can still customized your own, like I did with the succulent design I created for you in this tutorial for a planter or the cool cat inset design I used on a cement vase.
Or just follow the tutorial below and choose from hundreds of pre-made designs. It doesn’t get any easier than this!
You may also be interested in a different type of concrete stamping technique, like in this stamped pavers tutorial.
Some of the links on this page have been provided as a convenience for finding materials. These links may also be affiliate links. As an Amazon Associate I earn from qualifying purchases, at no extra cost to you.
I only recommend products I’ve used and loved, unless otherwise stated. Click here to read my full disclosure policy.
DIY DIFFICULTY LEVEL | Easy
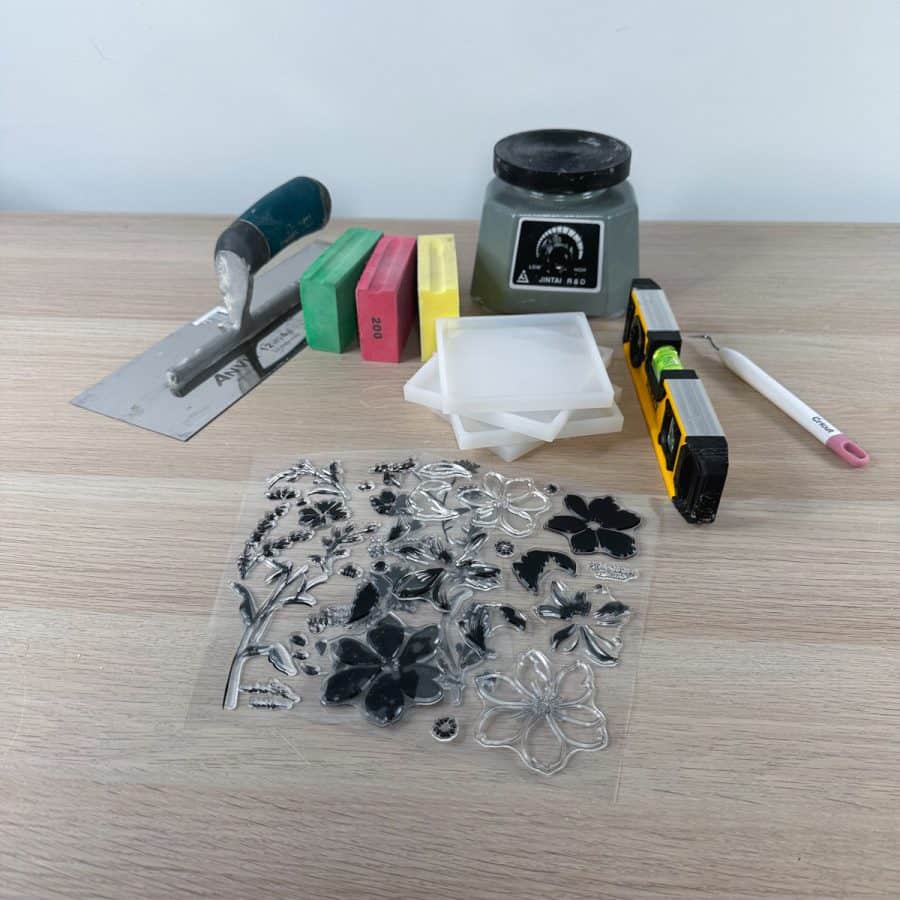
How To Make Concrete Inlay Designs List Of Materials
- Smooth grey concrete mix
- Disposable mixing bowl
- Plastic cup for scooping mix
- Durable nitrile gloves
- Safety glasses
- Safety mask– rated for silica dust
- Silicone tile molds
- Silicone stamp shapes
- Vibration machine (optional)
- Flat trowel
- Craft weeding tool
- Small level
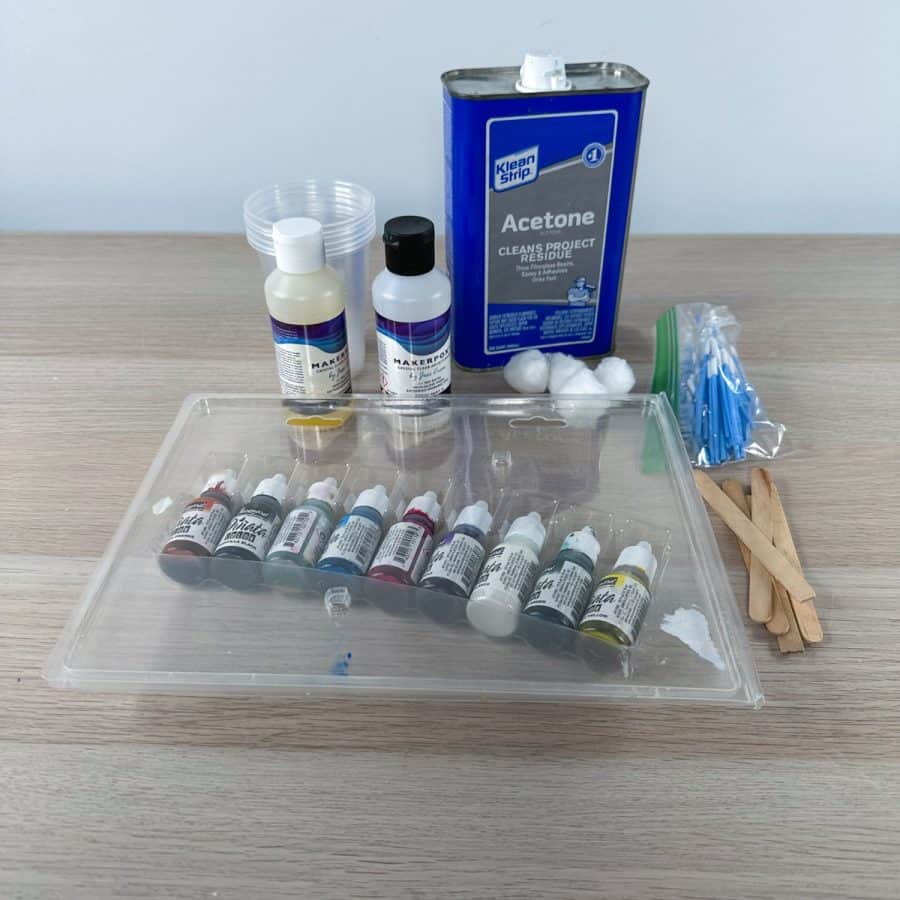
Materials For Filling In Concrete Inlay With Epoxy Resin
- 2-part Epoxy resin
- Small mixing cups
- Alcohol ink
- Craft sticks
- Acetone
- Lint-free foam swabs
- Cotton balls
Tutorial Steps For How to Make Concrete Inlay Designs
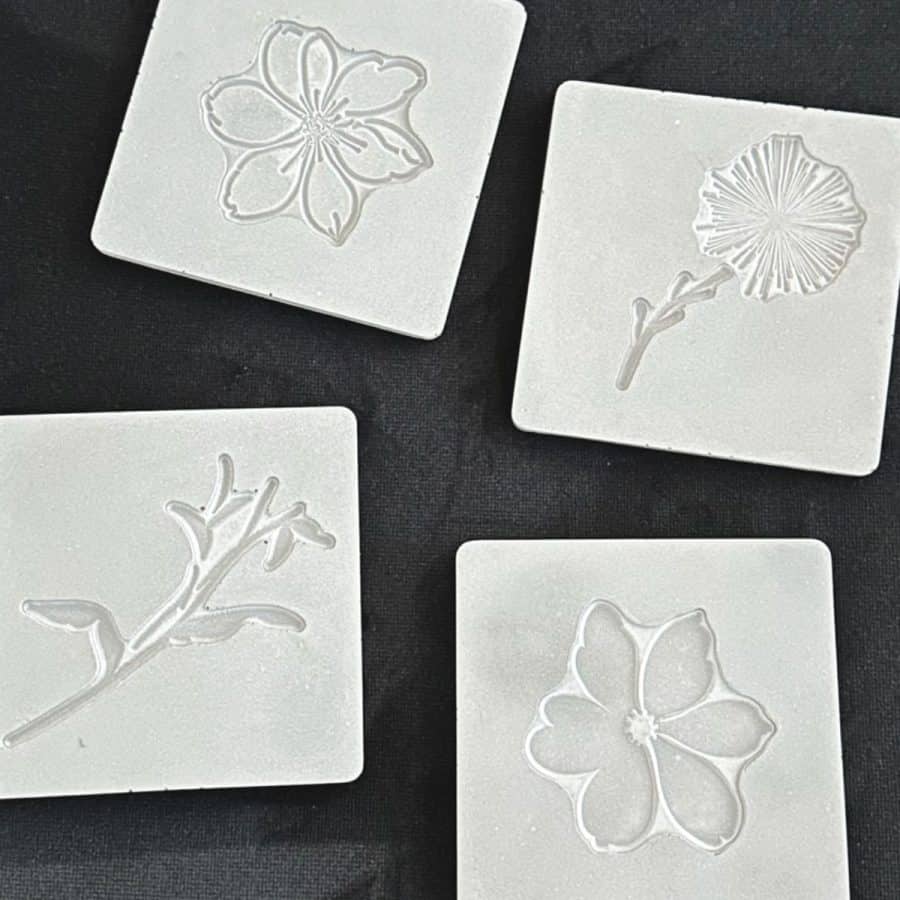
Step 1. Prepare The Tile Molds
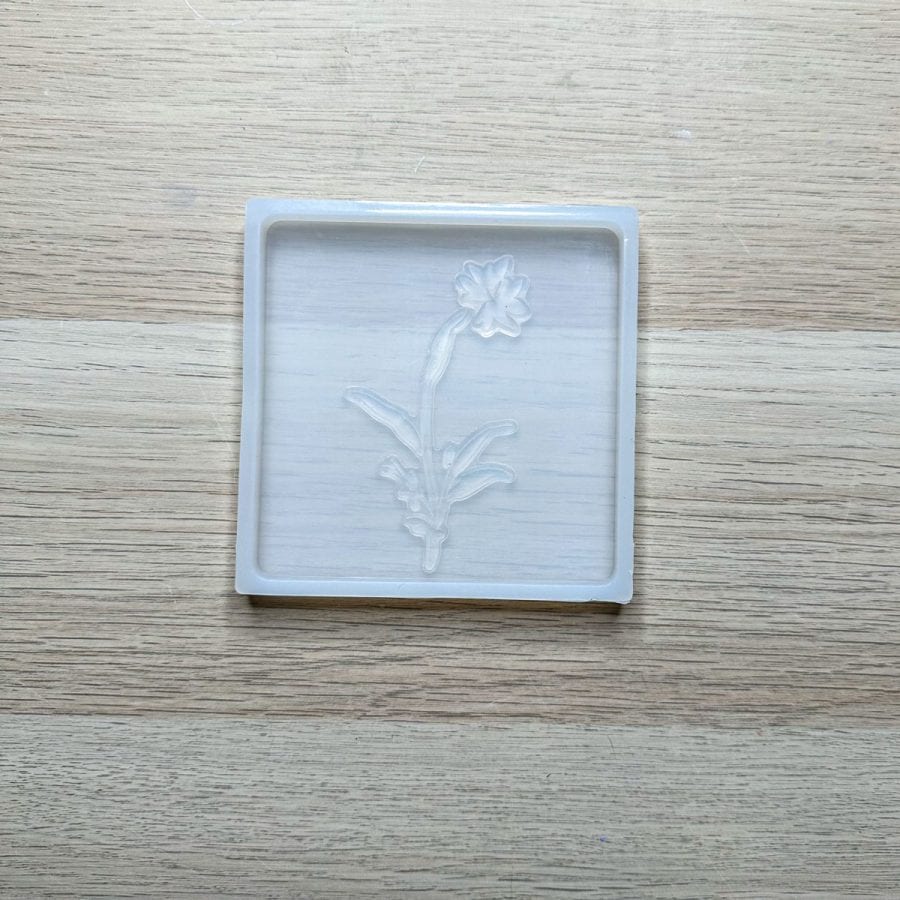
First, choose the stamps you want to use and then play with how you want them positioned within the silicone tile molds.
Here’s something to consider when you choose your stamps. Small ones may end up loosening from the bottom of the mold.
Out of the 8 tiles I made, only one stamp rose to the surface. It was too small, about the size of a nickel, and didn’t hold enough sticking power.
I also used a vibrating machine, which may have contributed to loosening it. All the others stayed fully secured.
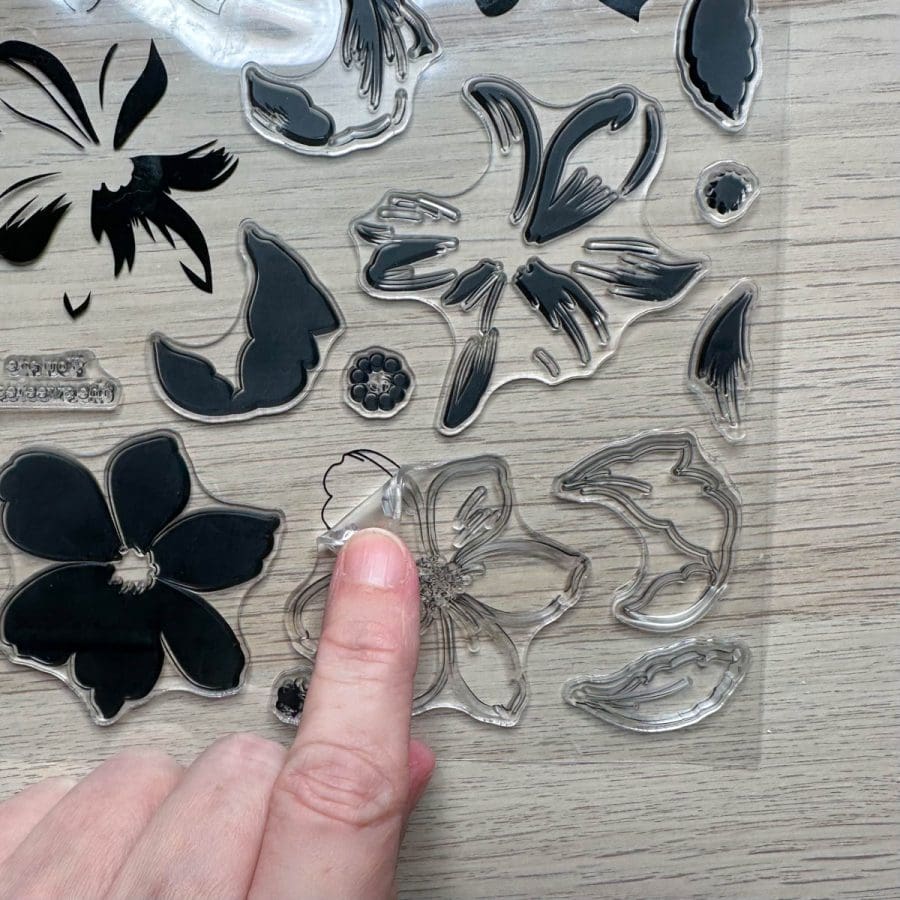
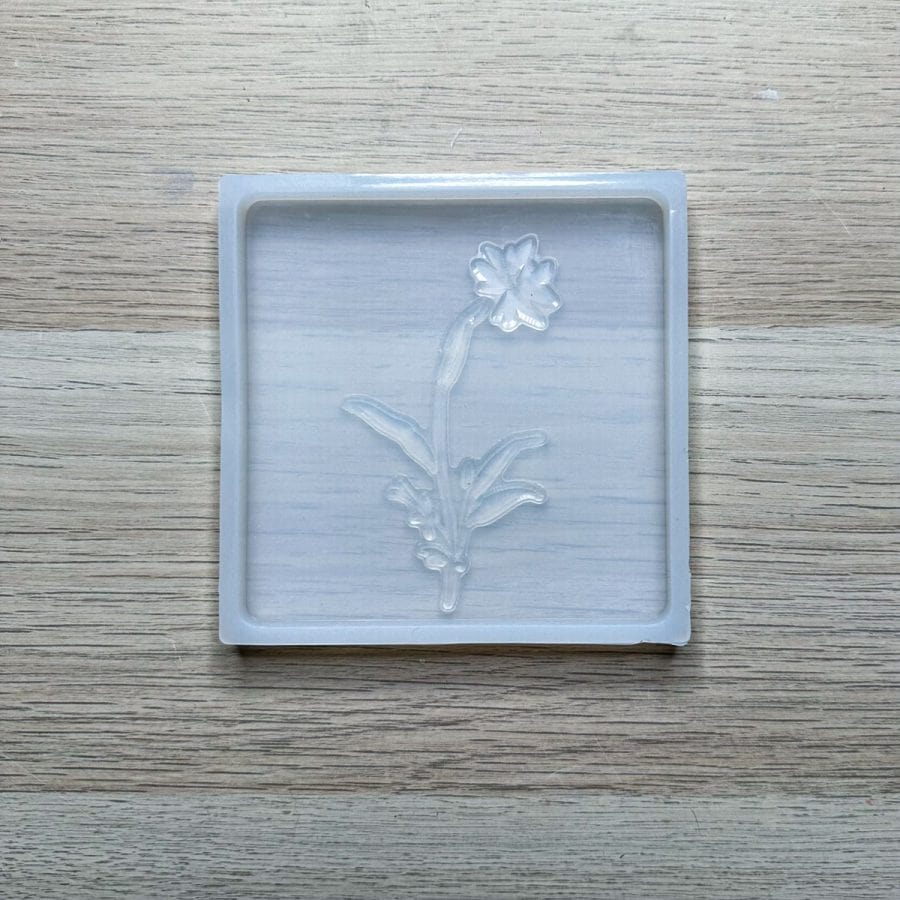
Carefully peel the silicone stamps from the acetate backing and press them to the tile molds. Be sure to secure the stamp tight to the silicone.
You shouldn’t see any air bubbles underneath. You will be able to see these areas where there is still air between the stamp and the silicone tile. Press until the air bubbles are gone.
Step 2. Mix The Concrete and Cast It Into The Mold
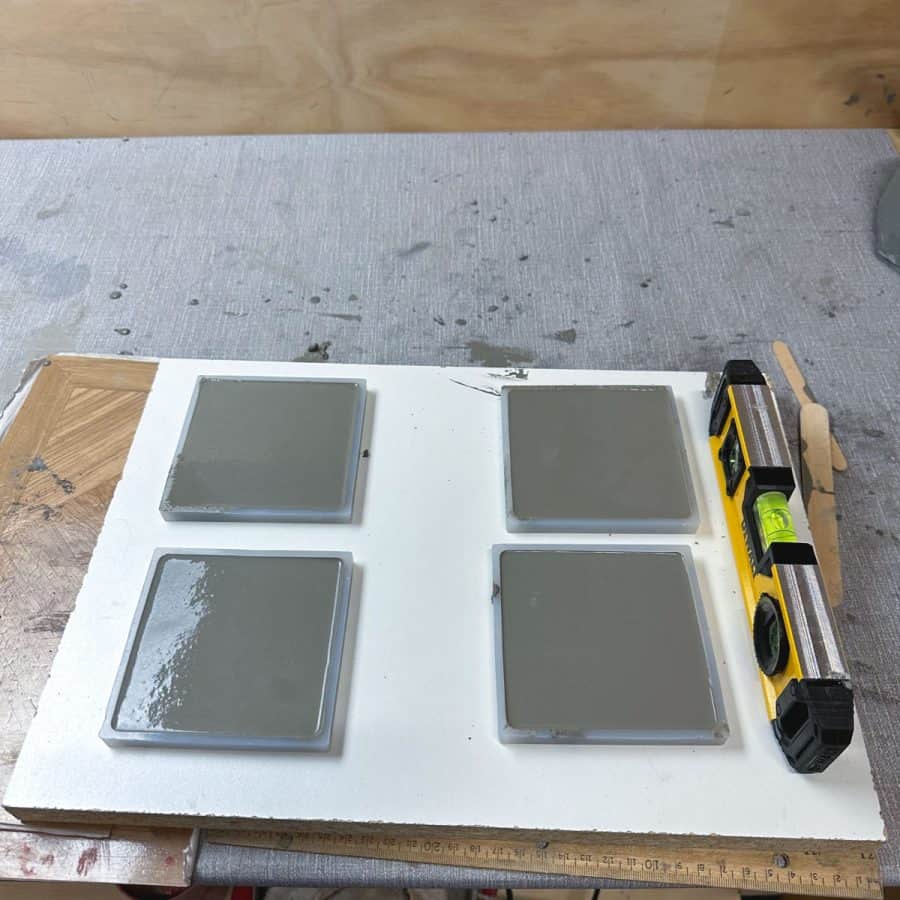
You need a level work surface when you cast and cure these tiles. If your table isn’t perfectly level, get a flat board and put something underneath to level it.
Then, set your tile molds with the stamps onto your level surface.

Now mix the concrete to a thin milkshake or thin brownie batter consistency. It should flow easily into the molds.
Gently tap the mold to get the mixture to settle, then vibrate the tile.
If you have a vibrating machine, turn it on and place each tile separately until the air bubbles rising to the surface slow down.
Or place all the tiles on the level board, shake, and tap that on your table to get the air bubbles out. Again, you can stop once they stop rising to the surface or slow.
Let these cure for about 3-4 hours.
Step 3. Remove The Concrete Inlay Design Tile Form The Mold
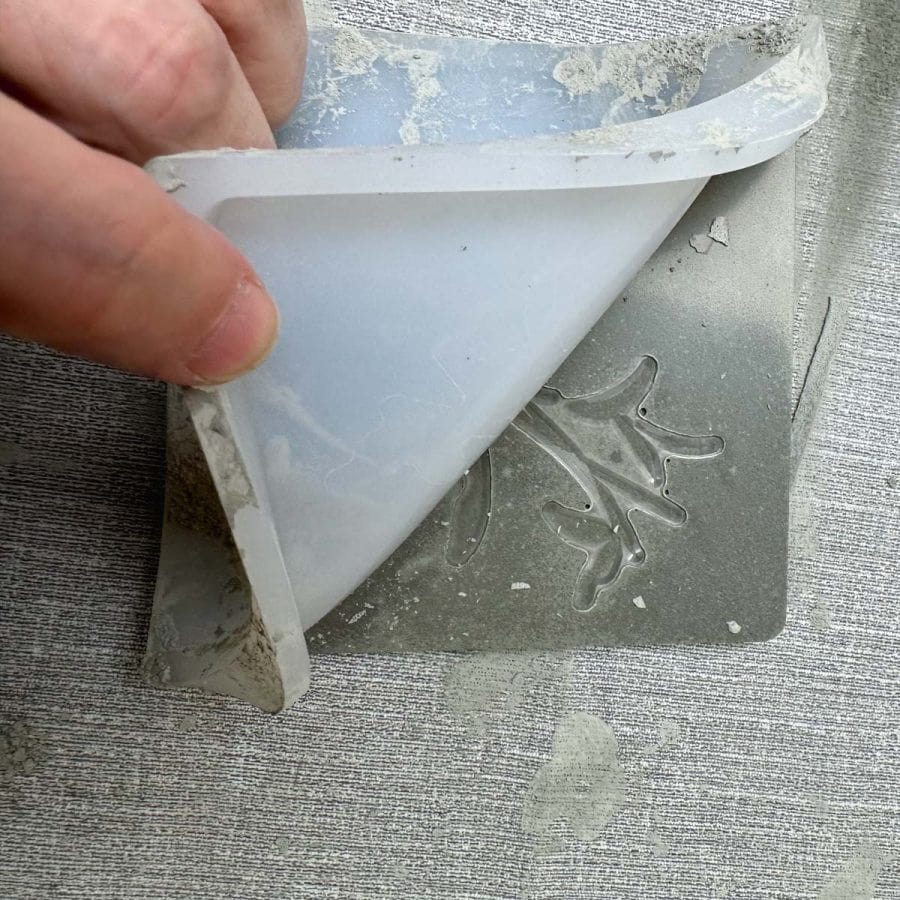
Demold the tiles once they have cured. The concrete should feel very hard to the touch.
To remove the tiles, just gently push it out of the tile mold, then flip it over.
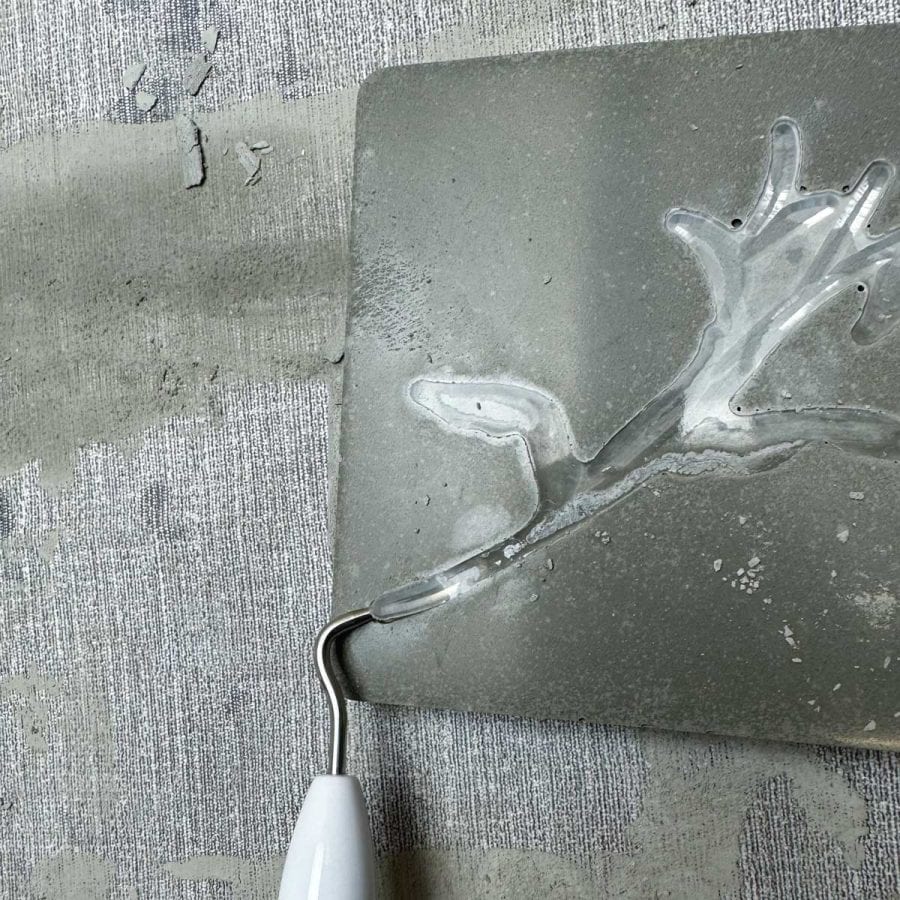
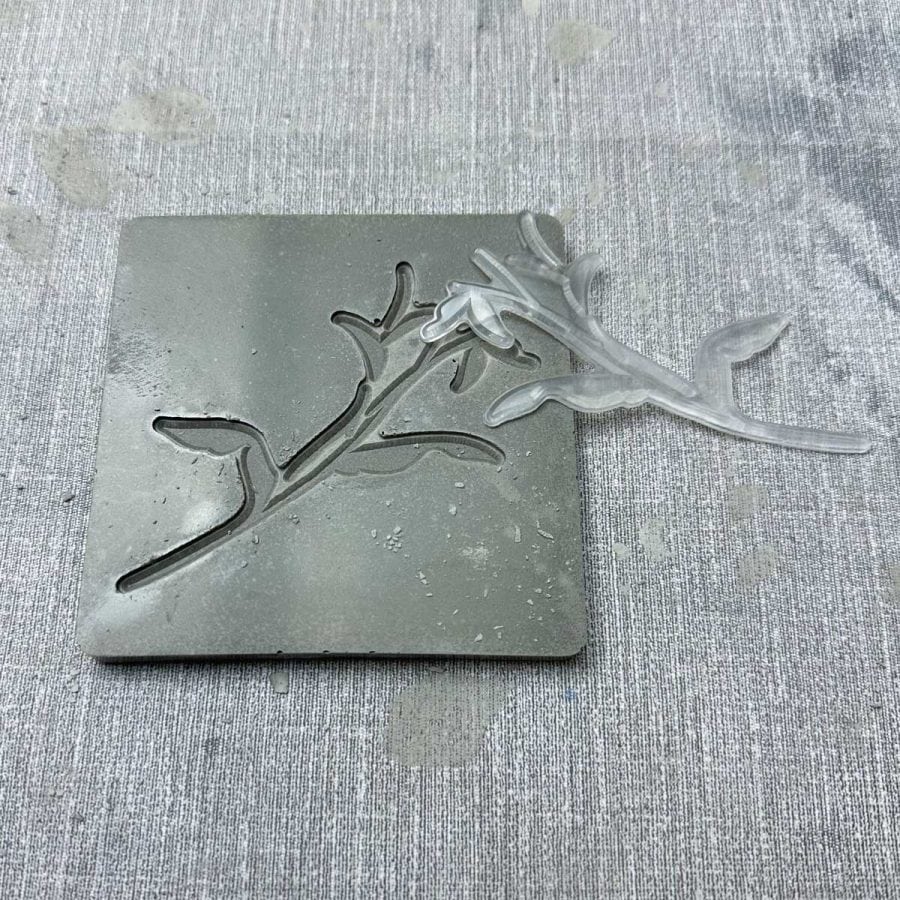
To remove the silicone stamp from the tile, use a craft vinyl lifting weeding tool, like a thumbtack or anything with a point to lift the stamp out. It’s beveled, so removing and lifting it right out is easy.
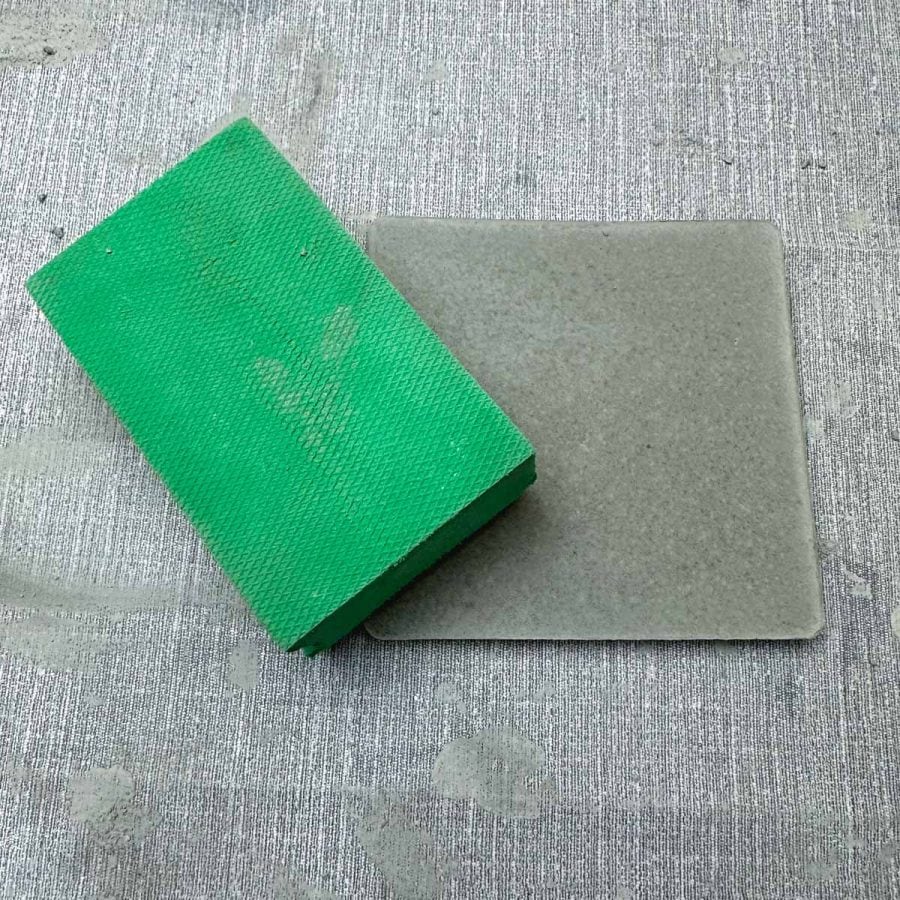
The bottom edges of the concrete tiles will need to be sanded. I used an 80 grit diamond The bottom edges of the concrete tiles will need to be sanded.
I used an 80-grit diamond sanding sponge, then worked my way up to a 200 grit and finally a 400 grit for a nice smooth finish.
Wash the stamps and silicone tile mods with warm soapy water.
Even after washing, you may notice a visible mark from the silicone stamp on the bottom of your tile mold.
The way to remove this is by using acetone! Acetone is great for cleaning up leftover residue from things like silicone stamps and leftover pigment residue that doesn’t wash away.
Use a cotton ball, dip it in acetone, and then wipe the surface of the silicone, and it will clean right up!
Step 4. Seal the Tiles
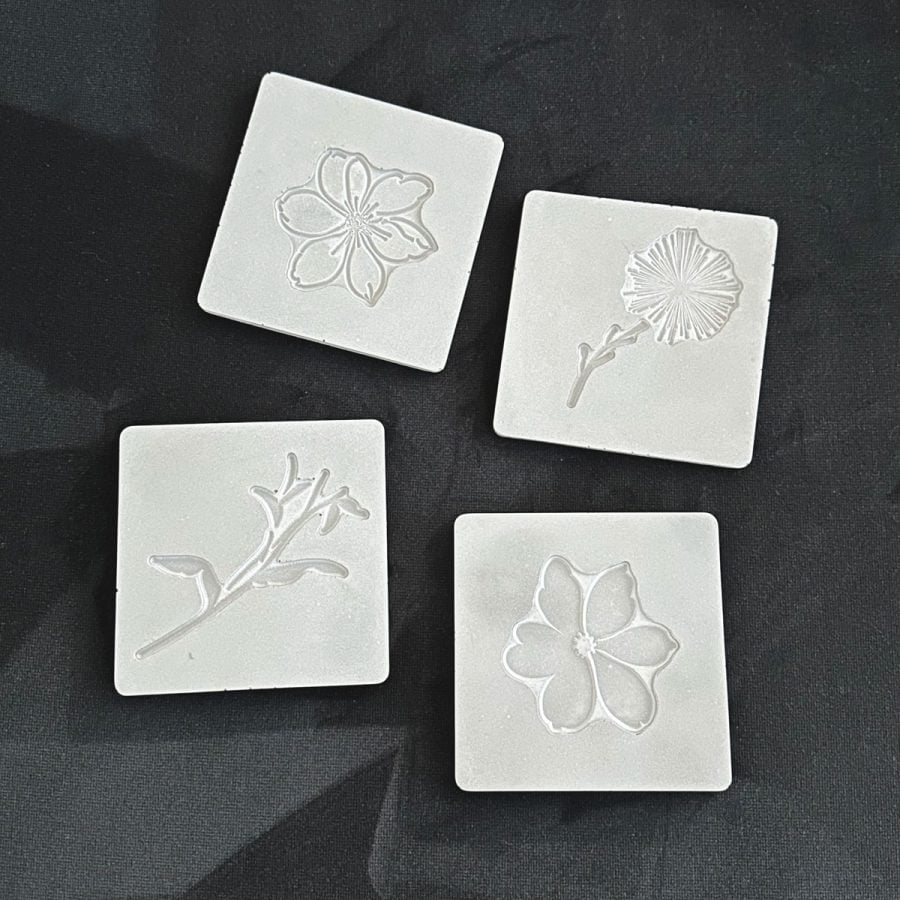
You must wait 24 hours before sealing because the tiles must be completely dry. This will prevent flaking or bubbling in the future.
Use your favorite concrete sealer and follow the manufacturer’s instructions to seal them. Currently, I am using this sealer.
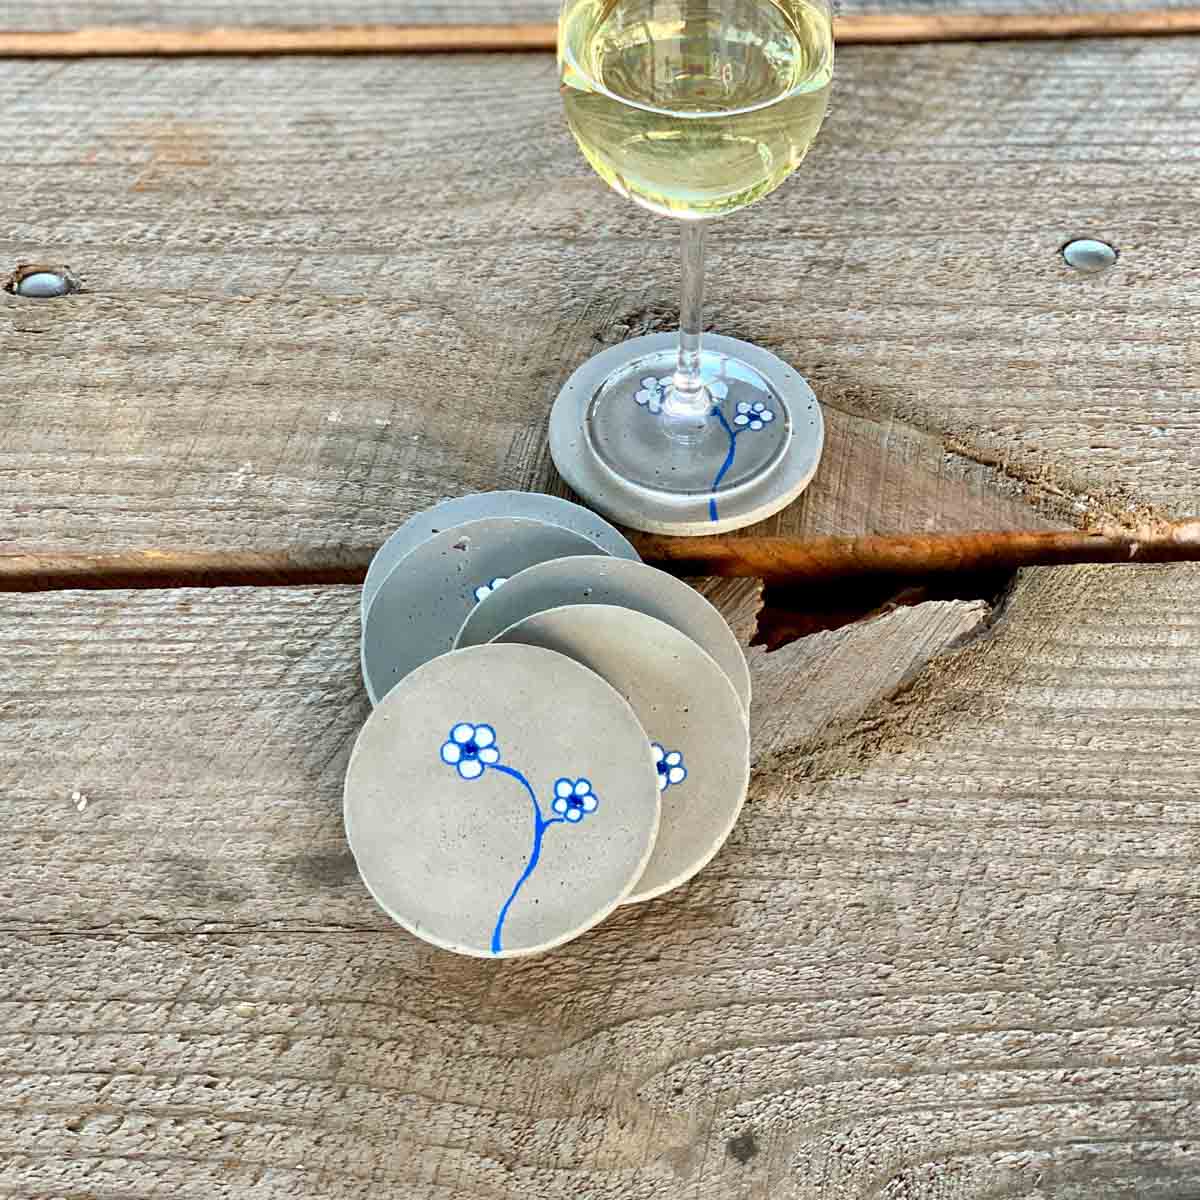
If you want to use these as drink coasters, I recommend applying an additional coat of Rustoleum 2X clear top coat.
This will change the texture but will better protect the coaster from stains.
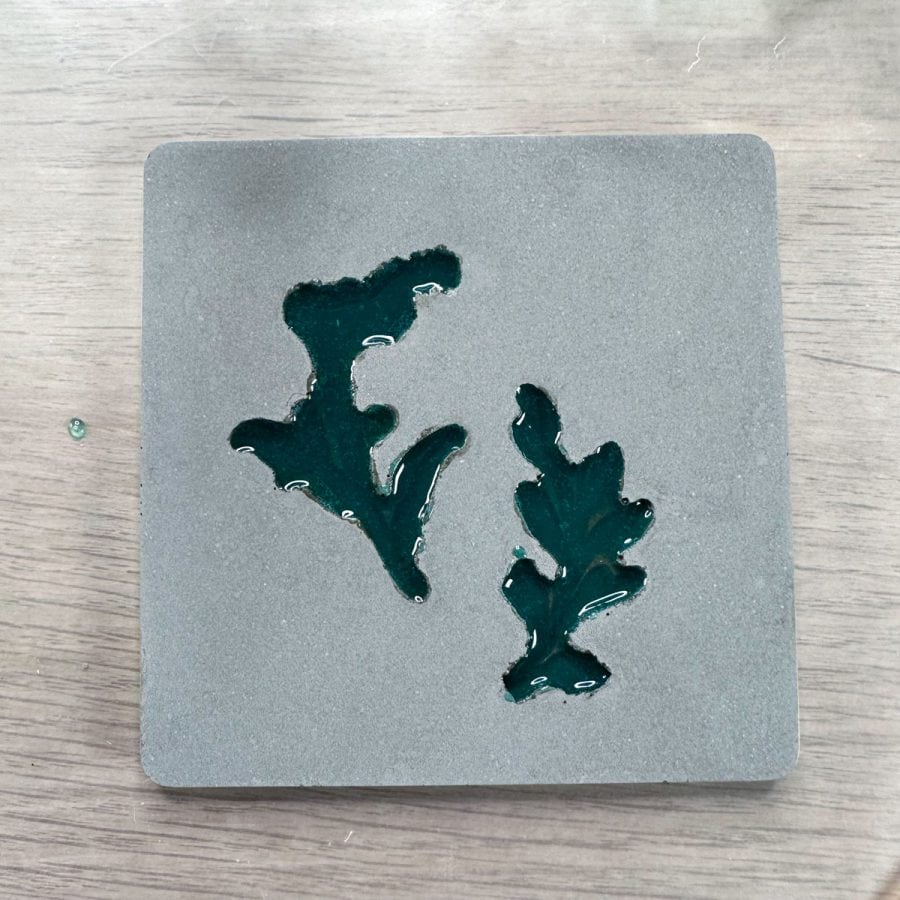
Step 5. Fill The Inlay Design With Epoxy Resin
The first step for filling the inlay with epoxy is to mix it according to the manufacturer’s instructions. For the type of epoxy I used, it is a 1:1 ratio.
I weighed mine with a scale, and each mixture (part A and part B) was about 3 oz each.
This should be more than you need per tile, but the less epoxy you have, the harder it is to control the alcohol ink as it comes out in large drops.
Mix the two epoxy parts for 1-3 minutes, then add 1-4 drops of alcohol ink. I also added 1-3 small drops of the opaque pigment because I wanted more depth.
Note: This next part sounds like you are risking making a big mess of your tile, but you are not.
You’ll see how easily the acetone cleans up the epoxy if you make a mistake. And how easily the epoxy flows into the spaces you want it to go.
Mix the color in. When you are satisfied with the color, use the craft stick to place the epoxy resin into the groves of the concrete inlay design.
Use the swab to push the epoxy into the thinner, deeper grooves.
Fill the design so it’s flush with the top of the tile. Take care not to let it spill over.
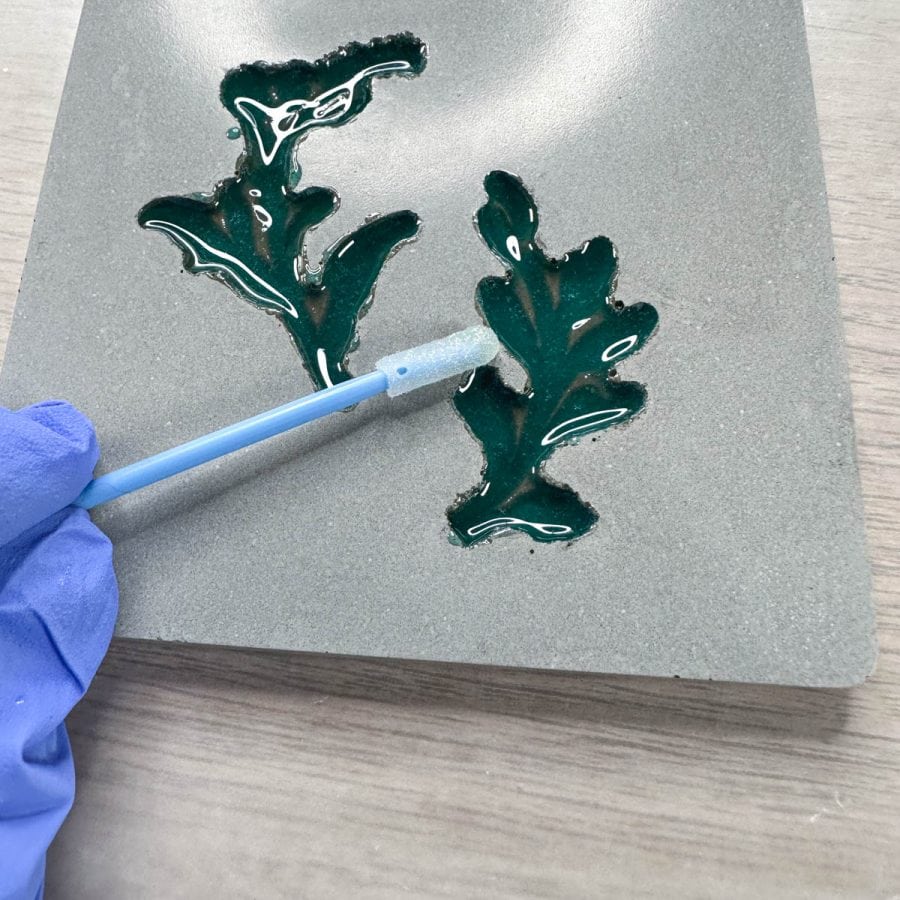
If it does (and it will a bit), just use the swabs, dip them in acetone and rub it off.
Once it’s filled, you will subtract much of what’s in there. Filling it flush allows you to get full coverage on the sides of the inlay.

Use a swab to start scooping out the epoxy.
You will remove as much as you need to until the heavier pigment has settled into the deepest grooves and the higher portions are covered in the lighter, more translucent epoxy.
You will be able to manipulate this quite a bit if need be, but this happens to fall into place naturally.
Set the tiles aside so the epoxy can cure. The epoxy I used was dry to the touch after about 6 hours and very hard the following day.
I used another type of resin for my concrete Grinch tile. That one cured much quicker.
Aren’t these so neat? Just think of all the applications for these! Put them on you planter molds, candle molds, everything. It’s a game changer!
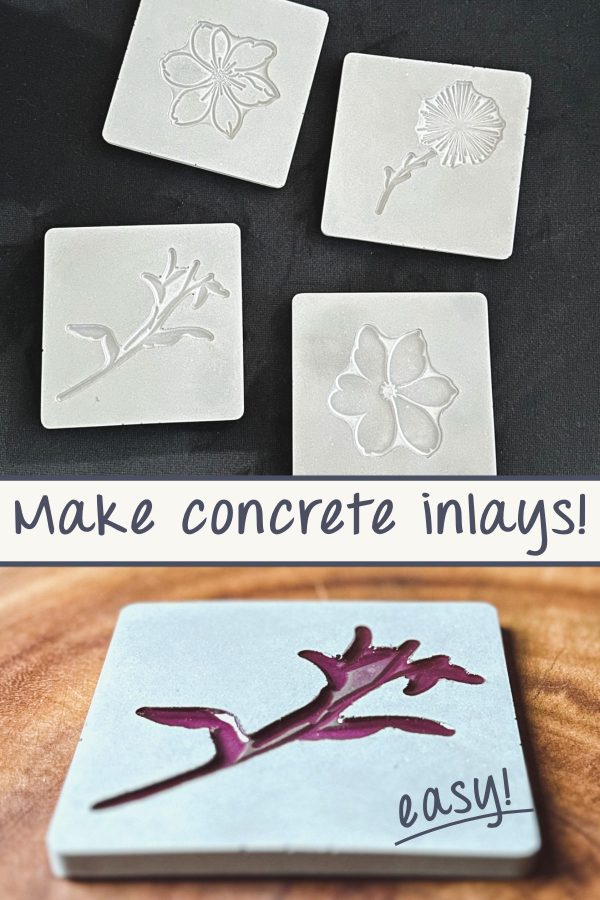
Don’t forget to Pin it for later!
Don’t forget to Pin it for later!
How To Make Concrete Inlay Designs
A tutorial for how to make concrete inlay designs in such an easy way! Create beautiful, intricate inset designs for cheap and minimal effort.
Materials
- Smooth grey concrete mix
- Disposable mixing bowl
- Plastic cup for scooping mix
- Durable nitrile gloves
- Safety glasses
- Safety mask– rated for silica dust
- Silicone tile molds
- Silicone stamp shapes
- Vibration machine (optional)
- Flat trowel
- Craft weeding tool
- level
Tools
- Materials For Filling In Concrete Inlay With Epoxy Resin
- 2-part Epoxy resin https://amzn.to/3rGukGZ
- Small mixing cups
- Alcohol ink
- Craft sticks
- Acetone
- Lint-free foam swabs https://amzn.to/3PUVnpX
- Cotton balls
Instructions
- Prepare The Tile Molds
- Mix The Concrete and Cast It Into The Mold
- Remove The Concrete Inlay Design Tile Form The Mold
- Seal the Tiles
- Fill The Inlay Design With Epoxy Resin

Do you have printer friendly instructions for this project?
Hi Chris,
Sorry for the delay. The printer-friendly instructions are there now!
Thank you
Hi, I’ve been browsing a number of your very useful pages. I just had a walkway poured with leaves and pine needles pressed into the concrete. They are just now starting to pop out and are gorgeous. I was thinking it would be fun to paint a few of them with non-permanent tints where I could change the colors seasonally. Another reason for non-permanent colors is I’m no artist and totally inexperienced. I plan on painting rocks for practice.
Anyway, what kind of paint would you recommend? Should I seal it? If so, would clear nail polish be suitable as a finish?
Thanks! -Alice
Hi Alice,
Oh, this sounds beautiful. If you can, send me an email with a photo. I’d love to see this. It’s my name @artsyprettyplants.com.
Well, fortunately (and unfortunately, lol) most pigmenting after concrete has cured will be non-permanent. I love the way an acrylic (water-based) wood stain would look with this.
It comes in tons of colors- natural earth tones and blues, greens, peaches, etc. And it tends to be light and water color-like. Scroll to the bottom of the post for a more true-to-life visual of hoe the coloring came out: https://artsyprettyplants.com/diy-concrete-sphere/
They will fade, but maybe not fast enough to change each season, you may need to wait a year.
**But an important thing to keep in mind is that none of the colorants I’m mentioning here will likely ever fade fully back to white. This means you are l ikely to run into the problem of your colors eventually going muddy.
You can try watered down latex paint. I would try watering down to a 4:1 ratio of water to paint. This may fade quickly, but that’s good, because you can work up to a lower ratio until you know what is right for seasonal timing. This was not watered down, but follow the same steps for prep: https://artsyprettyplants.com/diy-self-watering-planter-concrete/
Oh, and also, a dye like RIT dye will definitely fade faster than any pigment.
https://artsyprettyplants.com/diy-dyed-cement-planter/
–Another idea is to go fully opaque with the coloring–
You can use an acrylic spray paint (I use Rustoleun 2 X matte or satin) to get a fully opaque color, but it may be difficult to not get overspray in those areas.
https://artsyprettyplants.com/diy-concrete-mushroom/
You can paint with a non-watered down latex, but if you keep changing the color, you will be building up the thickness and lose depth in the concrete.
You may want to look at this post by another concrete blogger, Barb. She has painted leaves in metallic colors and uses multiple colors per leaf. You could add colors for each season. Here’s a link to that post: https://www.madebybarb.com/2021/06/06/the-best-way-to-paint-concrete/
I hope this helps!