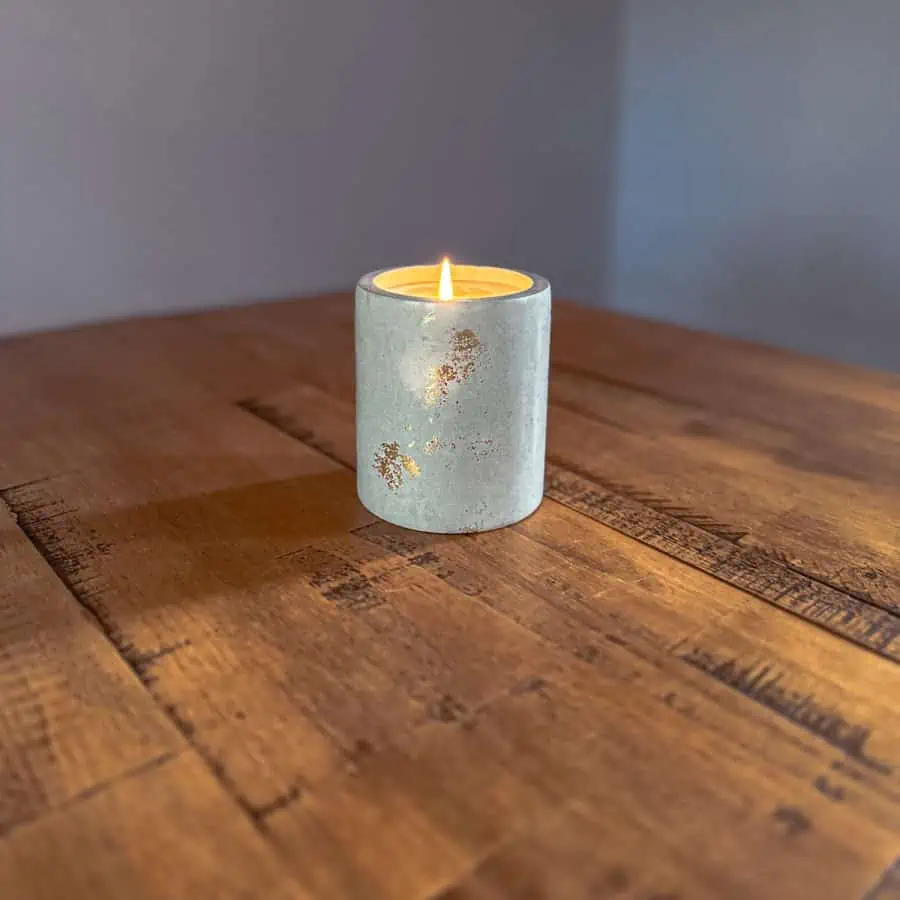
Make A Concrete Candle Jar With A Reusable Mold
In five simple steps, learn how to make a concrete candle jar using a reusable silicone mold.
How can making a concrete candle jar with a lid be so easy?
Using pre-made silicone mold makes it quick and easy and allows you to create multiple copies. Sometimes, a minimal investment can pay off.
Once you’ve made one, you’ll be on your way to making more, trust me. And you can use these cute little concrete vessels for anything, and they’re such a great gift idea.
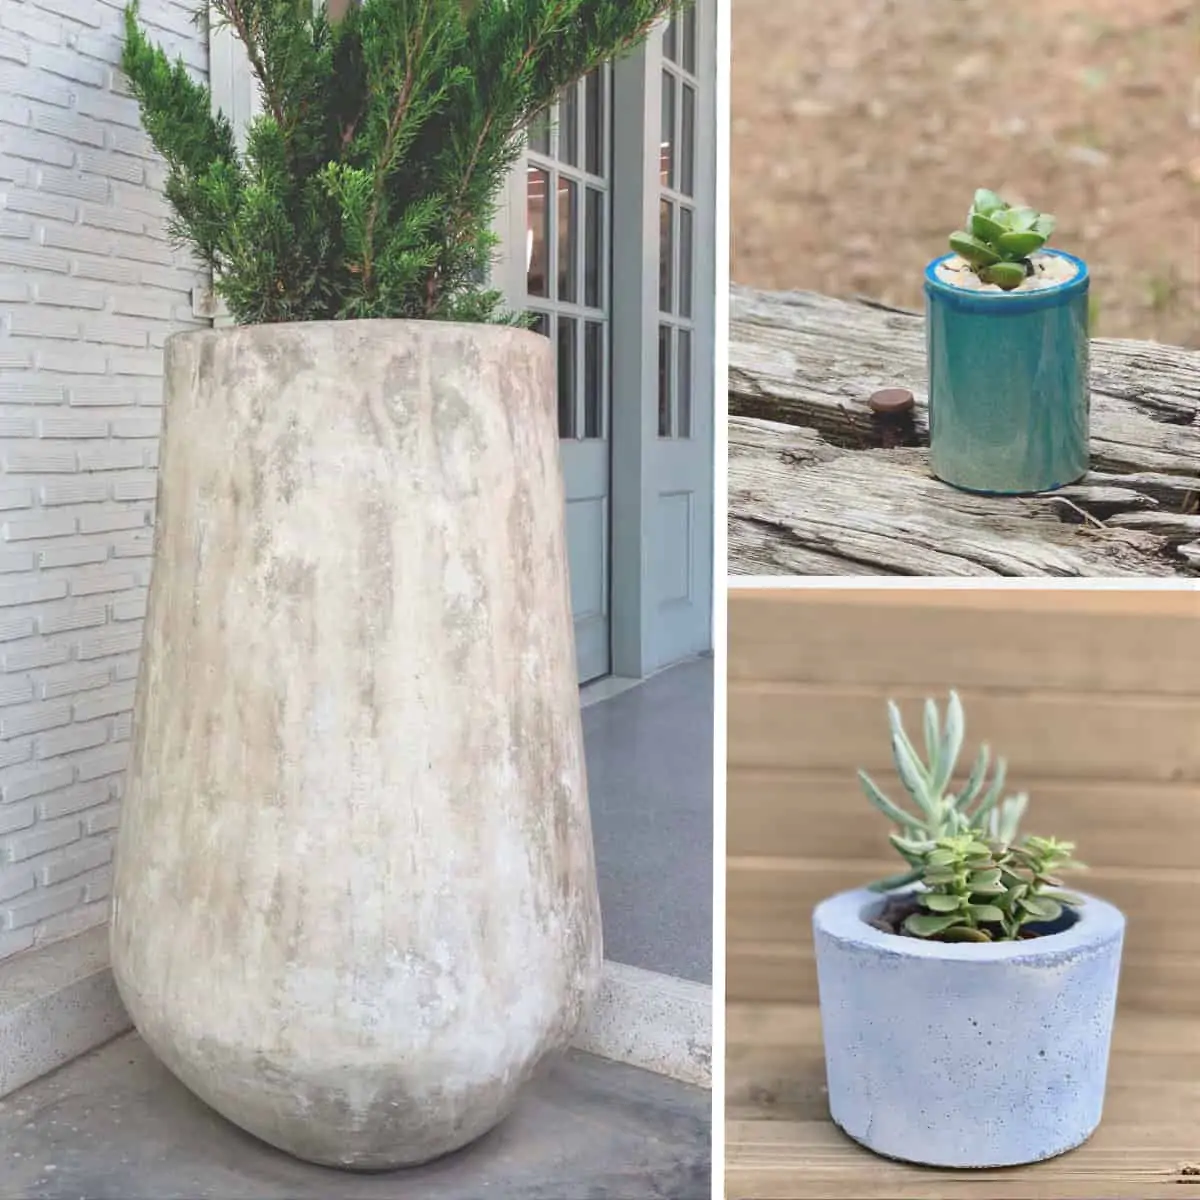
A food-safe sealer even makes it so you can use them for food storage. Or how about holding makeup items?
Before starting your concrete candle jar making, there are some essential things to know.
First, there are different types of silicone molds for vessels. This particular one is inexpensive but doesn’t have the hard outer shell to support it.
The drawback is that it may warp slightly. Mine did, but with a couple of minutes of sanding, it was no problem getting the lid on. I believe it was worth the trade-off in cost.
I’ve made several of these jars and feel comfortable with this recommendation. If you make a lot, then purchase a candle jar mold with the outer shell.
I wrote an article with a list of the best concrete molds to help you with that. And another article with helpful advice on what to look for when purchasing a silicone mold.
Also, don’t bother with using a lubricant. Lubricants are a worst-case scenario thing when it comes to concrete.
They are messy and, even worse, create insoles and possible discoloration. Demolding this was easy so that a lubricant wouldn’t be necessary.
And that’s it. There aren’t any tricky parts to making these concrete jars. Enjoy your candle-making!

Some of the links on this page have been provided as a convenience for finding materials. These links may also be affiliate links. As an Amazon Associate I earn from qualifying purchases, at no extra cost to you.
I only recommend products I’ve used and loved, unless otherwise stated. Click here to read my full disclosure policy.
DIY DIFFICULTY LEVEL | Easy
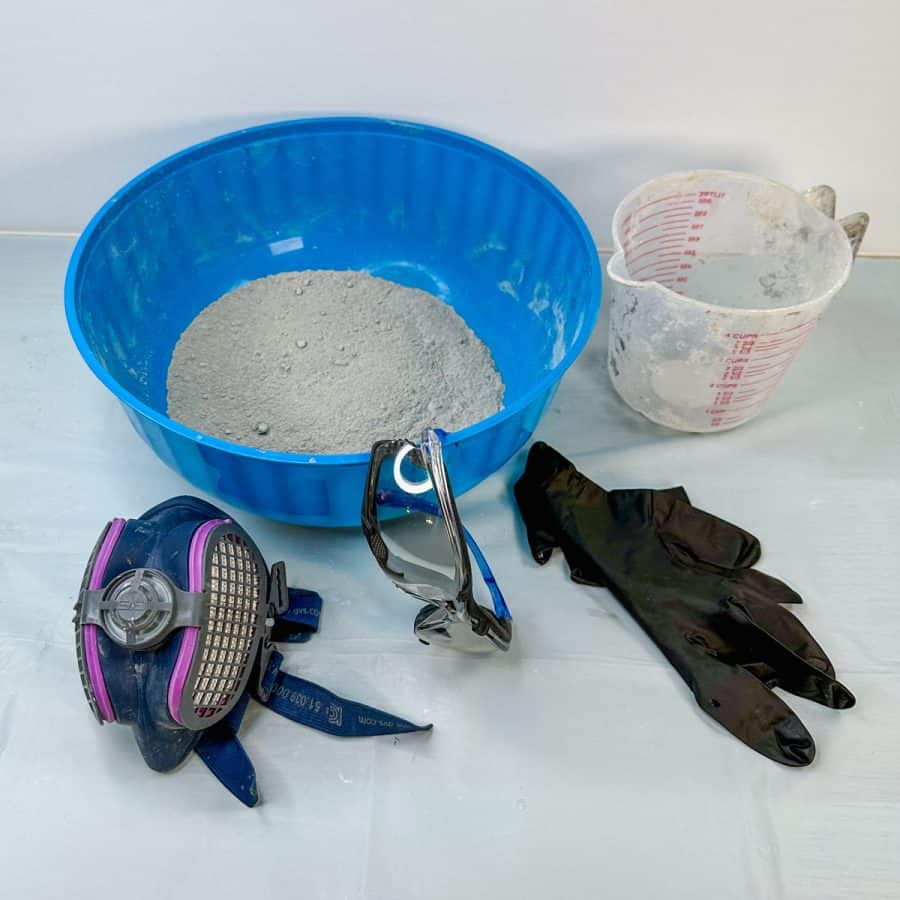
Materials List For Making A Concrete Candle Jar
- Smooth grey concrete– fast setting
- Disposable mixing bowl
- Disposable cup
- Durable nitrile gloves
- Safety glasses
- Safety mask–silica rated
- Concrete candle jar mold
- Gold leaf foil
- Vibrating machine
- Concrete sealer- heat-safe
- Plastic container
- Microfiber cloth
Would you like to make other types of concrete candles? Here is a tutorial for how to make concrete candle holders with gold accents using water bottles as the molds.
I have a link for how to add the candle wax near the last step, instead of adding it here, but through you may still want to know what materials you will need.
Materials You’ll Need For The Candle Making
- Soy Wax
- Saucepan or double boiler
- Candle wick
- Hot glue
- Essential oils- optional
How To Make A Concrete Candle Jar Step-By-Step Guide
Step 1. Add The Gold Accents To The Mold

First, turn the candle jar mold inside out.
Then, open the paper with the metal foil. For the foil to show up, it must stick firmly to the silicone.
Any piece that isn’t fully stuck will get mixed inside the concrete mix when you cast the concrete and won’t be visible.
Use your fingers to crinkle it a bit and then place it onto the areas you want to have the gold accents.
Note that the part of the mold you need the foil placed is the outside edge, not the inner, narrow piece.
By the way, you can also use this mold with JESIN. Here’s the tutorial for how to make a JESIN candle jar.

The leafing tends to break off in shapes that don’t look natural when you pull it from the paper.
So, the way to fix this is to use your finger or fingernail to burnish the foil onto the silicone. It will give a more airbrushed look.

The thicker foil in larger chunks will provide a more rustic appearance on the concrete’s surface.
But keep in mind those larger pieces are more susceptible to coming off.
Expert Tip!
These pieces also tend to fall into areas you don’t want. The easiest way to remove them is to use blue tape or a Q-tip with rubbing alcohol to wipe them off.
Also, using blue tape to grab the pieces is a great way to clean those up.
Don’t forget to add the gold accents to the jar’s lid if you also want them there.


After you add the gold design, push the mold back into position so it is right side in.
If the gold pieces accidentally hit other parts of the silicone, they may transfer to the parts it touched.
Just carefully push down on the center of the mold until it sets itself inside, and then roll the sides back up.
Step 2. Mix and Cast The Concrete


Mix the concrete mixture to a thin brownie batter consistency. The mix should easily flow when you pour it into the mold.
Step 3. Vibrate The Mold And Set Aside To Cure

First, set up a place that is level for the mold to cure.
Vibrate the candle vessel well to eliminate air pockets and tiny pinholes in the cured surface.
The easiest way to do this is with a vibration machine. My dental vibrating machine makes quick work of it. You can also use an orbital sander for this.
Vibrate it until the air bubbles on the top of the cement slow down or stop. Alternatively, you can shake and tap the mold.
But first place it on a rigid board or tile because the sides of the silicone mold are too soft to be tapped on. Instead, tap the board onto your work surface.
Let the candle jar and lid cure on your flat surface. Then, wait about 3-4 hours until the mix has fully cured before demolding.

Let the candle jar and lid cure on your flat surface. Then wait about 3-4 hours until the mix has fully cured before demolding.
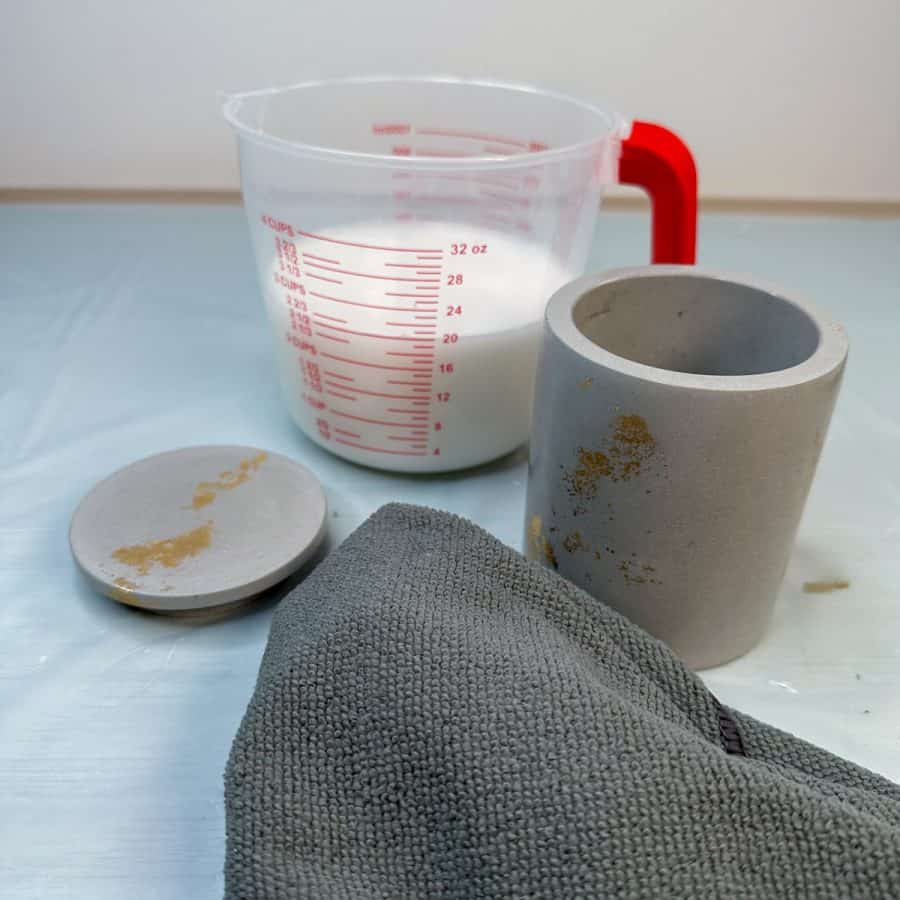
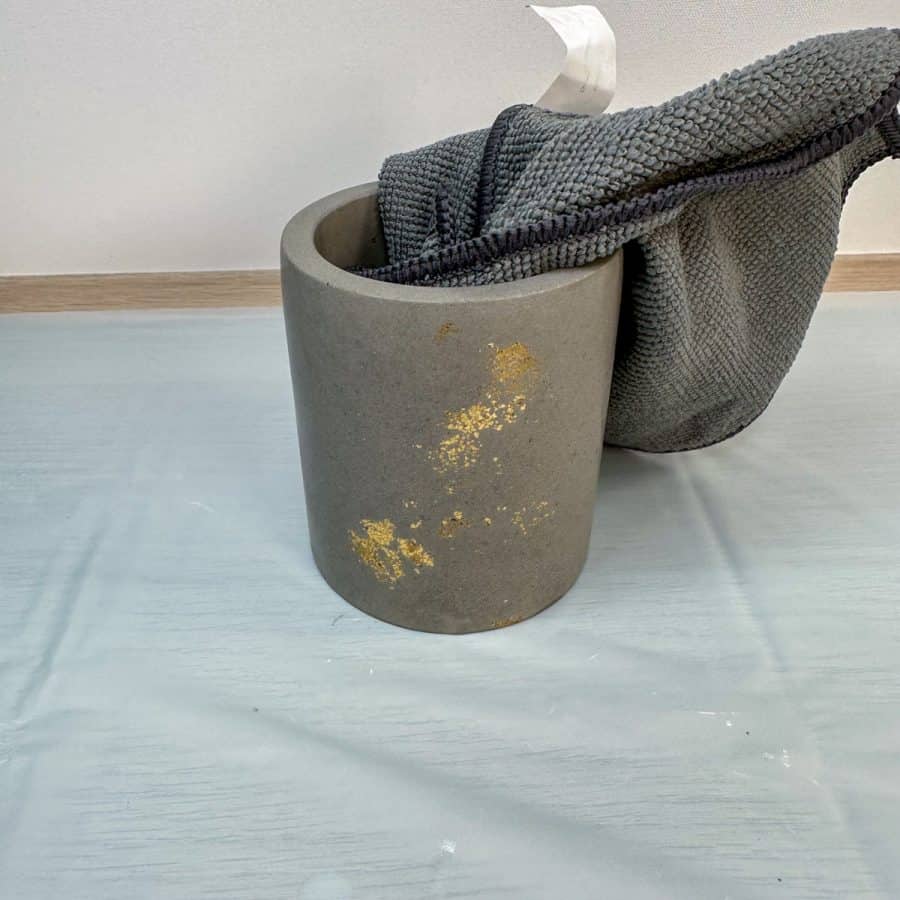
Step 4. Remove The Concrete Candle Jar From the Mold


Peel back the sides of the silicone mold until they are about halfway down, and then push the concrete jar through the opening. Now, twist and pull the rest of the mold out.

If the bottom of the candle jar has rough edges, sand it. This is the point in the tutorial when I usually suggest using diamond grit sanding sponges.
However, this particular concrete mix is easily sandable with regular sandpaper. Start with a low grit, then use a higher grit for a smooth finish.
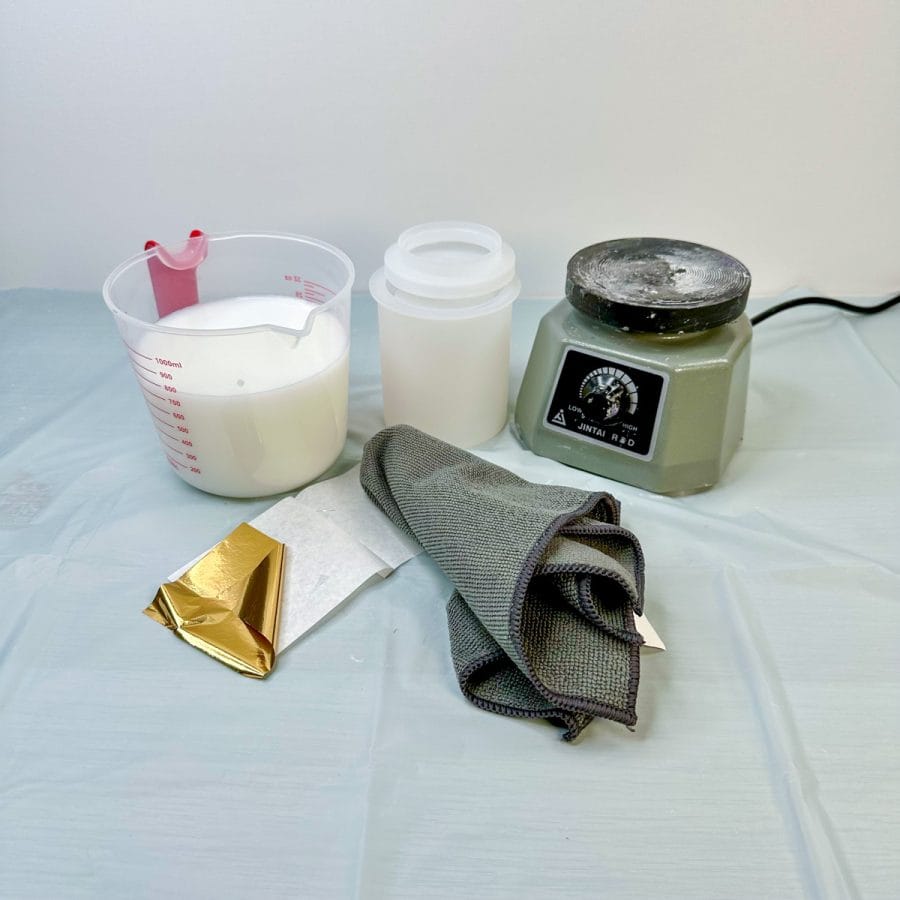
Step 5. Seal The Jar
Once the concrete candle jar has thoroughly dried (about 24 hours), seal it with the heat-safe sealer.
Pour the sealer into a container. A Tupperware-like container is good for this.
It should be twice as wide as what you are dipping is best. My container was a bit too narrow.

First, you’ll dip the concrete jar into the sealer and roll it around. Be sure to coat the inside and outside. Do this for 15-30 seconds.
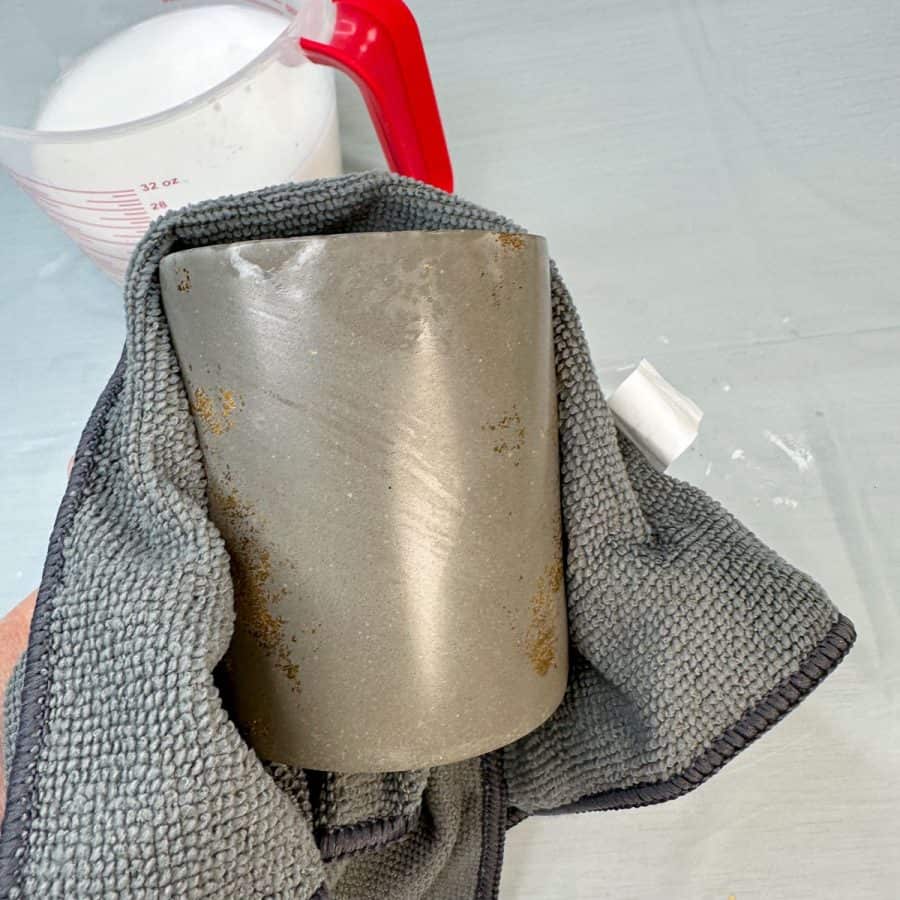
Then, remove the jar and wipe it down with the cloth to remove the excess sealer and continue so that it is free of smudges or stray marks.
Dip it again a second time within 30 minutes of the first dip. I only waited a couple of minutes.
Repeat as before and wipe so there are no marks. Again, be sure to wipe it inside thoroughly.
Do the same for the lid.
Now let the sealer cure on the concrete candle jar for at least 24 hours before adding the wax.
I’ll add a photo shortly of the jar with the lid on. I overfilled the wax and have to wait for it to burn down so I can put the lid on.

Step 6. Add The Wick And Candle Wax
The final step is to add candle wax to your jar. For the sake of brevity, I didn’t add the wax-making instructions here.
However, you can follow them at the bottom of this tutorial for my round Christmas concrete candles.
Don’t forget to Pin it for later!

Make A Concrete Candle Jar With A Reusable Mold
A step by step tutorial for how to make a concrete candle jar using a reusable mold in just 5 simple steps.
Materials
- Smooth grey cement– fast setting
- Disposable mixing bowl
- Disposable cup
- Durable nitrile gloves
- Safety glasses
- Safety mask–silica rated
- Concrete mold for a candle jar vessel
- Gold leaf foil
- Vibrating machine
- Concrete sealer
- Plastic container
- Microfiber cloth
Tools
- Please see the materials list above.
Instructions
- Add The Gold Accents To The Mold
- Mix and Cast The Concrete
- Vibrate The Mold And Set Aside To Cure
- Remove The Concrete Candle Jar From the Mold
- Seal The Jar
- Add The Wick And Candle Wax


Love this it’s a winner !