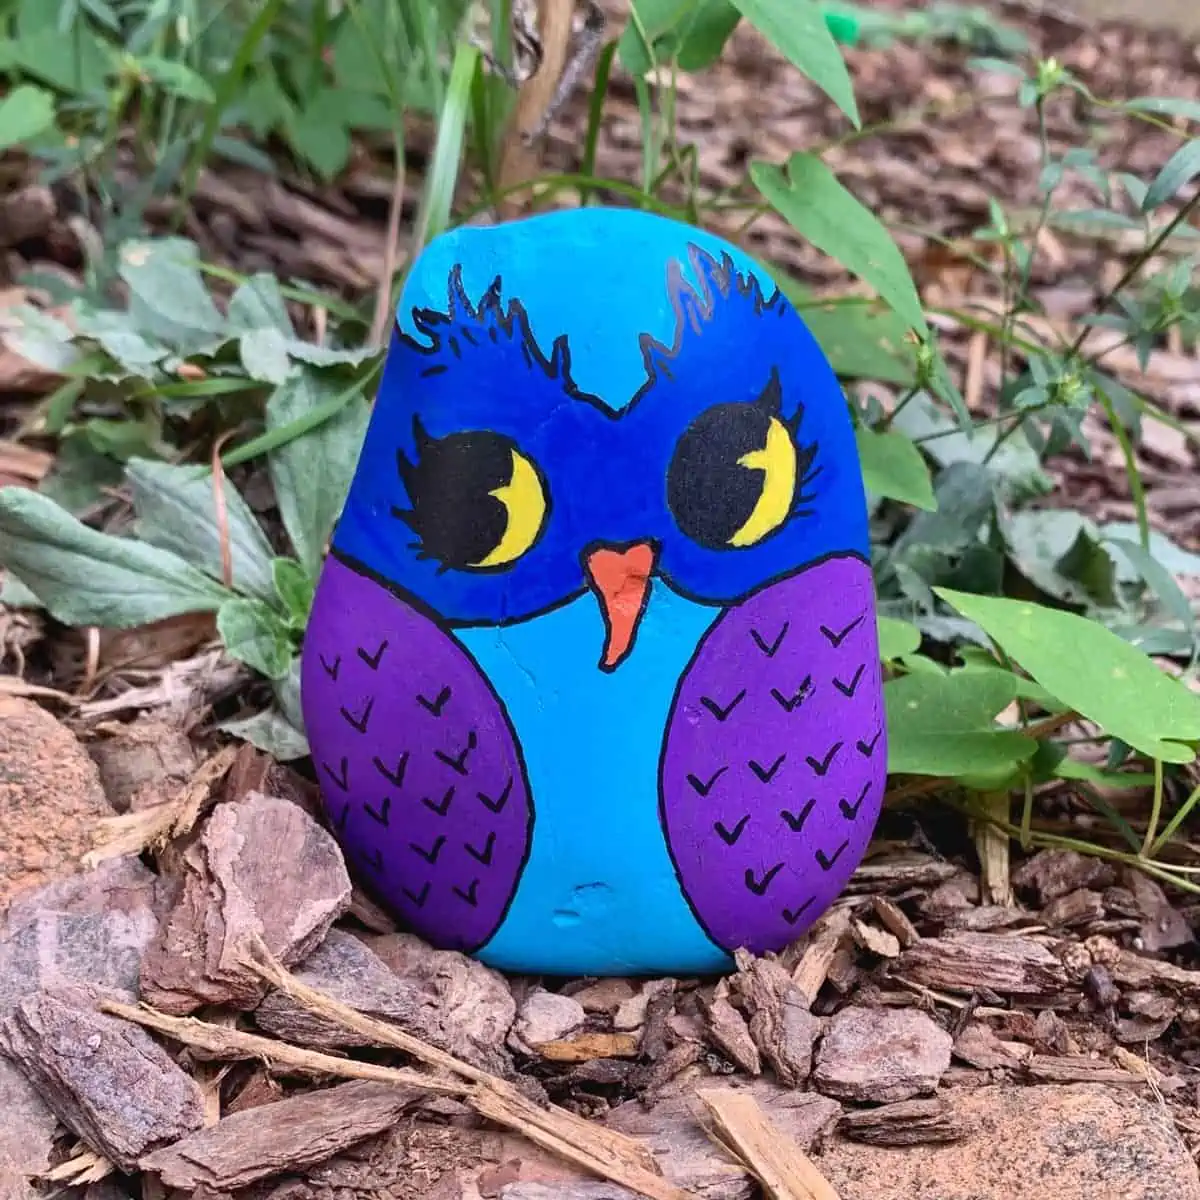
How to Make A Cute Owl Rock Painting
I’m excited to bring you this easy owl rock painting tutorial. So far, this has been my favorite of my painted rocks.
To the date of writing this, I have painted a frog rock and flowers on rocks. The owl was probably the easiest for a couple of reasons.
First, I loooove owls. I’ve drawn doodles of them in the past, so I am comfortable with the body parts.
Also, owls are nice and symmetrical, and it’s easy to find river rocks that are the general body shape of an owl.
I only got stuck when it was time to decide on the colors, and that’s a giant leap of progress for me.
By the way, rock owls are the perfect handmade gift for owl lovers.
I’ve got a few owl lovers in my family and am always on the hunt for owl gifts. Painting my own, can come in quite handy.
I have a tutorial on my other site if you want help learning how to draw an owl.
I created the tutorial after I painted this, so it’s a pretty darn close representation of what you see here. It should help you with creating your rock painted owl.
Another owl rock painting idea would be to paint several little owls to make an owl family.
That would be a great way to use those small rocks you sometimes end up with when you purchase a bag of mixed sizes.
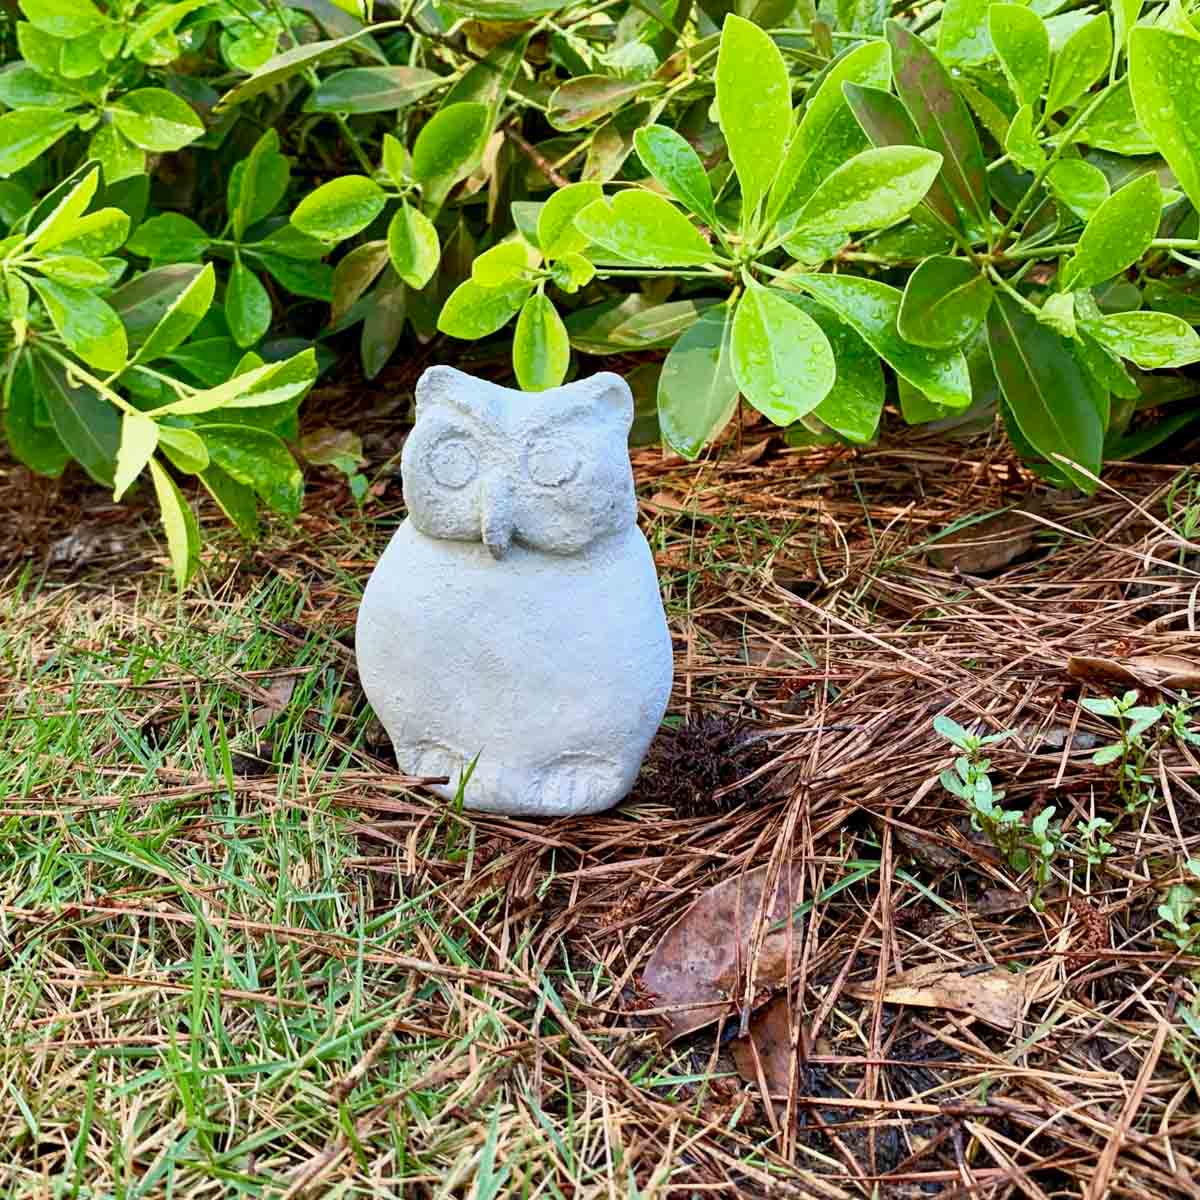
For another owl-related craft idea, check out this concrete garden owl statue!
And more easy rock craft ideas are these flower painted rocks, and this cute frog.
Some of the links on this page have been provided as a convenience for finding materials. These links may also be affiliate links. As an Amazon Associate I earn from qualifying purchases, at no extra cost to you.
I only recommend products I’ve used and loved, unless otherwise stated. Click here to read my full disclosure policy.
DIY DIFFICULTY LEVEL | Easy
How To Make An Owl Rock Painting List Of Materials
Materials Note:
You can use acrylic paint pens like the Posca pens or oil pens like the Sharpie brand.
I like the smooth glide of the oil ones because I have shaky hands. However, I used the Posca ones for this.
I choose to use them because the shape of this particular rock was easy to hold, and I could keep my painting hand reasonably steady.
The advantage was that I didn’t have to wait as long for the acrylic paint to dry. All the main colors I used come in the multipack I have linked above.
How To Make An Owl Rock Painting Step By Step Tutorial
Step 1. Draw The Owl’s Body Parts Onto The Rock

First, draw the owl’s body parts on the rock.
If you want a little extra help with this. I’ve got a tutorial for how to draw an owl like this one.
It’s on the Artsy Pretty Colors site. And it’s quick and easy!

For this owl, I found it easier to draw the main parts with the outlining pen.
Then I refined everything when I filled in with the paint. The wings are the only part I didn’t outline and just painted first.

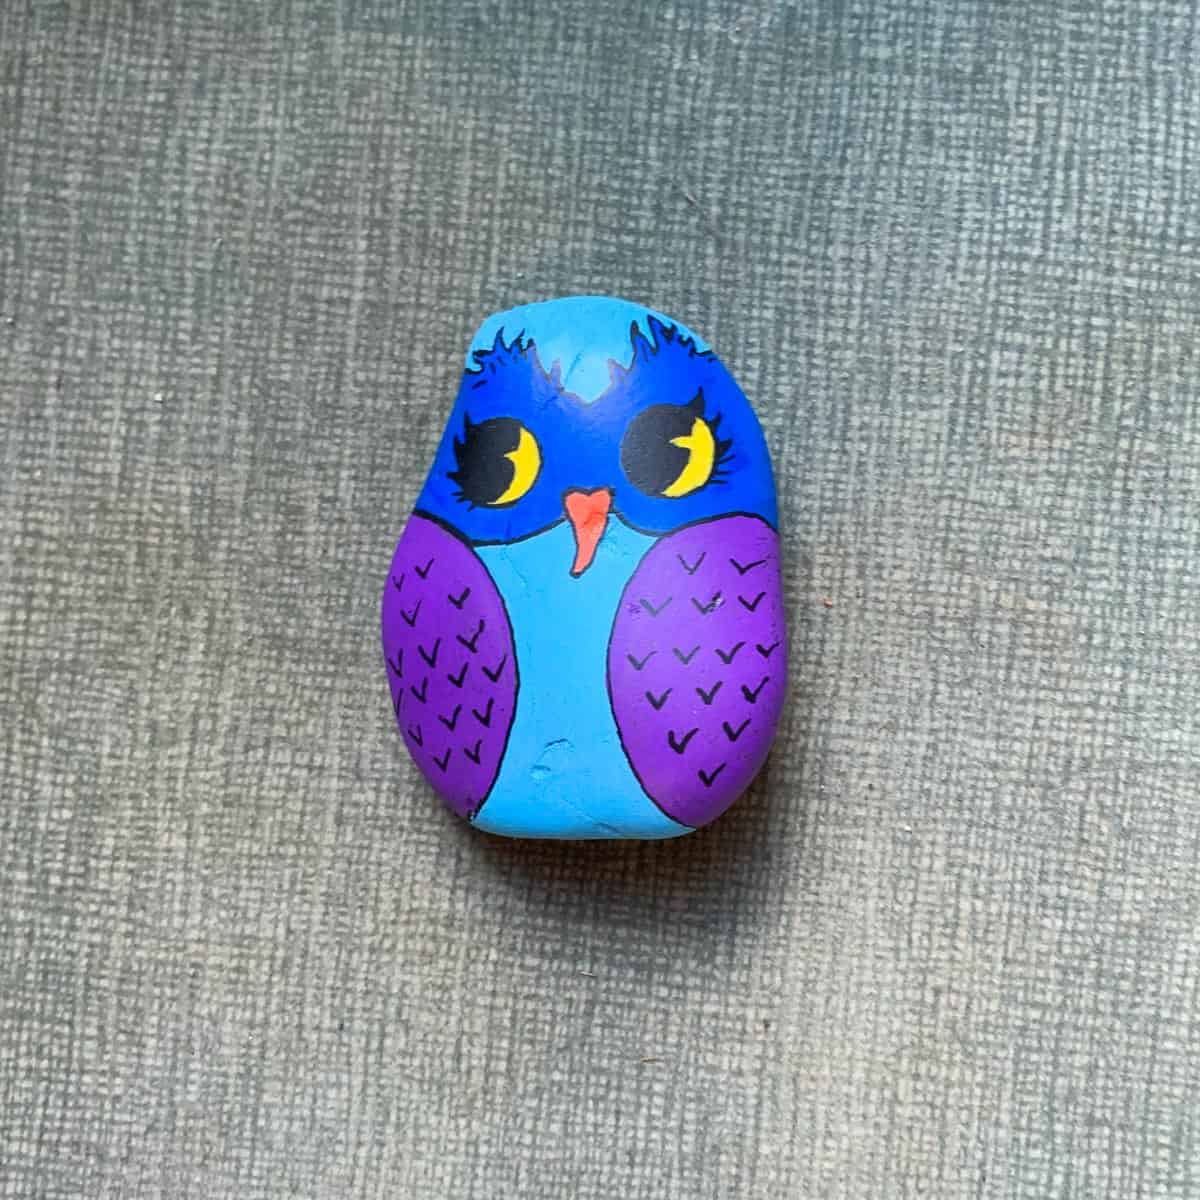
The pencil lines in the photo are very light, so I drew the same lines on the computer to give you a better reference image.
I found it easiest to start with the facial disk, the wide area of feathers surrounding the eyes.
Then I drew the wings and ensured they slightly overlapped the bottom of the facial disk.
Next, add the beak to the center of the facial disk, on the bottom line.
And last, draw two big circles for the eyes.
You can add a half curve closer to one side of each eye to make the pupil. It’s easier to leave the rest of the details until you paint.
Step 2. Paint The Owl’s Wings

Decide if you want the owl to be a natural color or have cartoon-like colors.
While painting, I recommend you keep the paint more on the inside of the shape rather than fully extending the color to your outlines.
Also, keep the paint just shy of the outlines. It’s easier to tell how things should be proportioned as each part gets filled in.
It’s also not a big deal if you don’t do this, you can easily repaint over a color if need be, but this saves you time and paint.
Step 3. Paint The Mid Section
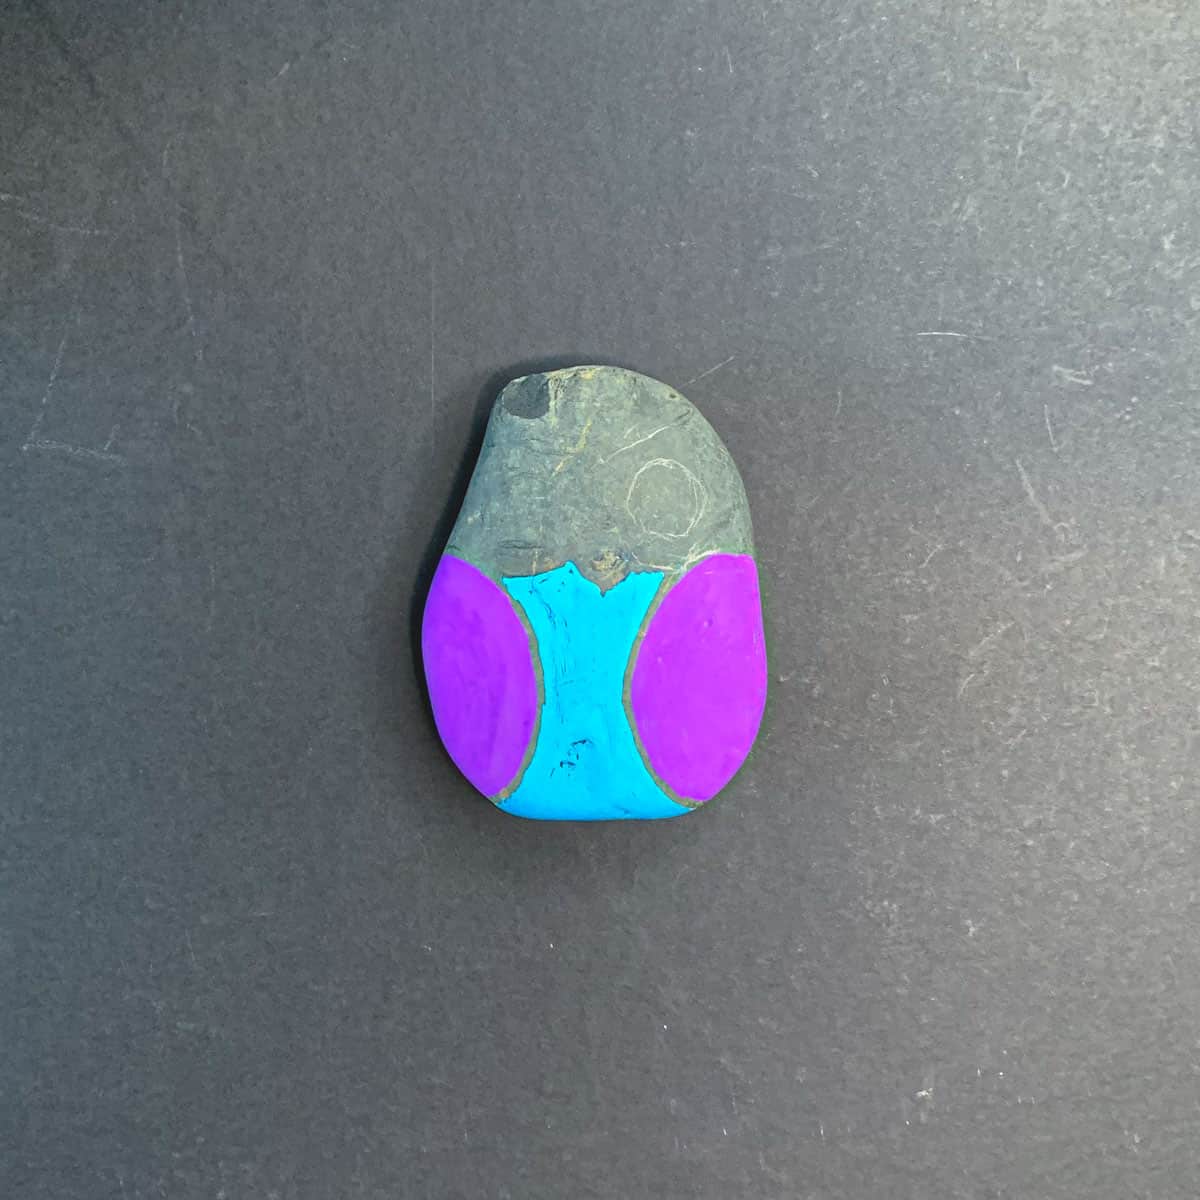
Fill in the mid-section, but leave room near the wings. The reason is that you can see better if your wings are symmetrical or need more shaping.
For example, I could see that my right side wing needed to come out slightly more and be more rounded.
Step 4. Paint The Owl’s Facial Disk Area

Add the next color to the facial disk area that surrounds the eyes. Remember to leave space for the owl’s beak.
Step 5. Paint The Beak
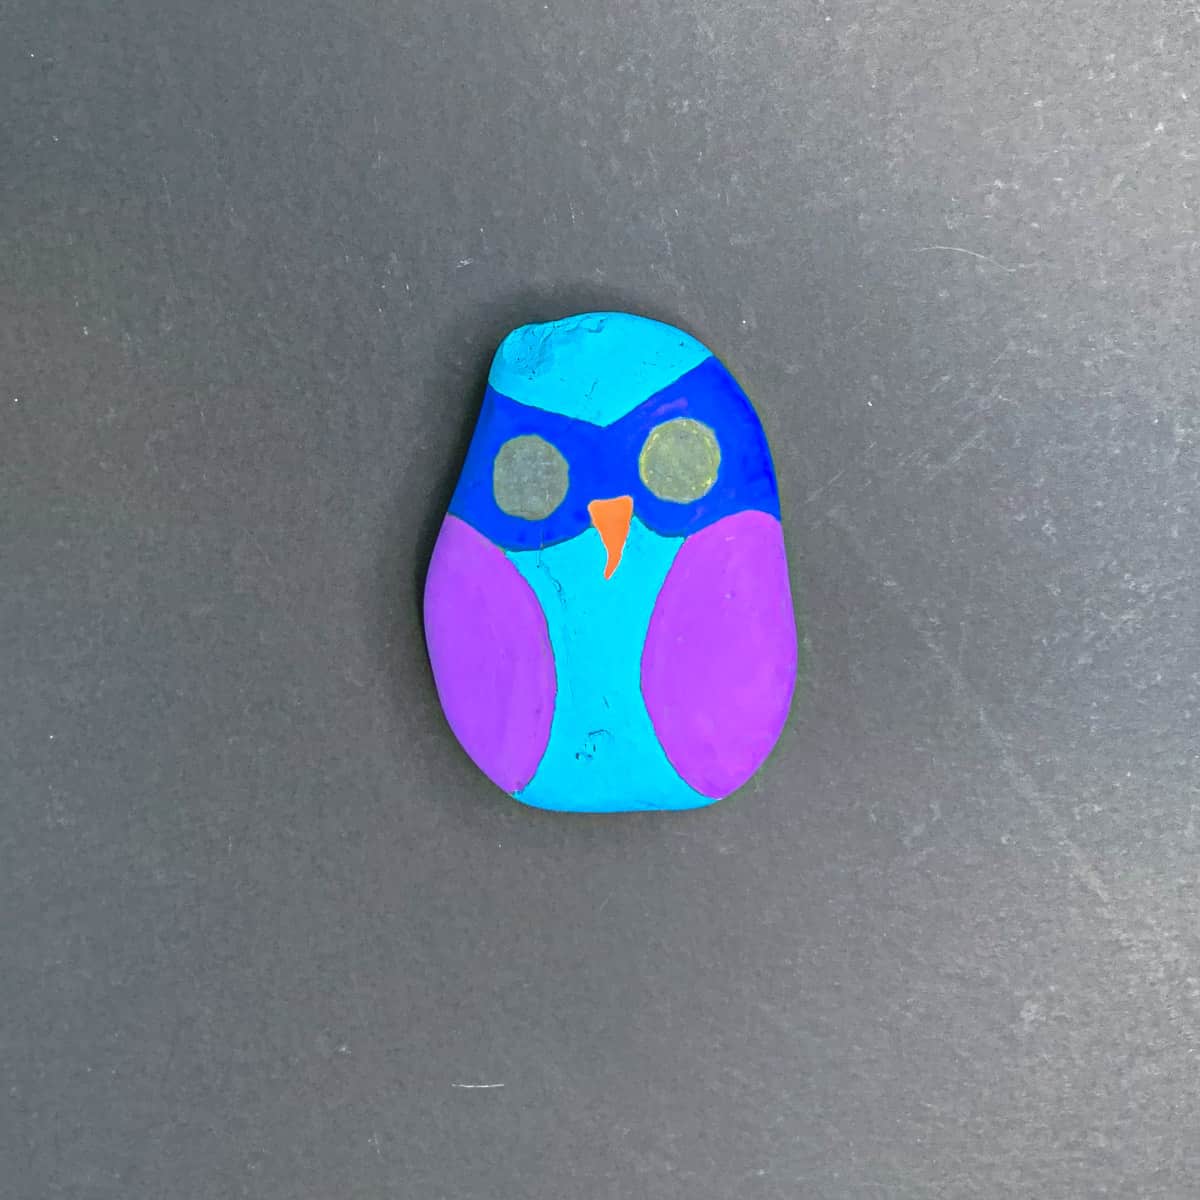
In this step, paint the beak. I let mine be a soft, long triangle shape. Then I curved it to the left side.
Step 6. Paint The Owl’s Eyes And Outline The Body Parts

Now you get to start adding details. First, paint the eyes of the owl. Instead of white circles, I went with yellow.
Next, outline all the owl parts with the black paint pen.
Then add a little bit of texture by adding eyelashes around the eyes.
Step 7. Add The Pupil Details And Hair Tufts
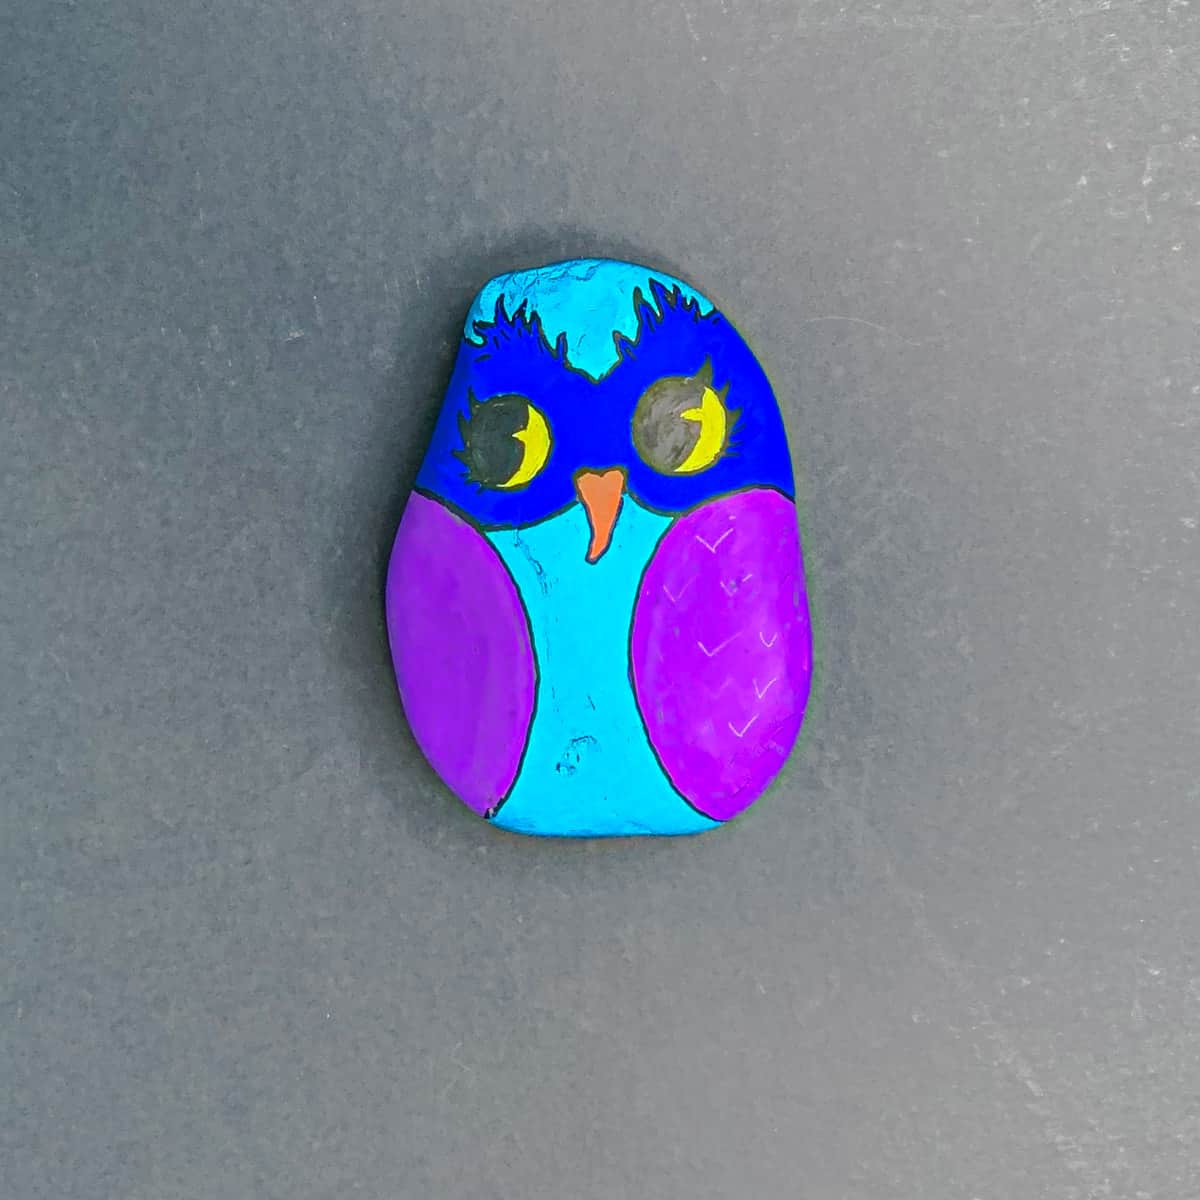
To create the details in the pupils, you will draw a crescent shape on one side of each eye.
I have mine drawn so that it only covers about ¼ or ⅓ of the eye.
Then draw a tiny triangle that protrudes from the crescent.
Once you have drawn the shapes, use a black paint marker to fill in the pupil around the crescent and triangle.
Yellow tends to turn out translucent, and you probably have some visible pencil marks, so once the black is dry, add a second coat of yellow to the eye.
If you wonder why I painted the whole eye yellow to start with, instead of black, it’s because it’s much easier to cover the yellow paint with a darker color than cover the black with a lighter color.
Next, add the ear tufts. Use the same color you used for the facial disk and carry little fringes of paint up the top line of the facial disk.
his took me several tries to get it looking the way I wanted. Remember to outline the tufts when done.
The last detail you’ll add is the hatch marks on the wings to show the feather texture.
These are just v-shaped lines painted on in alternating rows.
They shouldn’t be perfectly even or straight, but should alternate a bit to fill in the space evenly.
And finally, recoat any other areas that need a second coat, then move on to the next step to protect the finish.
Step 8. Add A Protective Coat
Wait a minimum of 24 hours before spraying the owl rock painting with the protective coat.
After that, the paint needs to be completely dry. Otherwise, it may react with the top coat, and some colors can bleed.
Once it has been at least 24 hours, wipe off the rock with a rag to remove any dust.

Then place it on a piece of cardboard or newspaper and spray it from at least 18″ away. This distance will help ensure it won’t bleed.
Wait at least a couple of hours (regardless of the directions on the label), and then add a second coat.
This time you can move in a little closer, but closer than what the label states as the minimum spraying distance.
Again, this gives the paint a better chance to cure under the new coating and harden. Then it’s safer at a closer distance.

Remember to spray the backside as well to prevent moisture from getting in.
Now you should be good to go. Place your owl rock painting in the garden! I promise it will make watering the garden more enjoyable. ;0)
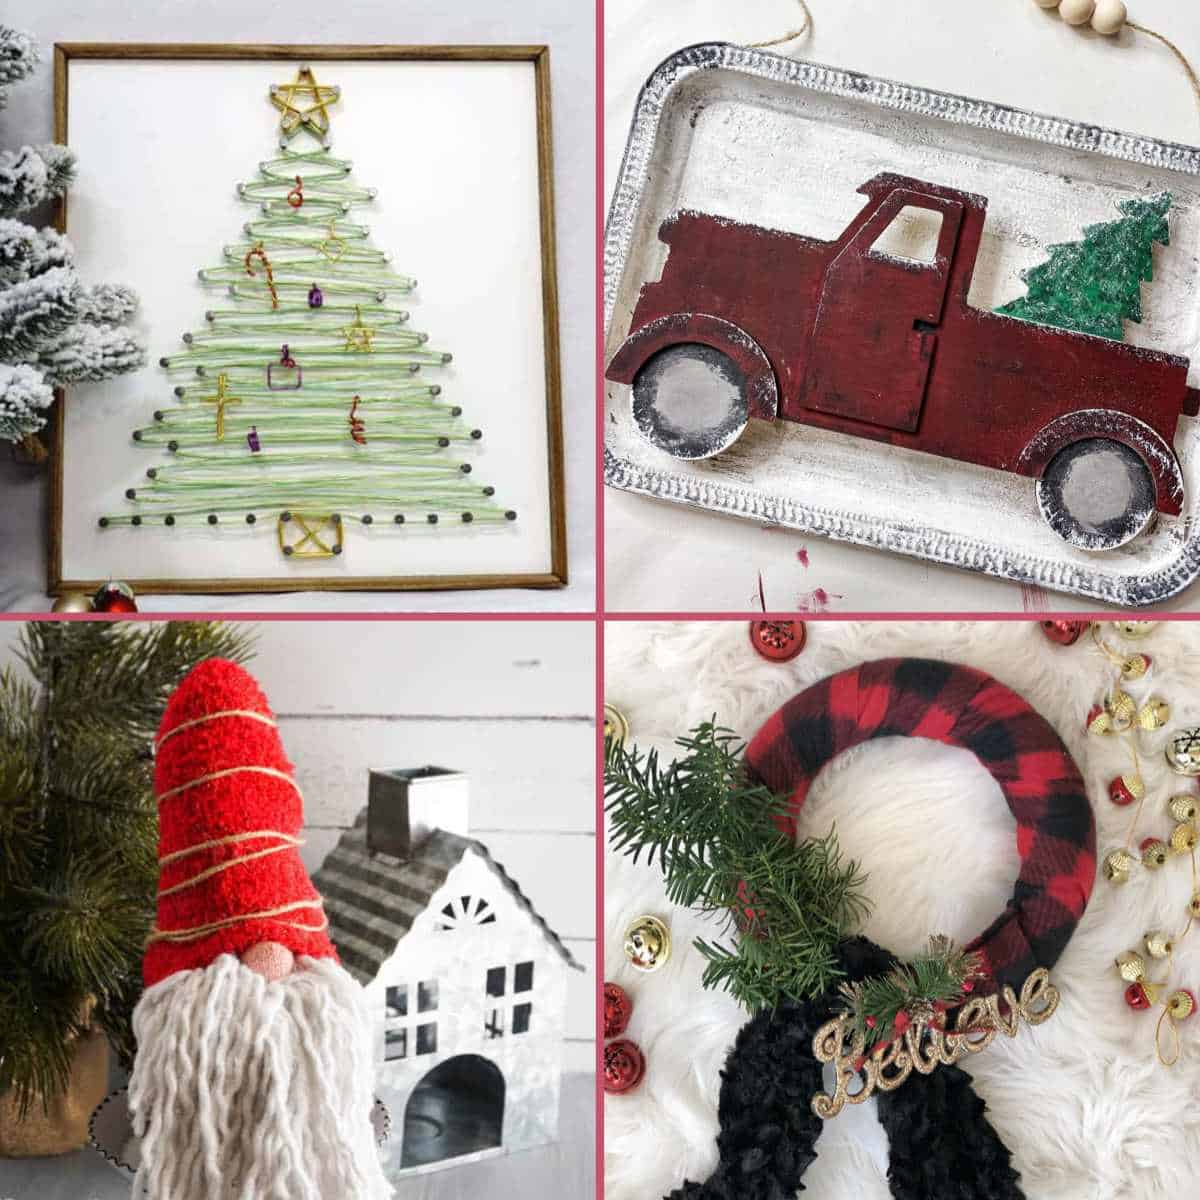
If you’re looking for holiday rock painting ideas, check out this list of ideas for Halloween and this one for Christmas.
And another great thing to do to prepare for spring is to spruce up those terracotta pots. Here’s a list of 50 painted pots ideas.
Don’t forget to Pin it for later!

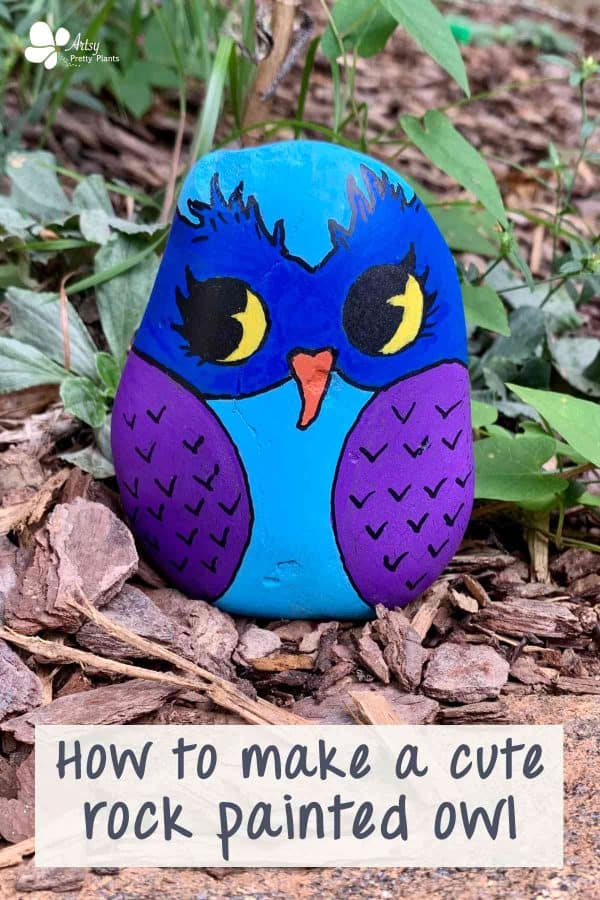
How to Make A Cute Owl Rock Painting
How to paint a cute owl onto a rock with this step by step tutorial. Make your own garden art with this whimsical rock painted owl.
Materials
- River rock
- Pencil
- Acrylic paint pens
- Top coat clear spray
Tools
- Please see the full materials list above the tutorial for details and links.
Instructions
- Draw The Owl’s Body Parts Onto The Rock
- Paint The Owl’s Wings With The Paint Pen
- Paint The Mid Section Of The Owl
- Paint The Owl’s Facial Disk Area With Curved Lines Like A Wide ‘W’
- Paint The Beak At The Bottom Of The Facial Disk
- Paint The Owl’s Eyes And Outline The Body Parts
- Add The Pupil Details By Drawing The Crescent Shape First And Ear Tufts
- Add A Protective Coat And Then Apply A Second Coat


I love Your owl,the colors aere great ,eye catching and cooling.I am on my second year flower beds come January/ 26 Im looking for sea pebbles painting ideas .Thank You for sharing
Hi Teresa,
Thank you! I hope these helped with some ideas!
Ellen