Upcycle Metal to Make a Repurposed Planter
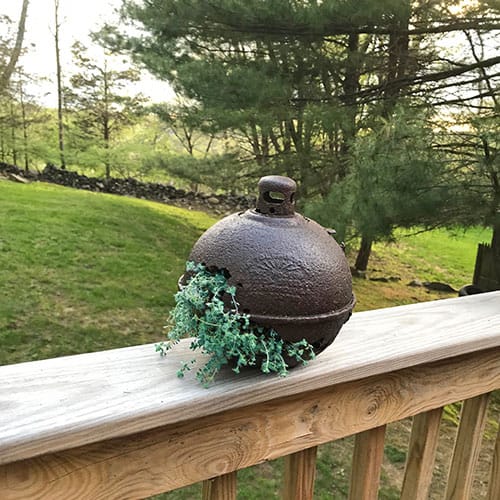
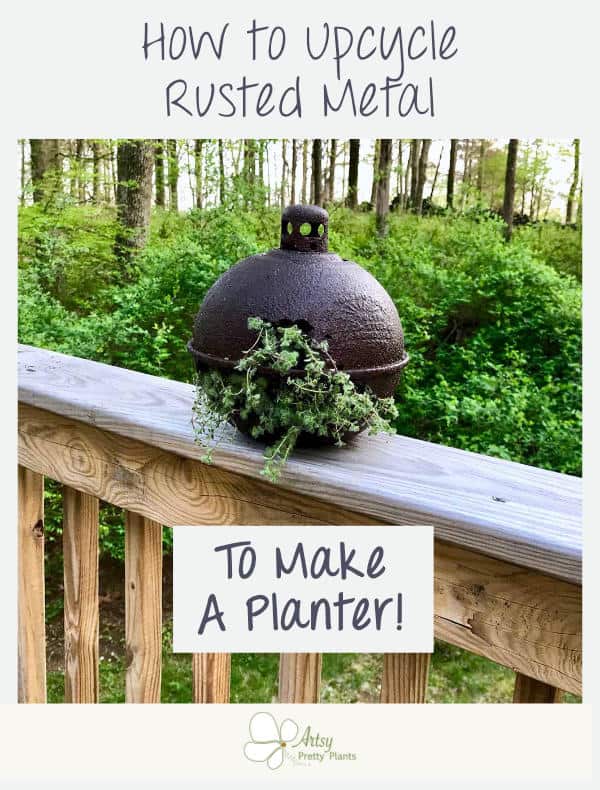
Today I’ll show you how to upcycle metal to transform into a planter.
Have you heard of a smudge pot? It makes such a cool planter, but you need to rehab the rusted metal.
Behind my house is an old road, now a grassy, gravelly path that used to be part of the road I live on and is a main road running through my town.
The road is historic and was once an Indian trail. In the early ’50s the town decided to straighten out that part of the road because it was a dangerous curve, labeled “Dead Man’s Curve”.
The road is hilly and windy and the curve has a steep drop off where it overlooks a lake.
I’ve gone out there to go bird watching, and sometimes clean up the area because when it was an active road people used to through their garbage off of the curve.
One day when I was out there digging about, I was lucky enough to find a smudge pot.
A smudge pot is an old round lantern, that kind of looks like a bomb to me. It was used in the ’30s and ’40s to light roads and railroads while men were working on them.
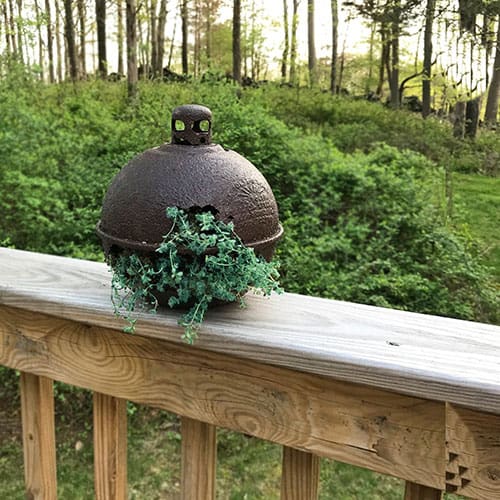
I had always thought the smudge pot was the perfect shape, with just the right size opening to use as a planter.
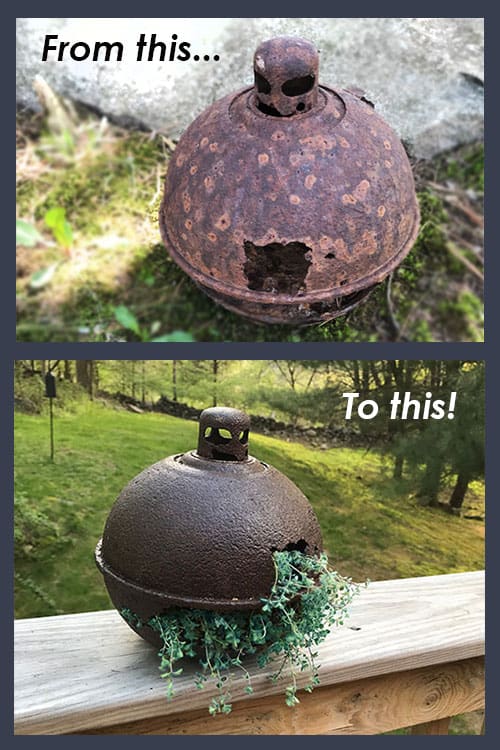
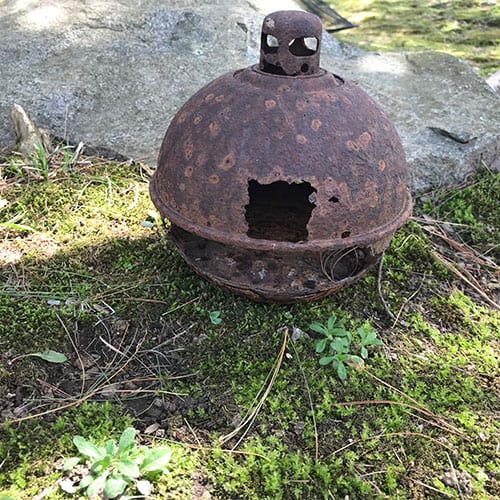
When I found it, it was already covered in rust and had been rusted right through on one side, but I made the mistake of not protecting it from further rusting.
It doesn’t look much different now than it did, but it has definitely weakened.
So I got the smudge pot out of the attic the other day and got to work on it. Here’s what I did to rehab it and turn it into a smudge pot planter.
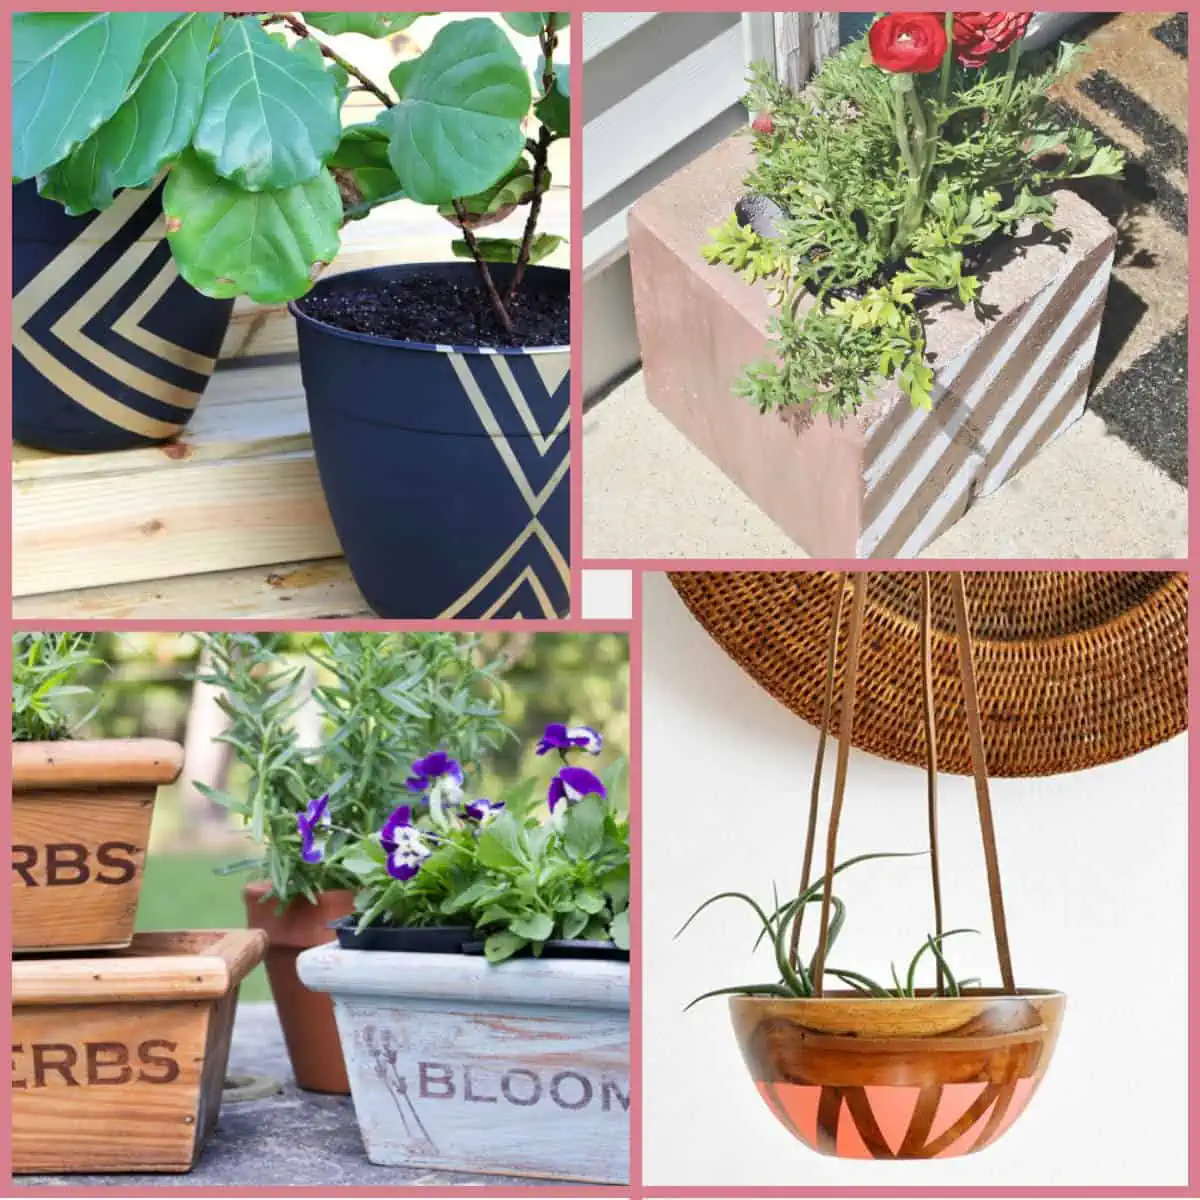
And if you want to see another re-purposed project, check out the cowboy boot planter or the cinder block planters.
To learn some really great, in-depth information on upcycling and the benefits, check out my friend Kristen’s post on Upcycle My Stuff.
What Not To Do:
Don’t leave your rusted item out in the wet elements to get worse before cleaning with vinegar and treating it with oil.
DIY Difficulty Level |Easy
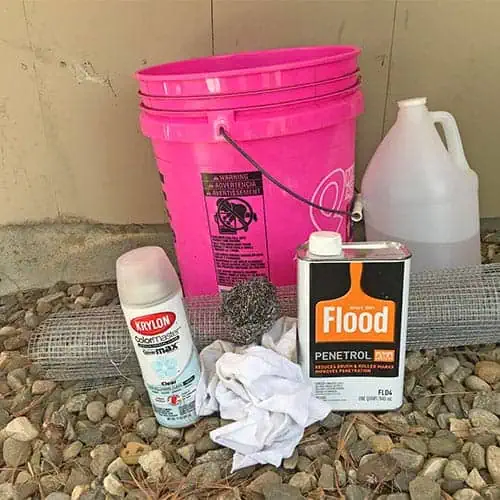
Materials For Making An Upcycled Metal Repurposed Planter
- Penetrol
- Krylon ColorMaster Acyrlic Sealant (Satin)
- Rags
- Chore Boy stainless scrubber
- Nitrile gloves- light duty
- White Vinegar
- Bucket
- Wire mesh
- Soil
- Plants
- Tin snips
- Rags
Upcycled Metal Planter Tutorial Steps
Step 1. Neutralize The Rust
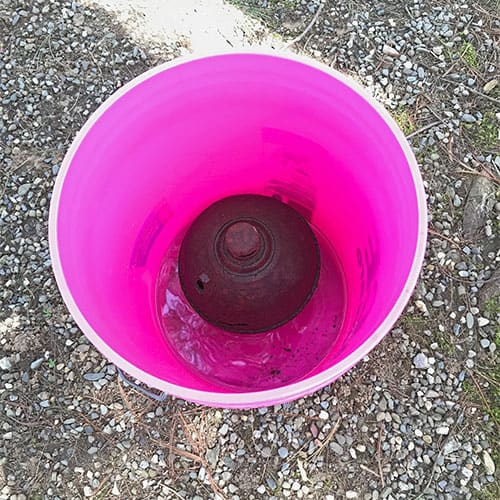
First I poured about half a gallon of white vinegar in a bucket and let the smudge pot sit for 3 hours.
Since I only had enough vinegar for the bottom half, I flipped it upside down for another 3 hours.
Step 2. Seal The Metal
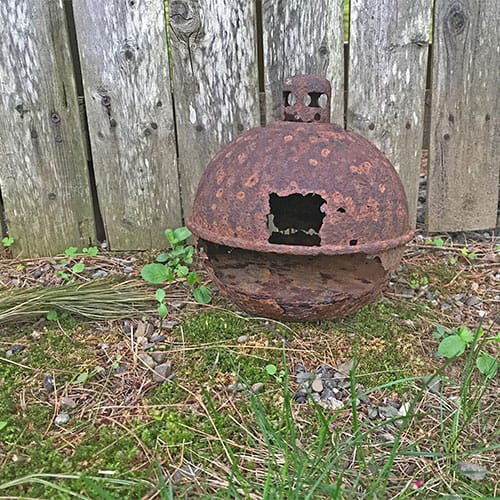
Next, I let it completely dry and then sprayed the inside with the satin sealant.
It only needs to dry for 10 minutes if it’s not being handled, and since I wasn’t going to be touching the inside, I was ready for the next step.
Step 3. Condition The Metal
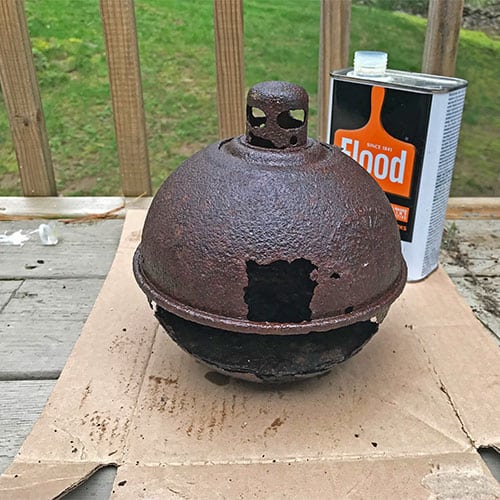
Next, I applied a generous amount of Penetrol with a rag to the outside, carefully rubbing it in. It is supposed to sit 12-24 hours before using it.
Since this pot was so badly rusted, I applied another coat of the oil about 6 hours later.
Step 4. Clean up The Smudge Pot Planter
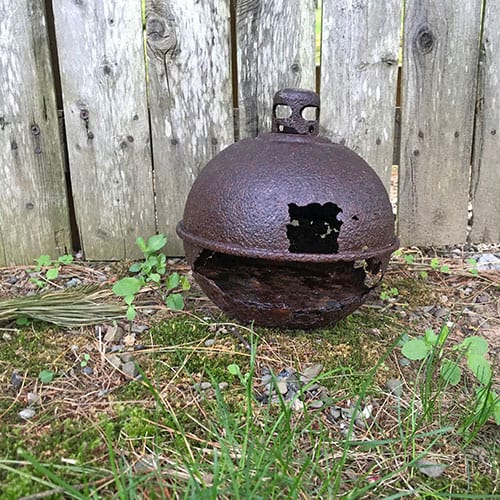
I then wiped the smudge pot with a clean dry rag to get any remaining oil off before planting.
Step 5. Support The Bottom Of the Rusted Metal Pot
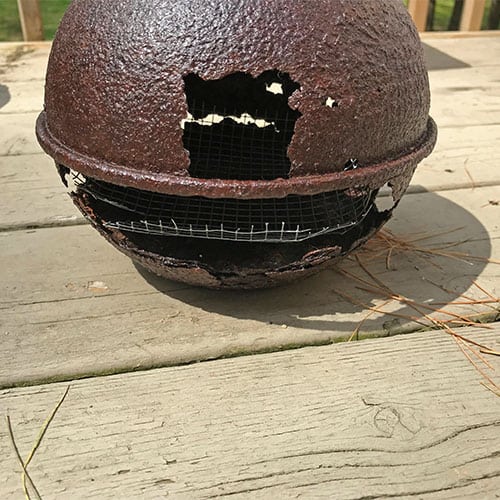
Next, I added a piece of wire mesh to the bottom to help support the weight of the soil.
Step 6. Pot Your Plant
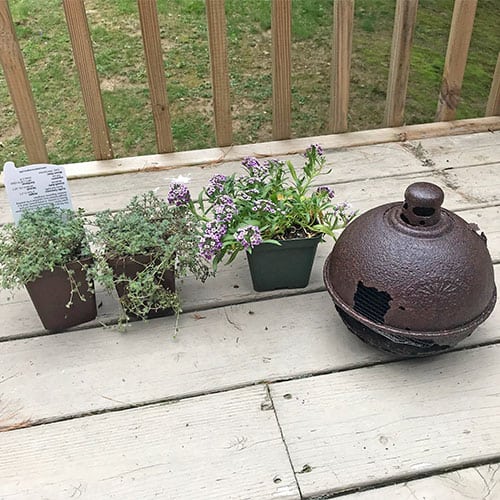
And finally, I added some soil and carefully planted my plant inside. The only plant I ended up planting was Woolly Thyme.
