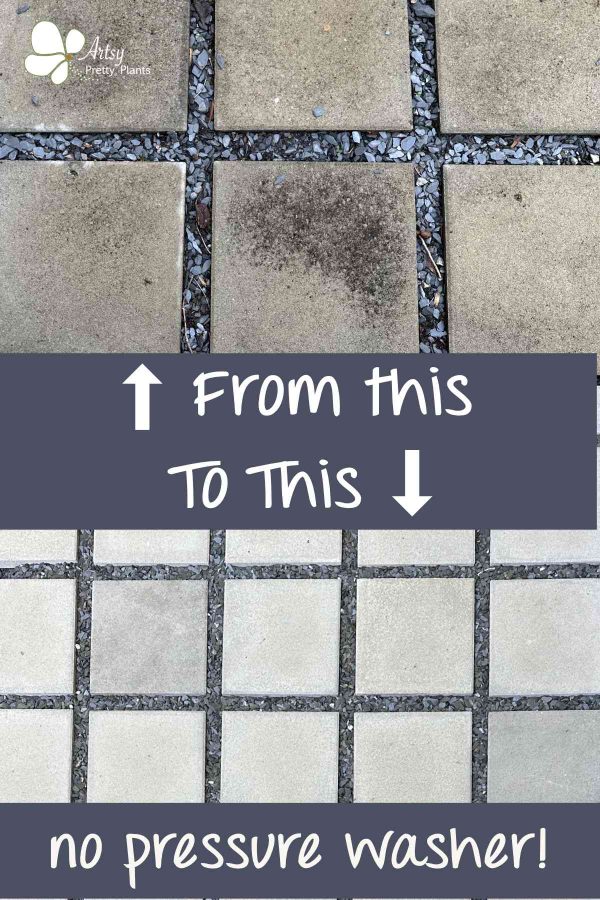
How To Clean Your Concrete Pavers (The Best Way)
In this tutorial, I’ll show you the best way to clean your concrete pavers.
Concrete pavers are popular for outdoor patios, driveways, and walkways due to their durability and long-lasting benefits. But they sometimes require cleaning to keep them looking their best.
And maintaining a clean, beautiful outdoor space is a top priority this time of year.
Fortunately, after some testing, I’ve found the best way to clean your concrete pavers that won’t need a pressure washer and is also very effective.
With the right materials and simple instructions, you’ll be well on your way to having a refreshed outdoor space within no time.

So if you’re ready to take on the challenge, keep reading to learn how to clean your concrete pavers.
First, it’s essential to understand that not all pavers are alike, and the best cleaning product will depend on the types of stains and the type of paver stones you have.
For example, stubborn stains, like mold, may require harsh chemicals.
But those chemicals may cause damage to your stone, so it’s important to know what material your pavers are.
Natural stone like flagstone or brick pavers may require different cleaning products than concrete pavers.
So it’s important to know if your pavers are concrete and whether they are sealed. Typically a sealed paver will have a satin sheen.
Or if you flick some water on it, you may notice a little beading rather than water immediately soaking in and looking blotchy.
But this isn’t a perfect test. To be safe, you may want to check with the manufacturer. Before moving forward with any cleaners, you can also test a small section to see if the surface is affected.
Don’t forget to Pin it for later!
Another consideration is what the material is between your paver stones. If it’s moss, you will want to avoid cleaners with harsh chemicals that will kill or damage the moss.
And if you are using polymeric sand, check that what you are using won’t break the barrier.
But read on for the solution for basic cleaning of dirt, clay, or mold from unsealed concrete or pavers.
Whether you are cleaning concrete patio pavers, a paver driveway, or concrete walkway pavers, this stands.
Here’s a DIY flagstone and moss walkway that hopefully won’t require any type of cleaning, any time soon. It’s a great idea for a low maintenance patio too.
Why I Need To Clean My Patio Pavers
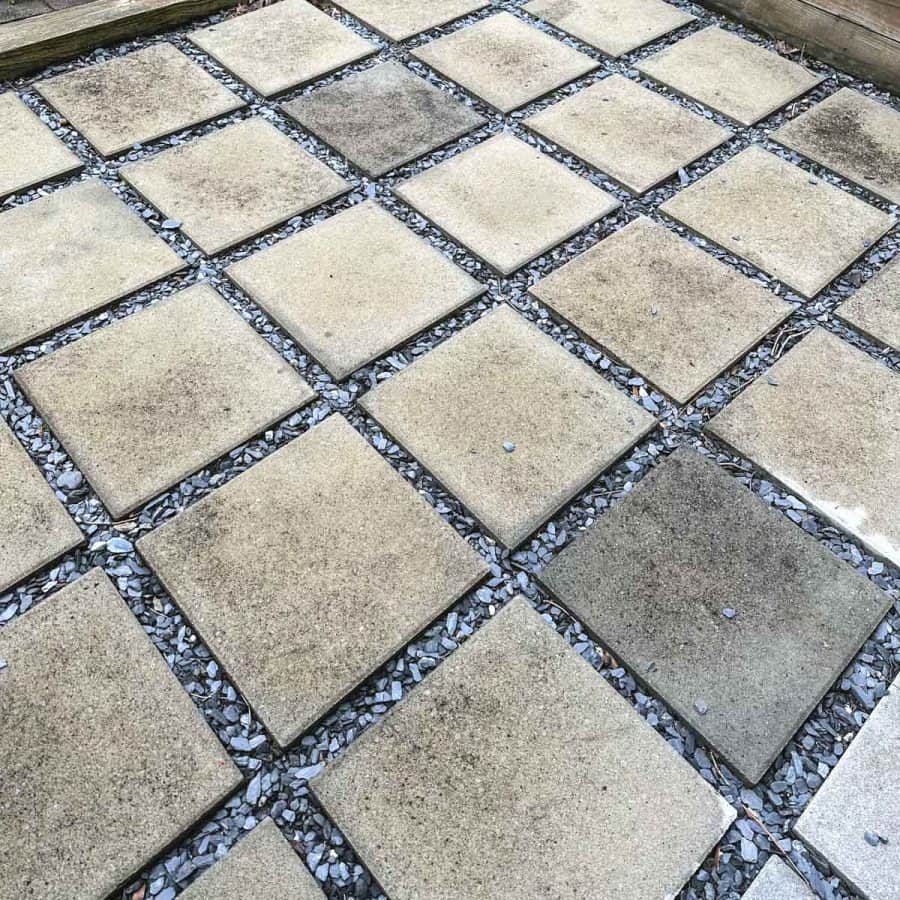
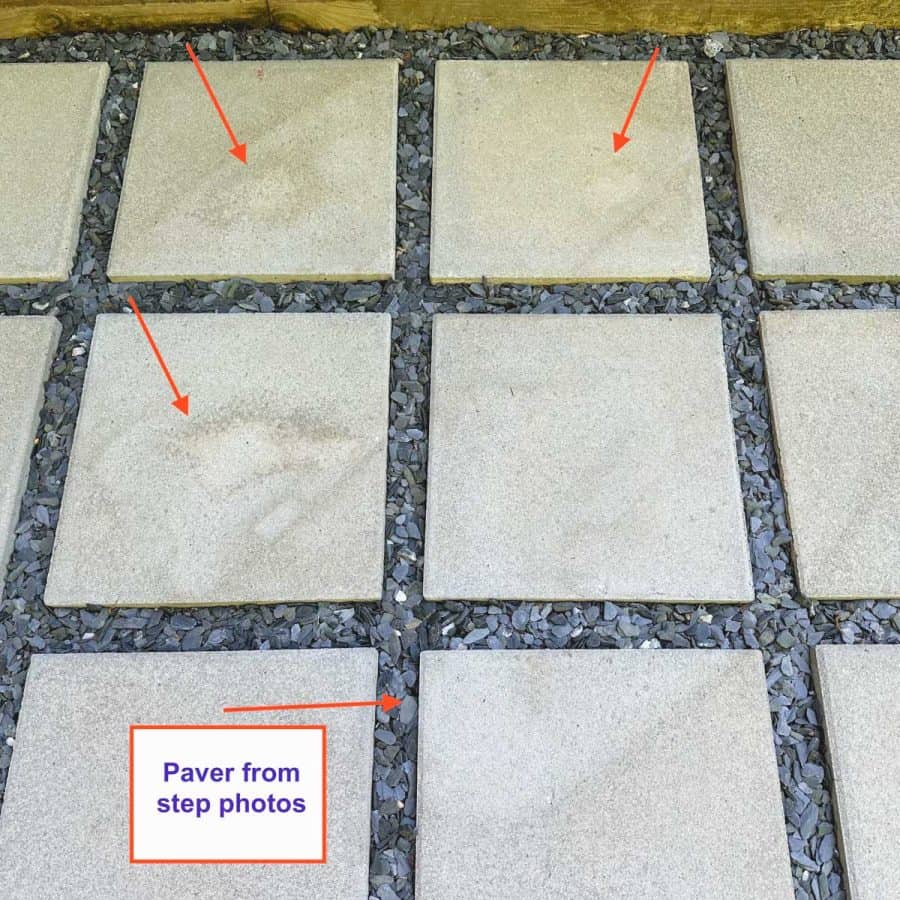
This patio area faces north and didn’t have any mold on it the previous year.
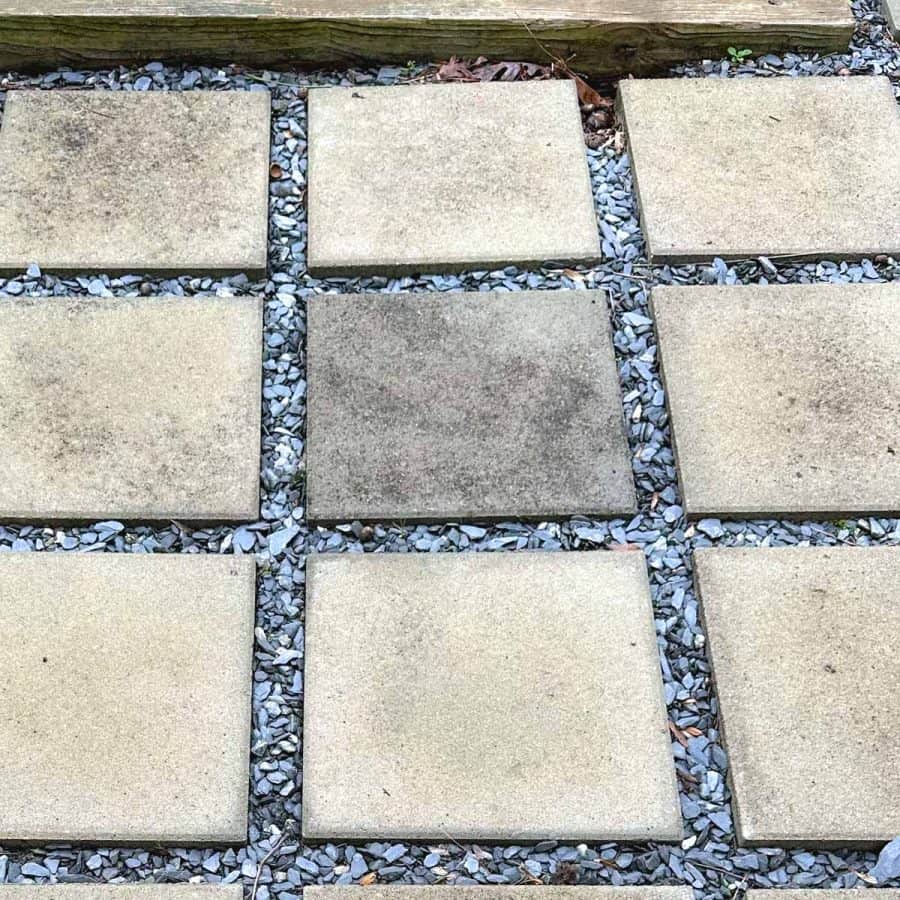
But at some point this winter, it suddenly became covered with a significant amount of mold. It was a very wet winter, and there was a drainage problem.
This is because I sloped the front and sides when I did this patio paver installation, which is what you want.
But all four sides are blocked in by raised timbers. If the timbers weren’t there, the slope would work perfectly.
So water pools up in one corner, and the patio becomes submerged for a couple of hours after heavy rain. I’m working on rectifying this.
I spent a lot of time researching different types of cleaning methods. And there were so many articles that claimed a whole variety of ingredients magically cleaned pavers.
But of course, I knew that using a power washer would likely be the quickest and easiest method, so I tried that first.
I was disappointed that although it did a great job and quickly eliminated the dirt and mold from the concrete, it also created a mottled look in the paver stone (see the results below in the first test).
I don’t particularly care for how this looks because part of what I love about this patio is how modern it is.
And it has a nice contrast between the light-colored stones and darker slate chips. The mottled, textured look detracts from that.
Another problem is that using the pressure washer made it challenging not to blast away the slate chips in between and the granite dust holding the pavers in place.
This was not a great solution. So if you have any gravel between your pavers, remember this.
So I decided to set up my experiments to determine the most effective.
You can jump down below to see the best solution, but you may want to read through the different combinations of ingredients I tested to see if one is a better option for your situation.
Different Types Of Ingredients Tested For Cleaning Concrete Paver Stones
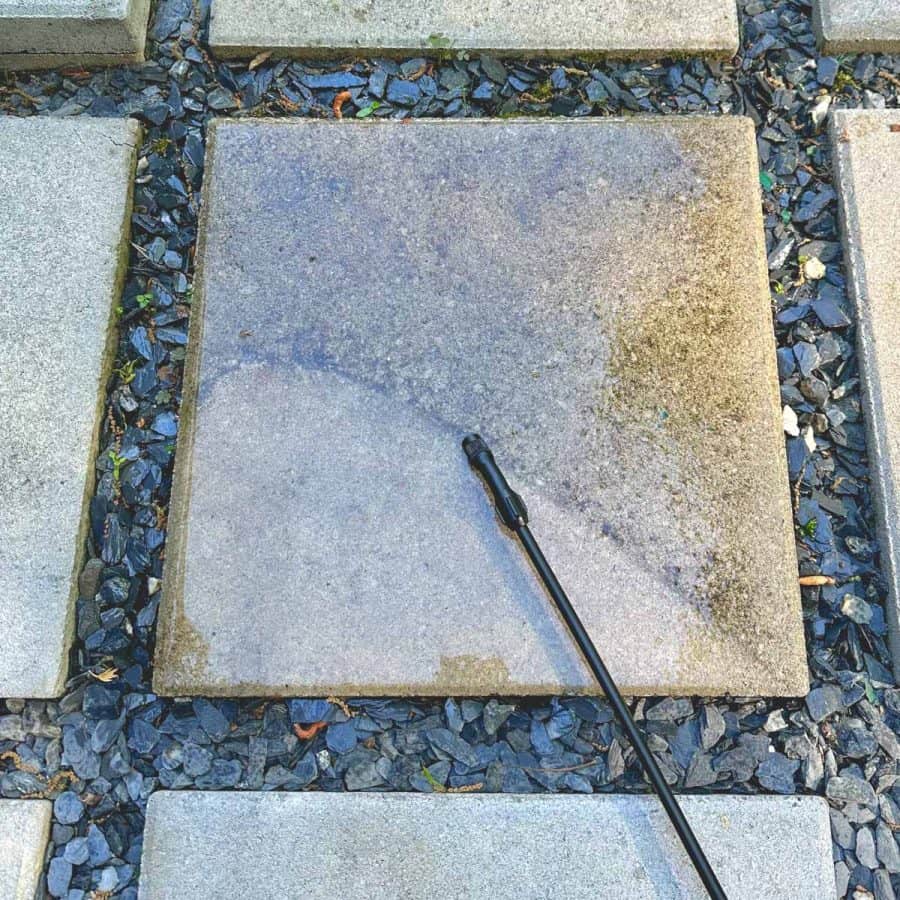
Test 1. Pressure Washer
Using a pressure washer is certainly the quickest way to get clean pavers. However, it could have provided better results for my preference.

When I tested this, the washer applied too much pressure on the concrete and created a mottled look by removing the top layer of sand and exposing the aggregate below.
This now looks more like rough concrete with a high amount of aggregate rather than a smoother paving stone.
Test 2. Water and Dish Detergent
This is the Before photo.
I didn’t take a picture of how this looked after this test because nothing perceivable would show up in a photo.
I could see some actual dirt rinse off from scrubbing, but the stone itself looked barely any cleaner.
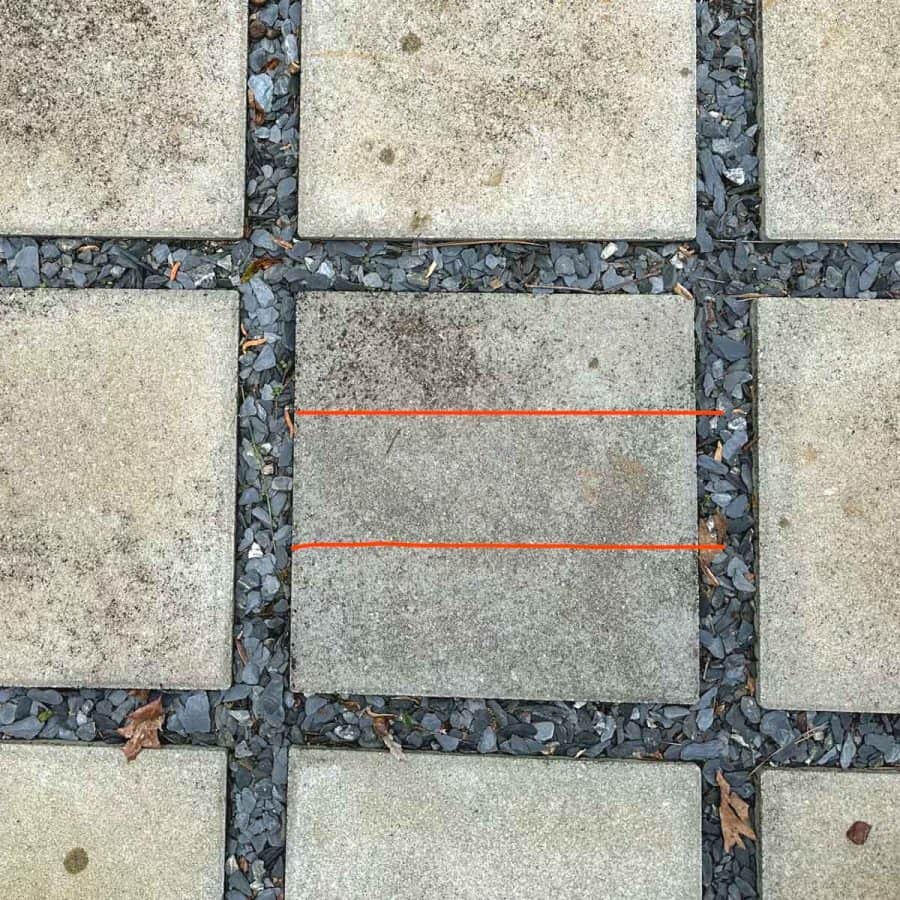
Test 3. Water, Dish Detergent and Vinegar
For this test, I applied the combination, now with the vinegar, to the entire stone, then used a stiff brush and scrubbed it for 15-30 seconds. Then I rinsed. What you see at the top two-thirds is after I rinsed.
The bottom third is the same test but after I reapplied the solution, re-scrubbed and let the solution sit for 5-10 minutes.
This showed better results in that some of the top layers of mold came off, but the deeper layer remained. So letting the solution sit and penetrate, definitely helped.

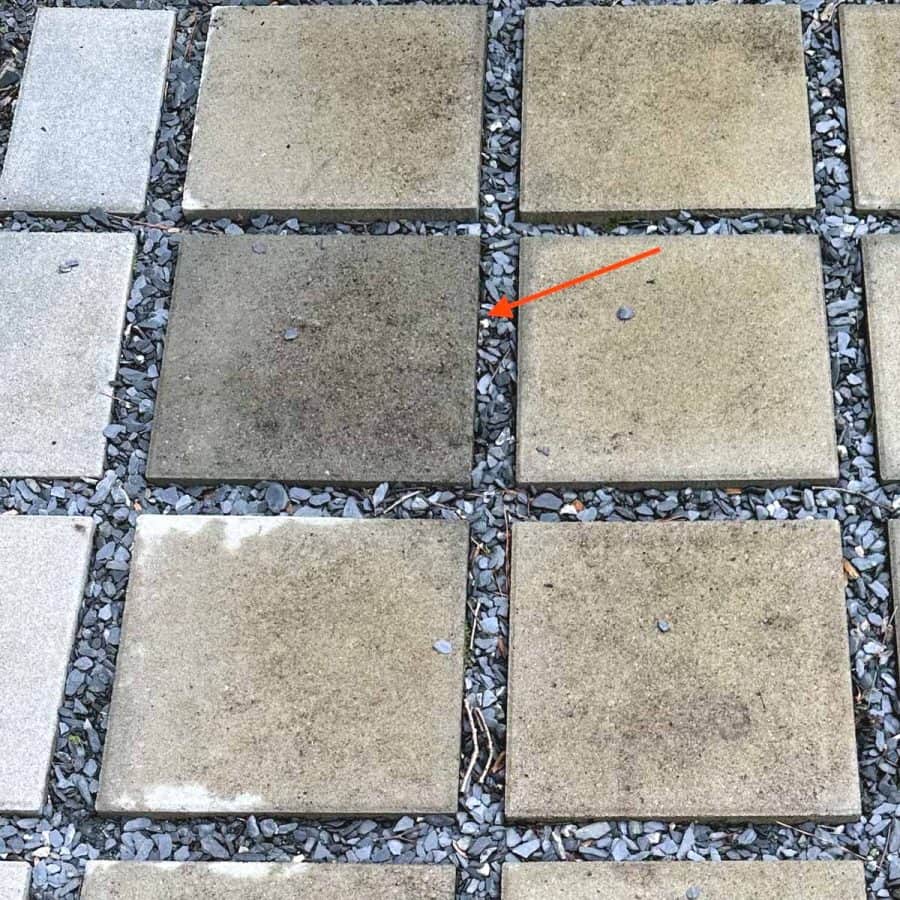
I used the same ingredients as above for this stone, and did the scrub, then waited about 10 minutes before rinsing.
Even though this stone didn’t have much mold, it still didn’t come fully clean.
Test 4. Water, Dish Detergent, Vinegar and Baking Soda
I applied this solution, now containing baking soda, to the middle third of the stone and let it sit for 10 minutes. The results were the same as without the baking soda.
I was surprised because this combination works great as a regular indoor household cleaner for tough grime.
I thought the baking soda might help penetrate the surface of the pavers, but it didn’t seem to help.
Test 5. Water, Dish Detergent, Vinegar, Baking Soda, Household Bleach
This test had the most promising results, but the after photo below makes it look better than it did in person.
There was still a lot of remaining mold that you can’t see well in the photo.
For this test, I used the bleach solution and scrubbed the stone for at least 30 seconds. I waited a few minutes and then rinsed it off.
I don’t have a photo of this initial part. But the results weren’t satisfactory, so I reapplied it, then scrubbed it again and let it soak for 10 minutes.

After rinsing, the row on the far right is the result in the photo. The far left had much less mold.
The whole stone looks better than the Before photo because some of the bleach leached through some of the areas where I had applied it and the rinsing runoff.
In summary, having a bleach additive helps reduce mold significantly. However, it still didn’t produce results that satisfied me.
This would have been spending too much time scrubbing each stone, for pavers that weren’t sufficiently cleaned.
Now what? I knew there were products specifically made for cleaning patios, but I’ve always been skeptical about them.
So I decided to dig a little deeper, and then I came across a product recommended by another DIY blogger I met once and trusted.
She used it for her concrete driveway. You can see her video here.
I tested it out and came away with the best results of all tests!
Some of the links on this page have been provided as a convenience for finding materials. These links may also be affiliate links. As an Amazon Associate I earn from qualifying purchases, at no extra cost to you.
I only recommend products I’ve used and loved, unless otherwise stated. Click here to read my full disclosure policy.
DIY DIFFICULTY LEVEL | Moderate
Materials For How To Clean Concrete Patio Pavers
- Stiff bristled broom or nylon scrub brush*
- Pump sprayer
- Mold remover cleaning solution
- Garden hose
Materials Note:
If you have mold, you probably will be better off with a scrub brush. You can order the materials online and have your order ready for pick up at Home Depot.
I tried with the broom but couldn’t get enough leverage to get deep enough into the concrete pores.
It’s harder work, but it does a much better job.
Warning: Bleach is caustic and can be dangerous. Always use a safety mask and glasses when working with a bleach-based product, even outdoors.
I needed to wear a mask because it was too difficult to breathe while applying this. It can also stain your clothes, so wear something you won’t worry about getting bleach marks on.
How To Best Clean Pavers That Are Concrete
Step 1. Fill The Pump Sprayer With The Cleaner Solution

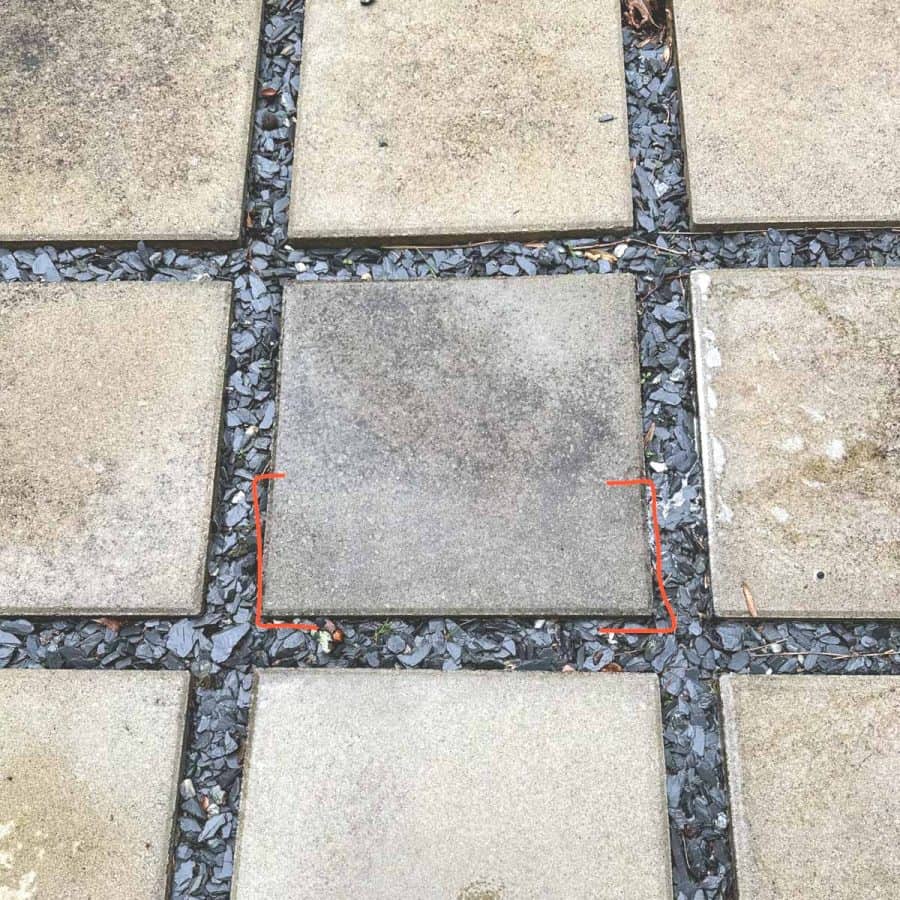
The paver I’m using to demonstrate the steps is one that a large umbrella stand was sitting on. It was weighed down by sandbags, so the part of the paver without mold was shielded from the rain.
Be sure to read all the instructions for your sprayer —especially the part about releasing the pressure inside before opening it.
First, put on a safety mask and safety glasses.
Before using the cleaner, test the pump sprayer with plain water to ensure you understand how it works.
Also, this is helpful for testing which nozzle setting is best for your paver setup.
Knowing how it will work before you start using it with a bleach-based product is also beneficial.
Regarding the nozzle, if you have spacing between the pavers, like mine, it’s better to keep the nozzle so it has a relatively narrow focus.
If they are close together and you have nothing in between, like plants or moss, you can have a wider spray angle.
After you feel comfortable with the sprayer, release the pressure valve and empty the water. Then add the 1:1 ratio of the paver cleaner to water.
Step 2. Apply The Paver Cleaner Using The Sprayer
Note: You are not supposed to let the cleaner sit longer than 15 minutes before rinsing the solution, so be strategic about what areas you will work on first and how many stones you will spray at a time.
If your concrete pavers are in bad shape and the mold is deep, it may require extra scrubbing.
So it may be a good idea to test your dirtiest paver first to see how much scrubbing you need to do–this will give you a sense of timing.
I needed to scrub hard to get mine fully clean, and it required the full 15 minutes, doing about 6-8 pavers at a time.
Also, keep in mind that how fast you need to work may depend on weather conditions.
The stones should be thoroughly wet, so if it’s hot or windy, the solution may dry faster, causing you to need to reapply if you do too many stones at once. It’s best to start with a small area first.
Step 3. Use A Scrub Brush To Press the Solution Down Into To Pores
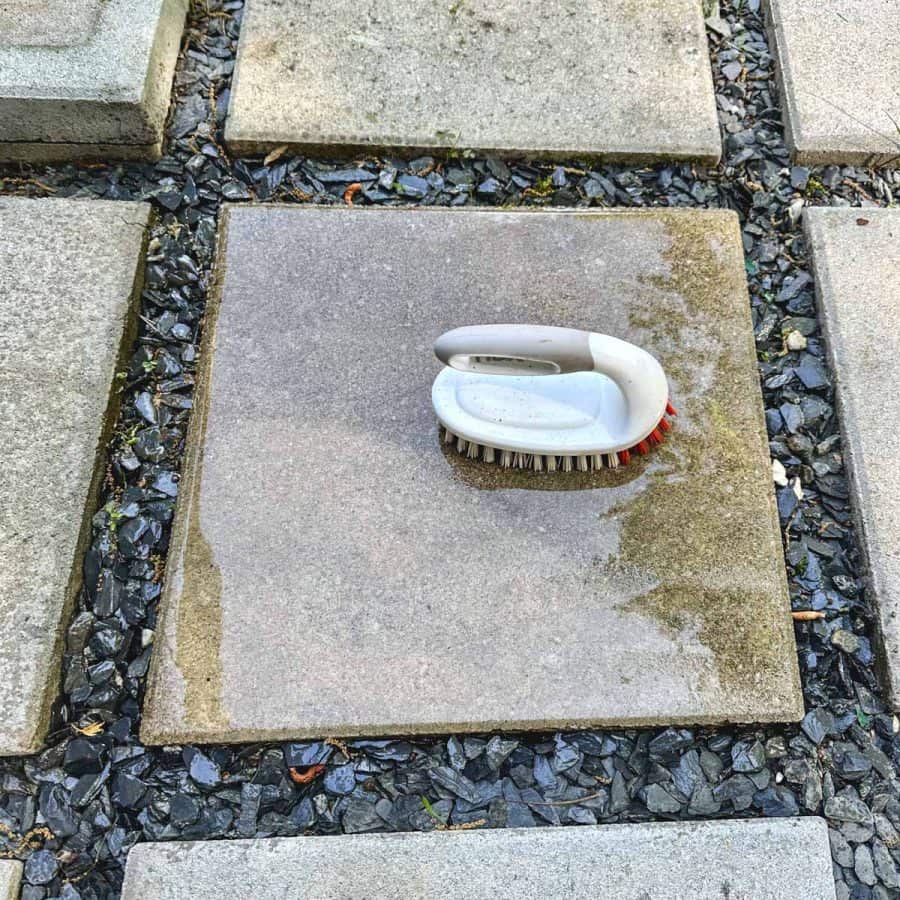
Set a timer, then use the hand brush to scrub the solution into the paver stone.
Depending on your type of stain and level of stain, do this for 15-30 seconds. Then move on to the next pavers that you have sprayed.
If any solution has soaked into the surface of the paving stones before you have had a chance to brush them, rewet them slightly with the sprayer.
Step 4. Rinse The Solution Off To Reveal Clean Pavers

Use a garden hose to rinse off the pavers. While you do this, try to keep water off the adjacent pavers since you are supposed to apply the solution to dry stones.
Then repeat the process until you finish.
If you notice some of the stones aren’t coming fully clean, the directions say you can repeat adding the solution and scrub again.
I saw little difference when doing this, but it may depend on what type of paver or concrete you are dealing with and the type of stains.
The brightest spots are where sandbags were pressing on top of the umbrella stand and were applying extra pressure so even less moisture got under them.

Check out these amazing 30+ DIY patio tutorials for other great patio inspiration and tutorials.
FAQ For How To Clean Concrete Pavers
What types of pavers should not be cleaned with bleach solutions?
You should not clean any sealed paver with a bleach ingredient solution.
This is because the bleach will etch the sealed surface, removing the sealer and thus exposing it to the elements, leaving it in a worse condition.
By the way, in case you have pavers that are a smooth concrete, I cleaned these stamped concrete pavers by scrubbing them with soapy water, vinegar, and baking soda.
This is because they have a semi-smooth surface created from the mold they were cast in. They weren’t sealed with a product.
The casting process naturally created a semi-sealed surface.
Also, you should test pavers with colorants first. Please do this in an inconspicuous area to be sure they don’t experience fading from a bleach solution.
Can you clean mold with dish soap, vinegar, and/or baking soda?
I only had minimal success in the tests I conducted. This tends to only clean the top surface mold and mildew from the friction that comes from scrubbing.
But you can’t kill the roots growing through the porous material that lays below the surface.
You’ll need a solution containing bleach to kill mold, and it needs to be on the material long enough to make contact with the roots of the mold to be effective.
Is it OK to pressure wash pavers?
It’s best to test pressure washing outdoor pavers first. When I tried power washing mine, it caused a mottled effect, making the pavers look more textured and spotty rather than a solid, modern color.
Although it was quicker and easier, it wasn’t worth the look of the rougher texture it caused.
Don’t forget to Pin it for later!