21 Free Witch Pumpkin Carving Stencils
Halloween will be here before you know it, so we made 21 unique witch pumpkin carving stencils to help you show off your carving skills. And best of all, they’re free to print.
What could be more fun-looking Halloween decor than a glowing, carved pumpkin of a witch?
In our collection we have a wicked witch, friendly witches, witches on broomsticks, cauldrons, black cats and more.
Using a pumpkin carving stencil is a great way to get a professionally carved look without creating your own design.
For help on how to use a PDF printout for carving a pumpkin, check out our tips at the bottom of the page.
And if you need other pumpkin carving ideas for stencils, take a look at our ghost carving templates, cat pumpkin carving ones, owls, and these creepy skulls carving patterns.
Choose from the free pumpkin carving patterns of witches below, there are simple ones as well as intricate patterns to meet any skill level. Just click the images to print the PDF files.
Witch Pumpkin Carving Stencils PDFs
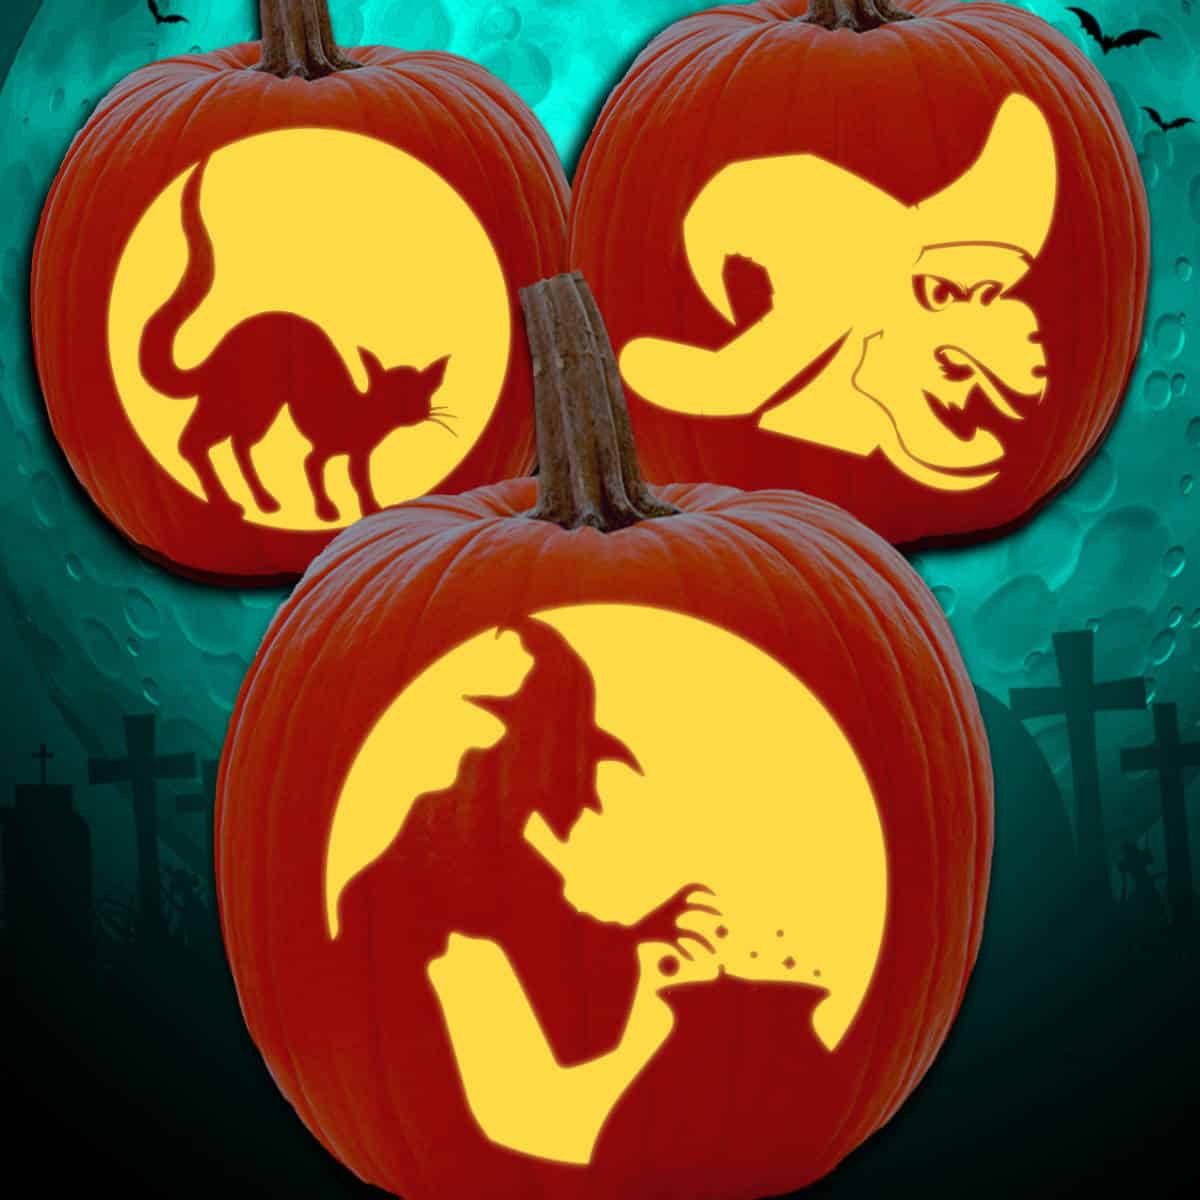
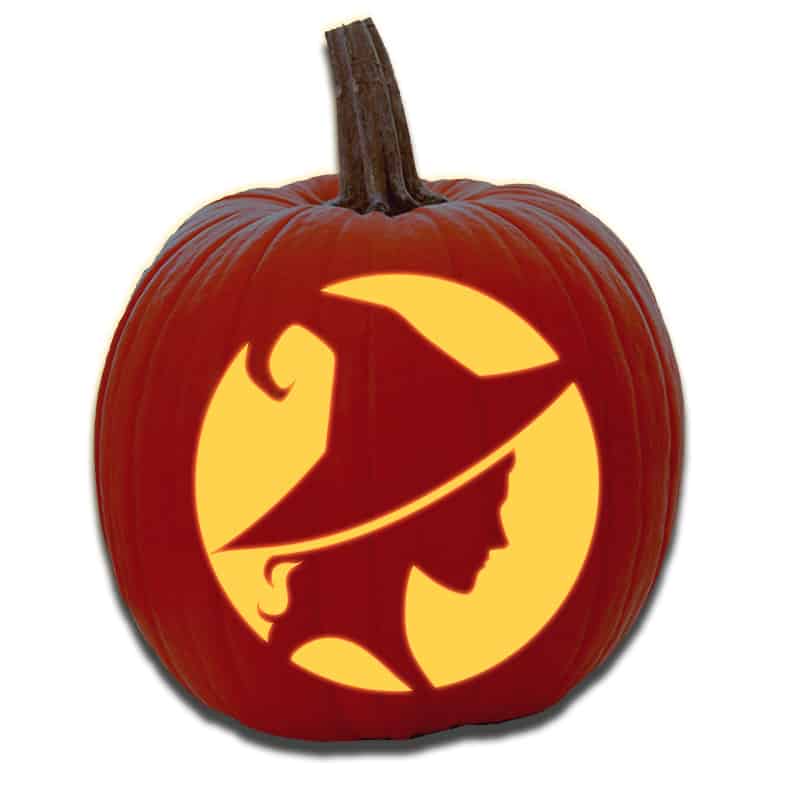
The glowing color on the pumpkin is the area that will be carved.

A profile and silhouette view of a witch with a long wavy mane and her witch hat.

A witch’s cauldron.

An awesome pumpkin carving pattern of a witch admiring her brew.

One of our easy pumpkin patterns is a simple witch hat.

A Halloween witch flying on her broomstick.
A silhouette of a witch face and her witch hat.

A witch flying sitting sideways on her magic broomstick.
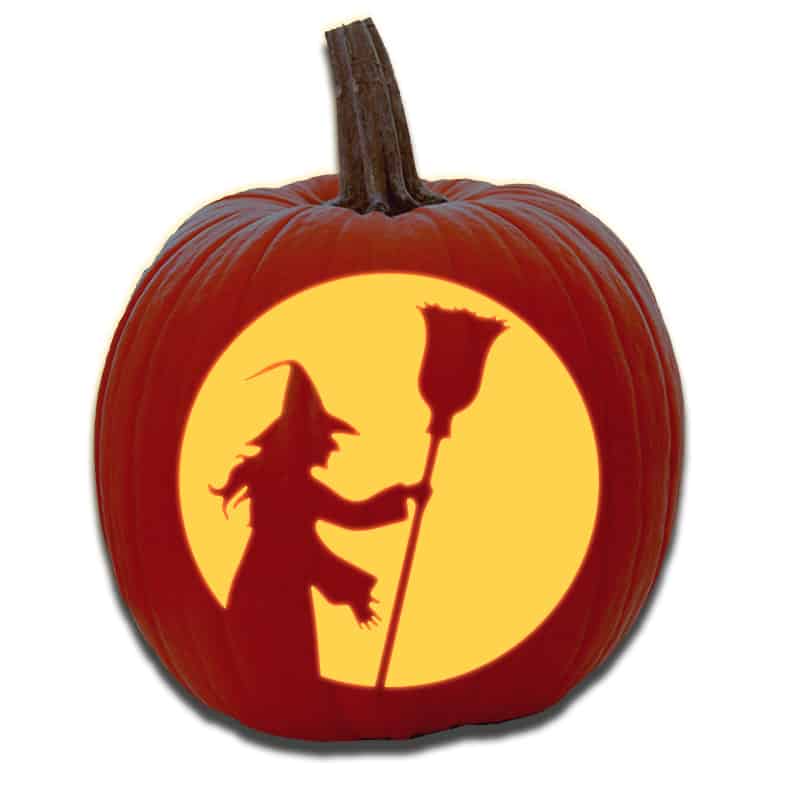
A witch holding her broomstick.

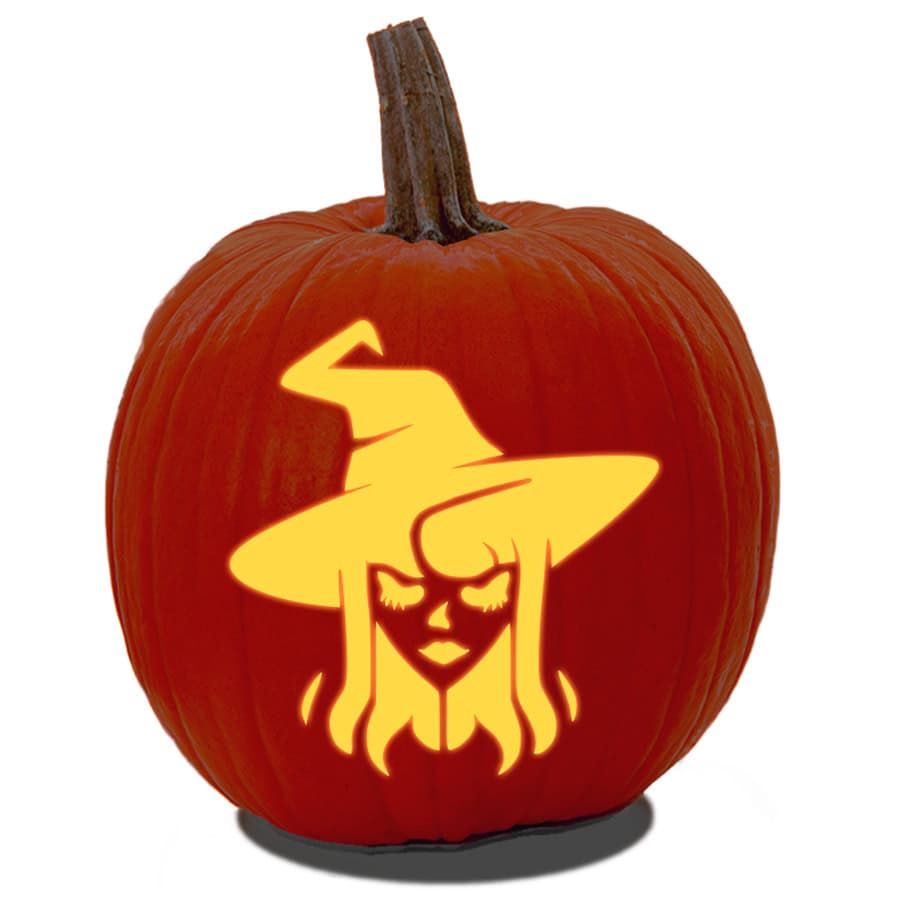
A pretty, young witch with a hat.
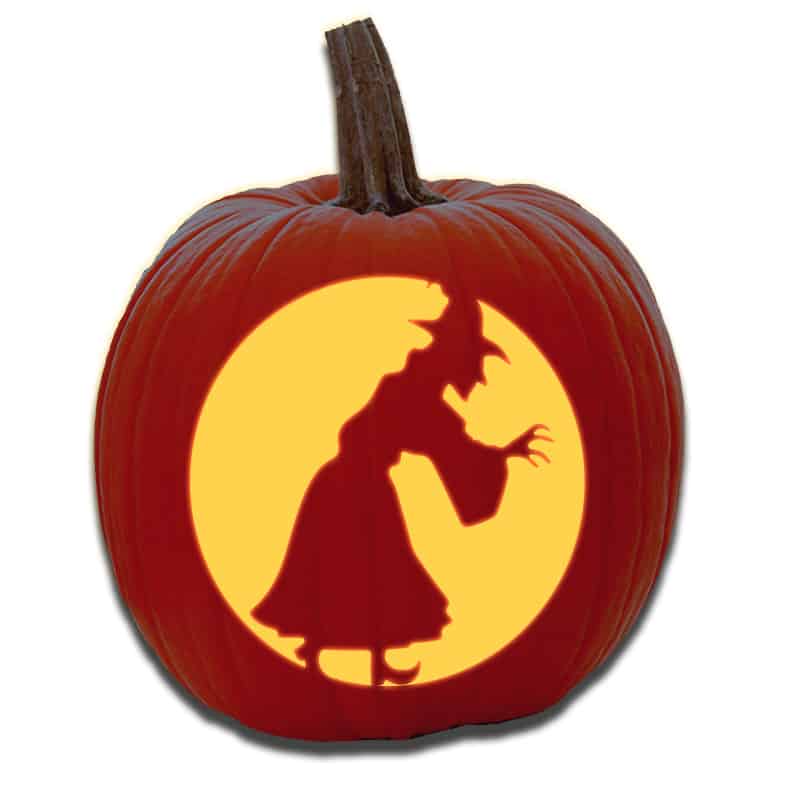
A bent-over wicked witch with her hand outstretched to grab some children.

A view inside of a circle of a frightening-looking witch wearing a hat.

A good witch gliding past the moon.
A very serious, yet pretty witch.

A witch with long hair pondering her next spell.

A smoldering cauldron filled with witch’s brew.

An old hag witch on a slow climb on her broomstick past the moon.
For more pumpkin carving ideas with moon and stars, here are 15 moon and stars pumpkin patterns!

A good witch gliding through the air.

A witch flying past the moon with her pointy shoes on her broomstick.

A witch hat.

A witch’s Halloween black cat.

Here is a silhouette of a witch flying on her broomstick, wearing a cape and a hat.
For other ideas for Halloween activities, you may want to check out our Halloween color by number printables, and how to draw a vampire bat –both offered free on our sister site! Happy Halloween!
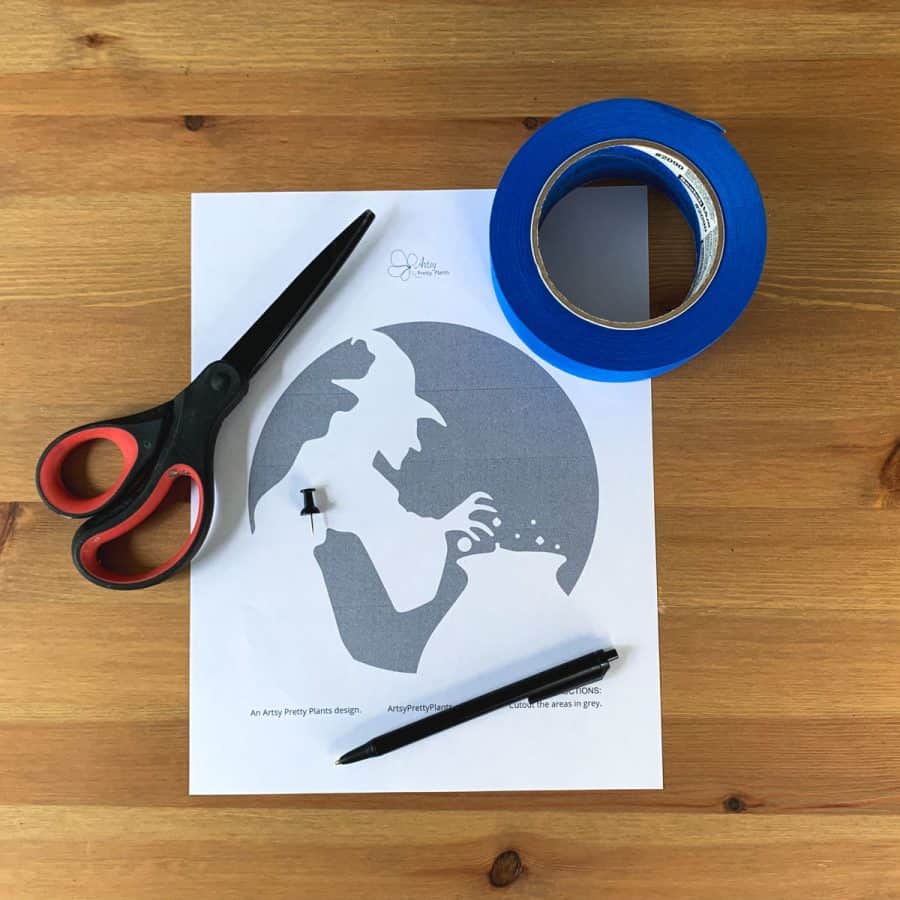
Materials Needed To Use a Pumpkin Carving Pattern
- Pumpkin carving kit
- Thumbtack
- Blue painter’s tape
- Ballpoint pen or sharpie
- Sheet of plain printer paper
- Printer
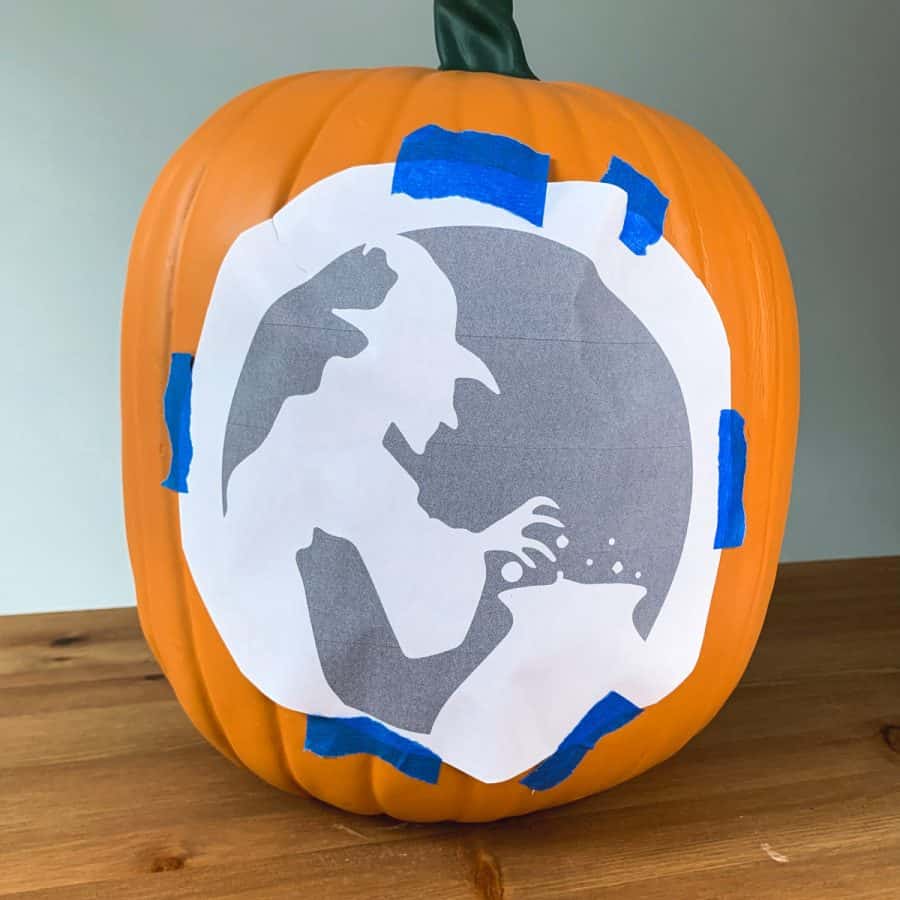
How To Use The Witch Pumpkin Carving Stencils
You don’t need to spend much time searching for the perfect pumpkin.
But you do want to consider the size and shape of the pumpkin based on the witch pattern you picked out.
If your design is big, you’ll need a larger pumpkin. If it’s a taller pattern, go for a taller pumpkin.
After you have removed the pumpkin seeds and pulp from the inside of the pumpkin. It’s time to work with the stencil.
Here’s a great tutorial for learning how to carve a foam pumpkin, using a pdf pattern.
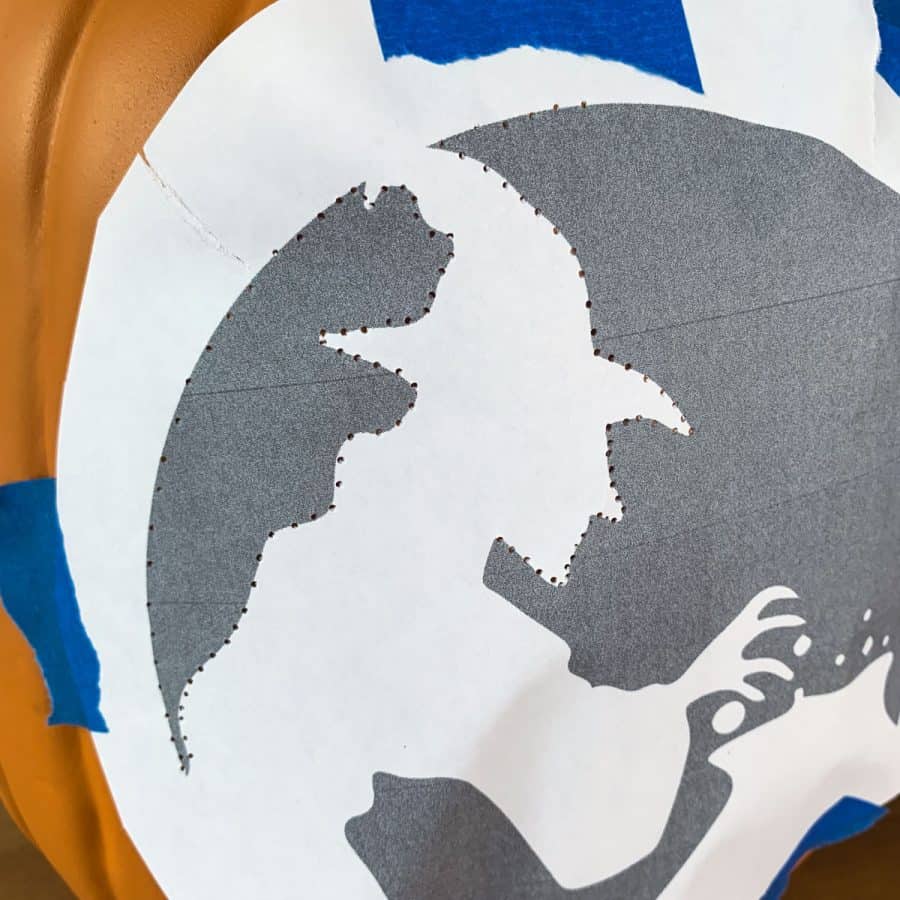
And that’s it. You are ready to carve.
When you’re done carving your witch pumpkin, pop in a tea light candle, and place your witchy Halloween pumpkin on the front porch for everyone to see.
Don’t forget to Pin it for later!

Don’t forget to Pin it for later!