How to Make a Cement Planter (with a Relief Succulent Design)
A DIY cement planter with succulent relief design that’s recessed into the cement!
The design was created with a Cricut, but can be done by hand too!
Making a cement planter with a succulent relief design is something I have wanted to do for a long time.

I saw someone do something similar with lace and thought it was really cool, but since I’m not really a lace person, I wanted to make something with a design that fits my style.
I made endless searches for some kind of material that I could use to make this that would work -and had a design that got me excited.
Then I finally found some silicone doilies and though the design wasn’t what I was looking for, I at least wanted to try to see if using these to cause a relief would work.
I bought some of the doilies and gave them a shot and it turns out they worked wonderfully, though it turned out I did like the design, I still wanted something different.
Then realized I would have to create my own and since I had recently purchased a Cricut, I decided to make that my first project.
Now the challenge was to find material like the silicone doily that I could use. And again after trying to find either thick vinyl or silicone sheets for the Cricut, I came up with nothing.
However, I did come across the silicone mats that are used for baking, which I actually already had but it seemed a little thin.
Then finally was able to find one that was 1.1mm thick, which was just about the thickness of my doily. Hallelujah! I thought it would never happen.
To get the design, I drew it onto a sketch pad and then scanned it and opened it in Affinity Designer which is a program very much like Adobe Illustrator, but way less money.
I’m a big fan of the program. Here’s a link to the Affinity Designer homepage, if you are in the market for a drawing program.
Anyway, I just re-drew it in the drawing program so I could get crisp lines, saved as a jpeg and uploaded it to Cricut Design Space.
Now if you don’t have a Cricut or other brand of cutting machine, you can still make this. See below for other options.
If you are skilled with an X-acto knife, then you can still download my succulent design, purchase the silicone mat (you get 2 mats so keep one for baking) and then trace it with transfer paper onto the mat.
From there, you can cut it out.

The other option is to buy the silicone doilies. I haven’t been able to find other designs of this, but they do look really neat in relief on cement.
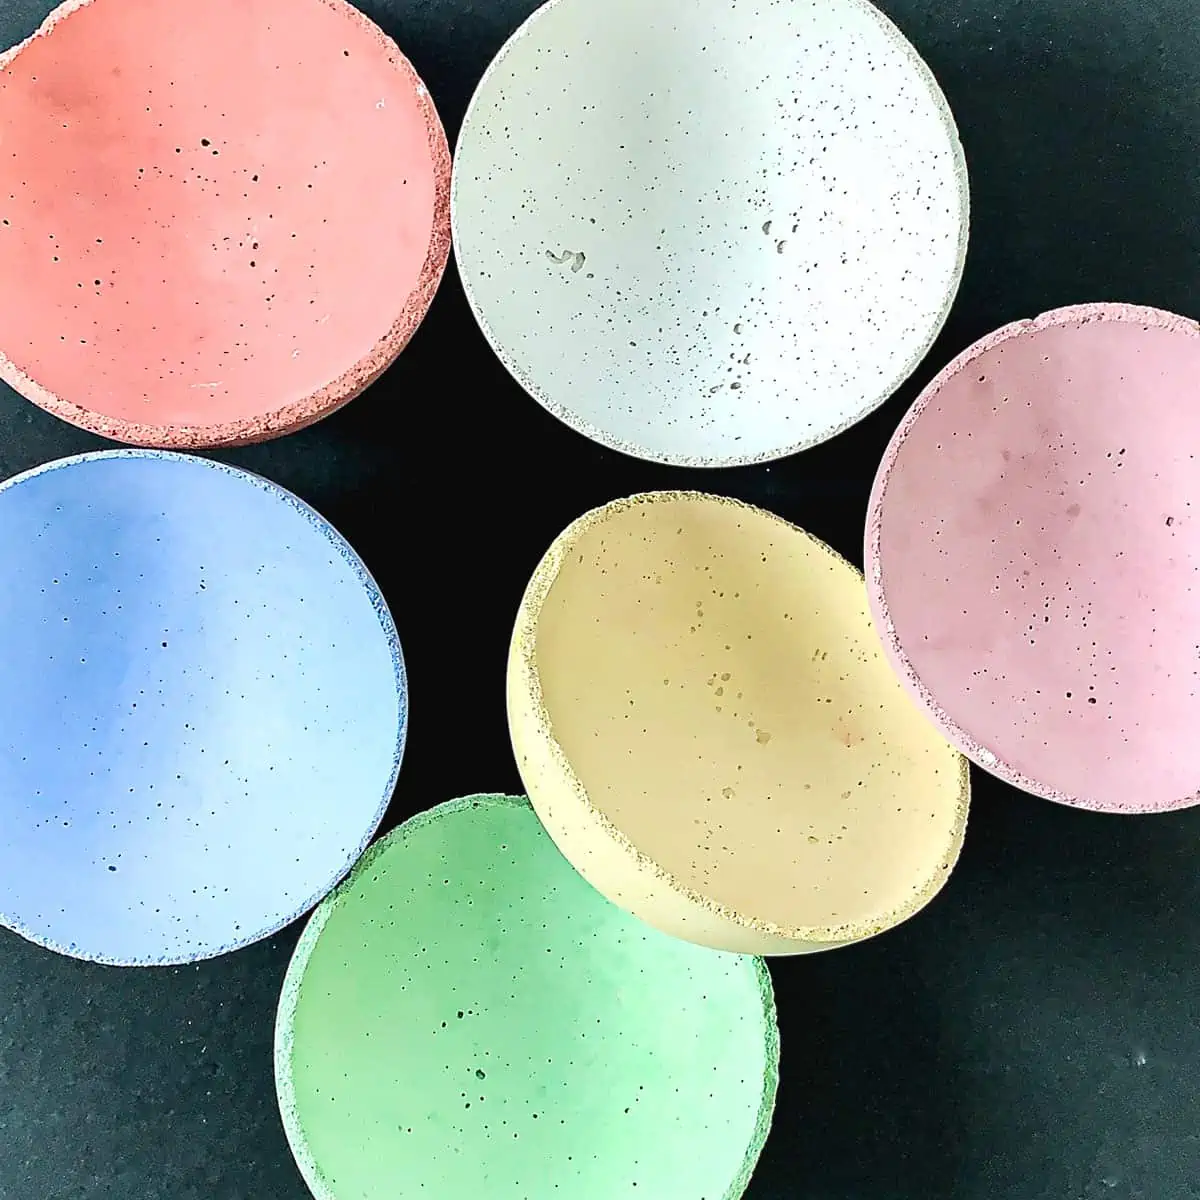
If you like this tutorial and want to see others, check out my multi-compartment handmade succulent planter using with a Dollar Store mold.
You may also like the miniature cement balloon planters.
Some of the links on this page have been provided as a convenience for finding materials. These links may also be affiliate links. As an Amazon Associate I earn from qualifying purchases, at no extra cost to you.
I only recommend products I’ve used and loved, unless otherwise stated. Click here to read my full disclosure policy.
DIY Difficulty Level | Easy
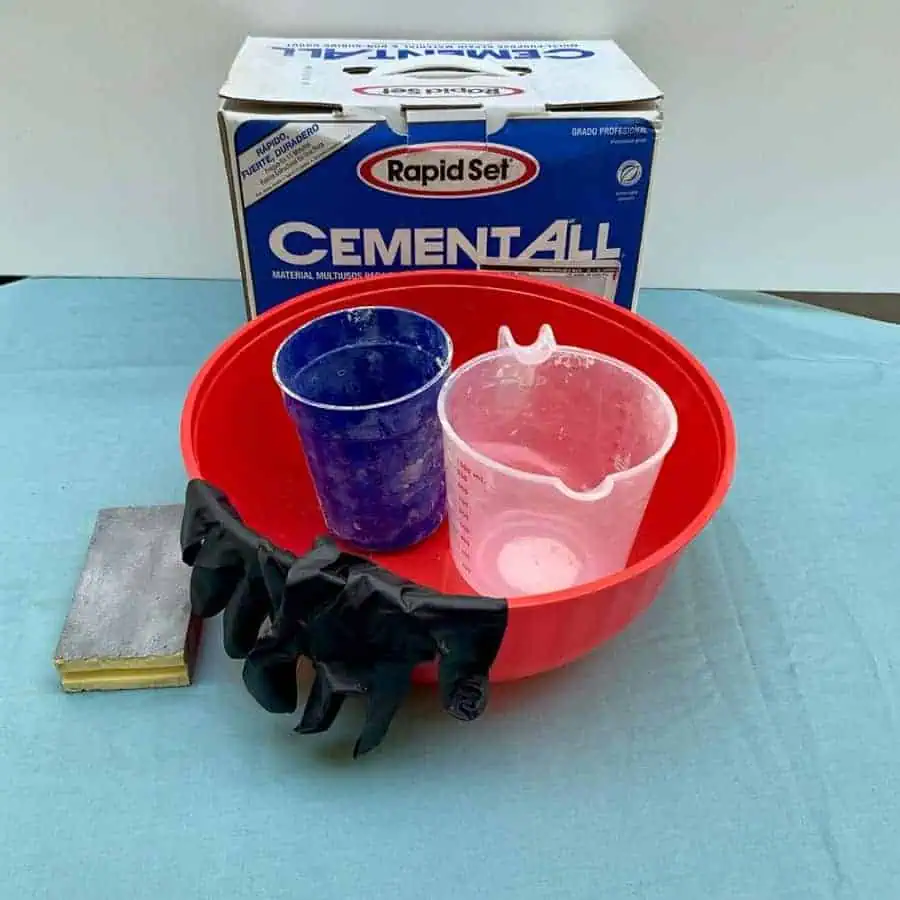
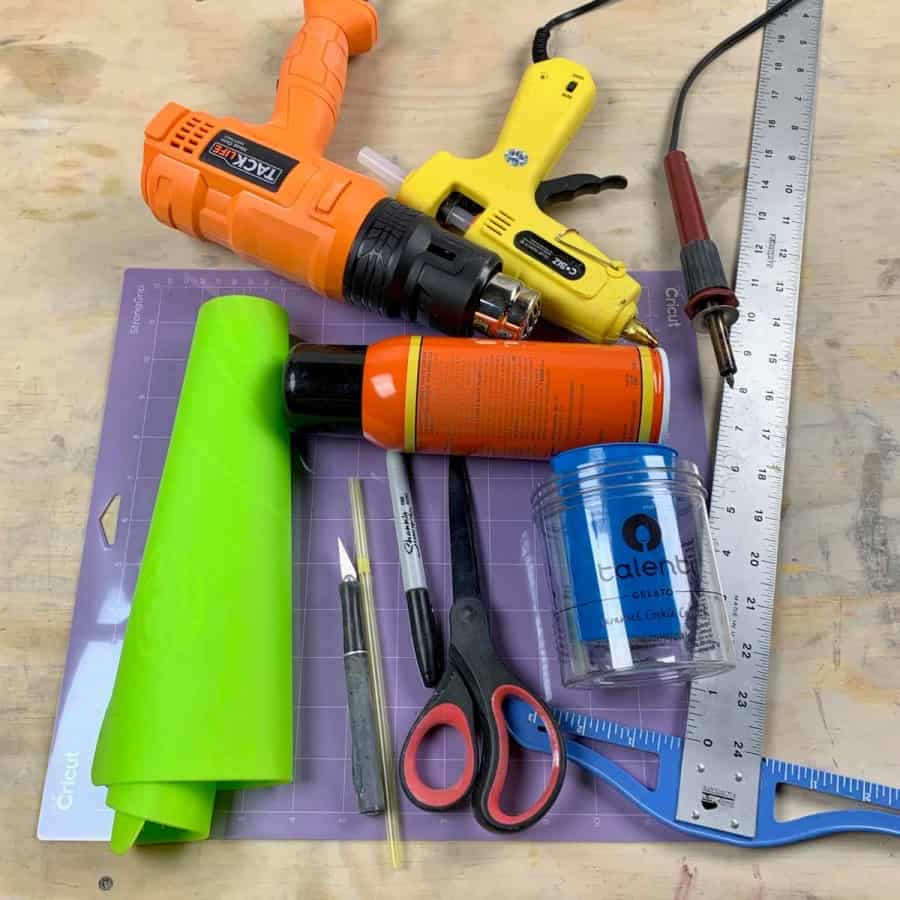
Materials For A DIY Cement Planter With A Succulent Relief Design
- Cement All, Rapid Set
- Disposable cup
- Disposable bowl
- Plastic grocery bag
- Durable nitrile gloves
- Safety glasses
- 220 grit sanding block
- X-acto knife
- T-square
- Cricut Explore Air or Maker– Optional
- Cricut cut mat- Strong grip –Optional
- Silicone mat 1.1mm thick (for Cricut design) Optional- you’ll get an extra mat to use for baking or more designs
- Plastic containers (inner and outer mold -see note*)
- Spray adhesive
- Heat gun
- Heat tool (if you have one)
- Hot glue gun
- Permanent marker
- Weights- something like 4×4 tiles or similar
Tutorial Steps For A DIY Cement Planter With A Succulent Relief Design
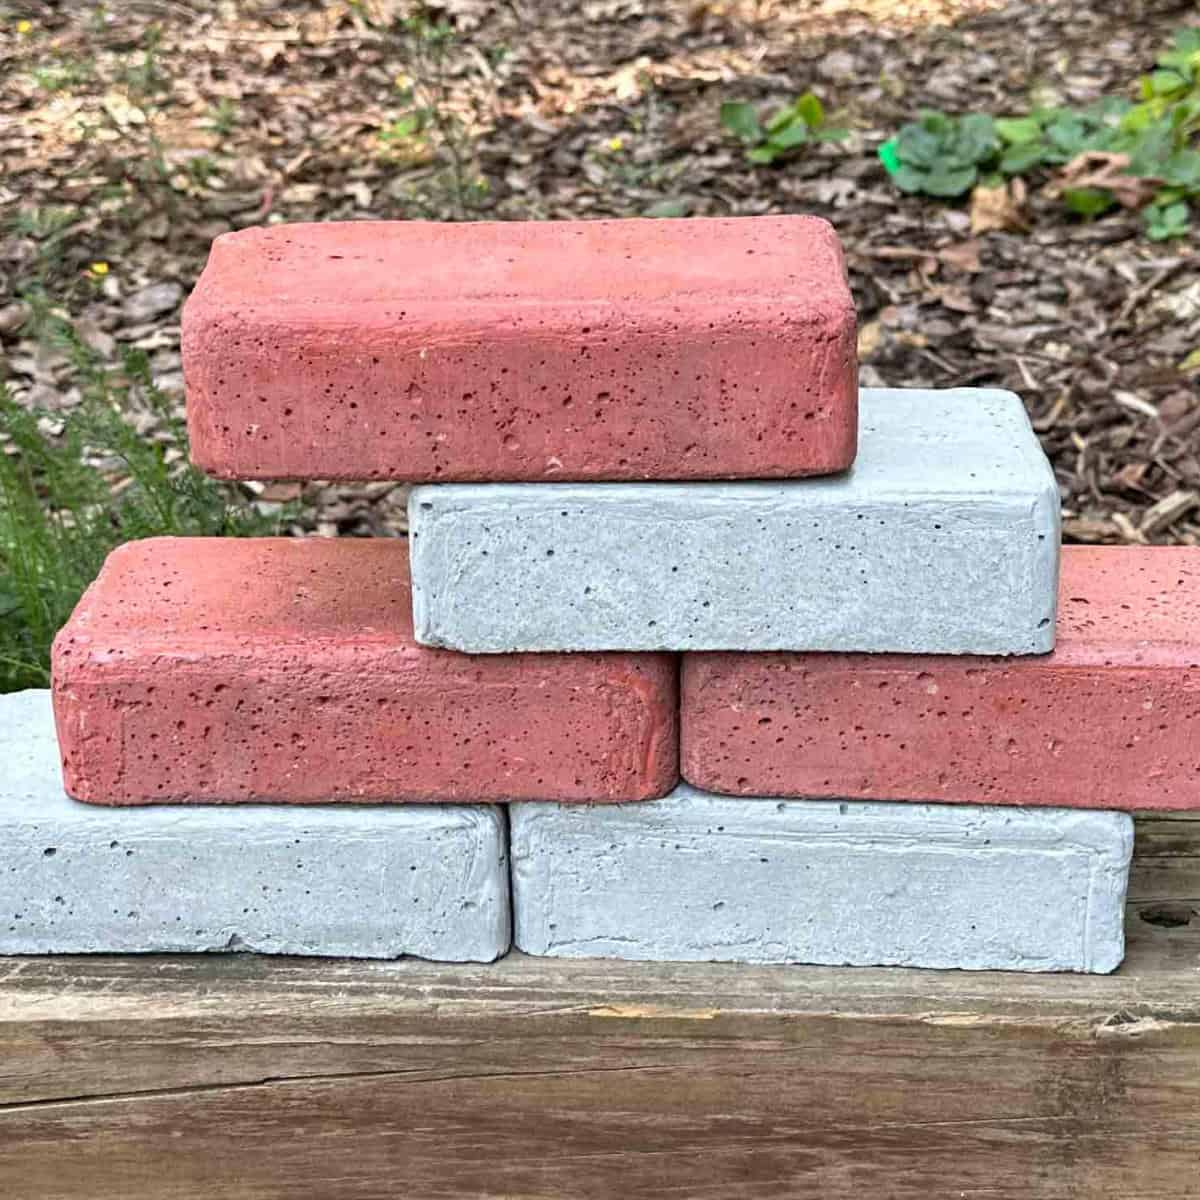
Before starting the tutorial, it may be helpful to read my article comparing the different concrete mixes and sealers– Cement & Concrete Crafts Tests!
Another important article is Making Cement Crafts Techniques & Tips with info on cement materials, mixture consistencies, demolding, safety and clean up!
Step 1. Trim The Silicone Mat To Fit Within The Cricut
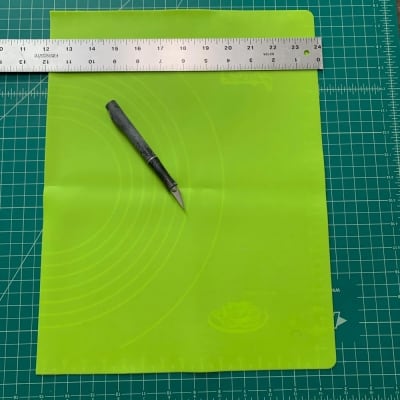
First, you will need to trim the mat to fit the Cricut, and within its wheels.
The mat is too thick for the Cricut’s wheels and it will lift up. Cut that to 10 ½” to be safe.
Step 2. Cut The Cricut Succulent Design


Download my free Cricut design using the form below, then upload it to the Cricut design program and proceed to the cutting settings.
The material will need to be set to the Leather Shimmer 1mm, the pressure is the default, and then set the Cricut dial to custom.
Now load the silicone mat onto the Strong Cricut mat and load it into the machine. Follow the Cricut’s directions and cut.
Step 3. Adhere Succulent Silicone Cut Out To Cement Mold
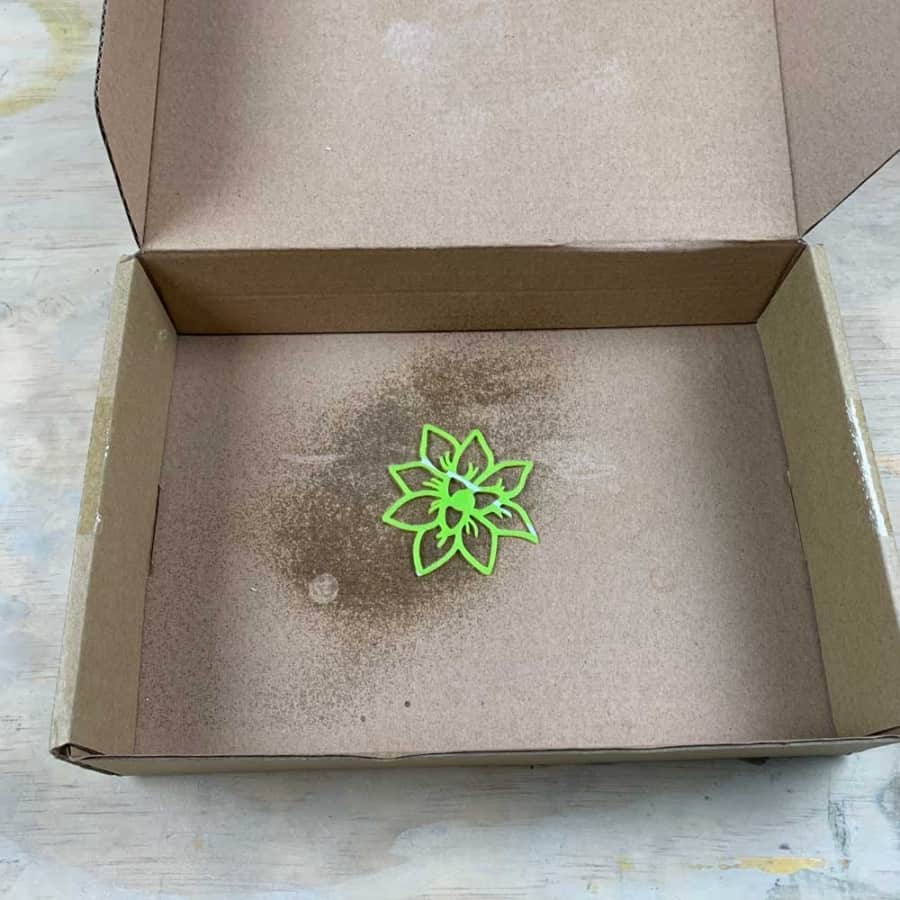

First, decide where and how you want the cutout placed. I started mine ½” from the bottom.
Place the silicone cutout onto a piece of cardboard or newspaper. Shake the spray adhesive can for about 30 seconds, then lightly spray the succulent design.
Wait 10 seconds, then apply it to the inside of the outer mold. Apply firm pressure for a few seconds.

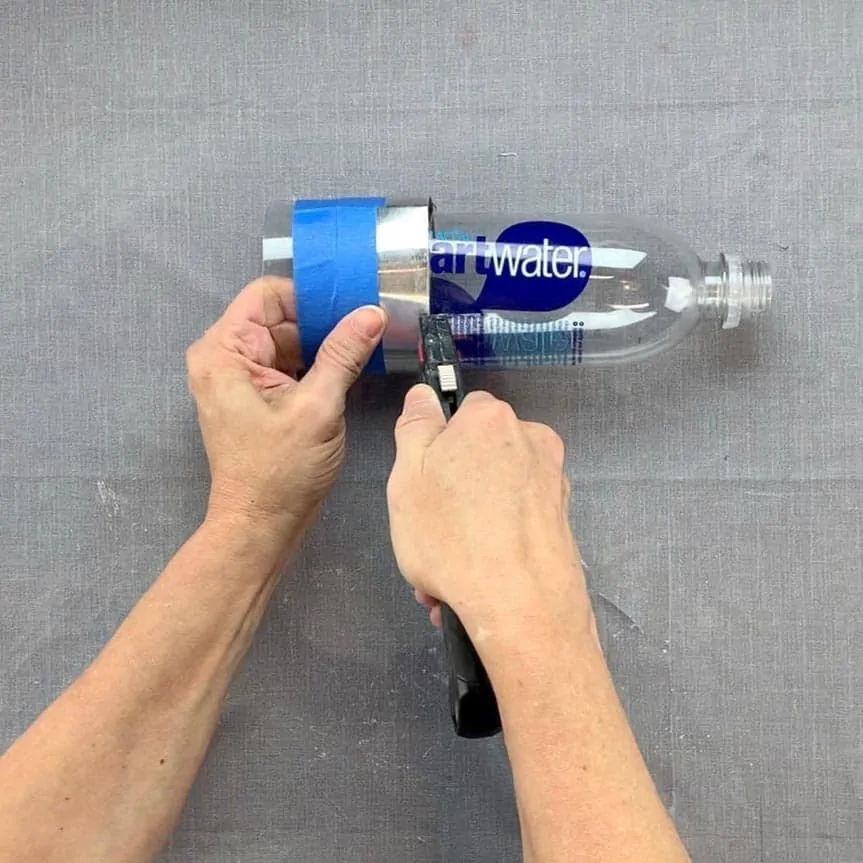
Step 4. Make Drainage Holes

Cut off a piece of the straw to ½”. Since the glue adheres better if you have that straw-filled in, glue each end to close it.
Now glue that straw to the center bottom of the outer cement mold. Drop the inner mold inside so it touches the top of the straw.
With the marker, draw a line for the stopping point on the inner cement mold to be sure you reach the straw when inserting it in the cement in the next step.
Step 5. Mix And Cast The Cement
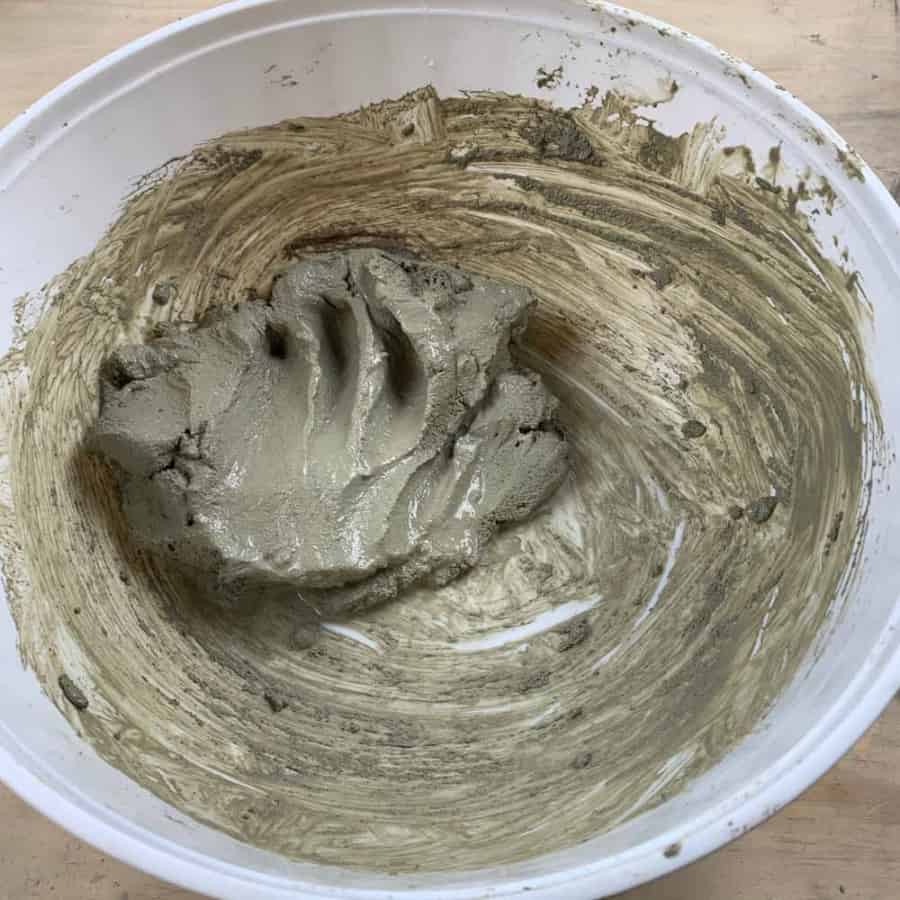
Mix the dry cement with water. For my size container, I used about 1 ½ cups of Cement All.
Make sure you don’t have lumps- I like to smush my cement. The consistency should be like a wet mud pie.
Now pour or scoop in the cement. I made mine so the cement was level with the top of the container.
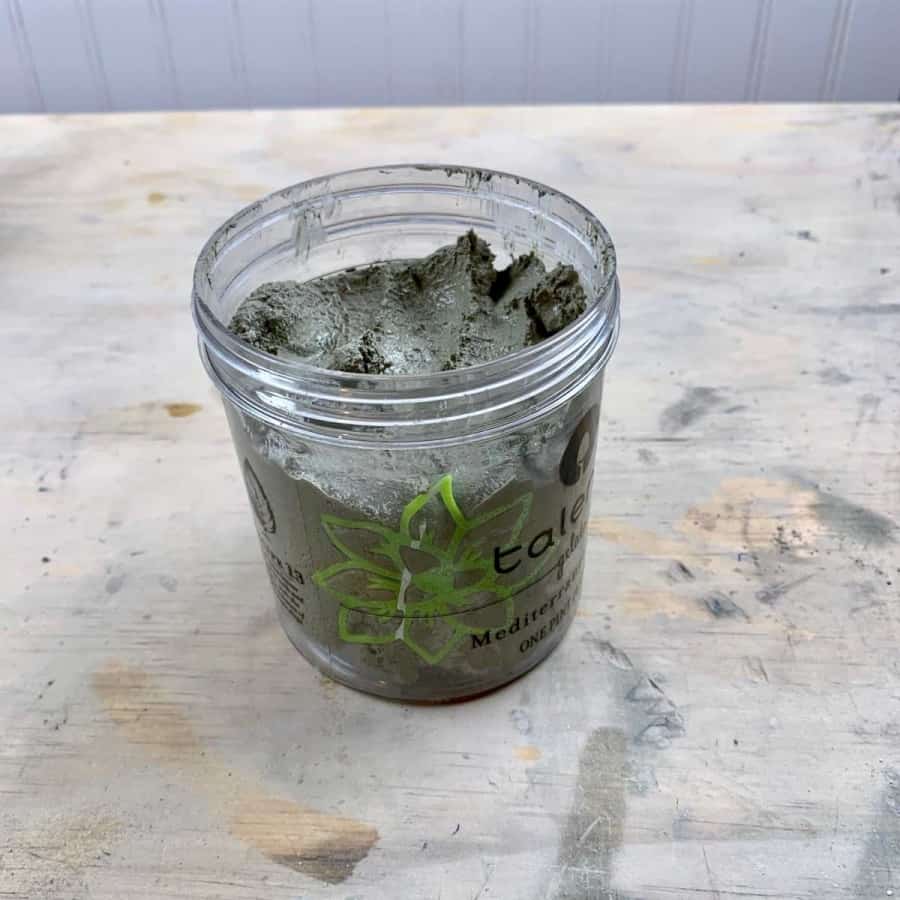
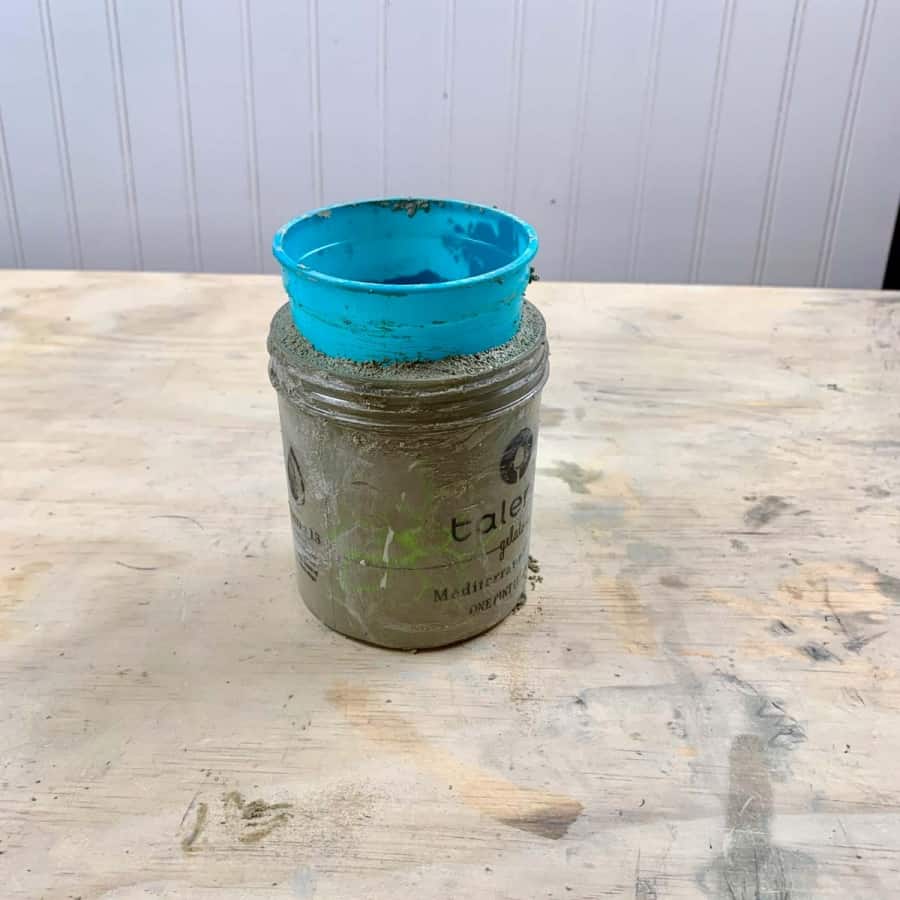
Shake and tap the outer container until you see some air release. Don’t tap too much or cement may slip down between the cutout and the container. Now insert the inner mold.
The cement will spill over the edge, so just use your fingers to scoop it away.
Then smooth the top edge. If the inner mold rises up, grab the supplies you are using for weights and place them on top.
Let this cure. If you want the planter to be shiny, then wait about 3-4 hours before demolding.
Otherwise, you can demold after about 2 hours. Just make sure it’s not still warm when you demold.
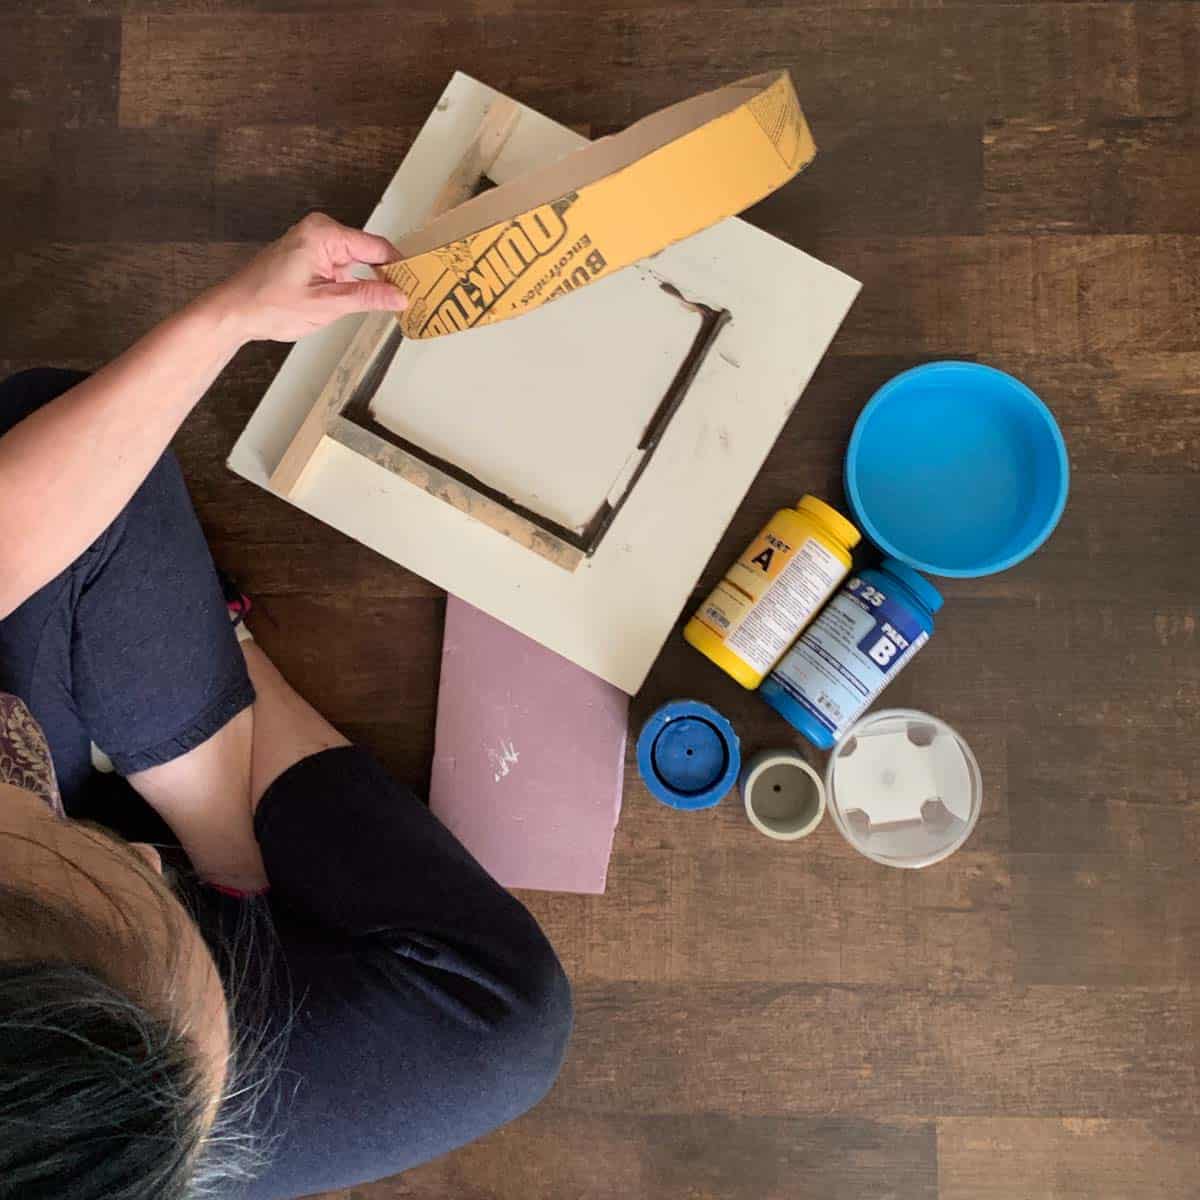
Step 6. Demold The Cement Planter

Place a towel or rag on the work surface and flip the cement mold over.
Use the heat gun to help release the bottom as well as the side of the container.
If the planter doesn’t slide out, then you may need to try creating a deep slit in the back of the container with the X-acto.
Try not to go through the plastic, just get close.

Note: My inner mold came out without any need for the heat gun or other, but the outer mold was a pretty thick plastic and I decided to use a heat tool to create the slit.
I didn’t cut all the way through and I was able to use the heat gun to pop the container open where I had basically scored it.
However, it did leave a line from the heat tool.
As I said, if you score with the X-acto, you may be able to avoid the scoring line.
But again, your release luck will vary greatly upon the type of container you use.
Step 7. Remove The Succulent Relief Design

Now for the best part! See the video near the top of the page- so cool!
To remove the succulent relief from the cement planter, you will likely have a bit of cement covering part of the silicone succulent piece.
Just take the X-acto knife and use the backside to gently push away the cement that is covering the design.
Now use the back to gently lift away a piece of it. From there, you can pull it off with your fingers.
Don’t forget to Pin it for later!