How to Make a Magnetic Cement Key Holder
Want an attractive key holder? In this tutorial, I’ll show you how to make a magnetic cement key holder that’s also a great decorative piece. Mount it flush with the wall using a magnet that’s built inside!
This magnetic cement key holder was overdue. Things were getting desperate at my place.
My husband and I switch cars fairly often and car keys don’t get put back in the same place.
Besides, we both have our ideas on where they should be kept.
So I devised a solution that actually makes it fun to put the keys back in the same spot and looks pretty good too!
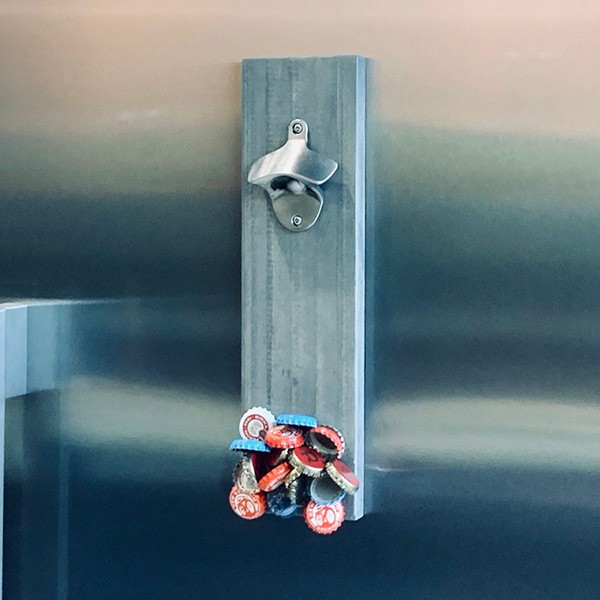
I’ve got a thing for magnets, I guess, as you can see in my refrigerator magnet bottle opener and my refrigerator cement ball planters. They are just so handy.
When I planned the design for this magnetic cement key holder, I got an unexpected but pleasant bonus.
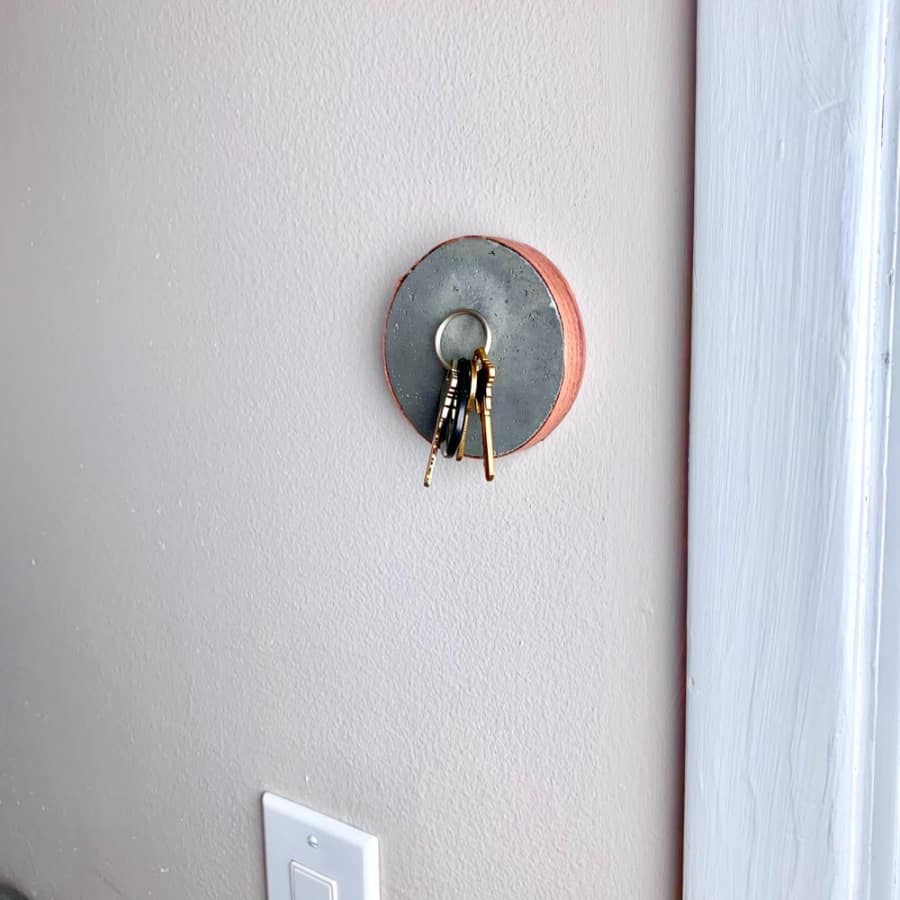
I realized I didn’t need to add any mounting hardware to it because the magnet in this cement key holder pulls itself firmly to just a screw or nail in the wall.
This was demonstrated when I had the key holder in my hand, and as I went to turn on a light with the same hand, I could feel the key holder pulling itself to the screw in the light switch plate.
It snapped itself right to it! If I had pre-planned that, it would have been genius, but it was just luck. :0\
But seriously, how much easier can it get? It’s a no-fuss mounting system.
The only tricky part is dealing with such a strong magnet when making this. *You really need to take precautions when handling a rare earth magnet.
Make sure to keep it wrapped with bubble wrap, or put inside a thick plastic container and don’t get close to anything metal.
These things can bite, so just be careful, please.
Here’s another project where I used a strong magnet on a bottle opener to catch 23 bottle caps.
And if you love the look of this, you may also love these sleek, round cement coat hooks wrapped in leather!
Some of the links on this page have been provided as a convenience for finding materials. These links may also be affiliate links. As an Amazon Associate I earn from qualifying purchases, at no extra cost to you.
I only recommend products I’ve used and loved, unless otherwise stated. Click here to read my full disclosure policy.
DIY Difficulty Level | Easy
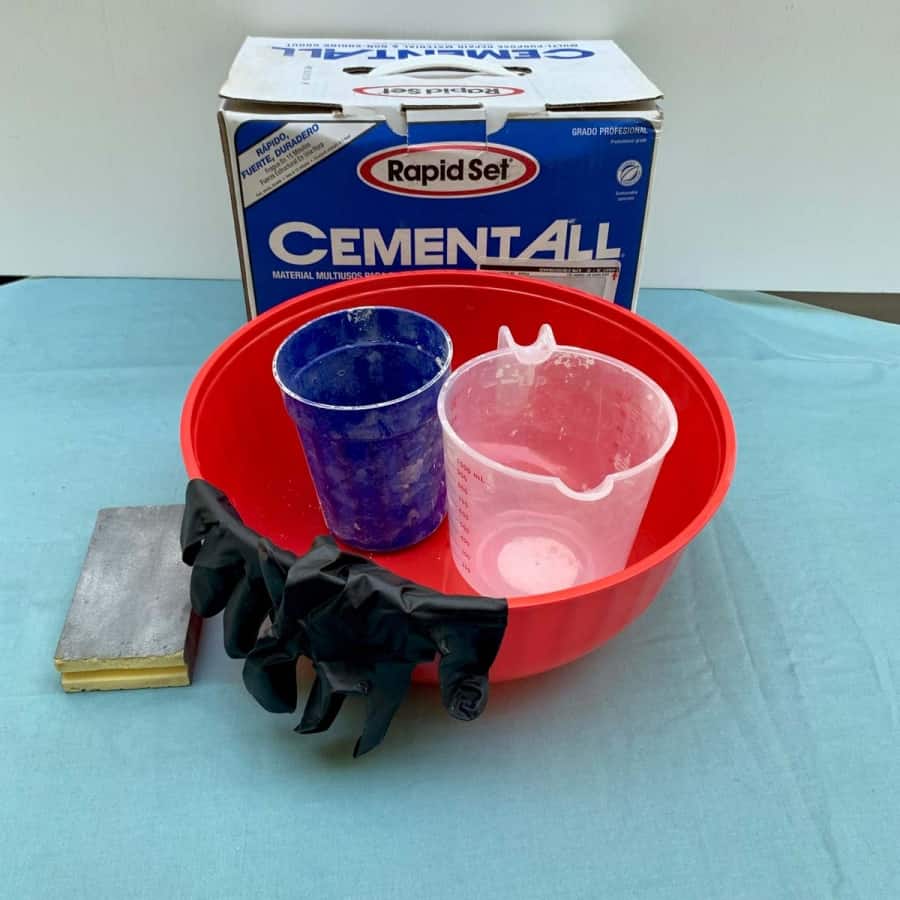
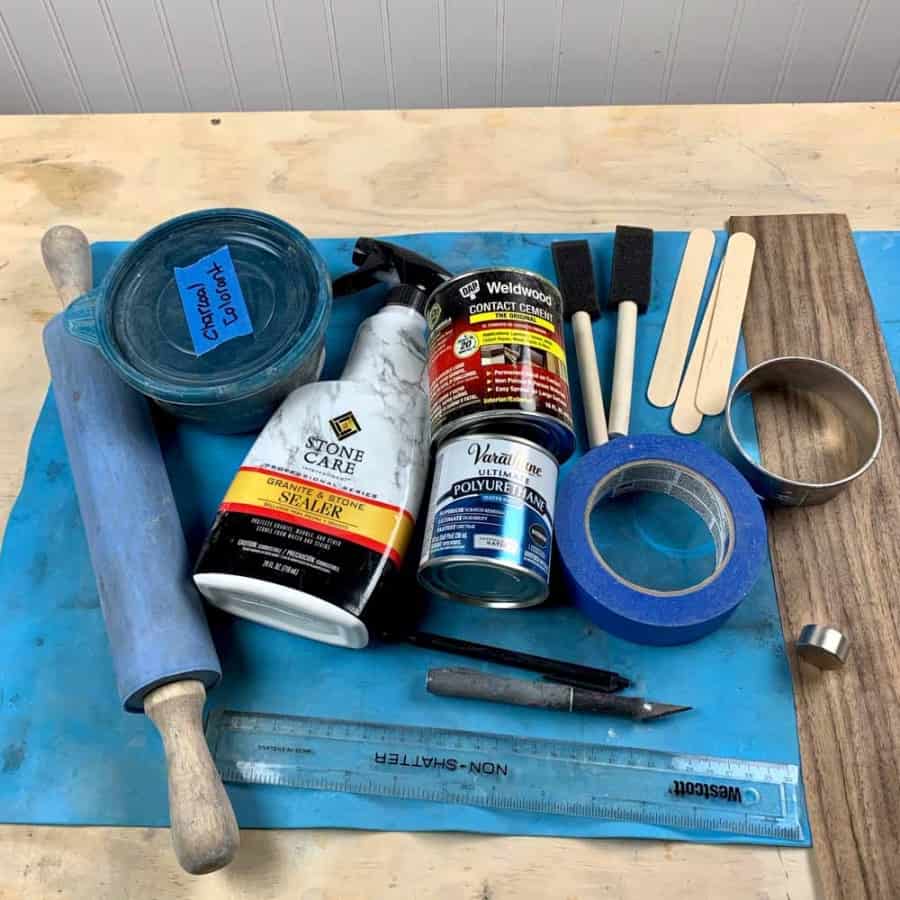
Materials List For A DIY Magnetic Cement Key Holder
- Cement All, Rapid Set
- Disposable cup
- Disposable bowl
- Plastic grocery bag (for disposing of cement)
- Durable nitrile gloves
- Safety glasses
- 220 grit sanding block
- Charcoal pigment– optional
- Circle cookie cutter 3 ¼” in diameter
- Rolling pin (not used for food)
- Contact cement
- X-acto knife
- Wood veneer – small strip or sheet
- Smooth work surface ( I used a silicone baking mat)
- Wooden or plastic ruler (not metal)
- Rare earth magnet ½” thick x 1” wide
- Acrylic sealer
- Water-based polyurethane varnish
- (2) 1” foam brushes
- Craft sticks
- Painters tape
Before starting the tutorial, it may be helpful to read my article comparing the different concrete mixes and sealers– Cement & Concrete Crafts Tests!
Another important article is Making Cement Crafts Techniques & Tips with info on cement materials, mixture consistencies, demolding, safety and clean up!
DIY Magnetic Cement Key Holder Tutorial Steps
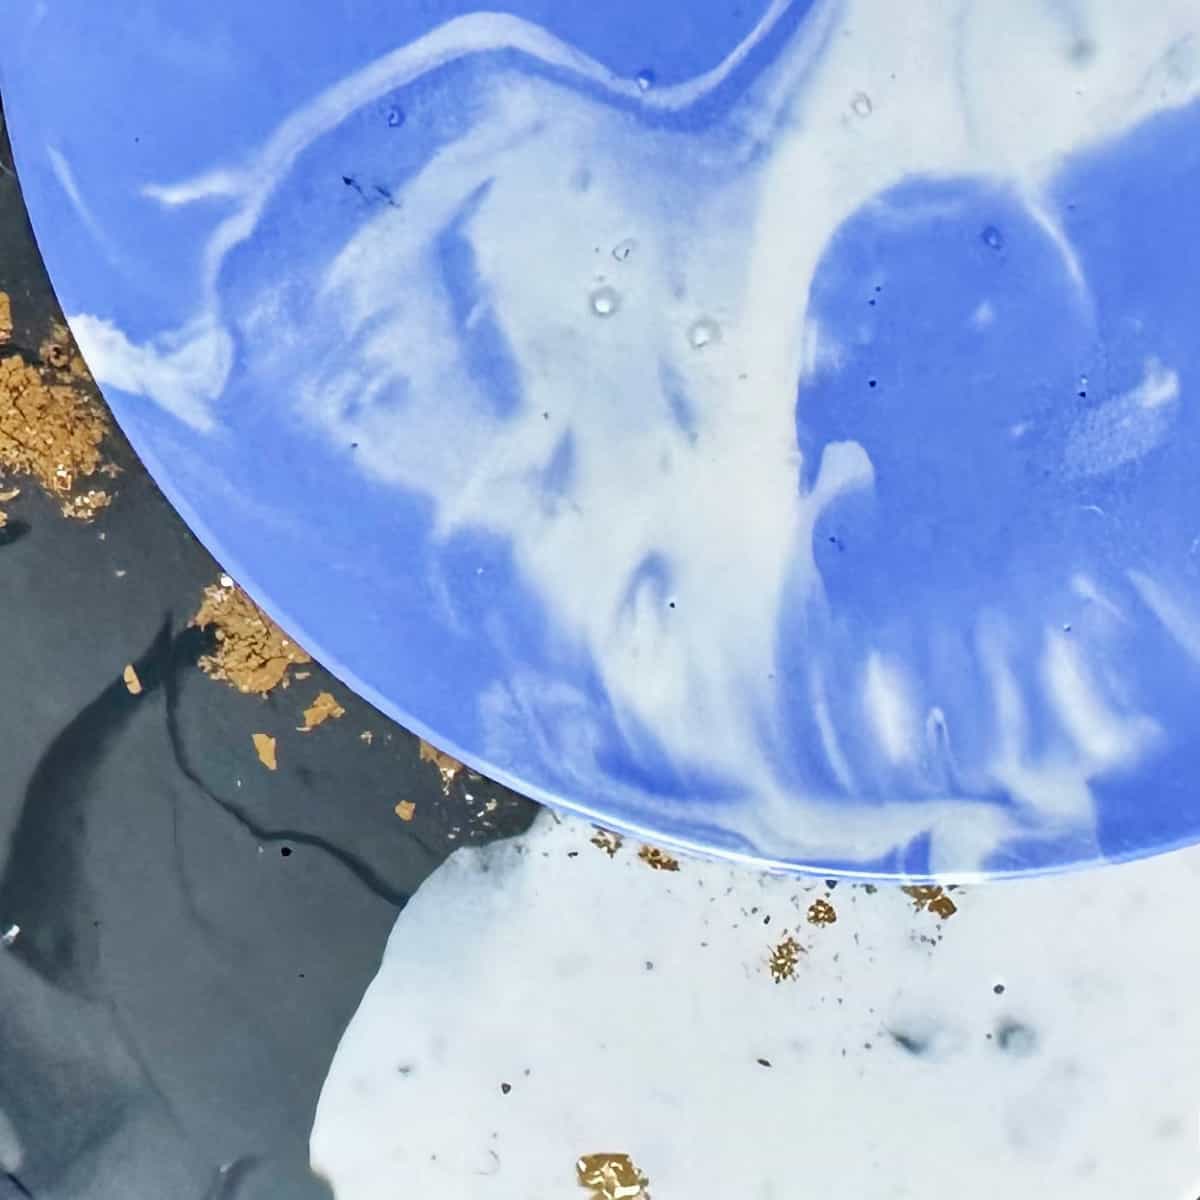
Step 1. Mix The Cement And Black Pigment
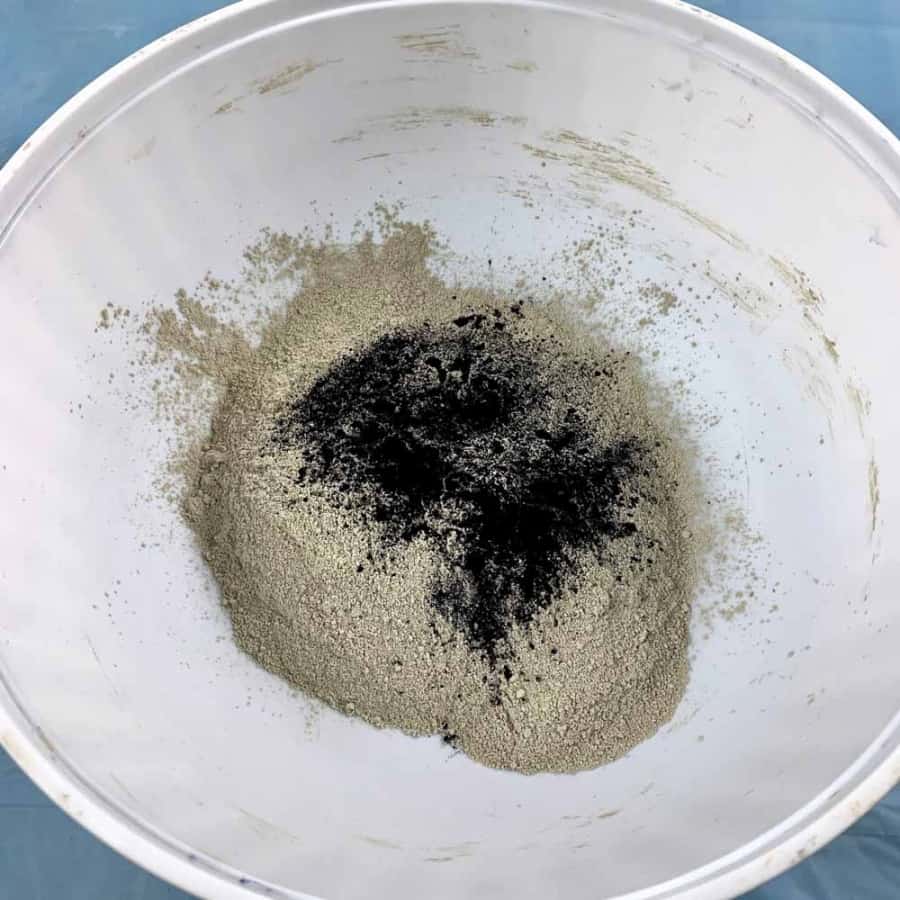
Note: Since I wanted these to be grey instead of off-white, I added charcoal pigment.
If you want your magnetic key holder to be off-white, then you can skip adding the pigment.
However, the cement has magnetic minerals in it and the magnet draws them in causing a slight discoloration in that location.
The discoloring seems less obvious with a dark color.
In the disposable bowl, mix together about 1 cup of dry cement and about ¾ of a teaspoon of charcoal pigment.
This will cure to a med-dark grey. Be sure to mix the pigment in well before you add water.
Note: You can test the shade of color by removing a small amount of your colored dry mix and adding water to that.
If the color is to your liking, then proceed, otherwise adjust as needed.
Now add water and mix the cement with the water so there are no lumps. The consistency should be like a ball of dough.
Step 2. Form The Cement To Prepare For Cutting

Next, form the cement into a ball shape and place it on your smooth work surface.
Take the rolling pin and flatten it out so that it is ¾” thick or just under. Double check your thickness with the ruler.
My ball flattened to lower than ¾”, so I ended up needing to mold the flattened ball and by pushing it in and together a little to get it to be ¾” thick.
Step 3. Cut Your Cement Circle Form
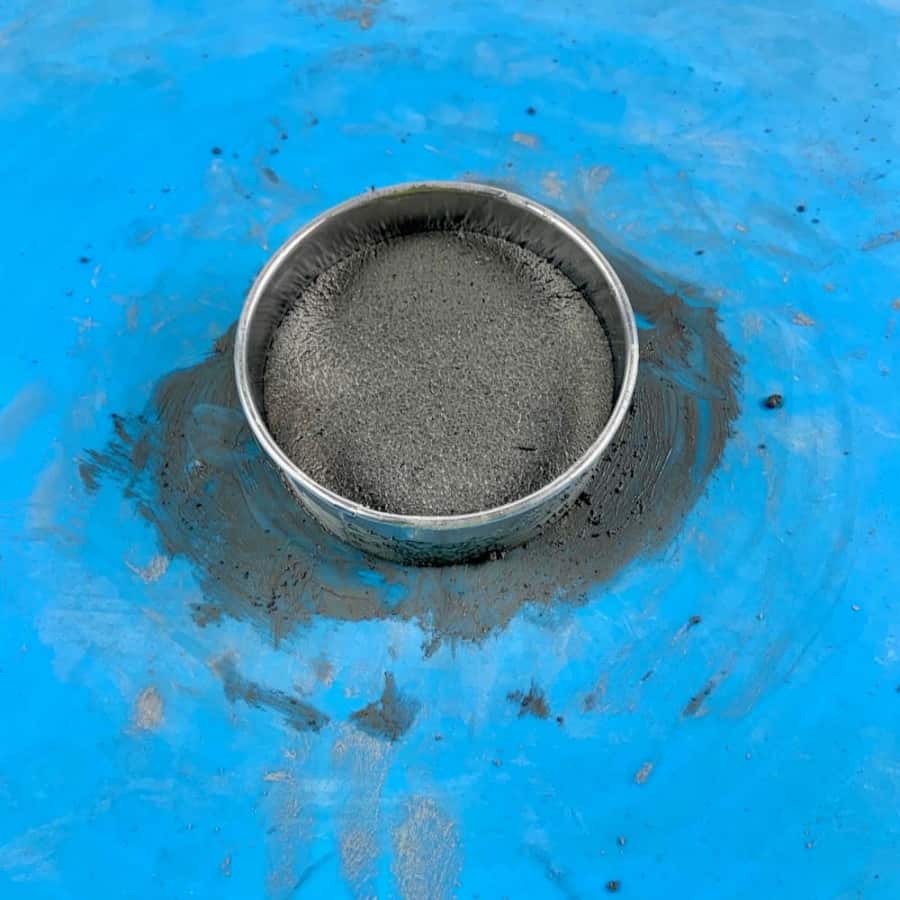
Take the cookie cutter and cut a circle in the cement. Keeping the cutter still pressed into the cement, pull the excess away from the outside of the cutter.
Now carefully pick up the magnet and hold on to it firmly as you place it into the circle you cut.
I wanted my keys to hang as high up on the magnetic cement key holder as possible, and where you place the magnet determines that.
However, you can’t insert the magnet into the cement too close to the metal cutter or the magnet will pull itself right to it, even in the cement. It’s best to aim for about ¾” from the edge.
Also beware, the cookie cutter is metal and the magnet will try to snap itself to it. Just be mindful and keep control over it as you place it.
The magnet is ½” thick so you need to insert it so that it is completely flush.
This will leave ¼” between the magnet and your work surface. Let it cure for a couple of hours.
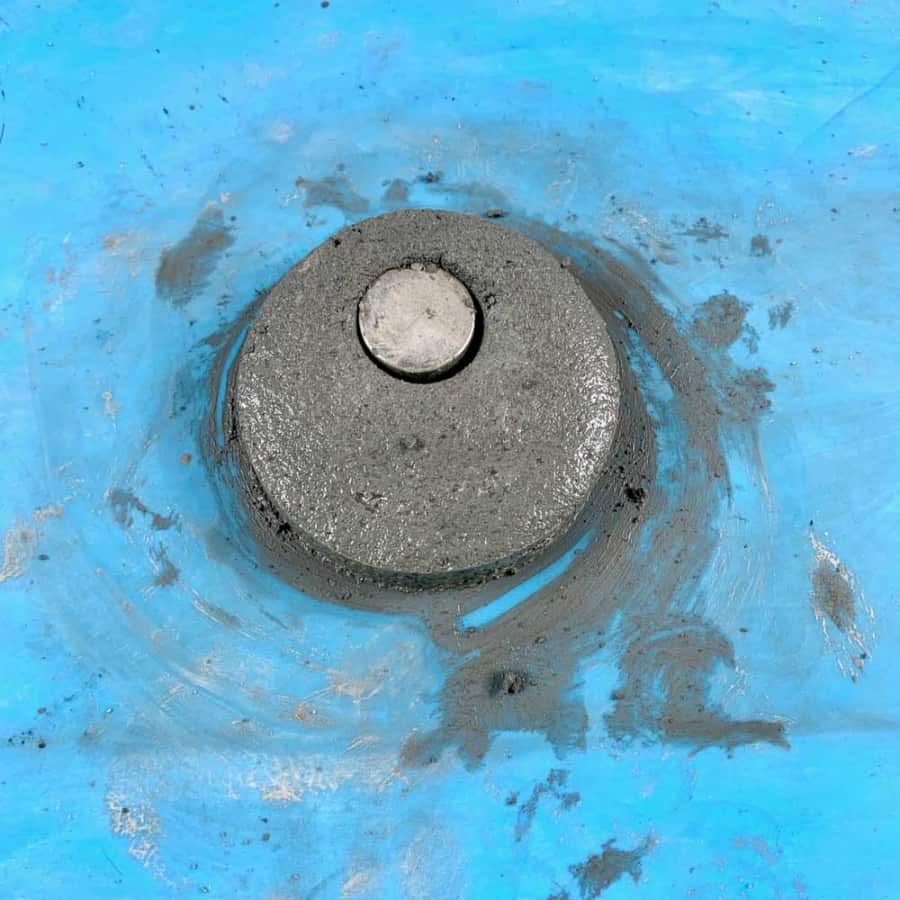
Step 4. Demold The Cement, Sand And Seal The Key Holder
Peel it off your work surface and then sand any rough edges. Pay attention to the area that you will be applying the veneer.
It should be as smooth as possible in order to make good contact with the contact cement. Now just wipe it with a cloth or rag.
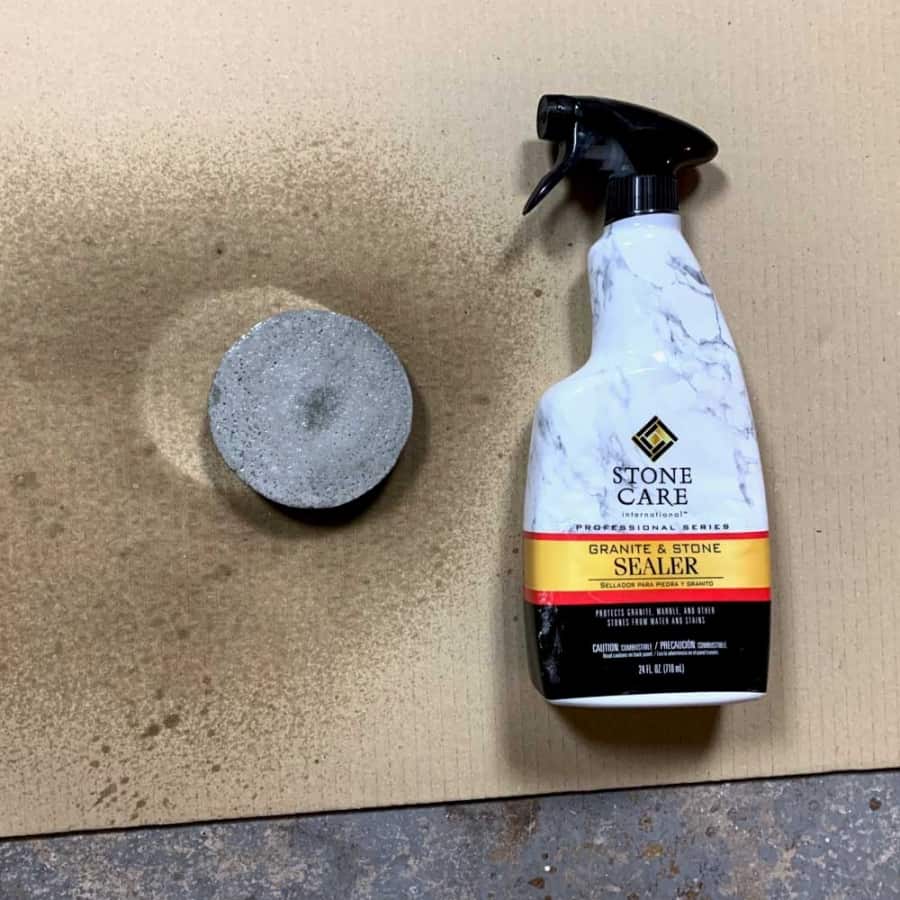
Next, use the spray sealer to seal the cement. I sprayed the whole piece- face, back, and sides. Follow the instructions on the bottle.
It may not need a second coat, but I did do one on the face to be safe.
After it dries, let it sit for a couple of hours before proceeding to the next step so that the sealer has fully cured before applying adhesive to it.
Step 5. Trim And Glue The Wood Veneer
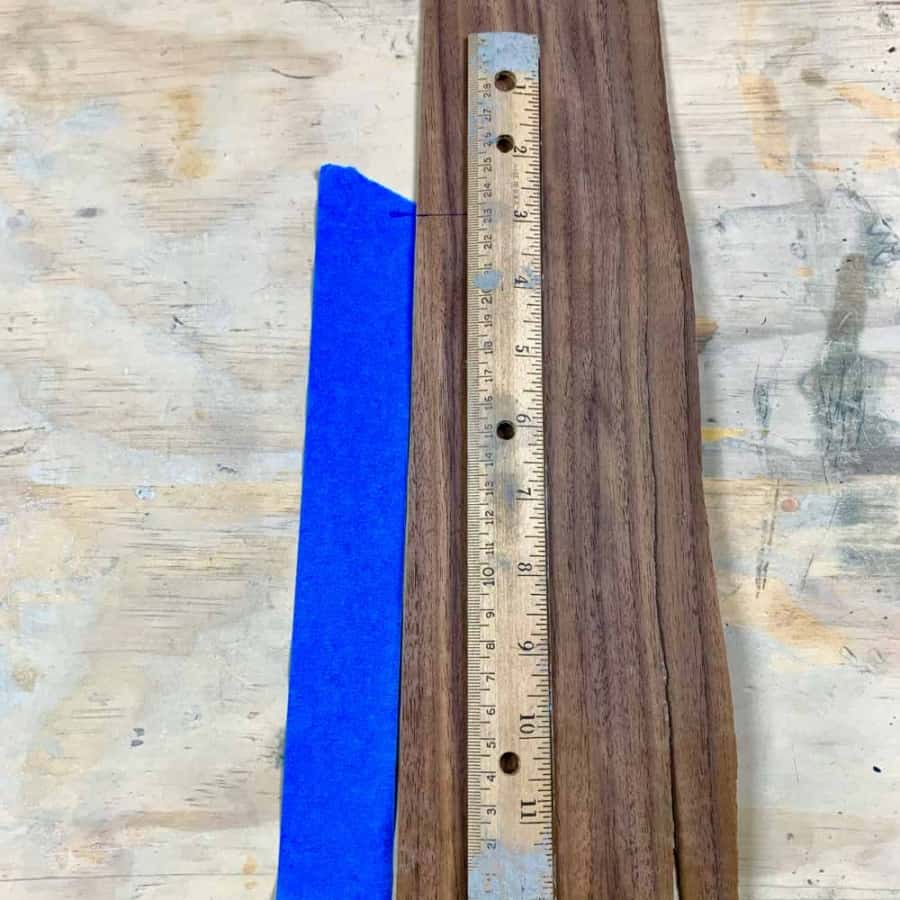
Take a piece of blue tape and wrap it around the cement key holder and cut it where the ends meet.
This is your guide for what length the veneer needs to be. The reason you are using the tape instead of the actual veneer is that the wood veneer is likely too brittle.
Remove the tape and lay it next to the piece of veneer and make a mark on the veneer, where it ends.
Next, measure the height (thickness) of the magnetic key holder at its highest point. Now mark that width on the veneer.

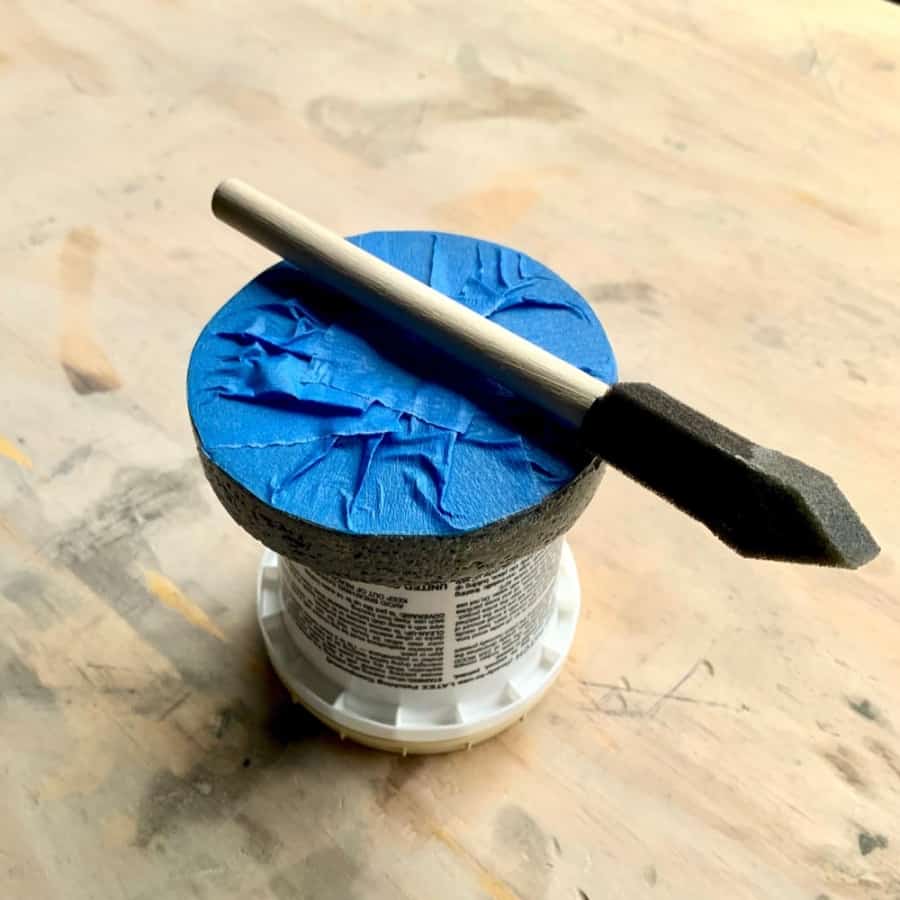
Using the blue tape, mask off the front of the key holder so you don’t accidentally get glue on it.
Just tear off 3 or 4 pieces and make your way around the edge, curving it as you go, meeting the edges of the key holder.
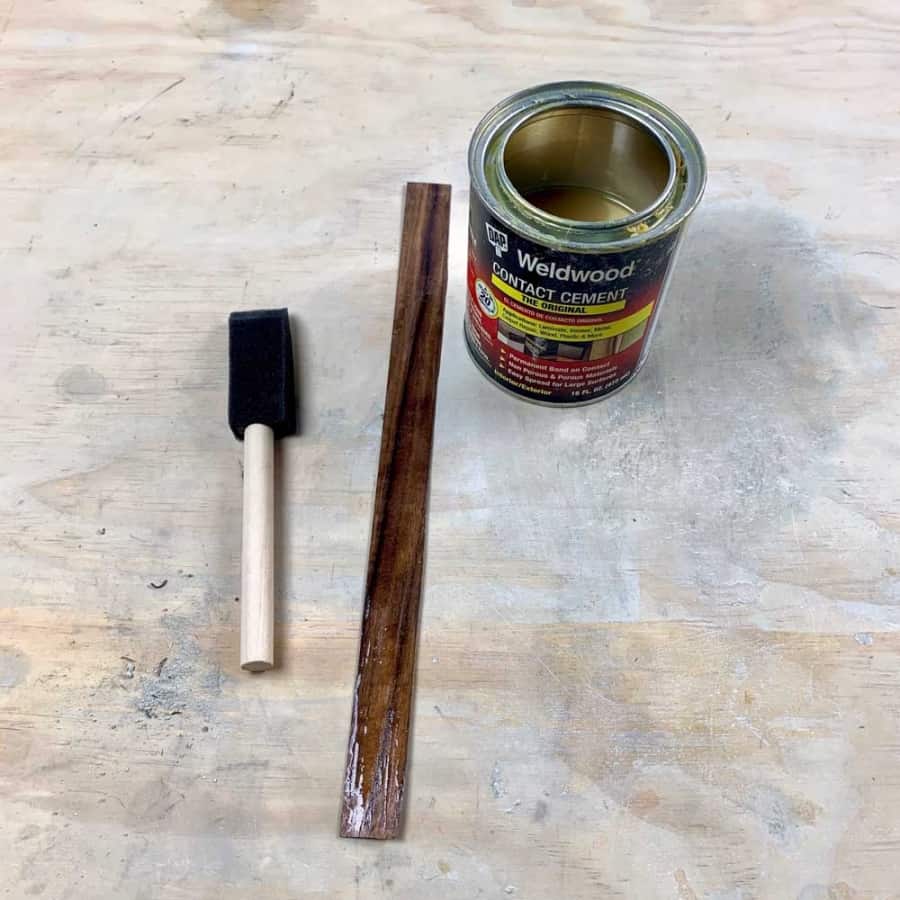
Next, take the can of contact cement and stir it well. Then take the foam brush and first apply the adhesive to the wood veneer.
The veneer is porous and will require 2 coats, so set a timer for 15 minutes and then re-coat the wood veneer with the adhesive.
Now go ahead and brush the adhesive around the sides of the cement key holder. Set another timer for 15 minutes.

Once 15 minutes has passed, keep the veneer on your work surface and take the key holder and carefully line up the front edge with the edge of the veneer. Gently roll the key holder over the veneer.
The veneer should grab on and roll with it. Keep going until your ends meet. Pick it up and hold it together for a few minutes.
Be careful not to squeeze too hard or you risk cracking the veneer. Just hold it firmly.
When you let go, you may notice that you can see the glue stretching between the front of the key holder and the veneer.
This is because the key holder sides are likely not perfectly level. You will be able to get this off in Step 7, so just leave it for now.
Step 6. Clean Up The Key Holder
Once dried, remove the blue tape. You’ll notice some of the glue will come off with it.
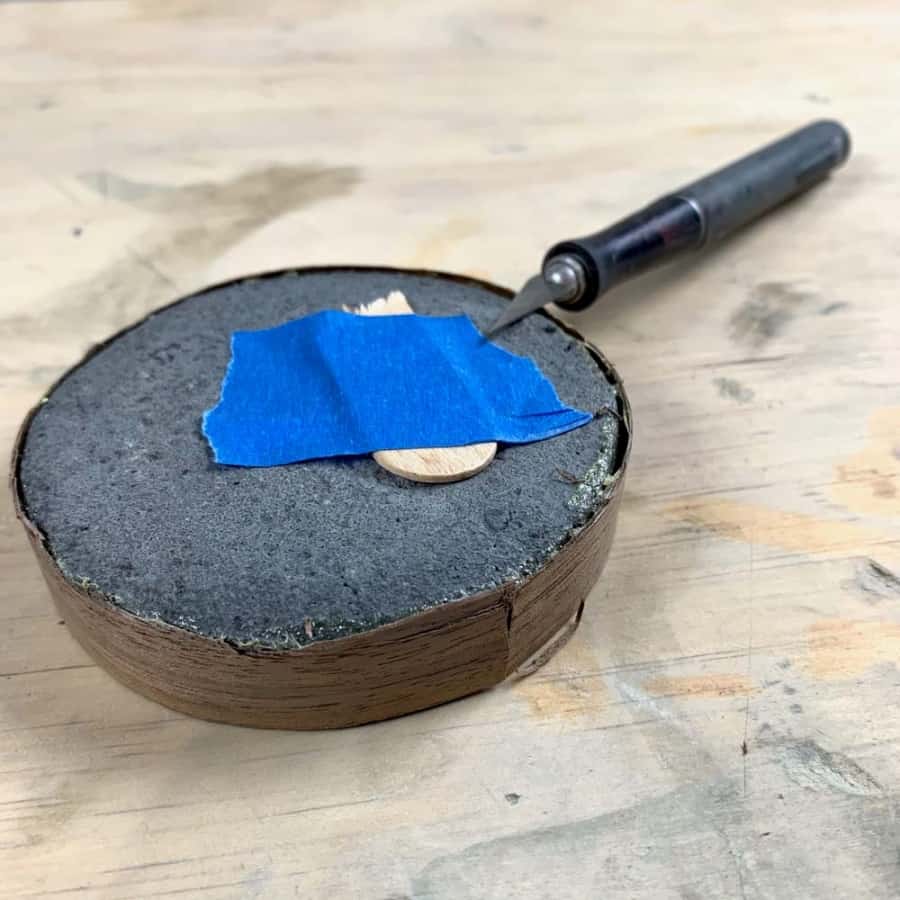
If after that, you still have some remaining, then carefully use the X-acto to push between the veneer and cement to pull out what remains visible.
You’ll probably have some edges of veneer at the back that need a little trimming as well.
Take a piece of a craft stick and tape it to the back where the magnet is.
Since you are using a metal X-acto knife, the magnet is going to pull it toward it. This helps reduce some pull.
Just gently slice sideways if you have an overhang. Then you can lightly sand the edges.
You really won’t be able to see the back edges very well, but it’s still nice to have them cleaned up a bit.
Step 7. Protect The Wood Veneer With Polyurethane
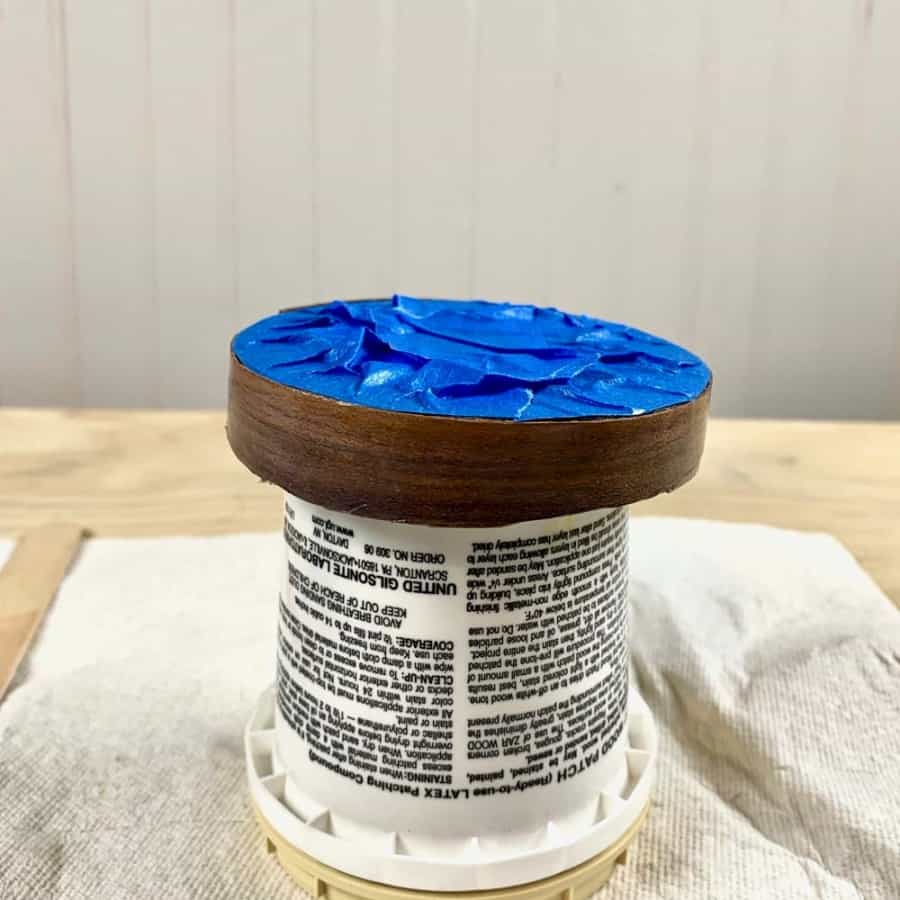
With the blue tape still on, stir the water-based polyurethane then apply it to the face of the wood veneer, using the other foam brush.
Step 8. Mount The Magnetic Cement Key Holder
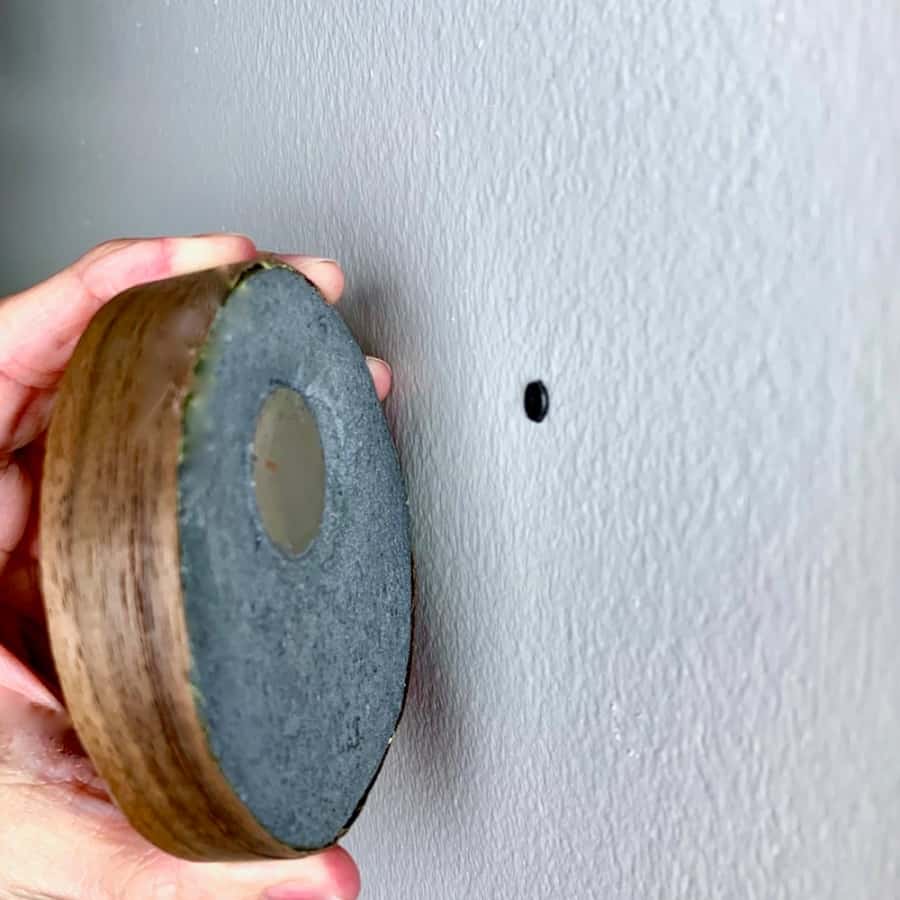
Stick it to a screw or nail in the wall. Be sure if it’s a nail, that it’s nailed into a stud or the magnet will pull it out.
You may also like this triptych of concrete Mid Century Modern wall art or DIY Kintsugi coasters.
Don’t forget to Pin it for later!


Amei sua arte, também trabalho com concreto, realmente os ambientes ficam encantador com estas peças. Parabéns
Obrigado! Thank You!