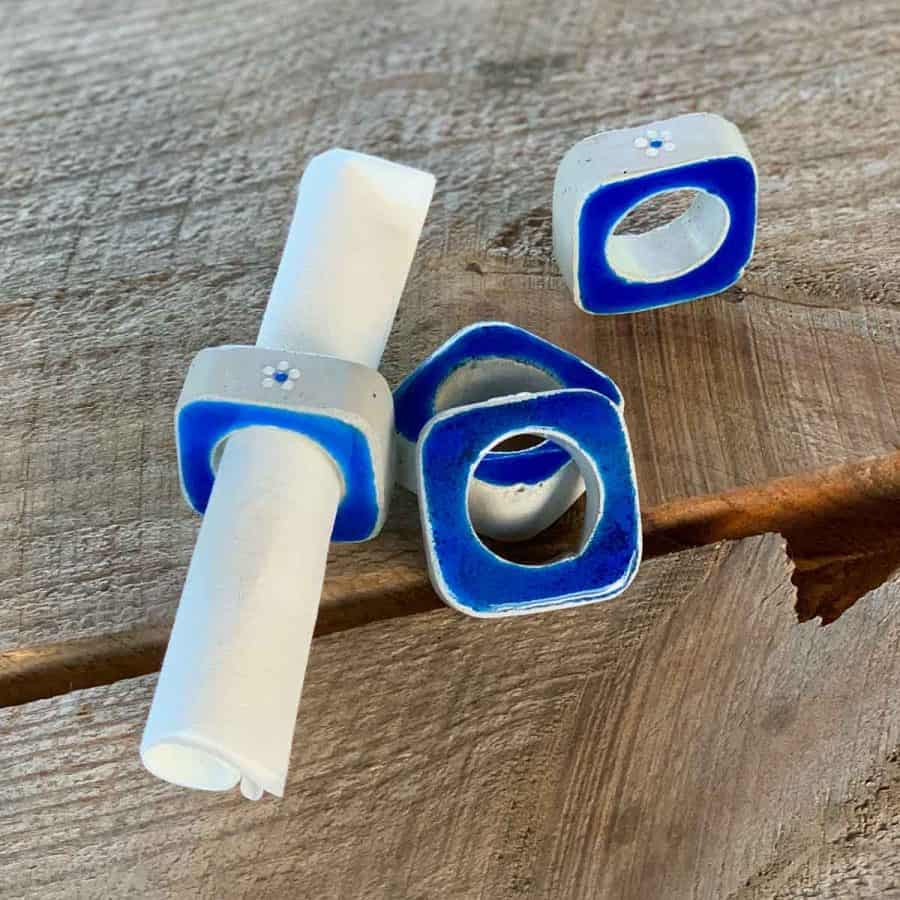
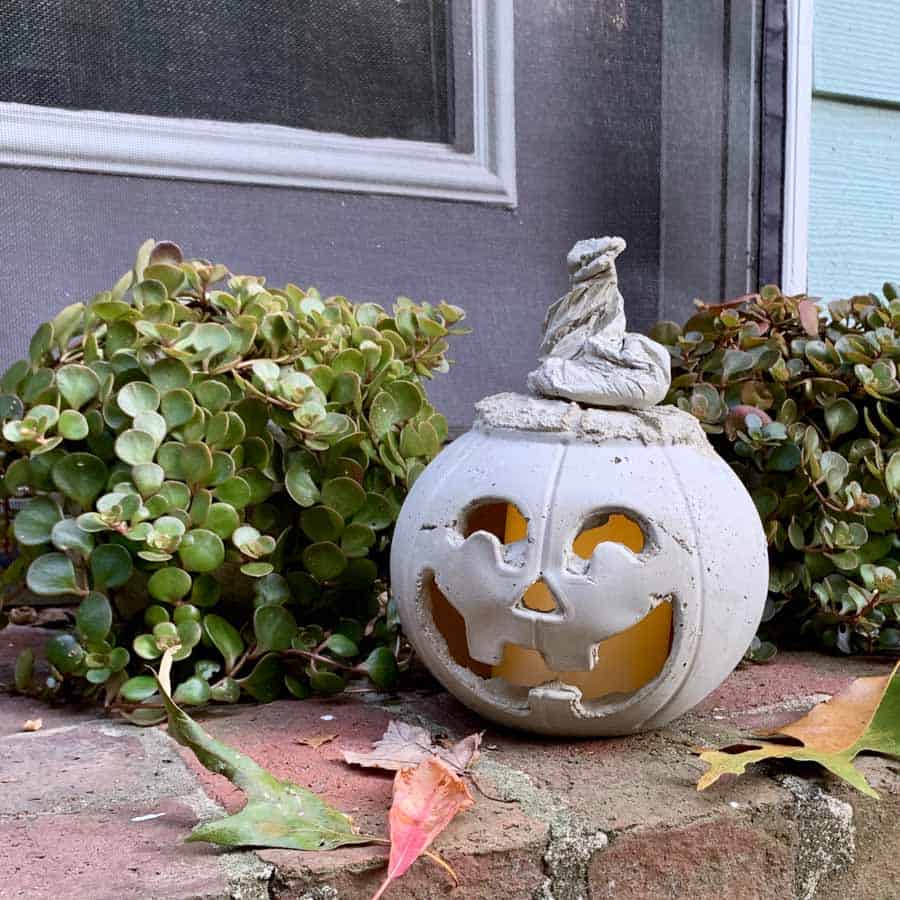
DIY Concrete Napkin Rings (Gorgeous!)
Learn how to make these DIY concrete napkin rings with a flower design. Give them a gorgeous glossy, glazed enamel look, using resin.
It feels great to take control of your home decor. This fun tutorial lets you design the first of three concrete outdoor decor items in any decoration you’d like, to pair together.
Resin is a very forgiving material when it is used for painting with. It self-levels and so it’s very easy to keep within the lines.
These can also be really cool handmade concrete gifts too!
Enjoy!
Some of the links on this page have been provided as a convenience for finding materials. These links may also be affiliate links. As an Amazon Associate I earn from qualifying purchases, at no extra cost to you.
I only recommend products I’ve used and loved, unless otherwise stated. Click here to read my full disclosure policy.
DIY Difficulty Level | Easy
Materials For DIY Concrete Napkin Rings With Flower Design
- Sand Topping Mix or Quick Setting Cement
- Disposable bowl
- Disposable cup
- Durable nitrile gloves– I like these because they are so durable, you can rinse and reuse and end up costing less in the long run
- Safety glasses
- Silica rated dust mask
- * Small bottle (2 may be needed if making more than 4 napkin rings)
- Packing tape
- Blue tape
- Craft knife or box cutter
- Acetate sheet
- Cork backed ruler
- 2 oz. craft paint containers– (for as many rings as you are making)
- Aluminum flashing
- Hot glue gun
- Foam brush
- Concrete sealer
Resin Painting
- Epoxy resin 2:1
- Resin colorants- opaque– blue and white
- Sharpie Oil Marker- extra fine, blue
- Craft sticks
- Plastic yarn needle and/or toothpicks
- Q-tips
- Resin mixing cups
- Tiny plastic cups for divvying up colors (Dollar Tree has great ones for this)
- Rubbing alcohol
- Plastic lids or wax paper


*Materials Note: For this tutorial, I’m assuming 6 cement napkin rings are being made.
Adjust as necessary to the quantity of rings you make. Also, the measurements are based on the plastic milk bottle I used.
If you are familiar with the size of Fiji water bottles (1 pint), then for reference, my bottle was actually smaller than those.
My outside napkin ring dimension ended up at being 2 ¼”.
The craft paint containers happen to be the perfect size to act as an inner mold for these rings.
You can use anything you have that is close in diameter.
By using these 2 oz. paint containers, you will end up with an inner ring diameter of 1 ⅜”.
Before starting the tutorial, it may be helpful to read my article comparing the different concrete mixes and sealers– Cement & Concrete Crafts Tests!
Another important article is Making Cement Crafts Techniques & Tips with info on cement materials, mixture consistencies, demolding, safety and clean up!
Tutorial Steps For DIY Concrete Napkin Rings With Flower Design
Fr later, here are the tutorials for the two coordinating floral design concrete pieces.
DIY Concrete Coasters With Flowers
DIY Concrete Side Table & Stool With Flowers
Step 1. Create The Napkin Ring Molds

To create the floral napkin ring mold, you’ll use the small bottle(s).
In order to be able to mark straight cuts, use a box cutter or craft knife to cut a strip of aluminum flashing that is ¾” wide by 12” long.
Be sure one of the long edges is a factory cut edge.
Wrap it around the bottle and shape it to fit the bottle. Secure the ends together with tape.
The part of the bottle that you will be using is the parts between where it bevels at the top and bottom.
For this small bottle, you probably will only be able to get 4 napkin ring molds from.

Make sure the flashing is placed where your first ring will be and use a sharpie to draw lines all the way around the bottle by tracing the aluminum.
Do this 4 times moving up the bottle- or until you reach the bevel part.
Now remove the flashing and carefully score these lines. Just gently follow the lines with the craft or box cutter.
After you have scored the plastic bottle, you can apply more pressure and start cutting through.
Once you cut off the first piece, go ahead and stuff something inside to make it more rigid and provide resistance.
Continue until you have cut all the napkin ring molds.
Step 2. Create The Napkin Ring Inner Molds

Cut four strips of acetate that are 8” x 2”. Cut four pieces of tape and stick them nearby.
Take a strip and wrap it around a 2 oz. craft paint container. Leave a tiny bit of wiggle room so that it can slip easily on and off.
Now use those pieces of tape to secure the rolls of acetate together.
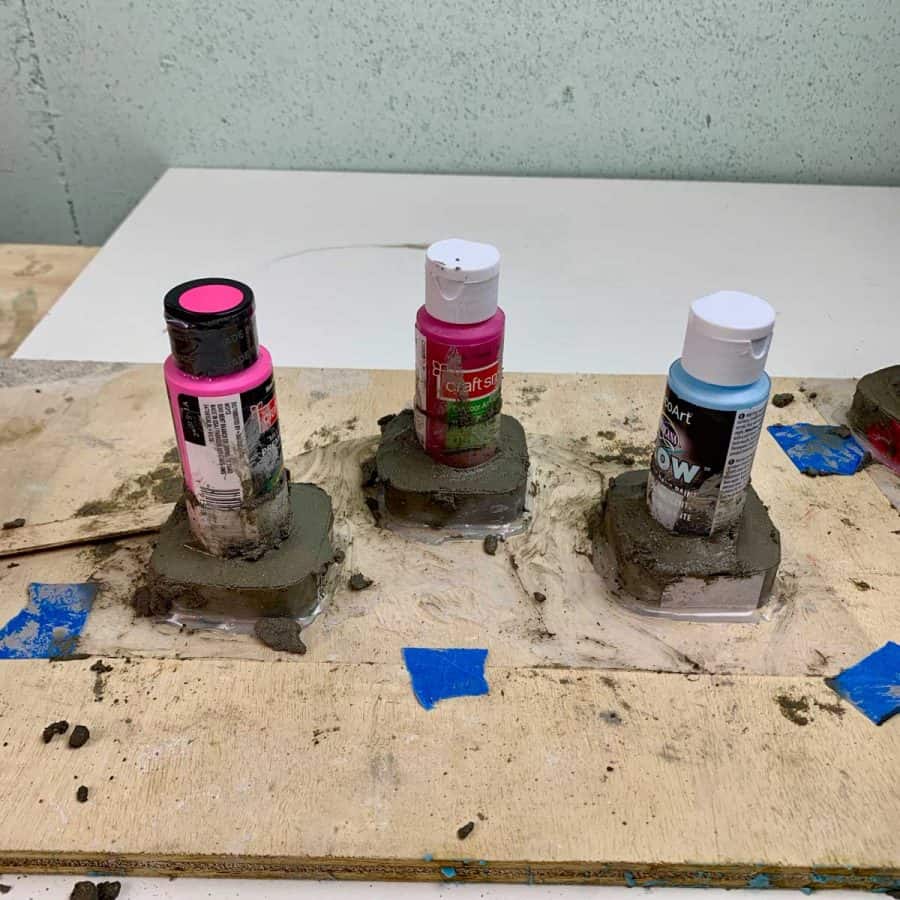
Step 3. Glue The Napkin Ring Molds To The Base
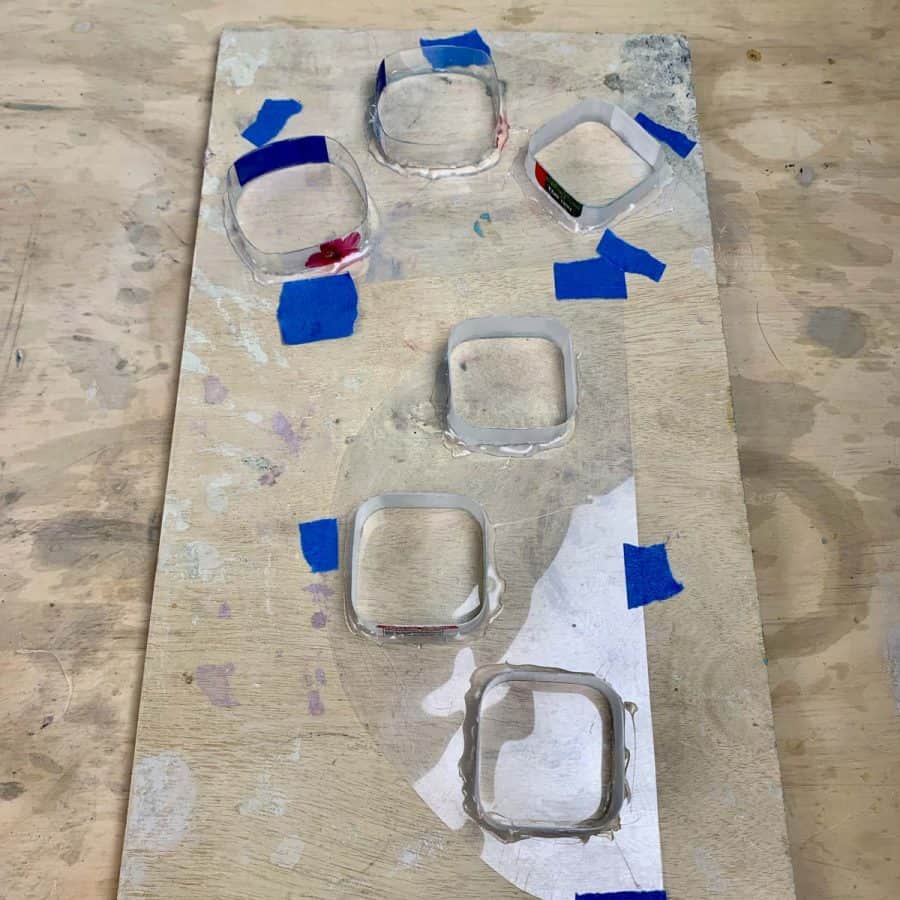
A sheet of acetate will be your base for these molds.
Grab a rigid board or a scrap piece of plywood and place a piece of acetate, large enough to fit all your rings, with several inches of room in between.
Mine were too close together, making it a bit difficult to work around freely.
Tape the acetate to the plywood to help prevent the acetate edges from curling- which can happen after hot glue is applied to it.
Now glue each ring to the acetate from the outside.
Step 4. Secure The Inner Molds To The Ring Molds
Use a sharpie to trace the paint container onto the acetate, in the center of the ring molds. You can just eyeball this.

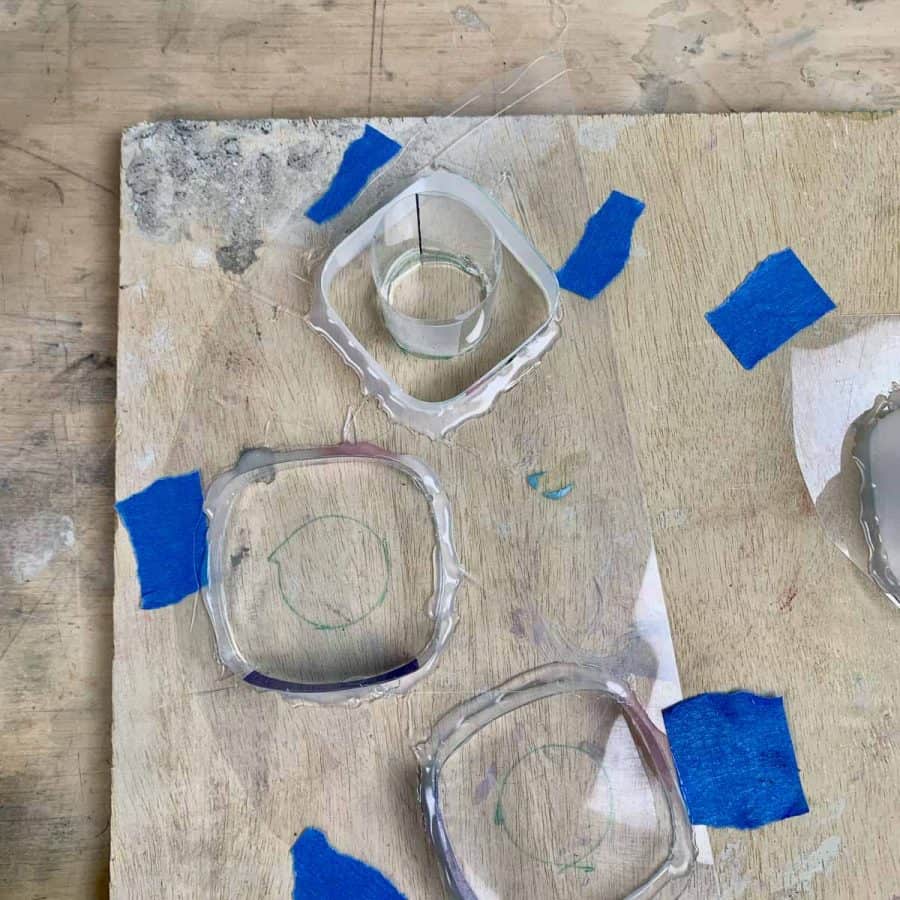
Next, heat up the glue gun to low. Pull the acetate rolls forward so that there is about an inch of space between the paint bottle end and the roll.
Apply hot glue inside the edges of one roll at a time and then leaving the same space between it and the hot glue, secure each to the centers of the rings- again with space in between.
After the glue has cooled, you can push the containers all the way down.
Step 5. Mix The Cement And Cast The Coasters
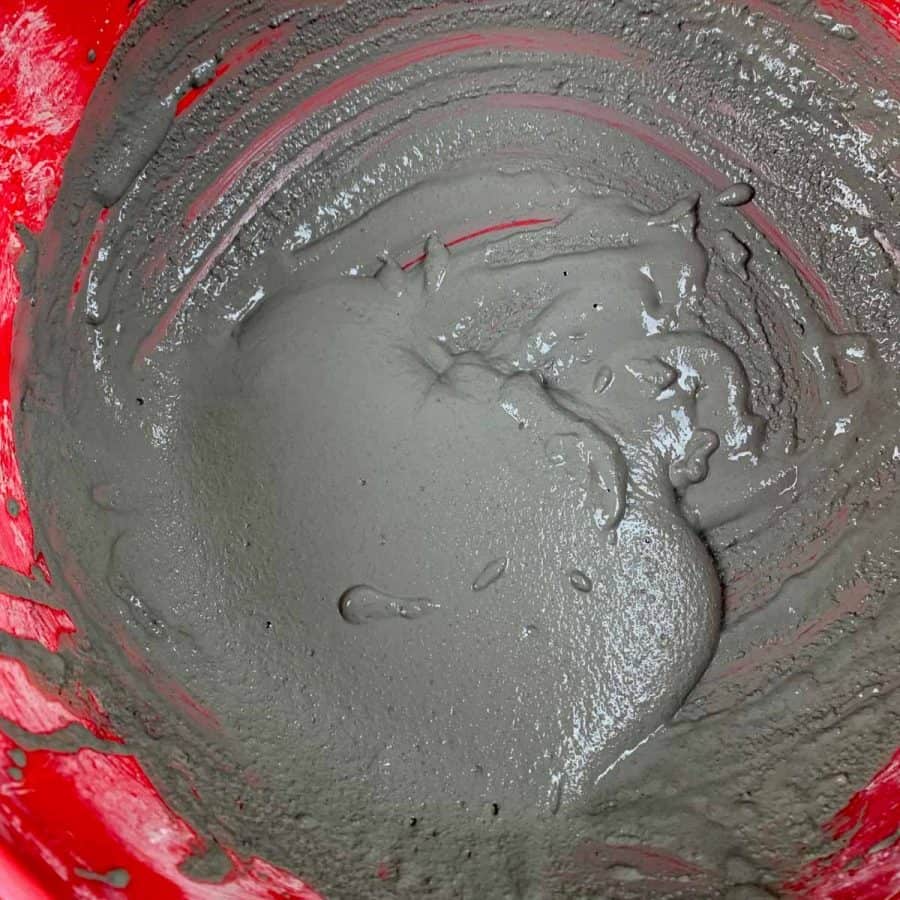
Mix the cement to a milkshake consistency and pour it into each ring. Tap and shake the plywood until most of the air bubbles release and your cement is level.
Scoop the cement into the rings.
If you have any cement overflowing the rings, use a damp craft stick (just dip into water and shake off or dab onto a rag), and then scrape off any excess cement level and smooth it.
Wipe off the craft stick so that it doesn’t have cement stuck to it while you are using this smoothing and leveling technique.
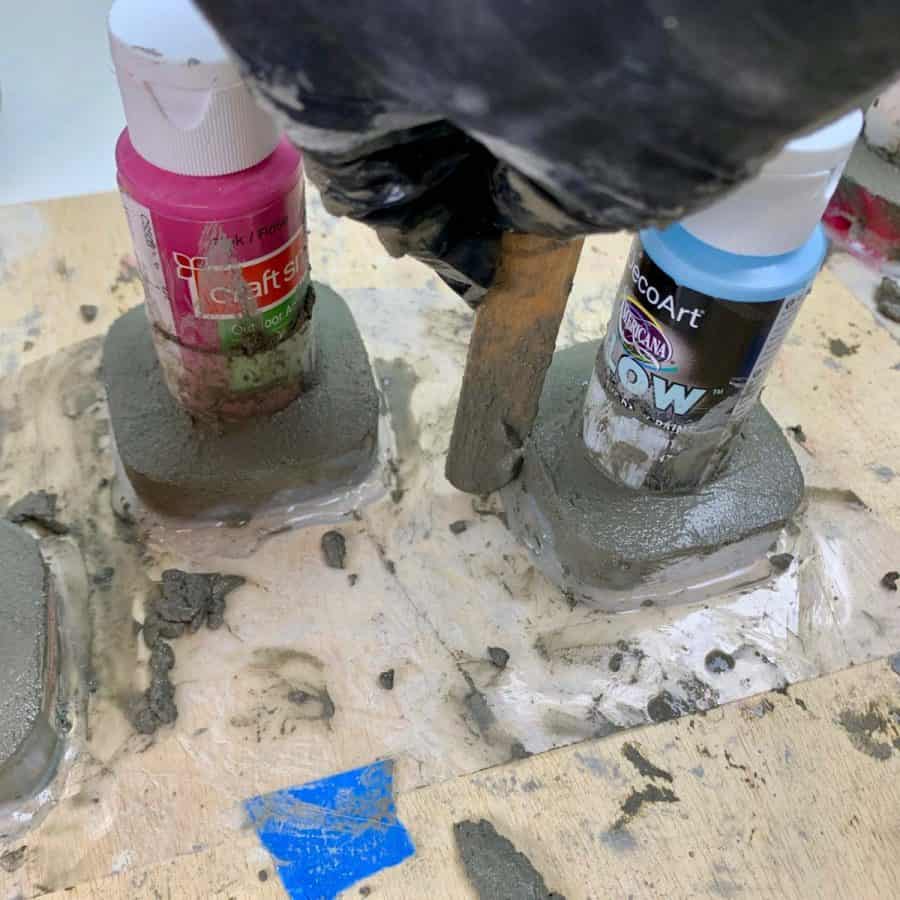
You can also use the damp stick as needed to scrape any cement that got around the edges of the rings.
Even though this is a quick setting cement, the cure time is still 24 hours. So let these cure until the next day.
Please click the button to subscribe to my YouTube channel and be notified when I have a new video tutorial!
Step 6. Demold The Cement Napkin Rings

Remove the tape securing the acetate to the board, then peel back the acetate from the plastic rings, and they should come out freely.
Sand any sharp edges, as well as the top and bottom (not sides).
Step 7. Seal The Rings
The cement will still have moisture in it, and it needs to be dry before sealing. I recommend waiting 2 more days.
Once it is dry, use the concrete sealer to seal the napkin rings all over. Do this with a foam brush.
Wait another hour or two before moving on to the resin painting.
Step 8. Paint The DIY Concrete Napkin Rings

Mix the resin well at a 2:1 ratio using a craft stick. Be sure to stir this for a full two minutes.
You’ll need to paint one side at a time, so add in the colorant for the first color and then wait about 10 minutes so that the resin thickens slightly.
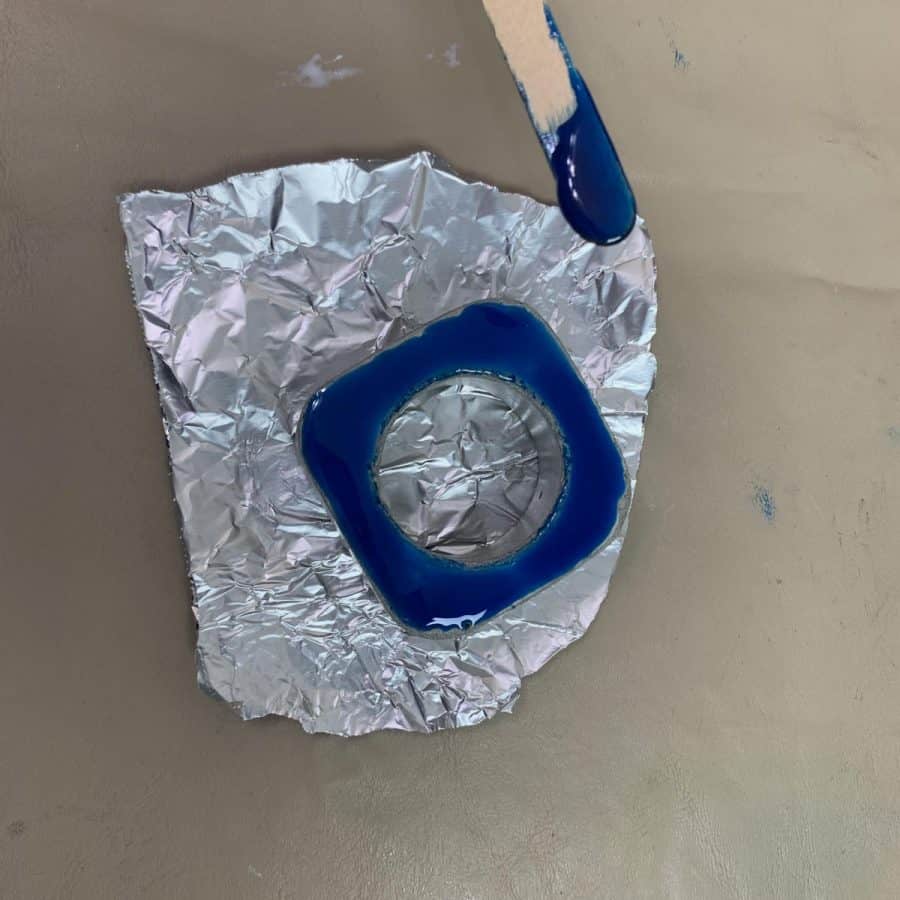
Use a craft stick to apply the resin and paint it- believe it or not, this is easier than using a paintbrush. Just pull the resin around the top side.
It will self level so don’t worry too much about getting it perfect, it will kind of perfect itself.
The resin should fully harden before you switch sides- so wait another day before flipping this over. Then repeat with the second color.

Once the second side is dry, you can paint the flower.
It’s best for this part if the resin thickens a little more than it did for the sides. 15 -20 minutes seemed about right.
Dab the toothpick into the white and then into the resin. I believe I dabbed it twice in the colorant. Mix this in and wait.
I only painted mine on one side/edge and I just freehand drew this. Start with one drop of blue for the center, using a toothpick.
Just dip it in the colored resin and let it mound up just a tiny bit and then touch the center of one side/edge.
Do this for each ring you have. I strongly recommend waiting until these centers have hardened before painting the petals.
Once the centers have hardened, go ahead and paint the petals. Repeat as you did for the center, and dab around the flower 5 times.
Wait a full day for these to fully cure, then you can use your DIY concrete napkin rings!
For a couple of other really great outdoor projects, check out the DIY concrete stepping stones and the faux rock succulent planters– made with cement!
Don’t forget to Pin it for later!


EXCELENTE PROYECTO… LO PRACTICARE MUCHAS GRACIAS
Thank you Alejandra!