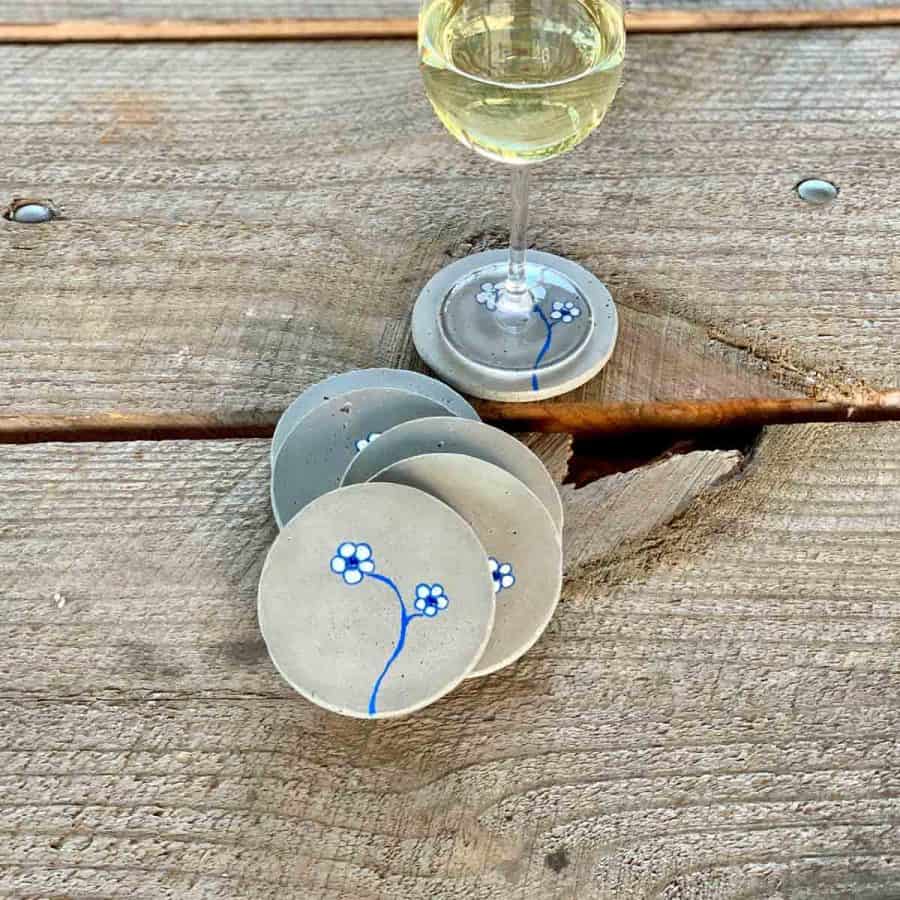
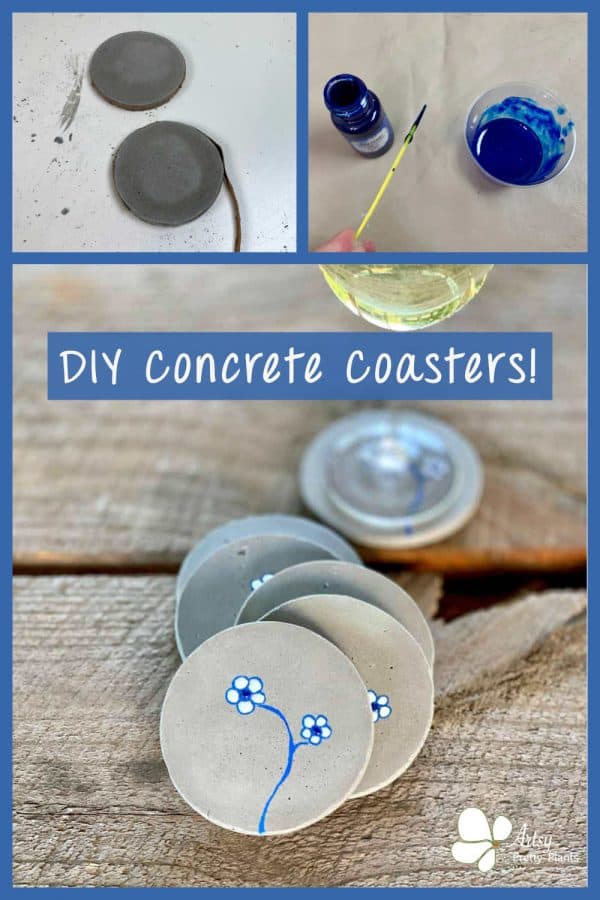
Pretty DIY Concrete Coasters
Make DIY concrete coasters with flowers, using resin for the design.
Coordinate your outdoor table decor with a whole series of concrete floral DIY decor.
These DIY concrete coasters are simple to make with a sweet flower design and are the second in a series of outdoor patio decor.
These coordinate with the concrete side table that doubles as a stool which you can see here- DIY Concrete Side Table.
These were so easy and fun to make that I can see there will be more coaster-making in my future.
There are just so many possibilities. You can make them for every season to coordinate with your dinner parties.
Some of the links on this page have been provided as a convenience for finding materials. These links may also be affiliate links. As an Amazon Associate I earn from qualifying purchases, at no extra cost to you.
I only recommend products I’ve used and loved, unless otherwise stated. Click here to read my full disclosure policy.
DIY Difficulty Level | Easy
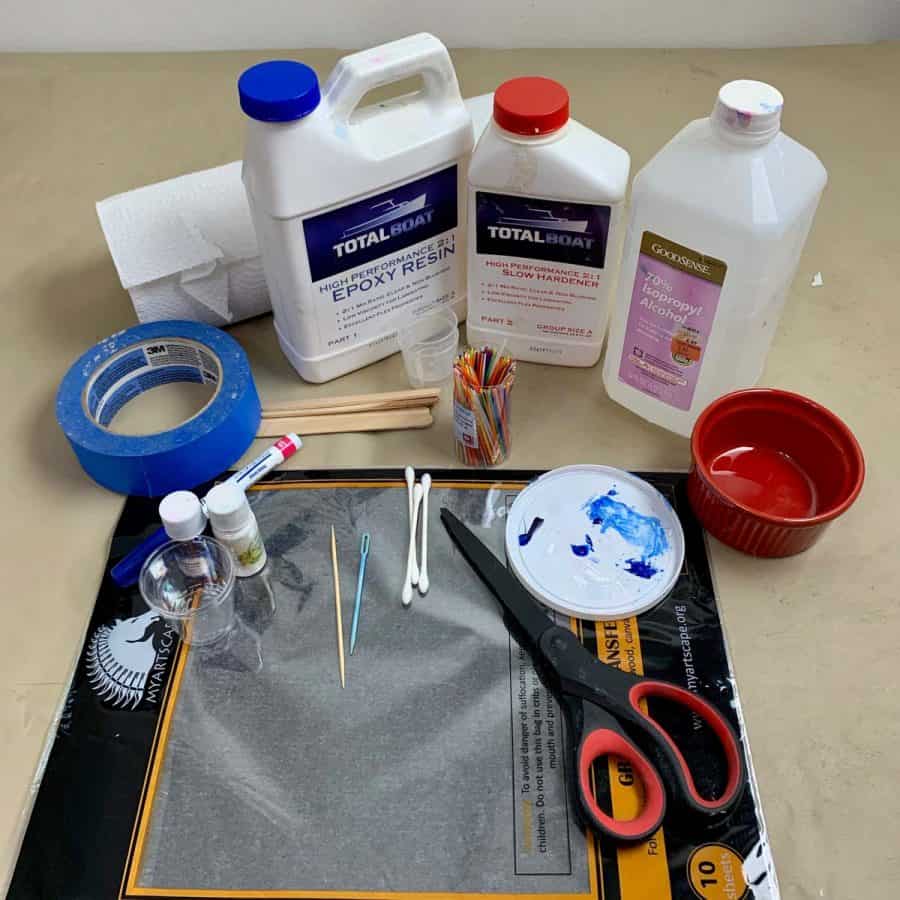
Materials For DIY Coasters With A Flower Design
- Quick Setting Cement
- Disposable bowl
- Disposable cup
- Durable nitrile gloves– I like these because they are so durable, you can rinse and reuse and end up costing less in the long run
- Safety glasses
- Silica rated dust mask
- Square/flat trowel
- Blue tape
- Hot glue gun
- A smooth mat, or Acetate sheet 15 x 10″ for (6)
- Box cutter with fresh blades
- 4” cardboard mailing tube
- Cork backed ruler
- Paste wax
- #200 Grit diamond sanding pad (or regular 220 should be fine)
- Foam brush
- Concrete sealer
Resin Painting
- Transfer paper
- Epoxy resin 2:1
- Resin colorants- opaque– blue and white
- Sharpie Oil Marker- extra fine, blue
- Craft sticks
- Plastic yarn needle and/or toothpicks
- Q-tips
- Resin mixing cups
- Tiny plastic cups for divvying up colors (Dollar Tree has great ones for this)
- Rubbing alcohol
- Plastic lids or wax paper

Before starting the tutorial, it may be helpful to read my article comparing the different concrete mixes and sealers– Cement & Concrete Crafts Tests!
Another important article is Making Cement Crafts Techniques & Tips with info on cement materials, mixture consistencies, demolding, safety and clean up!
For other coaster inspiration, take a look at these concrete coasters that you can make with leaf imprints, and these coasters with Kintsugi lines.
Tutorial Steps For DIY Concrete Coasters With A Flower Design
Step 1. Create A Straight Edge Guide
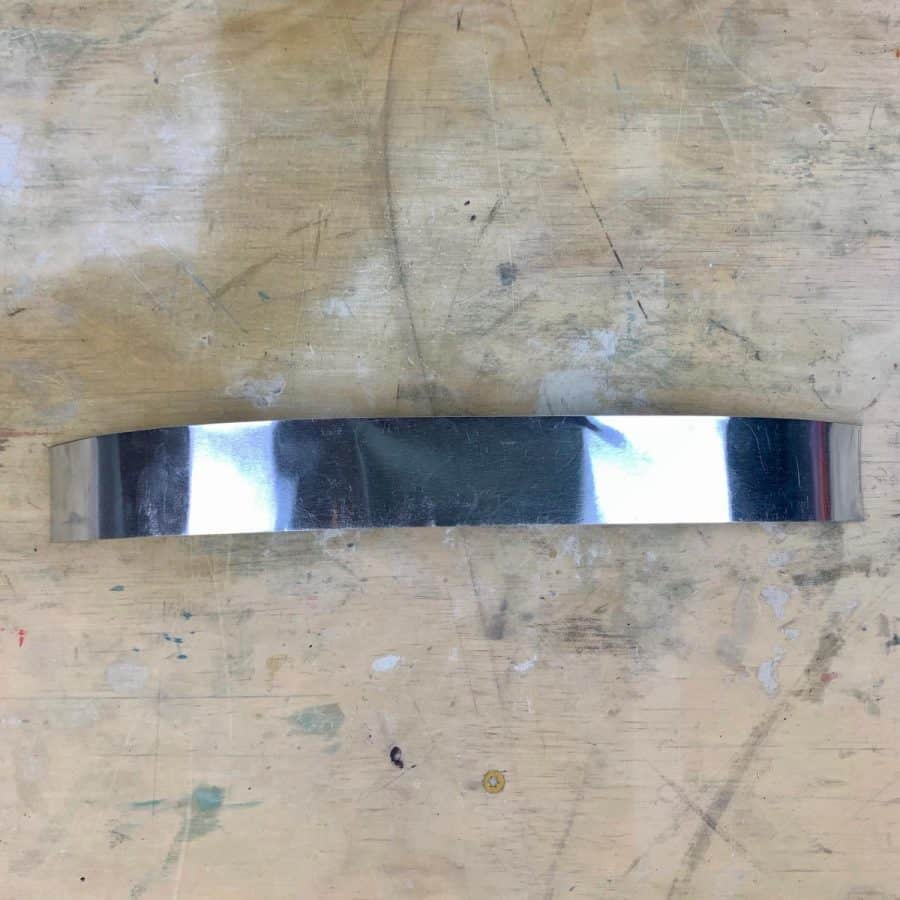
First, you’ll want to use something to help give you a straight edge when you cut the tube.
An easy way to do this is to use a roll of aluminum flashing.
It has just enough of an edge to keep your blade in line, plus it has a factory cut straight edge already.
Start by cutting a piece of the flashing that is 2” x 18” long, using a craft knife or box cutter. Make sure the 18” long piece is the uncut, factory edge.
Step 2. Cut The Rings For The Concrete Coaster Mold

Cut the cardboard tube which will become rings that we can use for the concrete coaster molds.
First, measure ¼” from the top of the tube and mark that on 3 sides- just a small line.
Now take the factory edge of the flashing and wrap it around where your marks are.
Overlap the flashing so that it is even. Use blue tape to secure it together and double check that you have ¼” around the tube.
Next, take a long piece of tape and tape the whole strip of flashing onto place from the bottom.
Use your fingernail to push the tape up against the edge. This was very helpful for keeping it all in place,
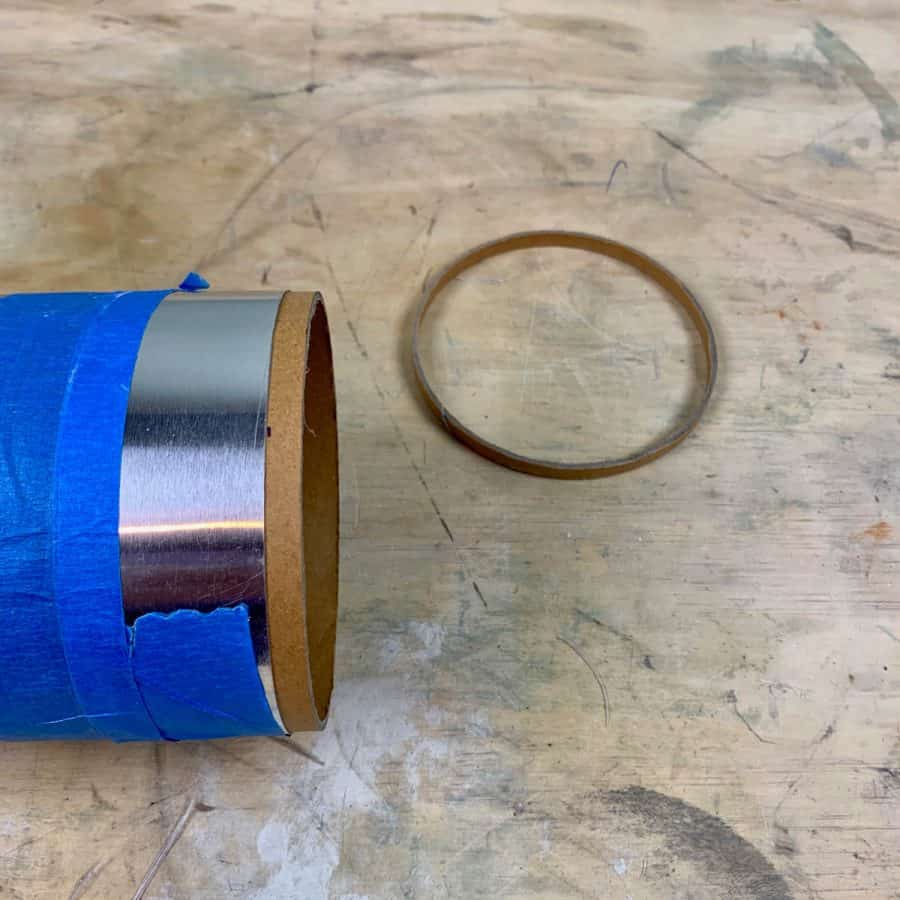
Now, use a box cutter or craft knife with a fresh blade and then use the flashing as a straight edge and carefully score around the tube with the blade.
Continue making passes around the tube until you have cut the ¼” ring off.
Have patience here, it took me 6-8 passes per ring to cut through, but the cuts came out very straight.
Repeat this for the remaining rings. If you start seeing the cardboard tear inside, then it’s likely that you need to change the blade for a fresh one.
Apply some wax to the inside of each ring with a paper towel or rag.
Step 3. Make A Base For The Coaster Molds And Secure

Take a sheet of acetate and cut that to 15 x 10” if you are making 6 coasters, or 19×10” if you want to make 8 coasters.
This doesn’t have to be exact. If you have a smooth mat, then you can use that instead of the acetate.
Place a rigid board or a scrap piece of plywood underneath the base. Tape the edges in place so you don’t get any curling.
Now glue the outside edges of each ring to the base with hot glue.
Step 5. Mix And Cast The Concrete For The DIY Coasters
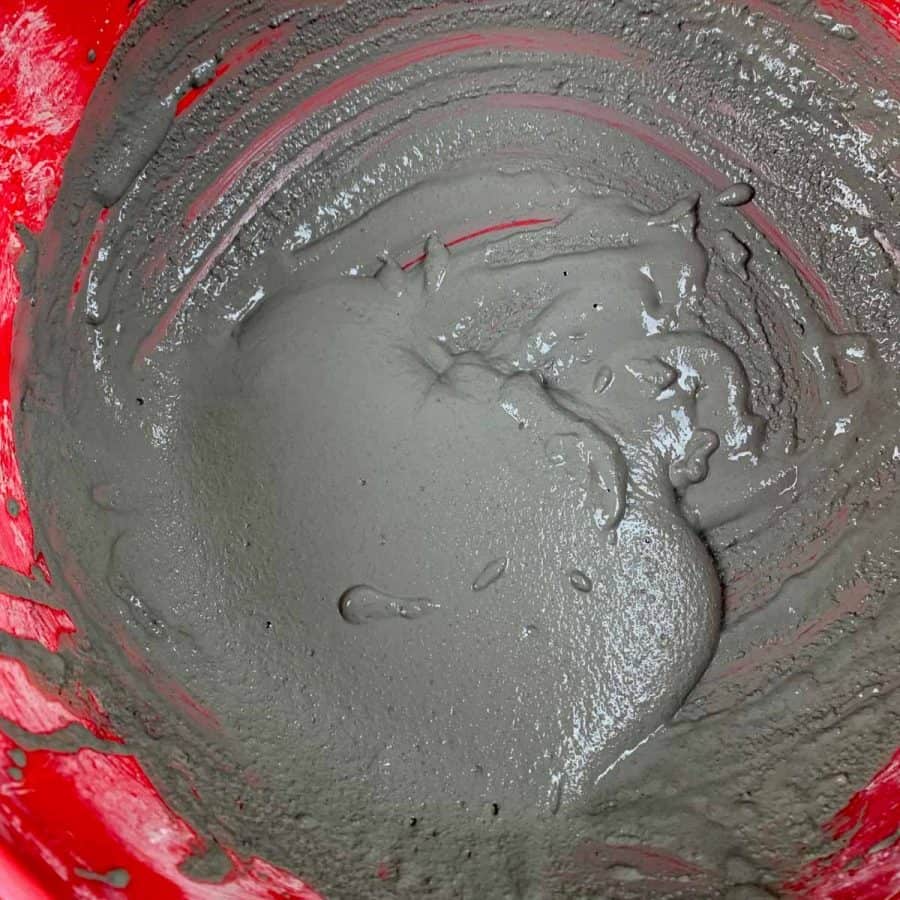
Mix the concrete to a milkshake consistency and pour or scoop it into each ring. If the concrete flows over, use a flat trowel to smooth and level it.
Once level, tap and shake the plywood board until most of the air bubbles are released and the concrete is level.
Let this cure for 24 hours.
Step 6. Remove The DIY Coasters From The Mold

Now that the concrete has cured, demold the coasters. Remove the tape from the acetate and gently peel it back.
The concrete coasters should come out easily.
If the cardboard ring or layers of the ring remain around the coasters, just or use your fingernails to peel it off.
It should come off easily.

Though the coaster has cured enough for demolding, it hasn’t reached full strength.
Carefully hold the coaster and then sand the bottom, sides and any sharp edges.
I sanded the top as well because I used the Quick Setting Cement, the Topping Mix may not need it.
If you have any kind of sheen to your coasters and you want the sheen to remain, then don’t sand the top- regardless of the mix you use.
Step 7. Protect The Concrete Coasters
Make sure the cement is completely dry before sealing it. At this point, moisture is still retained in the coasters.
I recommend waiting at least another day before sealing.
Once they are dry, seal the top, bottom and sides, using the concrete sealer and a foam brush.
Let these dry an hour or two before moving on to painting them with resin.
Let the sealer dry for a couple of hours.
Step 8. Transfer The Coasters’ Flower Design

First, fill out the form below to get the free flower design printable.
Then print the design and take the transfer paper and place it shiny side down onto the coaster and tape it in place.
Place the printable on top of the transfer paper and tape that into place.

Use a mechanical pencil or pen to trace the flowers onto the rings and then remove the paper and re-trace over it with a Sharpie Oil Marker.
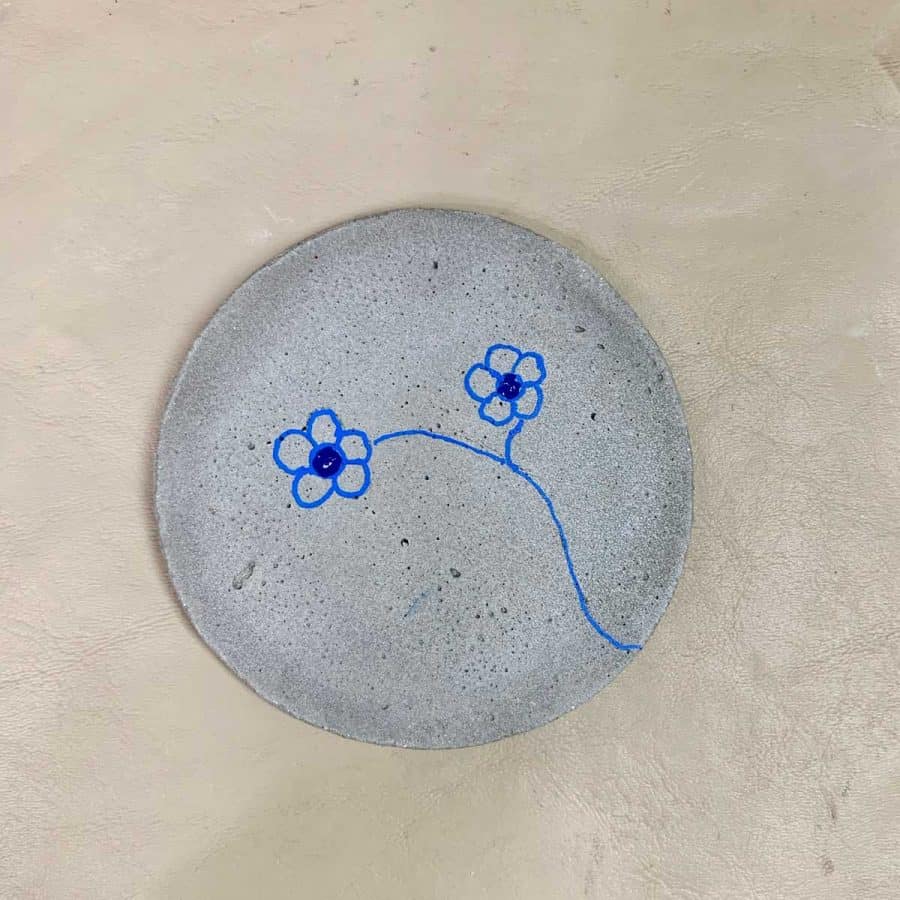
Step 9. Paint The Flower Design Onto The DIY Coasters

You’ll need to paint these in two batches. First, paint the blue centers and then once those have cured (after a few hours), then paint the petals.
Starting with the centers, mix the resin at a 2:1 ratio for two minutes. A total of 15 ml of epoxy was more than enough to do the centers for 6 coasters.
Next, dip a toothpick into the opaque blue colorant. You only need a tiny bit of color, so one or two dabs of blue will be enough.
Once mixed, let it sit for about 15-20 minutes before applying so it thickens.
Thickening it will create a puffy look, plus it is easier to control when it’s thick.

After the blue has fully hardened to the touch, go ahead and repeat the process with the white colorant.
15-20 ml should be enough for all the petals.
After I painted the flowers and they had fully dried, I went back and thickened the stems at various points to make them look natural.
Step 10. Enjoy Your DIY Concrete Coasters!
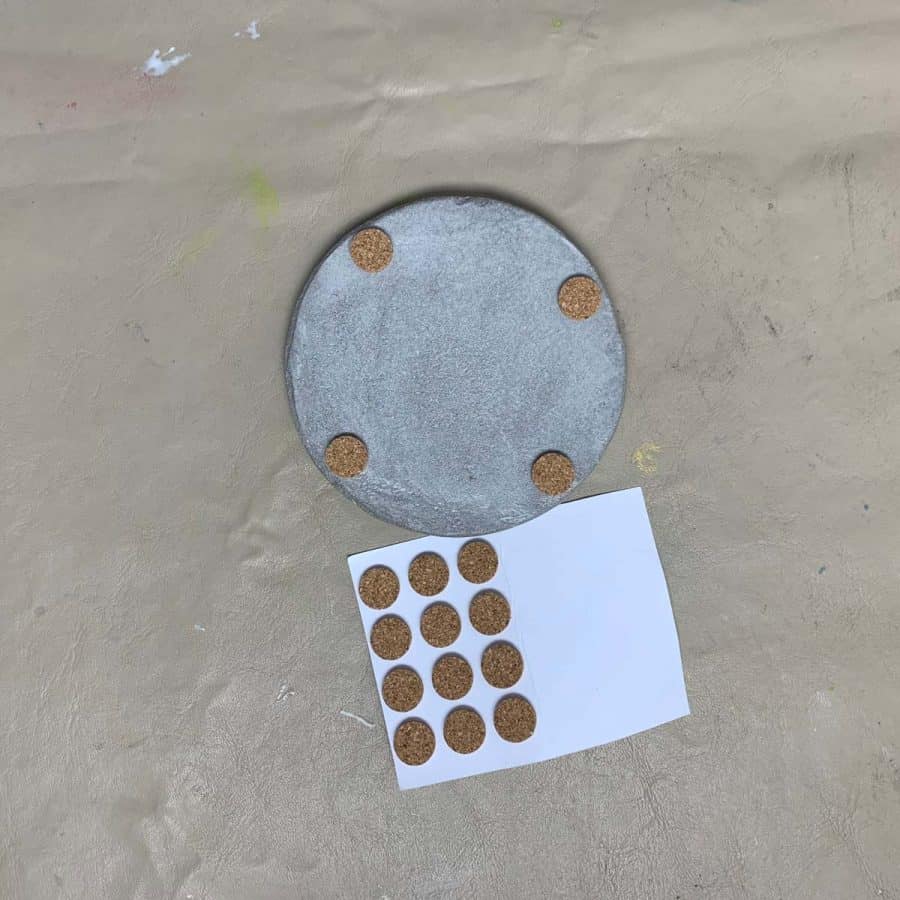
Add the bumpers and grab yourself a tall, cold one, and marvel at your homemade concrete coasters.
If you love concrete decor, you may want to check out this fabulous concrete tray you can make. It’s perfect for summer parties!
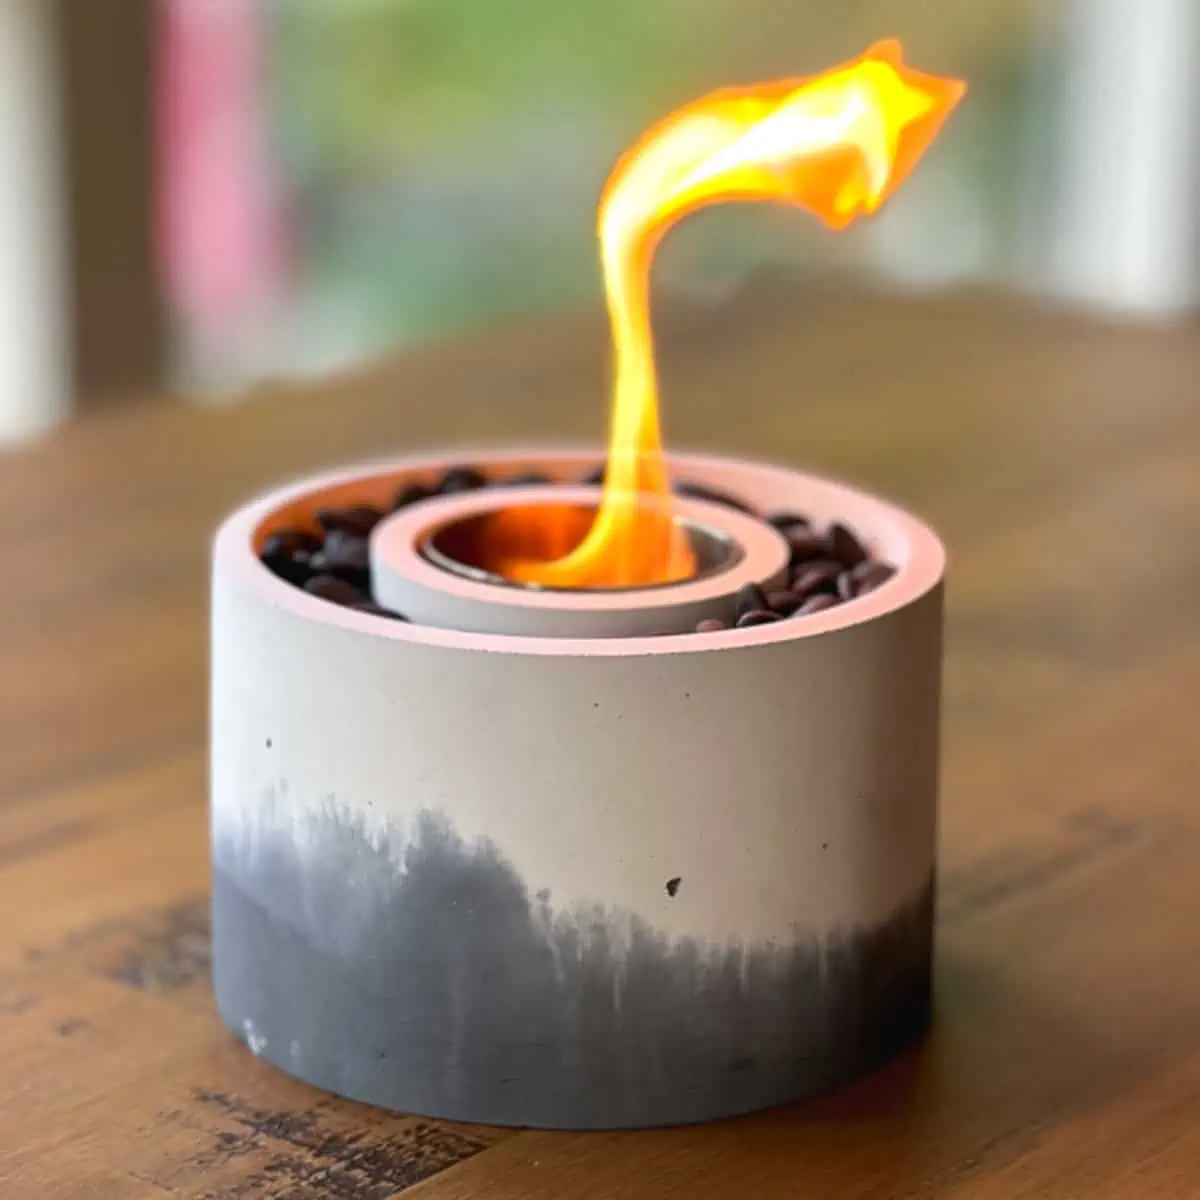
For other fun summer concrete crafts, check out these 11 ideas.
Don’t forget to Pin it for later!


These are Sweet!
Thanks Arlene! We’ve been loving using these.
I love the coasters and plan to make some this weekend. I am not ready to jump into resin painting. Can you suggest another paint type that would work on sealed concrete? Also, do you recommend sealing all your concrete projects (candle holder, flower pots, etc)? Thanks!
Hi Laura,
I recommend using an enamel paint. You can get these from Michaels or Amazon. Testor’s is the brand they both carry. They will be long lasting, but not quite as easy to work with as the resin. They are nice and glossy so will look good.
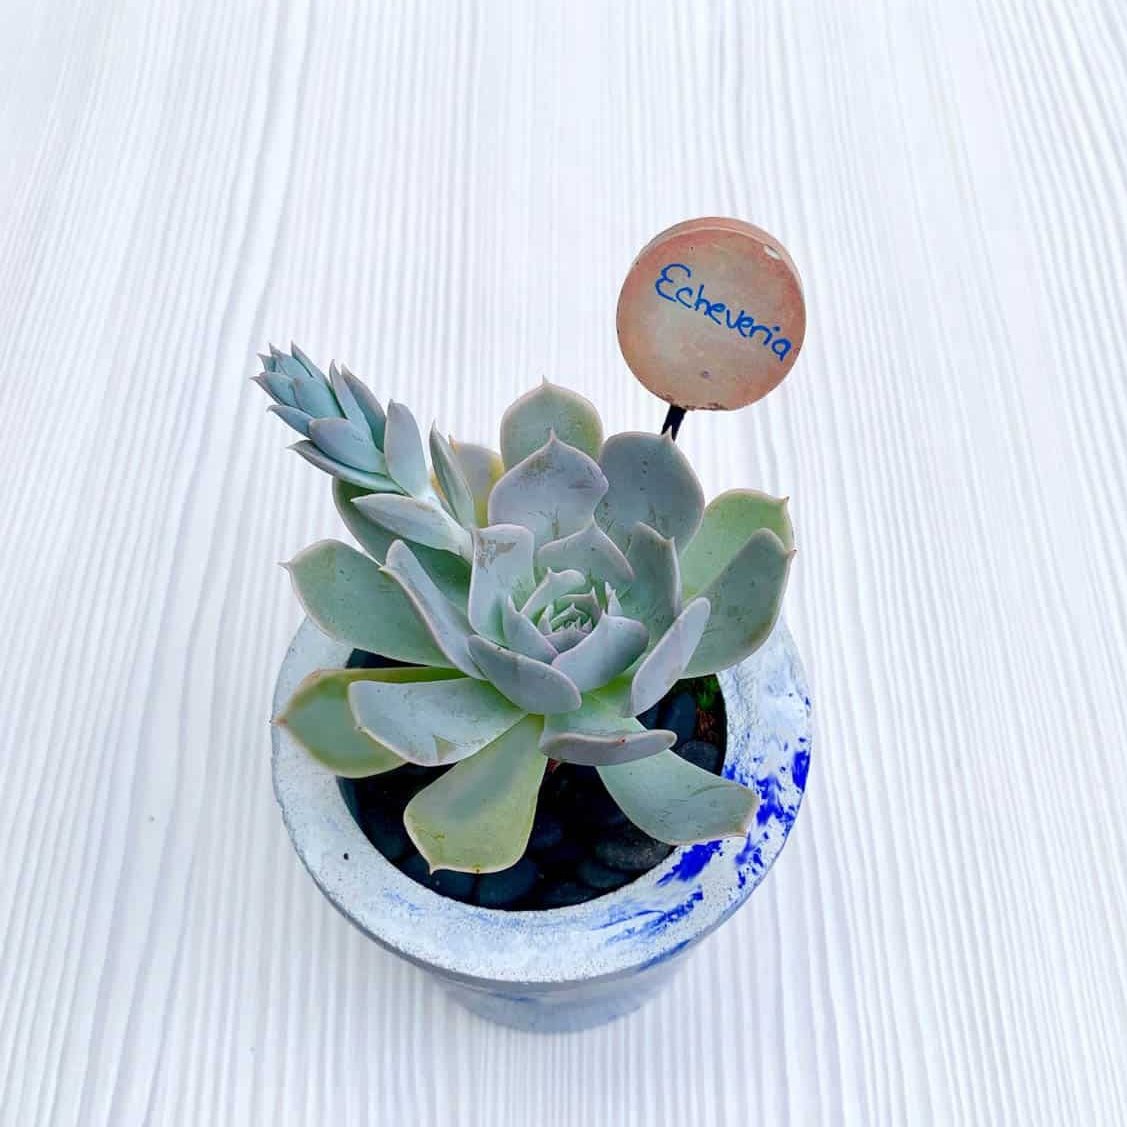
I don’t recommend sealing all concrete. I rarely seal my concrete items. With flower pots I don’t because I have mostly succulents and concrete is great for drainage. If you don’t plant a succulent in there, then soak it for a few days in water to leach out the alkalinity because many plants will find it too alkaline. Soaking in water will resolve that issue. I only seal things that I worry about getting stained, so the coasters are a good candidate for sealing. Candle holders I seal as well because of the oily candle wax.
Good luck with the coasters!
I want to make these but have a question- will I always add sand to my cement? Will the quantity of sand vary based on the project or will just the water vary? I just want to get that straight!
Hi Carla,
It will depend on which cement mix you use on whether you need to add sand. Most cement mixes already have the sand pre-mixed in. If you use Portland cement, you will need to add sand. A 1:1 ratio of cement to sand should be good. If you are in North America, then I recommend using the mix I have listed in the materials. I also recommend reading my Cement & Concrete Crafts Tests where I discuss and compare the different types of cement mixes.
I’ve always wanted to learn the craft of cement!! Now I can go forward with confidence! Ordered your concrete pocket guide. Can’t wait to start!!
Lori
Hi Lori,
This is a great one to start with! Let me know if you have any questions.
Please tell me how do you dispose of your leftover concrete and the sludge from cleaning your containers?
Hi, I either wipe out what I can with a paper towel and throw it away. Or let it dry up in the bowl. My bowl is very flexible, so I bend it and it cracks away from the sides, then thrown that away. I have about a foot and a half of gravel drainage under a deck that I can easily rinse what’s leftover from there.
Dry concrete doesn’t hurt anything, but wet concrete, in large quantities could burn vegetation, only because it is alkaline from lime. It doesn’t have harmful chemicals, contrary to what some believe.
Hope that helps.