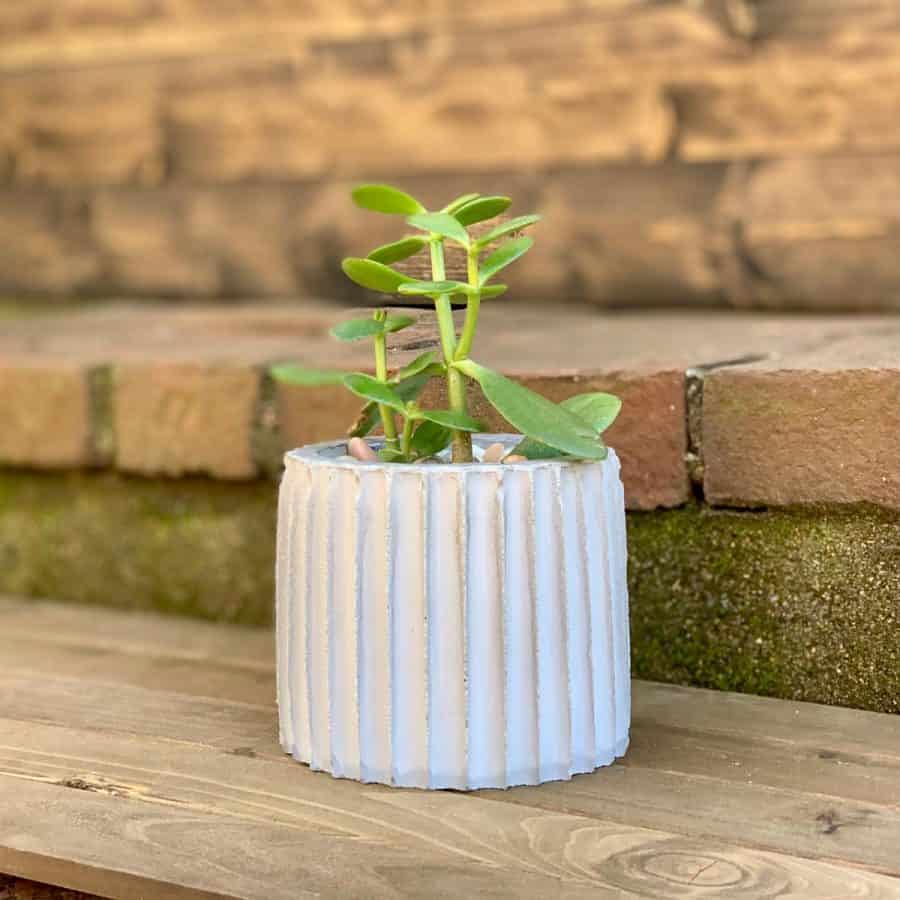
Make a Fluted Concrete Planter (Using Straws)
I’ll show you how to make a DIY fluted concrete planter. This unique planter is inspired by the CB2 lineal planter.
The secret to getting the gorgeous fluted look is to use straws.
You guys, I have had this planter idea bouncing around in my head for at least a year and a half!
I had seen planters like the one from CB2 before and was dying to have my own.
My challenge for the engineering for this is that I had pictured one that was larger and that meant the fluting would probably look better if the flutes were wider to stay in proportion.
Now a large one can be done by using PVC pipe, but that’s been done before and I wanted it to be original. (Though I probably will give in one day and make a big one from PVC).
Once I decided on making a smaller scale planter, the material for the fluted mold was easy! The jumbo straws I used were perfect for this concrete planter.
I was even surprised at how well the mold held up just by using hot glue. This ended up being so easy, it was a one-shot deal. I nailed it the first time! Oh, happy days!!!
And not to toot my own horn, but don’t you think it turned out great?
Some of the links on this page have been provided as a convenience for finding materials. These links may also be affiliate links. As an Amazon Associate I earn from qualifying purchases, at no extra cost to you.
I only recommend products I’ve used and loved, unless otherwise stated. Click here to read my full disclosure policy.
DIY DIFFICULTY LEVEL | EASY
Materials For A DIY Fluted Concrete Planter
- Cement, rapid set
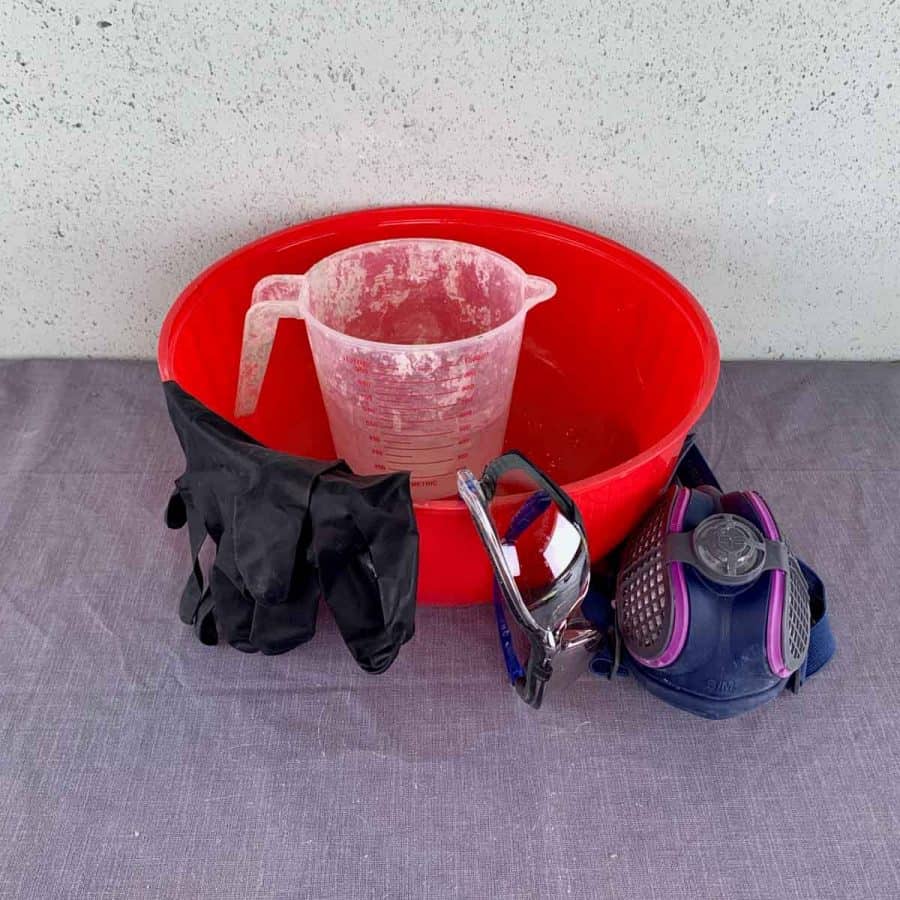
- Disposable bowl
- Disposable cup
- Durable nitrile gloves
- Safety glasses
- Safety mask– rated for silica dust
- Black colorant– optional
- Jumbo drinking straws
- Cardboard tube- outer mold approx. 4 ¼”
- Cardboard tube- inner mold- approx 3 ⅝”
- Acetate
- Hot glue
- A 6 x 6 tile or similar hard surface to use as the base of the mold
- Blue tape
- Piece of aluminum flashing -20 x2” long
- Permanent marker
- Utility knife
- Scissors
- Play sand
- Needle nose pliers
- #60 grit diamond sanding sponge
Materials Note: The colorant is optional. I used it because I wanted the planter to be grey instead of off-white.
But I also wanted it to cure quickly so I used the Cement-All which is off-white.
For the mold, you don’t need to use cardboard tubes, but you will need something like those that won’t taper.
If there’s any taper to the mold then the straws will flair and won’t be able to retain the cement once it’s cast.

Tutorial Steps For A Fluted Concrete Planter
Step 1. Trim The Straws to Fit Your Form For The Outer Mold

Cut the jumbo straws in half, which should make them 4 ½” long. I needed 16 straws so that I ended up with 31 halves.
The last straw wasn’t a perfect fit since the remaining space was slightly smaller, but you can’t really tell.
I also didn’t worry about cutting them perfectly in half.
I just knew that the shortest straw would be how tall it ended up being, which is just over 4”.
Take care though to keep track of the edge you cut, because you will want the straight, uncut edges to be touching the bottom part of the mold.
Step 2. Glue The Straws To Each Other
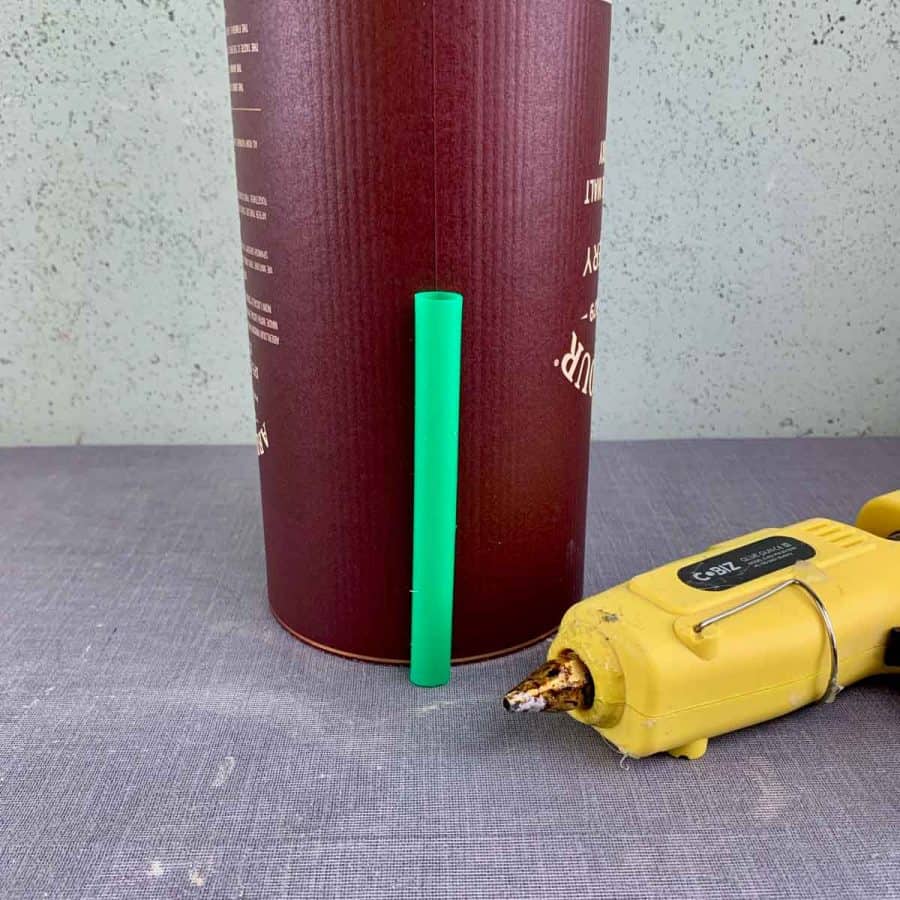
Use the whiskey container for support and glue the jumbo straws around the tube.
For only the first straw, place a tiny dab of glue on the bottom and press it to the container.
The remaining straws will only be glued to each other.

Be sure you are placing the uncut edge of the straws at the bottom as you place them around the container.
This will keep them nice and even at the bottom where it will be important that cement doesn’t leak through or show uneven edges.
Glue each straw at both the top and bottom and then press them to the adjacent straw.
Use the smallest amount of glue needed to make them stick so that they can stand flat against each other.
The last straw you piece together may not be exactly the same width as the remaining space but, just fit it as best you can.
My space was a little smaller than the width of the straw. However, in the end, you really can’t see that one flute is narrower.

After gluing the last one, remove the support tube.
Step 3. Make The Base For The Fluted Concrete Planter
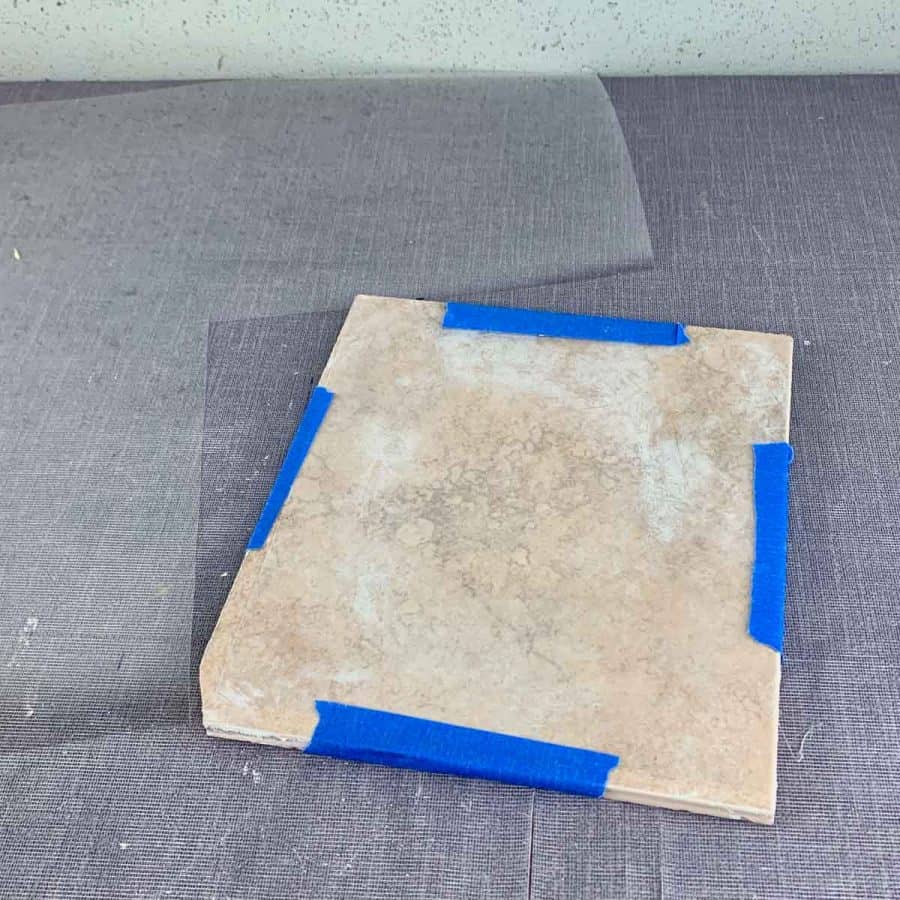
Cut a piece of acetate 6×6” and tape it to a tile that’s a little larger. This will be the base of your mold.
Keep in mind that this fluted planter is being cast upside down, so technically, the base is what will end up being the top of the planter.

Trace the outer mold onto the center of the acetate tile base. Now trace the smaller, inner mold in the center of that.
Next, trace the inner tube again onto another piece of acetate and then cut the circle out. This will be what you’ll use as a lid for the inner mold.
Step 4. Cut The Inner Concrete Mold To Size

Cut the height of the inner cardboard tube to about ¼-½” shorter than your shortest straw. This will create a bottom thickness of ¼ -½”. I cut my tube at 3 ¾”.
To get a straight cut, use something like a piece of aluminum flashing to wrap around the cylindrical shape so that you can get a nice straight cut.
Use blue tape to secure it in place and cut the tube with a utility knife that has a fresh razor blade.
It will make a straighter cut than if you just use blue tape as a guide.
Step 5. Secure The Concrete Fluted Planter Molds To The Base

Glue the inner mold to the center of the acetate base that you marked.
Be sure to keep the hot glue on the inside of the tube to keep the edges looking clean when it’s done.
Next, glue the straw mold to the outer line you traced and for this, keep the glue away from the inside edge or you will leave marks from the glue.
Step 6. Fill In The Mold With Sand

Next, fill in the inner tube with moist sand and pack it down so it’s flush.
Now place the acetate circle on top and dab a little glue on there in a couple of places so it doesn’t come off when casting.
Step 7. Create The Planter Drainage Hole Mold Piece
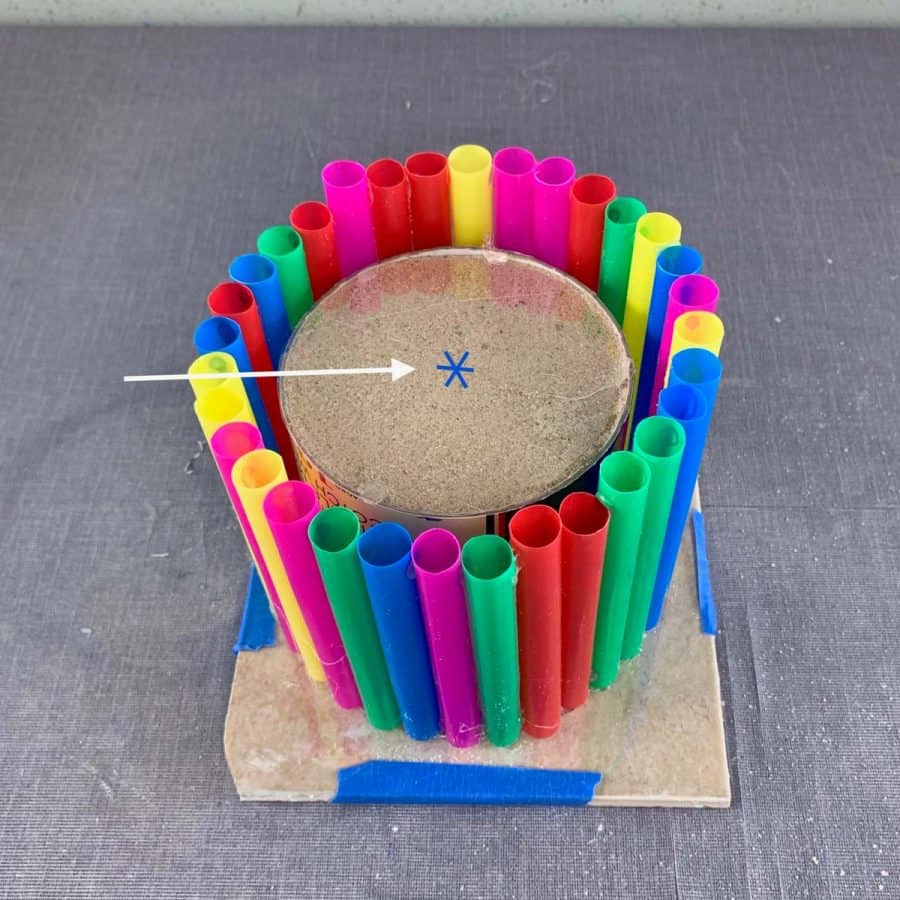

Now to make the drainage hole for the concrete planter, use the utility knife to create an x with a line through it so that the straw can be inserted.
Then take the straw and press it into the x and into the sand.
The straw only needs to be inserted about an inch, so trim the straw so that it’s sticking out past the outer mold about ½-1”.
This will keep it out of your way when casting.

Now add a dab of glue to the open end of the straw so that it doesn’t accidentally get cement inside of it when it’s poured.
If you notice any large spaces between any of the straws, then I recommend running a line of glue along them on the outside.
If the spaces are large enough, the cement will ooze out and a little glue filler will help prevent that.
I had one gap that should have been glued, but it wasn’t too big and the amount that leaked out didn’t affect the planter.
Step 8. Mix The Cement And Colorant

Add dry mix to the mixing bowl and then add some powdered colorant (optional).
Mix this together and then add water. Mix the cement to the consistency of a thick milkshake.

Now pour the cement into the mold between the straws and the inner mold.
Shake, tap and vibrate the tile on the table to release air bubbles. Then set the fluted planter aside to cure for 1-2 hours.
Step 9. Remove The Fluted Concrete Planter From Its Mold
Demold the fluted planter by first pulling out the straw with needle nose pliers. Then peel off the acetate base.

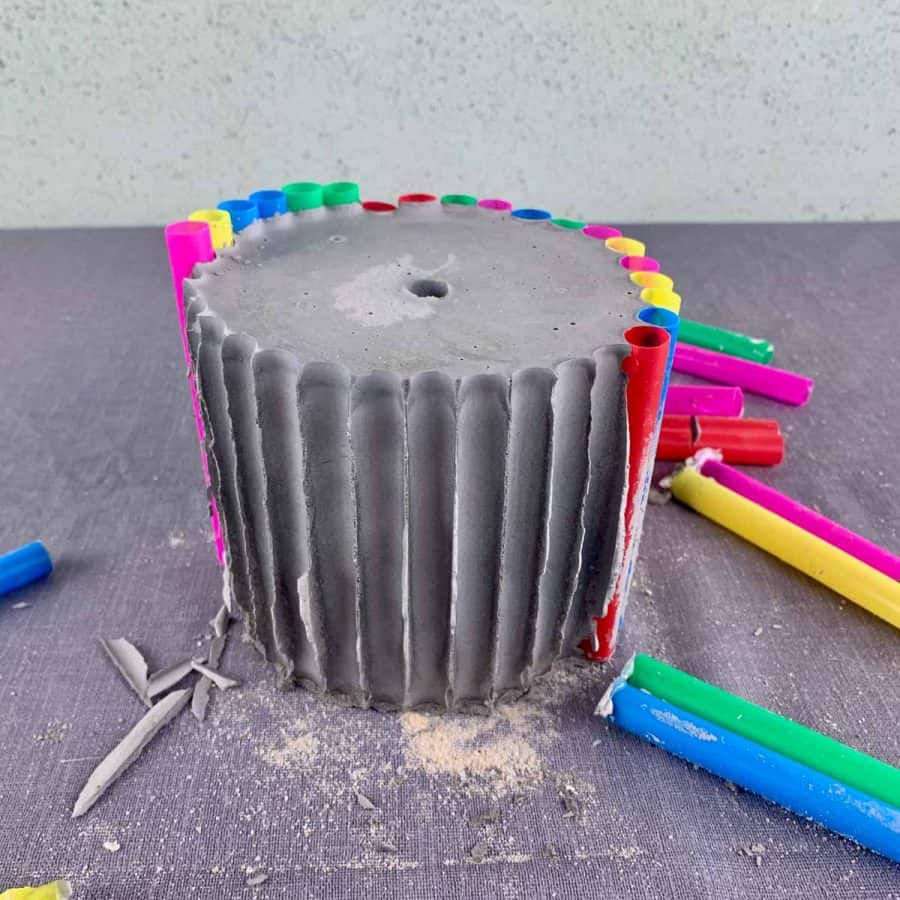
Now pull off each straw. As much as I was looking forward to pulling them all off at once, it wasn’t how it happened.
So just use the pliers to pull off the straws one by one. They do come off very easily.

After the straws are removed, use the pliers again to pull out the cardboard. It will probably peel off in layers, like mine did.
Step 10. Sand The DIY Fluted Planter’s Edges
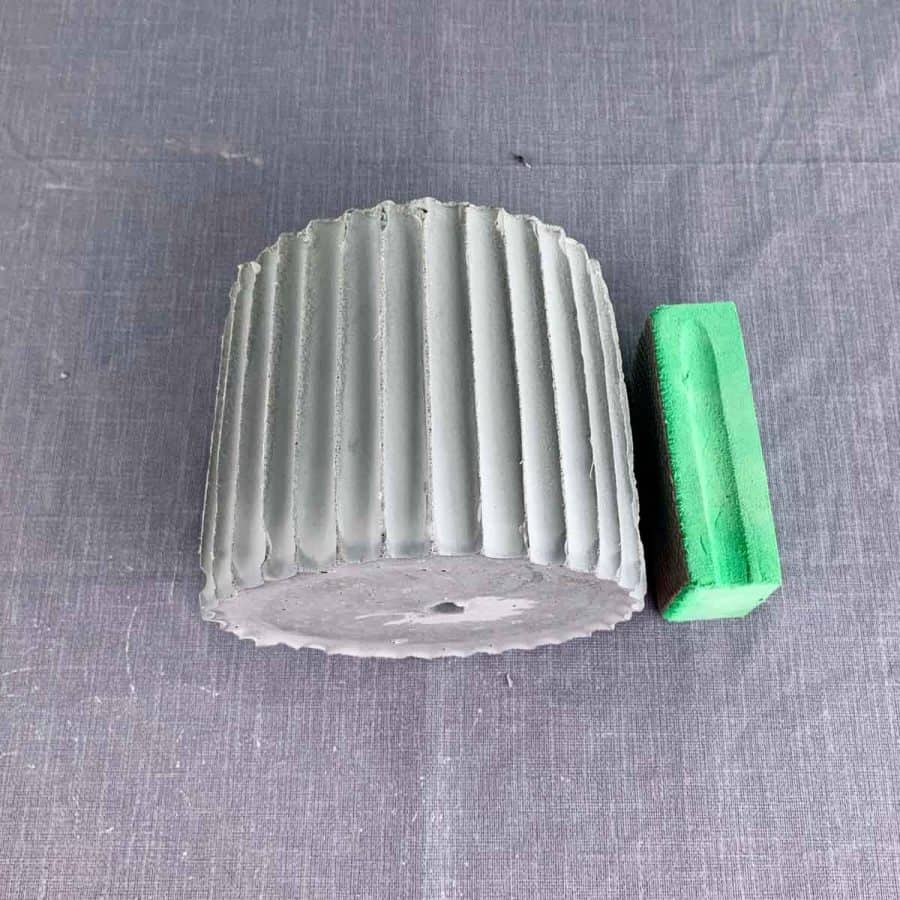
Now to finish the planter, use a #60 grit diamond sanding sponge for this.
I tried with a regular sponge and sandpaper, but it worked better with the diamond grit one. And the ridges are so thin that they sanded easily.
I sanded this right after demolding which makes it easier than later when the concrete naturally gets harder.
The diamond grit pad is rigid and helps keep the pointy ridges even from top to bottom. Just take care to not break them.
If you have sections where the cement mounded up on the ridge, then gently knock at it with the nose of the pliers and then sand them.
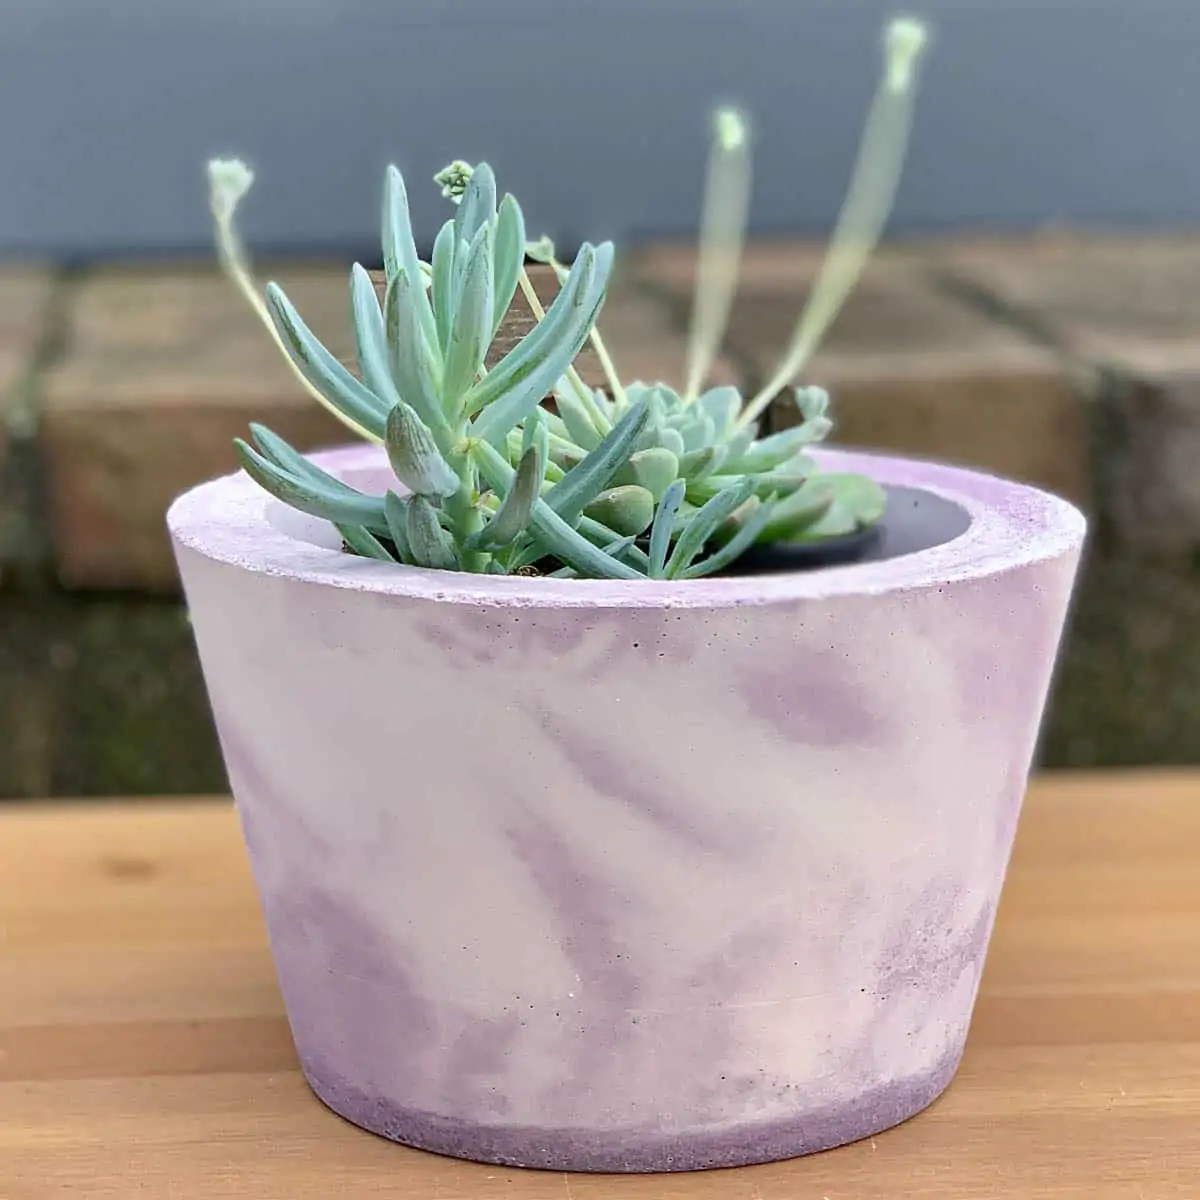
By the way, you can use this fluted planter for succulents– just as-is, or for other plants by leaching it first.
Don’t forget to Pin it for later!

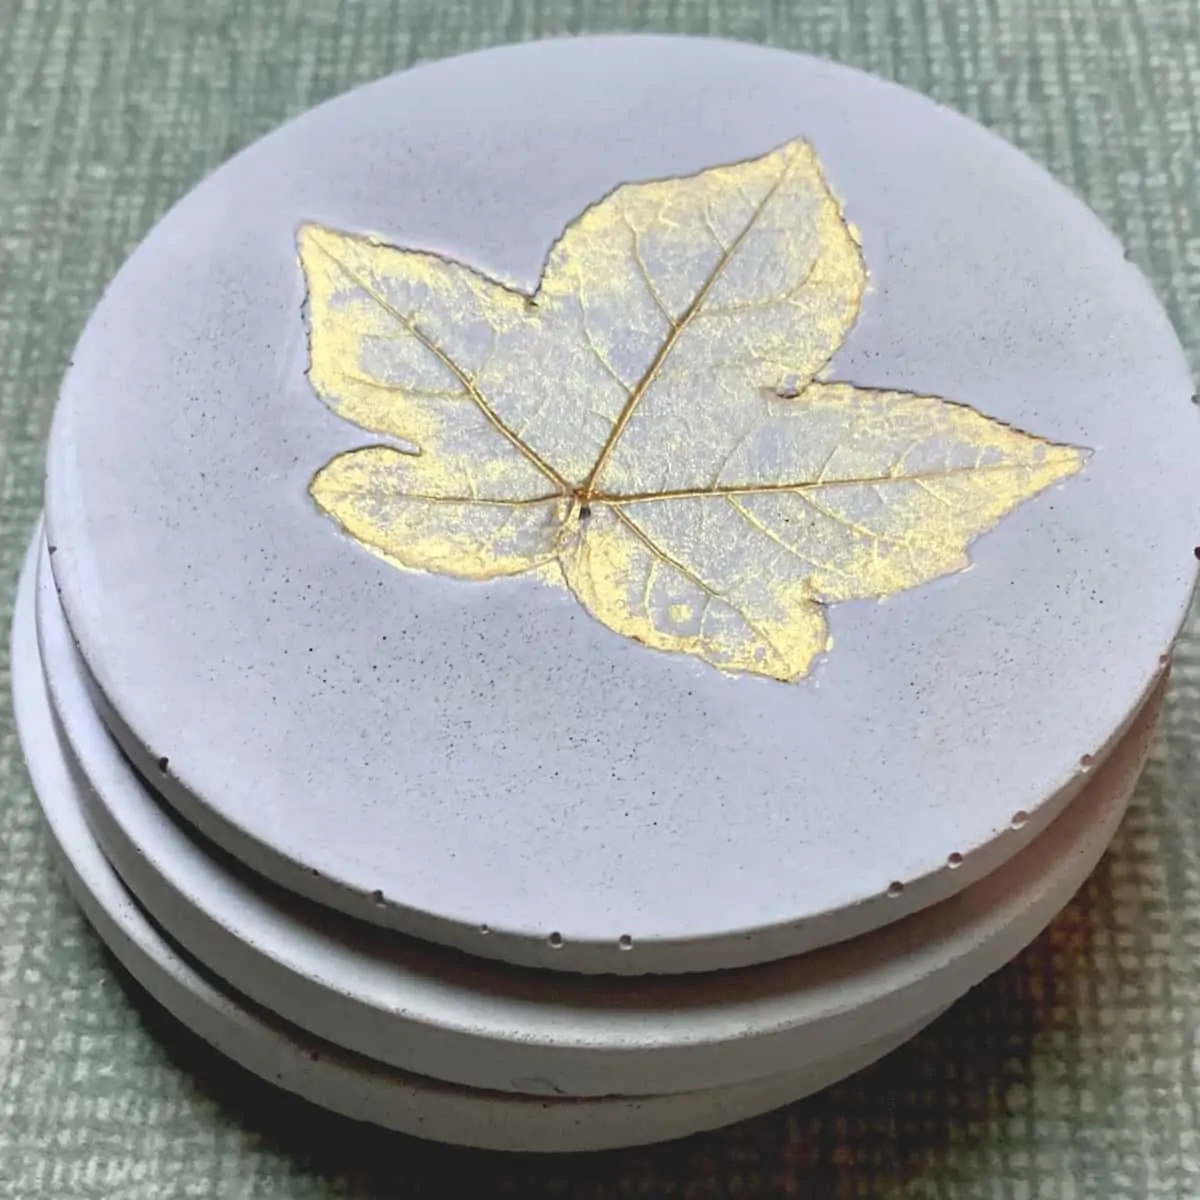
If you love this tutorial, then you may be interested in both this white concrete modern planter, as well as the ribbed concrete planter tutorial.
Would you rather buy a fluted planter, rather than make one? Here’s CB2’s lineal planter. (Not an affiliate link).
Tutorial Steps For Making A Fluted Concrete Planter
Make your own fluted concrete planter using big straws. This gorgeous DIY planter was made using such simple materials.
Materials
- Cement
- Straws
- Cardboard tubes
- Safety equipment
Tools
- Please see the full list of materials above the tutorial.
Instructions
- Trim The Straws to Fit Your Form For The Outer Mold
- Glue The Straws To Each Other
- Make The Base For The Fluted Concrete Planter
- Cut The Inner Concrete Mold To Size
- Secure The Concrete Fluted Planter Molds To The Base
- Fill In The Mold With Sand
- Create The Planter Drainage Hole Mold Piece
- Mix The Cement And Colorant
- Remove The Fluted Concrete Planter From Its Mold
- Sand The Diy Fluted Planter’s Edges


Let me admire you! Your work is impeccable as always.
Thank you! ?