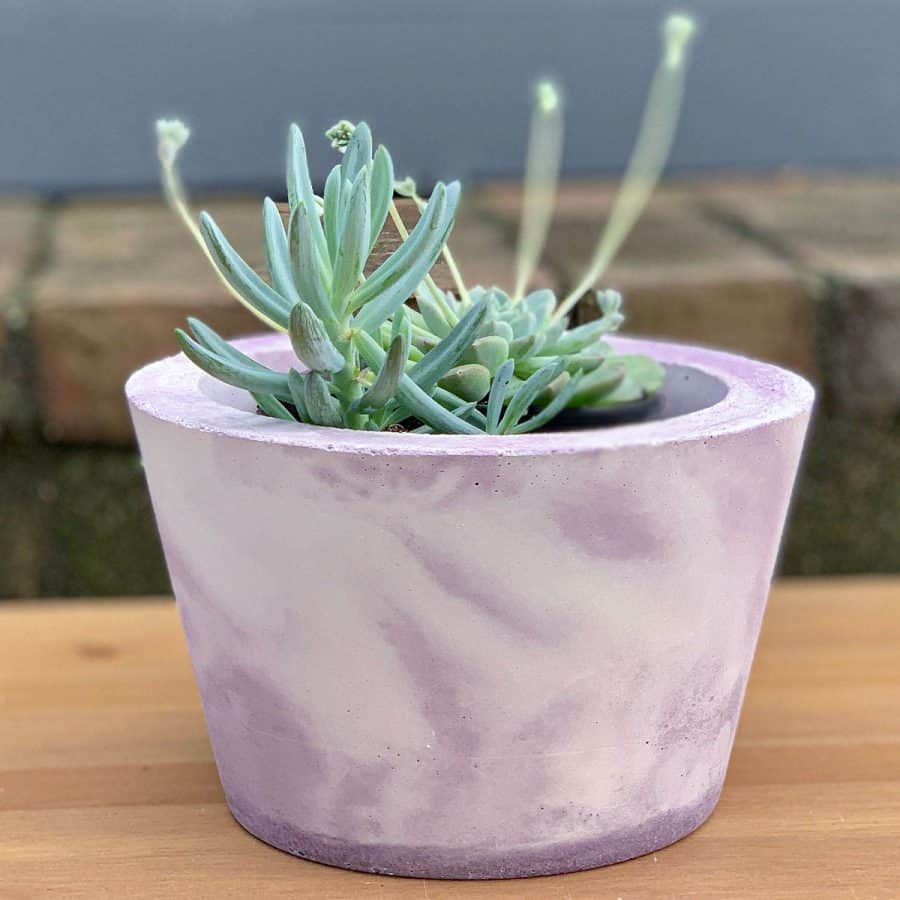
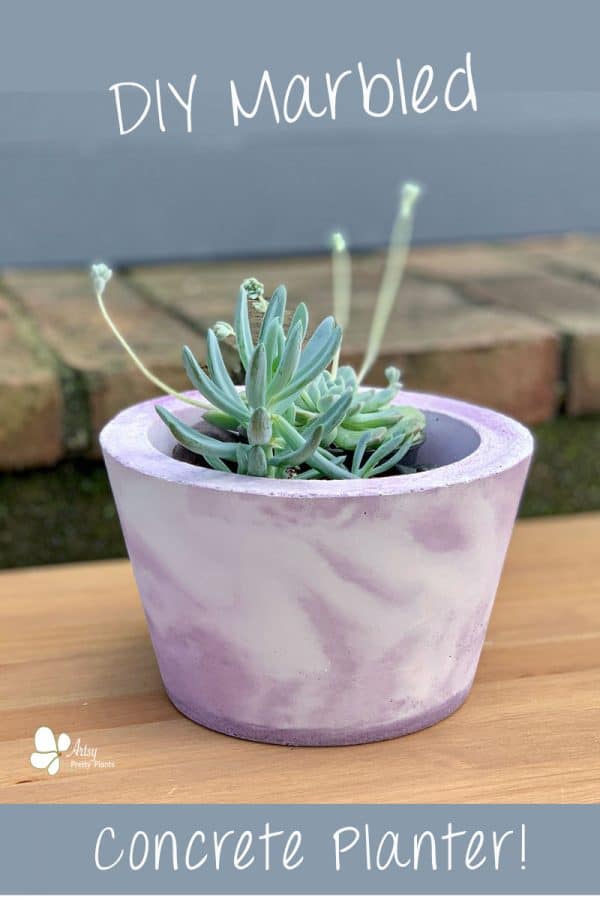
Make a Dyed Cement Planter For Cheap
Some cement colorants can be pricey, but here’s a tutorial for a great way how to make a dyed cement for cheap- using fabric dye!
If you’ve been wondering about how to make a dyed cement planter, then you’re in luck, because there’s a good choice for a concrete dye out there and it’s cheap.
Nope, it’s not food coloring.
Food color dye for the application of coloring cement isn’t very effective, because it’s going to require using a lot of dye to achieve a moderately deep color.
However, fabric dye is a better choice for coloring cement because it’s more concentrated so you will need less of it.
There are a few tricks to using fabric dye with concrete, so read on in the tutorial for what you’ll need to look for.
Some of the links on this page have been provided as a convenience for finding materials. These links may also be affiliate links. As an Amazon Associate I earn from qualifying purchases, at no extra cost to you.
I only recommend products I’ve used and loved, unless otherwise stated. Click here to read my full disclosure policy.
DIY Difficulty Level | Easy
Materials For A Dyed Cement Planter For Cheap
- White mortar mix*
- Disposable bowl
- Disposable cup
- Durable nitrile gloves
- Safety glasses
- Safety mask– rated for silica dust
- 2 buckets- molds from Dollar Tree
- Fabric dye
- Utility knife
- Jumbo straw
- Hot glue
- Permanent marker
- Ruler
- Blue tape
- Heat tool
- Heat gun
- Pliers
- Scissors
- #200 and #60 grit diamond sanding sponge
Materials Note
If you can’t find a white mix, this post explains how you can make your own white concrete mix.

Before starting the tutorial, it may be helpful to read my article comparing the different concrete mixes and sealers– Cement & Concrete Crafts Tests!
Another important article is Making Cement Crafts Techniques & Tips with info on cement materials, mixture consistencies, demolding, safety and clean up!
If you are looking for complete, in-depth information on how to color concrete, take a look at the post How to Color Concrete And Cement Crafts.
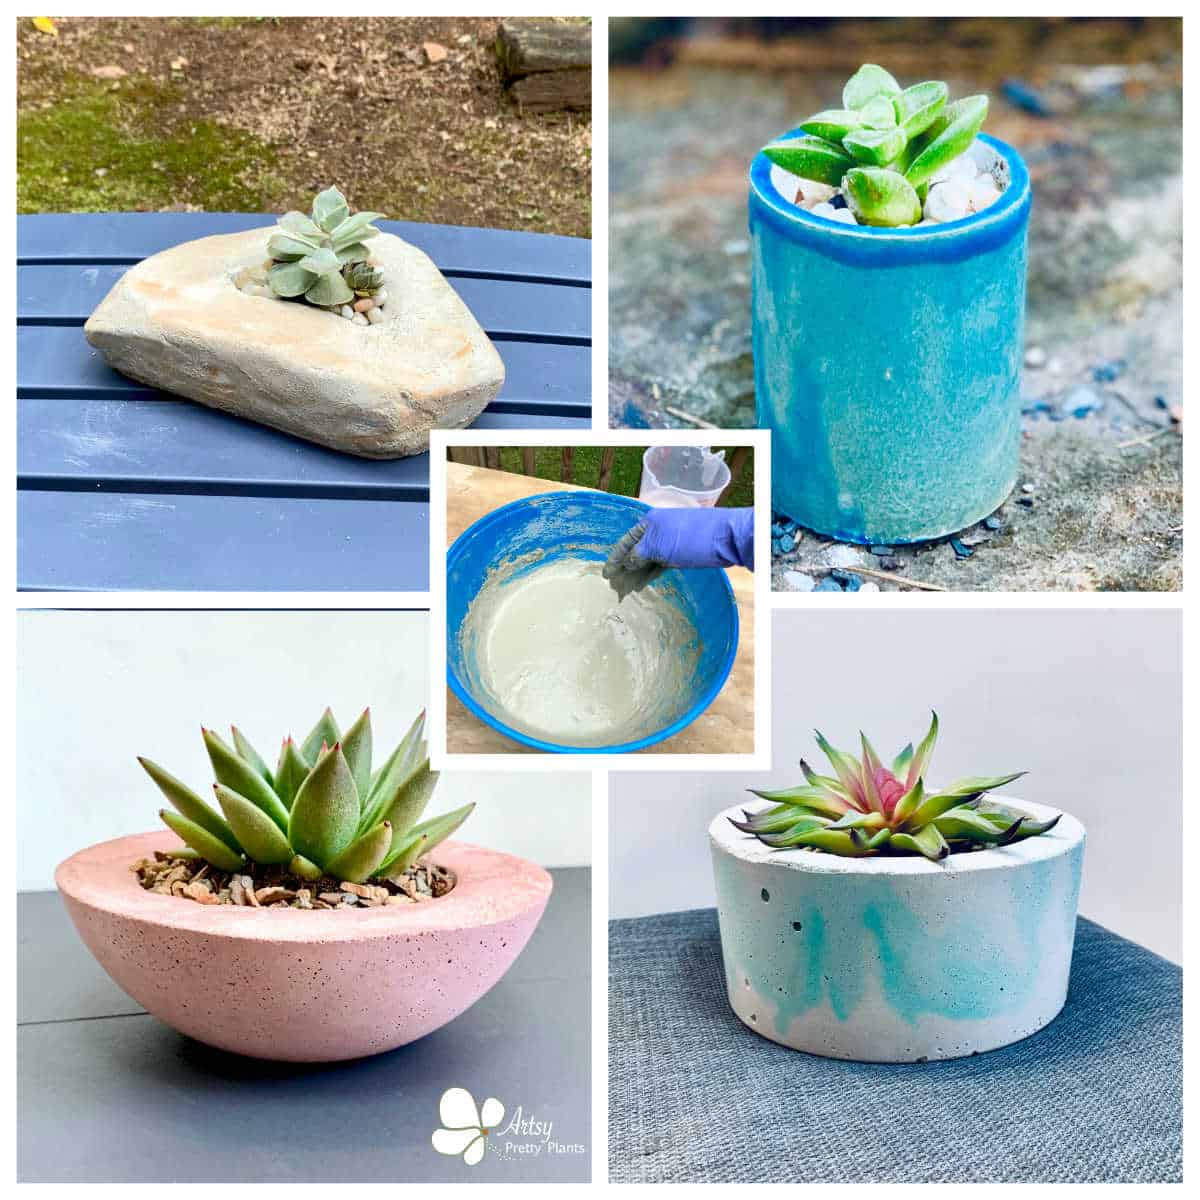
And here’s a great planter tutorial where I colored the concrete using a wood stain. And this vibrantly colored planter tutorial uses a special cold water, powdered dye.
Tutorial Steps For A DIY Dyed Cement Planter For Cheap
Step 1. Create The Planter’s Drainage Hole

To make a hole for the planter to have drainage, use a heat burning tool.
Let it heat up and then when it’s hot, press straight down into the center of the pail (or inner mold).
The standard tip that comes with the hot tool is probably only about ⅛”, so you’ll need to widen the hole to fit the jumbo straw.
To do this, roll the tip around in the hole. Try not to oversize it, just keep it as close to the straw size as possible.
Warning- the melted plastic smells really bad!
Now do the same with the outer mold bowl.

Use hot glue to glue the jumbo straw to the bottom of the bowl, from the outside.
Gluing it from the outside will make it much easier to demold than gluing it from inside the bowl.
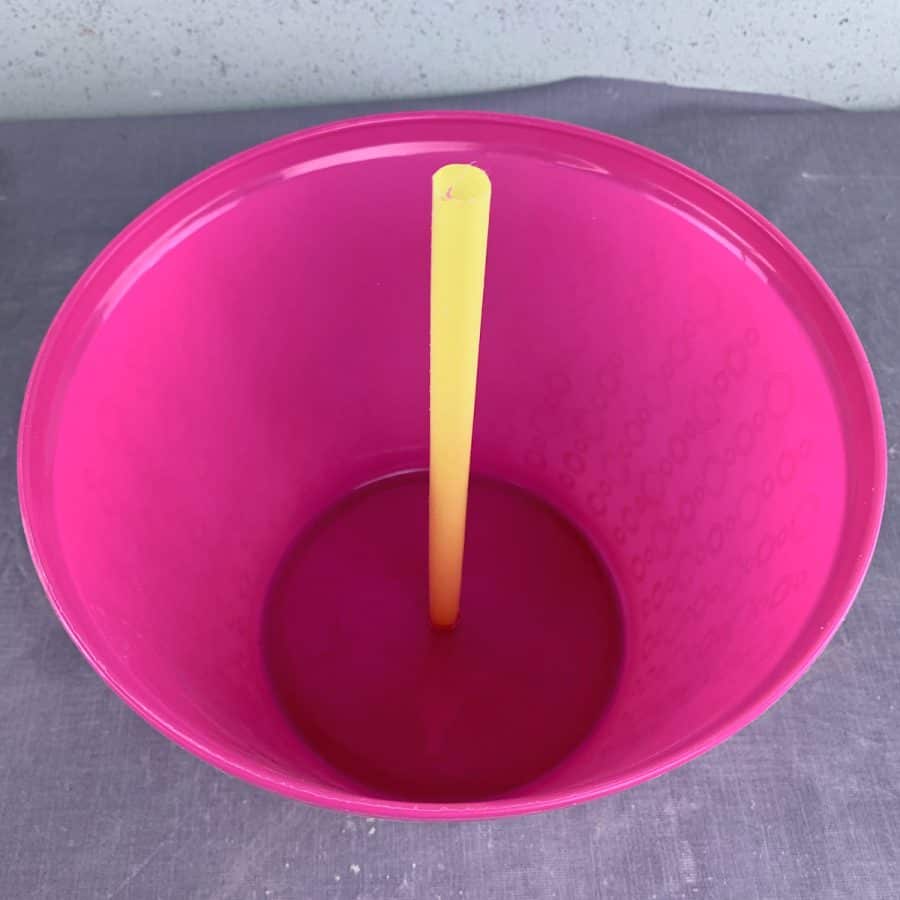
Be sure the straw protrudes just enough to come past the bottom, but not so far that the bowl doesn’t sit flush with the table.

Test that the pail inserts properly over the straw by sliding it down.
Once the pail is about ¼ – ½” from the bottom, use a marker to mark the location for where you’ll need to stop.
This is your guide so that you allow for ample enough bottom thickness, without making it too thick and heavy.
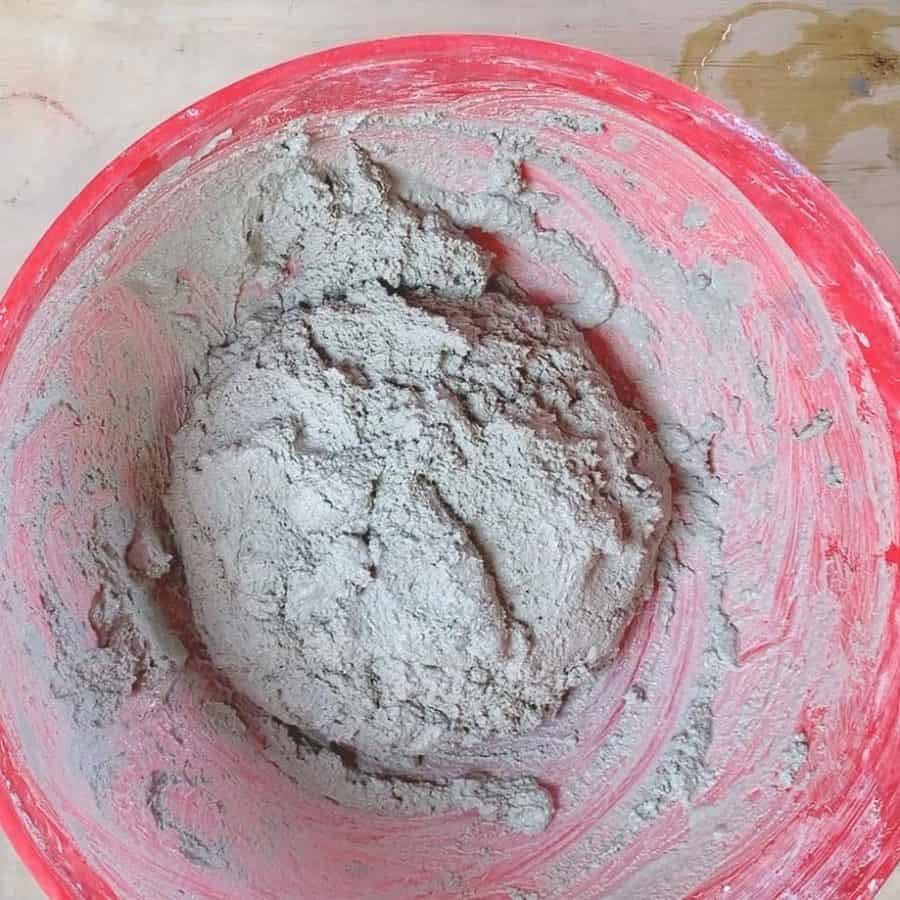
Step 2. Mix The Cement
First, mix the cement with water for the white portion of the mix. I did close to equal proportions of each- so ½ purple and ½ white.
For this particular mix, you want to make sure it’s not at all runny.
Too much water in this mix will for sure cause it to crack. This should be more of a mud pie consistency.

For the colored cement, add the powdered cement to the bowl and then add just a little bit of water to the mix.
The texture should be crumbly, and mostly dry. The fabric dye has water in it already, so you’ll make up the difference in liquid from the dye.

If you want a color that’s more muted than mine, then go ahead and add more water and less dye, just be sure to keep the mixture at a mud pie consistency.

To create a marbled look, start by adding the purple cement to the bottom of the bowl.
I missed getting a photo of this, but I just poured in most of the purple mix, but also reserved a small amount to add for blending a little more after the white goes in.

Next, add the white mix on top of the purple. At this point, you can add the little bit of reserved purple and place it on top.
When the inner mold gets inserted, the colors will become marbled from being squished against the sides.
It’s easiest to do most of the vibrating now before you insert the inner mold. So with all the cement in the bowl, go ahead and vibrate it for two to three minutes.
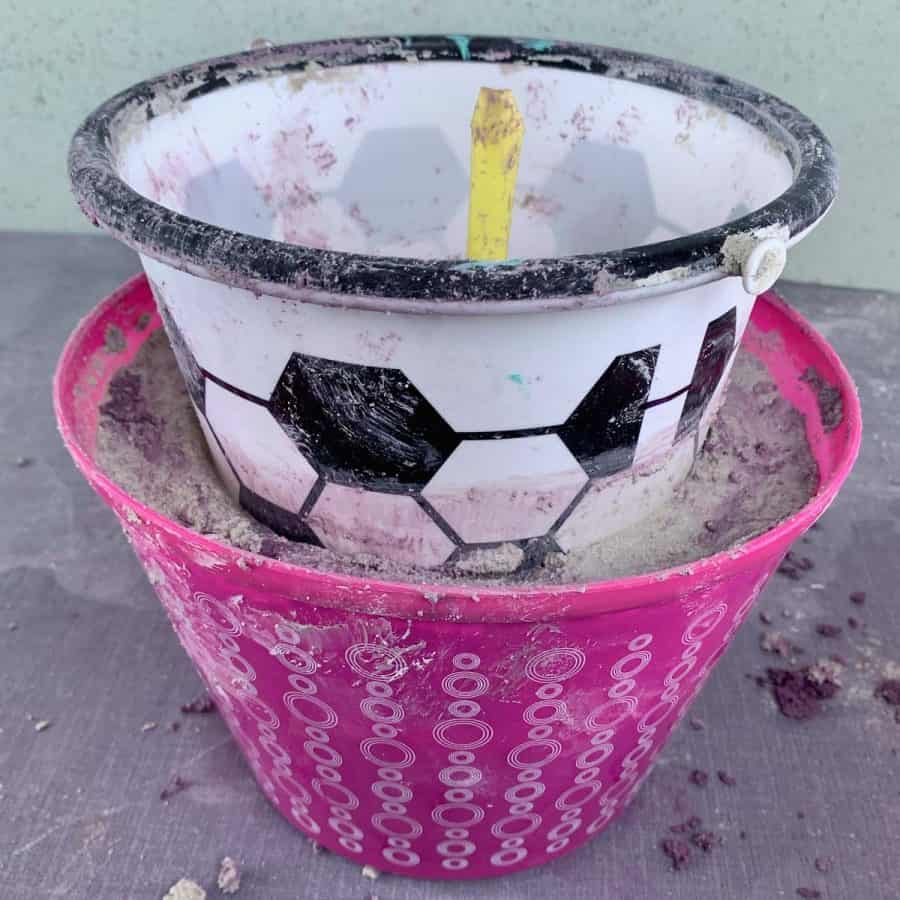
Now get ready to insert the inner mold.
Since the mix is thicker than you’d typically make for a planter, it will be easier to insert the pail if you push the mix inside the bowl out toward the sides to create the space for the pail.

Take the pail and place it over the straw so the straw goes through the hole and then press the pail down to the line you marked in Step 1.
I forgot to glue my straw to the pail, so I ended up having to fight with keeping everything lined up with the straw and holes.
Once the pail is fully inserted to your stopping point, add something weighted inside and then vibrate it again for less than a minute.
Set the cement planter aside to cure for 24 hours.
Step 3. Demold The Dyed Cement Planter

If you managed to find the same pail and bowl that I used, then your demolding step should be nice and easy.
All I needed to do was turn the cement planter upside down and run a heat gun over the top and around the sides for about 20 seconds. Then I just lifted the bowl right off.
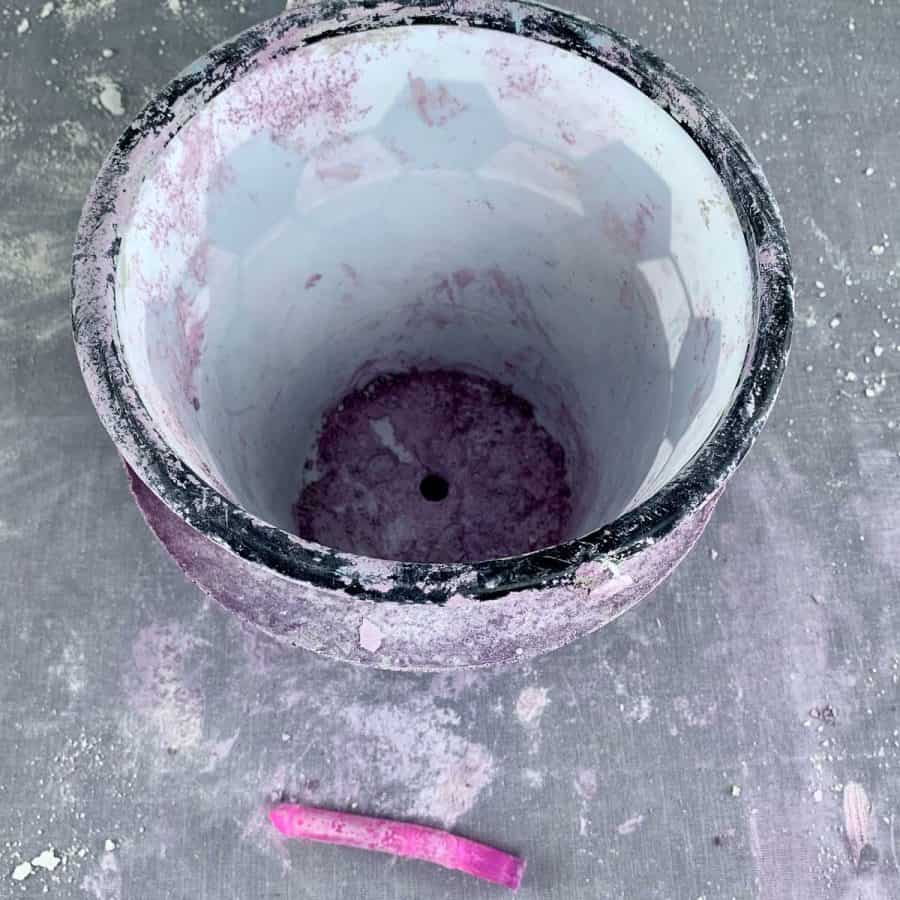
Next, I grabbed some pliers and pulled out the straw.

The pail took a little more work and because it’s set pretty far down inside, I needed to use a utility knife to cut down the side of it.
Then I just pulled the sides together at the seam I cut and pulled. It came out with minimal effort.
Step 4. Clean Up The Edges Of The Dyed Cement Planter

Use a sanding sponge to sand the top of the rim, and gently smooth the top edges.
Here’s another marbled planter tutorial using acrylic paint as the integral pigment.
Make A Dyed Cement Planter For Cheap
How to make a concrete planter and color it with a cheap dye. Coloring concrete is super easy. Here are a few tricks on making this planter and how to color it.
Materials
- White concrete mix
- Plastic buckets
- Dye
Tools
- Please see the full materials list above the tutorial for details and links.
Instructions
- Create The Planter’s Drainage Hole Using A Heat Tool
- Mix The Cement To A Mud Pie Consistency
- Demold The Dyed Cement Planter From The Buckets
- Clean Up The Edges Of The Cement Using A Sanding Sponge
Don’t forget to Pin it for later!


I love this! And my confidence is almost there for doing one of these. Quick question: Twice you talked about “vibrating” the buckets with the concrete in it. Would you mind telling me how you do this? I’m guessing it’s just shaking it. But hope you have a simple process to do this.
Keep these ideas coming!!
Hi Sheila,
Yes, I like to place whatever I’m making on a flat drying board or tile. Then I lift, tap and shake the board on the work surface. I also use my hands to tap the sides of the buckets. Depending on the project, I usually vibrate for 1-3 minutes.
Thanks so much!!
~ Sheila ~