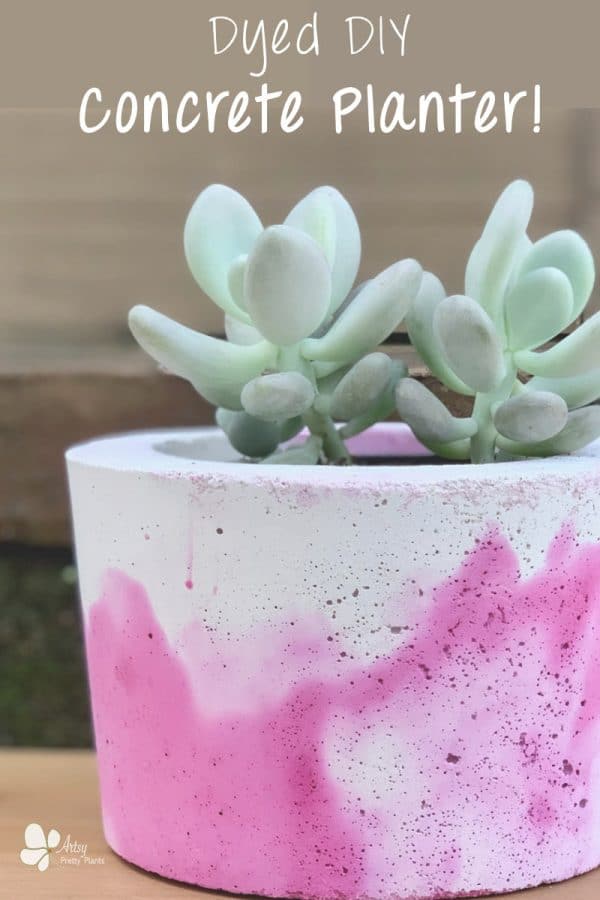
Vibrant Dyed Concrete Planter (DIY Step by Step)
Today I’ll show you how to make a vibrant, dyed concrete planter. Use a white mix and special, inexpensive dye, to create a brightly colored concrete planter.
This is the most vibrantly dyed concrete planter I’ve made. And the dye itself is something I kind of stumbled upon.
I’ve colored many cement and concrete planters and have used just about every type of colorant you can think of, but this bright dye is impressive.
This special dye comes in a powdered form, much like powdered concrete mineral/oxide pigments.

However, the intended use of this dye is for fabrics.
This is different from a fabric type of dye (like RIT brand) in that it can be used in cold water.
The RIT fabric dye is made to be used with fabric in hot water.
The dye used in this tutorial is a fiber reactive dye that reacts with chemicals instead of heat. So how does this affect cement?
If you are interested in learning more about coloring concrete, this article is all about working with pigments.
Please click the button to subscribe to my YouTube channel and be notified when I have a new video tutorial!
Well, it actually doesn’t- not in the sense of hot or cold water, or reacting with fibers.
However, it is highly concentrated and from my experiences, you will not need as much of this powder as a fabric dye.

Both cost about the same, but they are close in the level of concentration of pigmentation, but this cold water dye is slightly more potent.
One potential downside to this powdered pigment is that it performs better when mixed with water, than when added to the wet concrete mix in its powdered form.
This adds an extra step. The fabric dyes are more widely available and come in a much greater assortment of colors.
In the end, I don’t have a preference. If you would like to see how the fabric dyed cement planters came out, then take a look here. And also, this is how you color a concrete planter using a wood stain.
Some of the links on this page have been provided as a convenience for finding materials. These links may also be affiliate links. As an Amazon Associate I earn from qualifying purchases, at no extra cost to you.
I only recommend products I’ve used and loved, unless otherwise stated. Click here to read my full disclosure policy.
DIY DIFFICULTY LEVEL | Easy
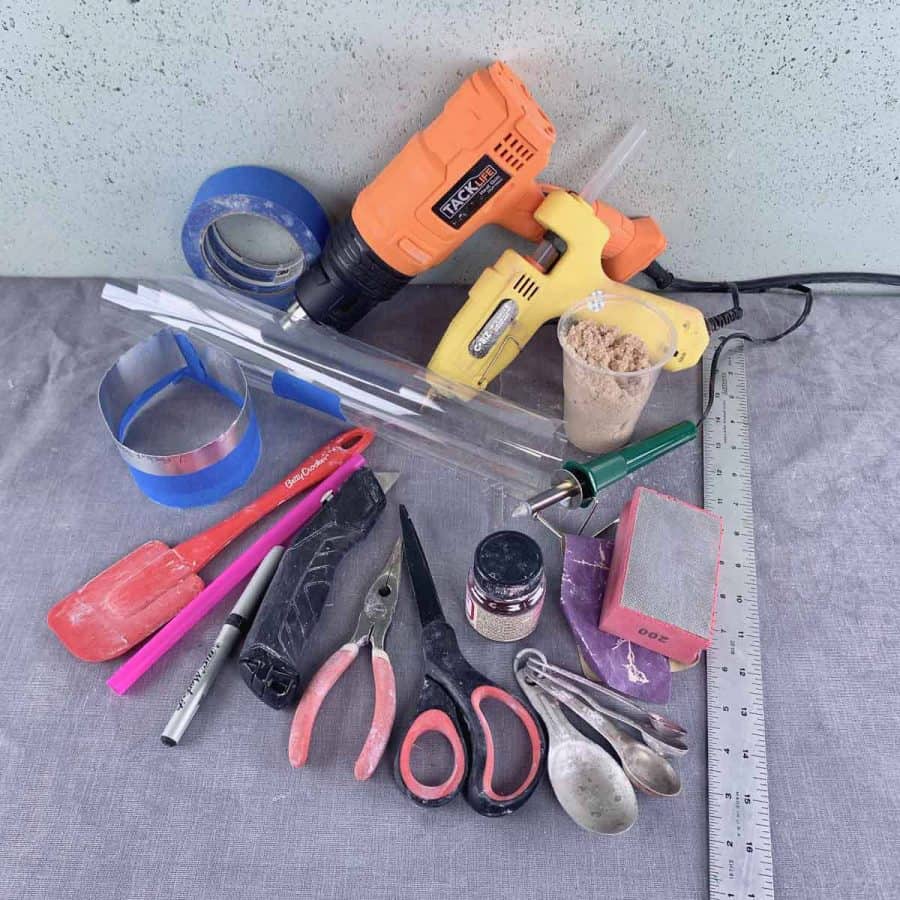
Materials For How To Make A Vibrant, Dyed Concrete Planter
- White mortar mix*
- Disposable bowl
- Disposable cup
- Durable nitrile gloves– I like these because they are so durable, you can rinse and reuse them
- Safety glasses
- Safety mask– rated for silica dust
- Acetate sheet
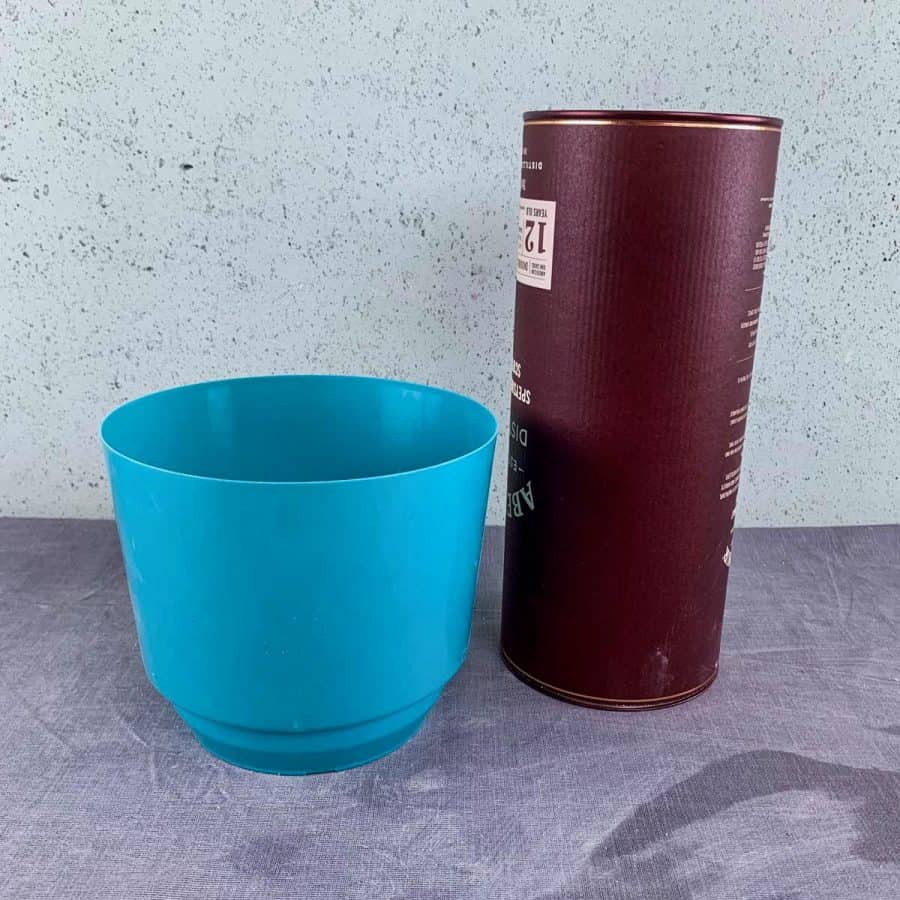
- Plastic pot from Dollar Tree
- Cardboard tube 4”
- Powdered cold water dye
- Measuring spoons
- Utility knife
- Jumbo straw
- Hot glue
- Permanent marker
- Ruler
- Flashing
- Blue tape
- Heat tool
- Spatula
- Play sand
- Heat gun
- Needle nose pliers
- Scissors
- #220 grit sandpaper
- #200 grit diamond sanding sponge
Materials Note:
If you can’t find the mortar mix above to another white mix, I have another article showing how to make your concrete mix white.
Optional:
I generally don’t seal concrete planters because being a porous material, makes them a great choice as planter since some of the moisture will evaporate and there will be less risk of overwatering.
However, with a nice white cement and a vivid color, you may decide that it’s more important to maintain the brightness, as concrete will become aged looking overtime if it is potted with soil.
The water and soil will cause some discoloration. To combat this, you can double seal it.
To seal it, follow the instructions in this tutorial in this post on how to seal a concrete planter to maintain its aesthetics using the double seal method.
Tutorial Steps For A DIY Vibrantly Dyed Concrete Planter
Step 1. Prep The Outer Planter Mold
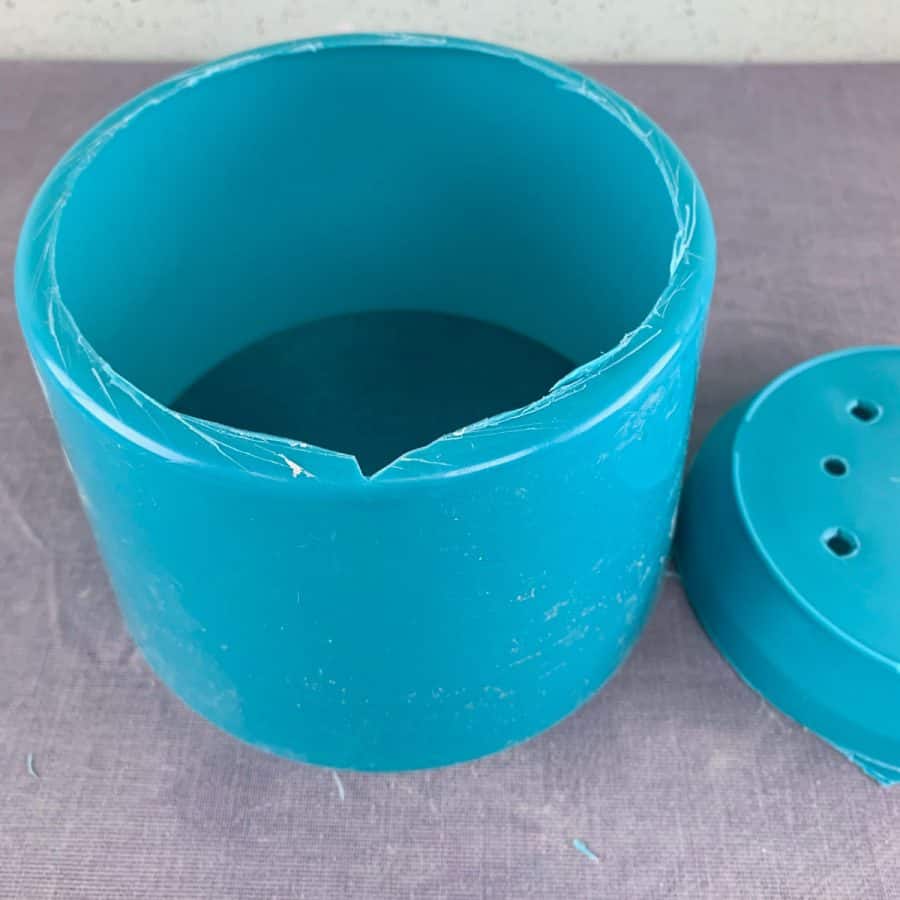
First cut off the bottom of the plastic pot. It was easier for me to cut downward, rather than sideways, which left me with a bit of a lip.
After cutting out the bottom, it was quite easy to trim the lip away.
I just took the utility knife and sliced sideways almost as if I was carving the bark off of a twig (*thinking of s’mores*).
Step 2. Cut The Inner Concrete Mold To Size
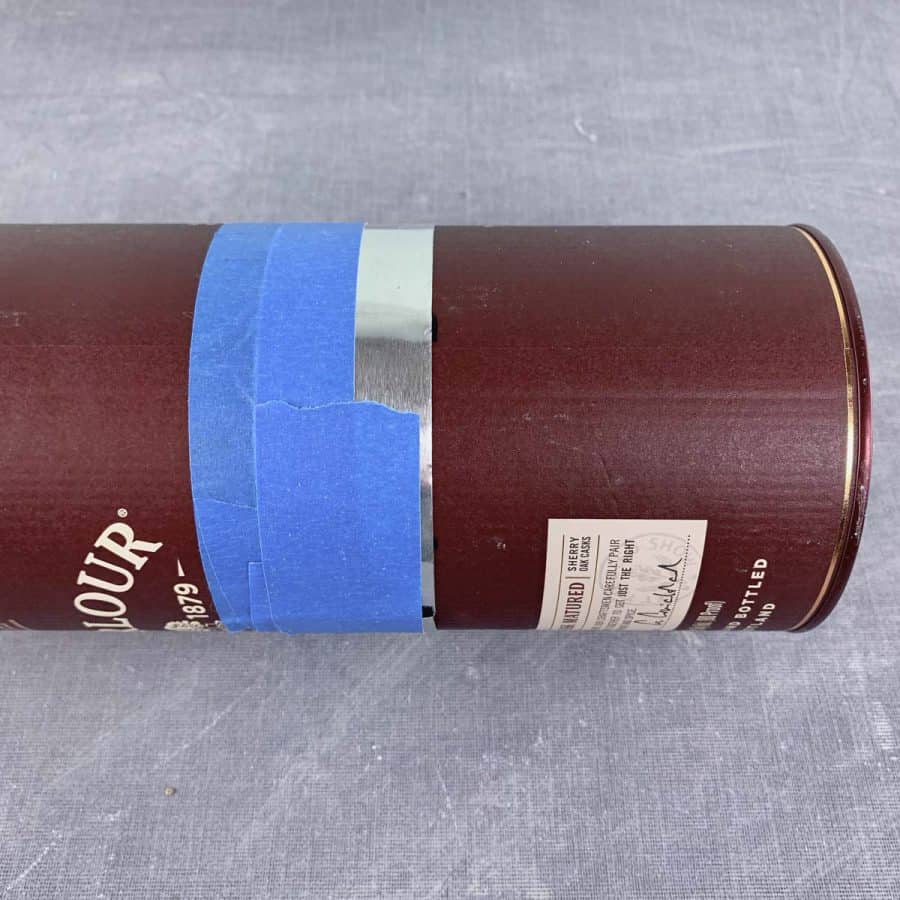
Here’s a handy way to make a straight cut on a cylindrical shape. First, measure the height and mark this in 3 locations around the tube.
To leave enough space for the planter’s bottom thickness, you’ll want this measurement to be 3 ½”.
Cut a piece of aluminum flashing that’s a couple of inches wide by about 14” long. You’ll need enough to wrap the flashing around the tube about twice.
Make sure that one edge of the flashing is the cut straight from the factory, not one you have cut so that it comes perfectly straight.
Use that edge as your straight edge. It’s helpful to make the factory cut edge, because it can be difficult to tell the difference after you cut it.
Use a long piece of blue tape to secure the flashing to the cardboard tube.
Now cut the tube using a utility knife and the flashing as your guide. Keep the utility knife blade parallel as you cut.
Sometimes it’s easier if you score the tube first and then cut.
Step 3. Make A Base For The Mold To Sit On

Take a piece of acetate that is a few inches bigger than the outer mold, and tape it to a flat board, or a tile- which I like to use since I know it’s not warped.
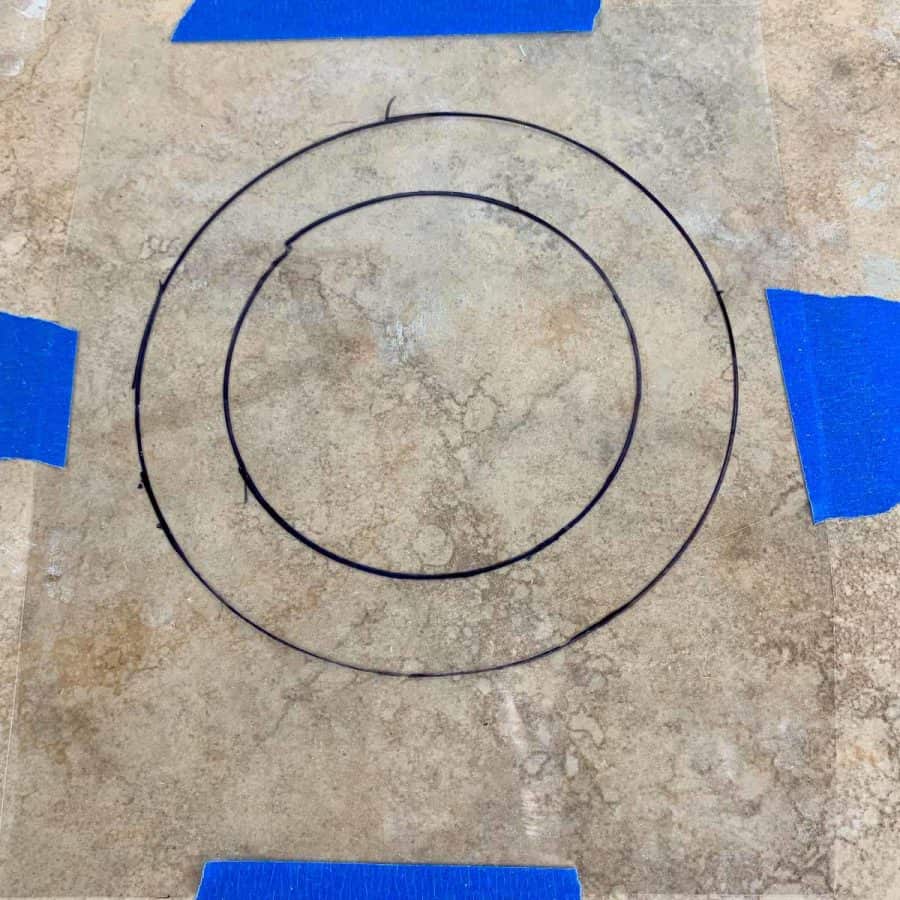
Now take a permanent marker and trace the inner mold (cardboard tube) and then place the outer mold over that circle, get it centered and trace that.
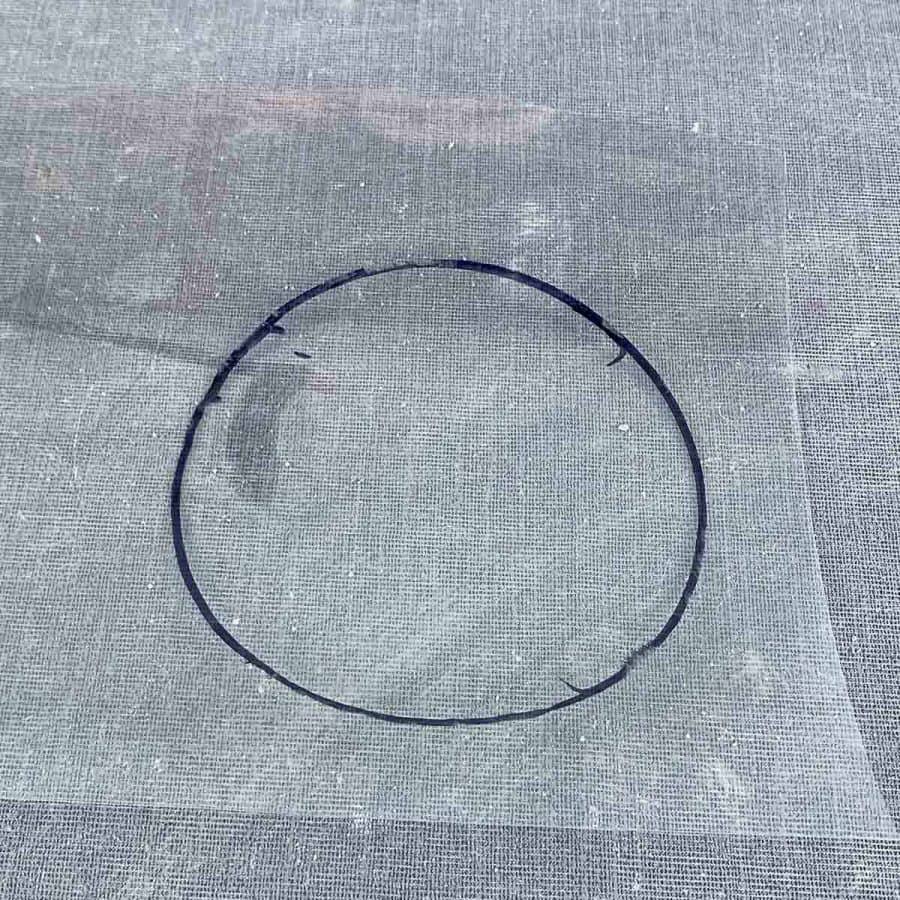
You will need to cut out a circle that’s the same size as the tube for a future step, so go ahead and do that now, just trace the tube again (from the inside) and cut the circle out.
This will act as a lid.
Step 4. Secure the Molds To The Base
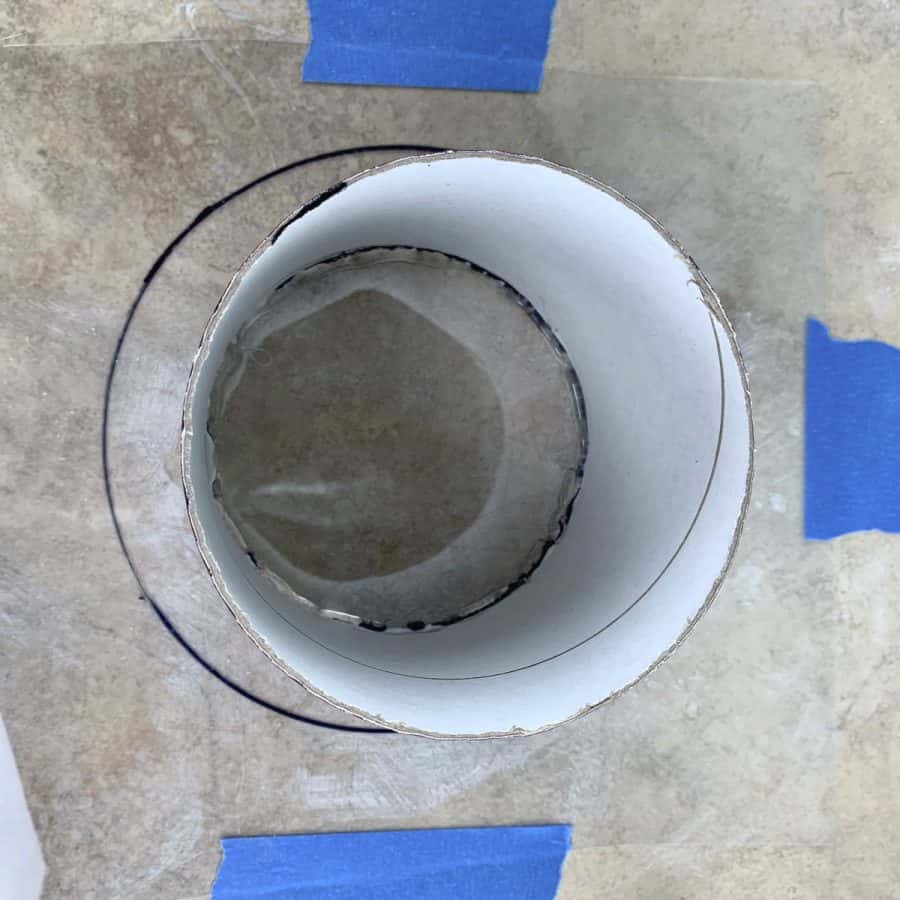
To secure the molds to the base, you will use hot glue, so go ahead and heat up your glue gun. Once heated, run a line of glue around the inside bottom of the cardboard.
Try to keep the glue inside to keep your concrete planter rim nice and smooth.
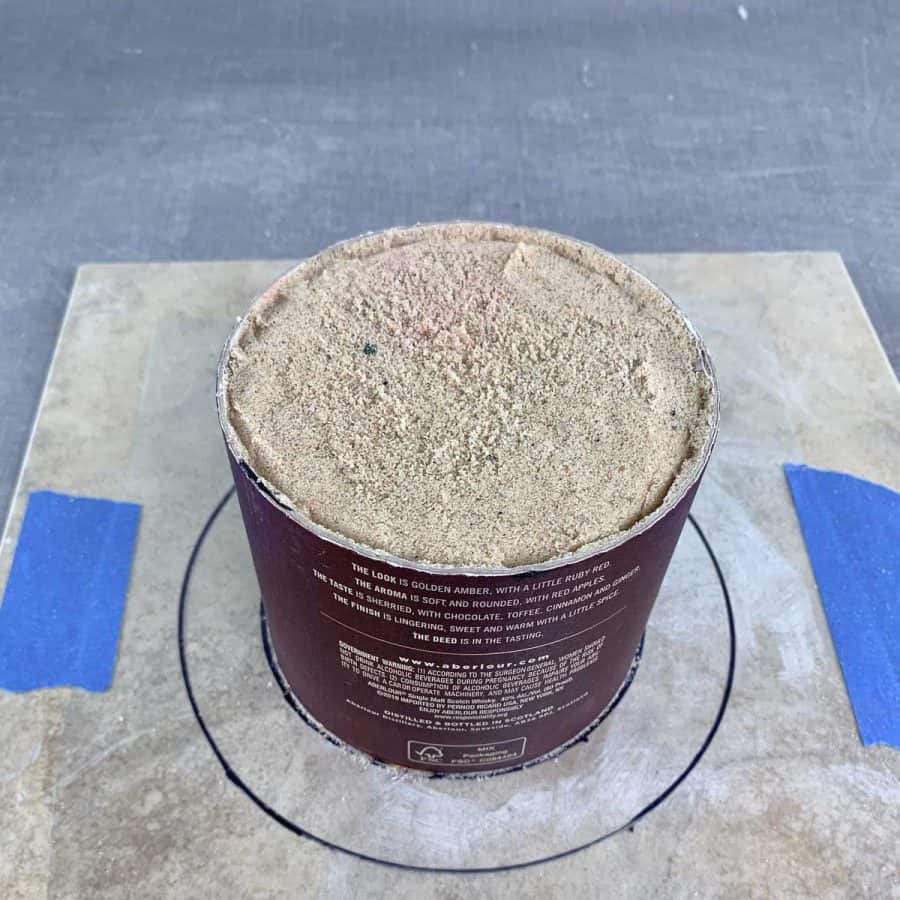
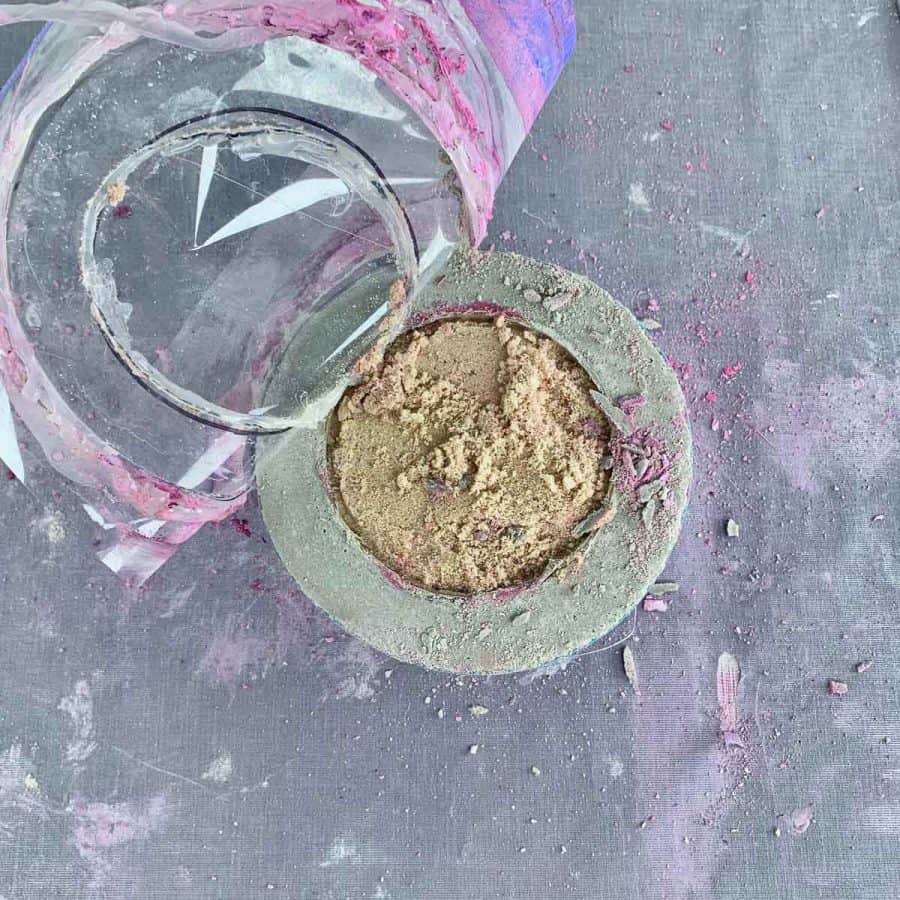
Next, fill in the tube with damp sand and be sure to pack it down and make it flush with the top.
This will help with holding the drainage straw in place, as well as to keep the tube from softening and caving in from the liquid from the concrete mix.
Now glue the outer mold, but this time, keep the glue on the outside of the pot.
You will want to reinforce this by running a second line of glue because these pots are a decent size.
And since the plastic is soft, it can detach itself, causing cement to leak out after you cast it.

Take the circle you cut out in Step 1 and glue it to the top of the sand filled tube. You only need to do this lightly and in a few places, just enough that it doesn’t slide off.
It will help when it comes time to demold, if you can keep the glue on the inside edge of the tube.
Step 5. Make A Drainage Hole For The Planter
Warm up the heat tool and when it’s hot (usually within less than a minute), press the tool into the center of the acetate lid.
Move the tip in a circle to widen it to the diameter of the jumbo straw.


Then go ahead and insert a jumbo straw. It can be full length, but that’s not necessary.
I cut mine to 3-4” and inserted it a couple of inches into the sand and let it protrude the rest of the way.
When casting, it’s easy to accidentally get concrete in the straw.
To avoid this, I like using plasticine clay to plug the hole, but you can cover it with a piece of tape.
Step 6. Mix The Concrete
Use two bowls for mixing the concrete so that you have one batch of the white and one batch of the fuschia. I divided mine equally.
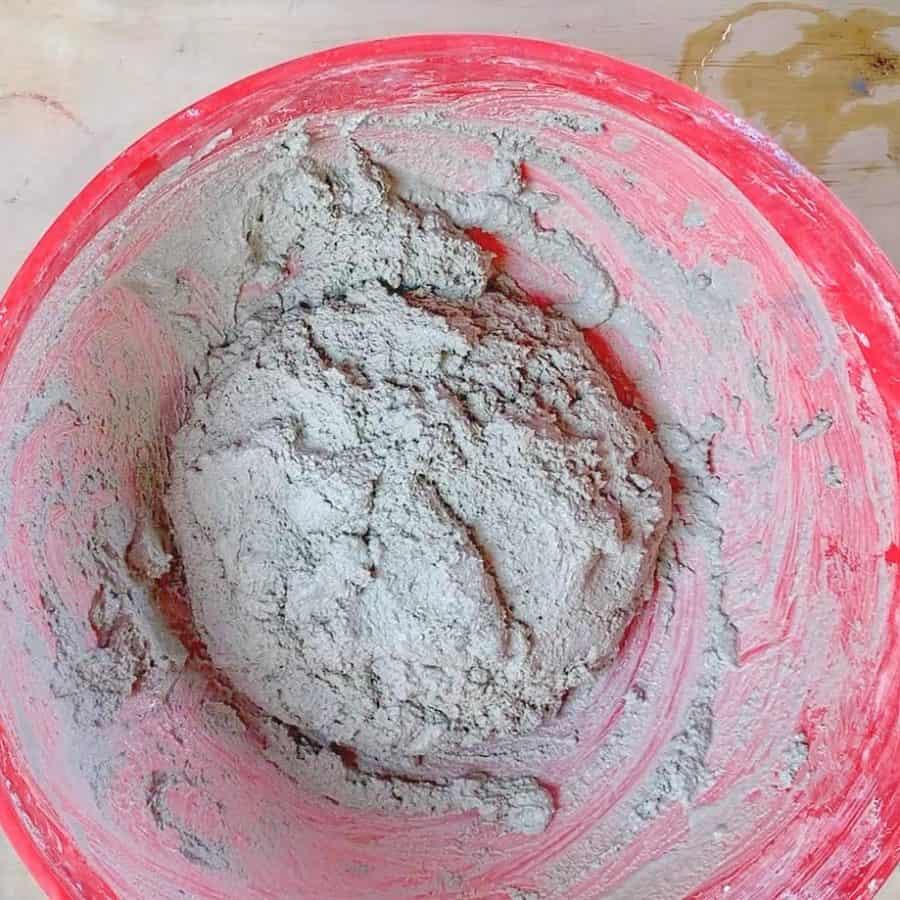
The consistency you are striving for is like a mud pie. It needs to be fluid enough that you can get it into the crevasse of the inner and outer molds.
For the dyed batch, just sprinkle the dye into the wet mix and then mix it well. I probably used a little more than a measured teaspoon of dye- no more than two.
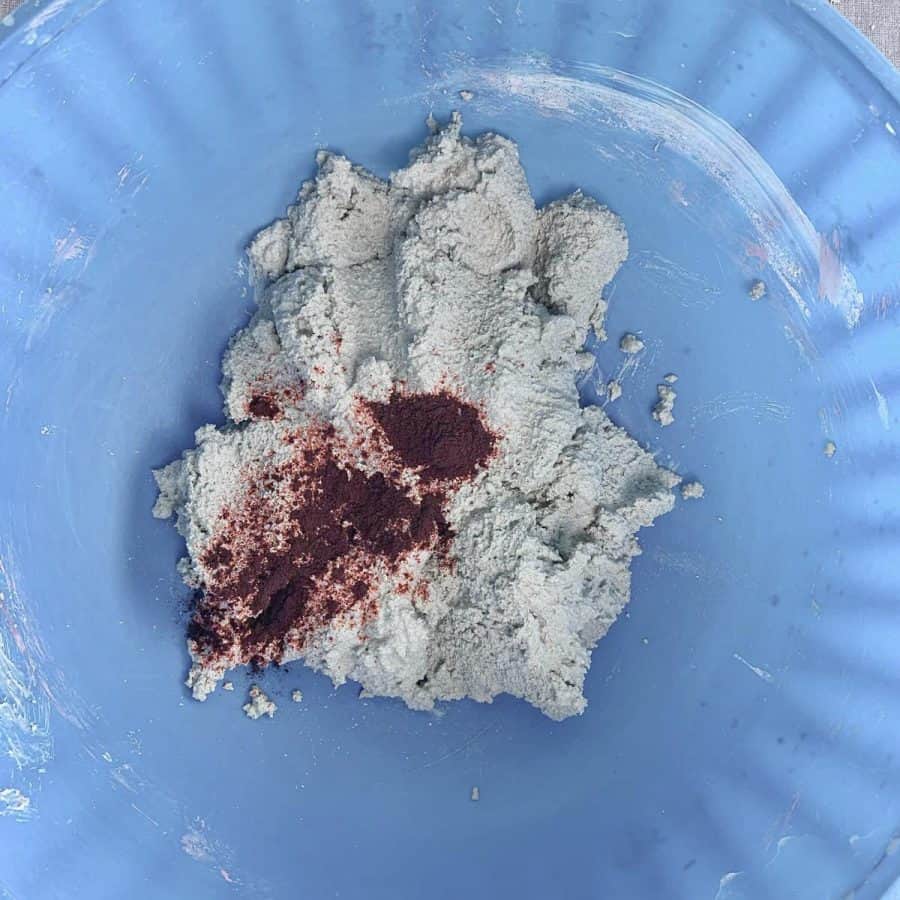
Play with the color to get it to your liking, by either adding more dry cement mix and clear water to soften it, or add more powdered mix to the dyed water.
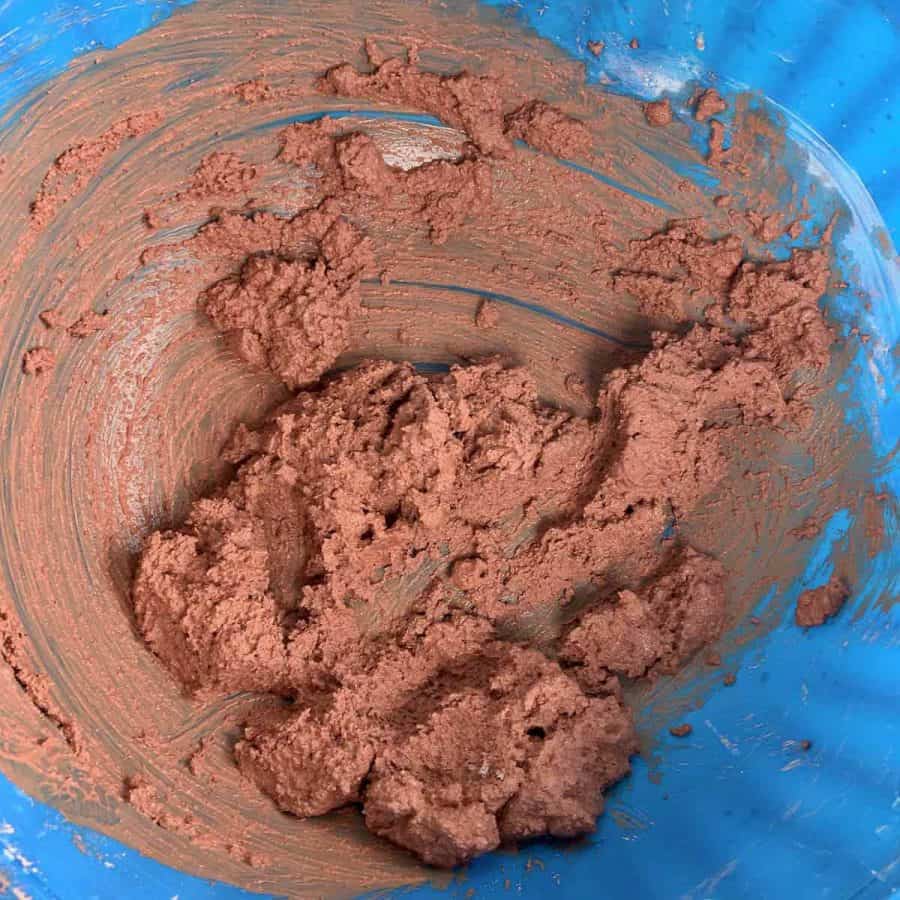
With this fuschia colored dye, it’s going to look very orange when you mix it in.
Trust me, it does not cure to an orange color, it will be a nice bright pink- not a hint of orange.
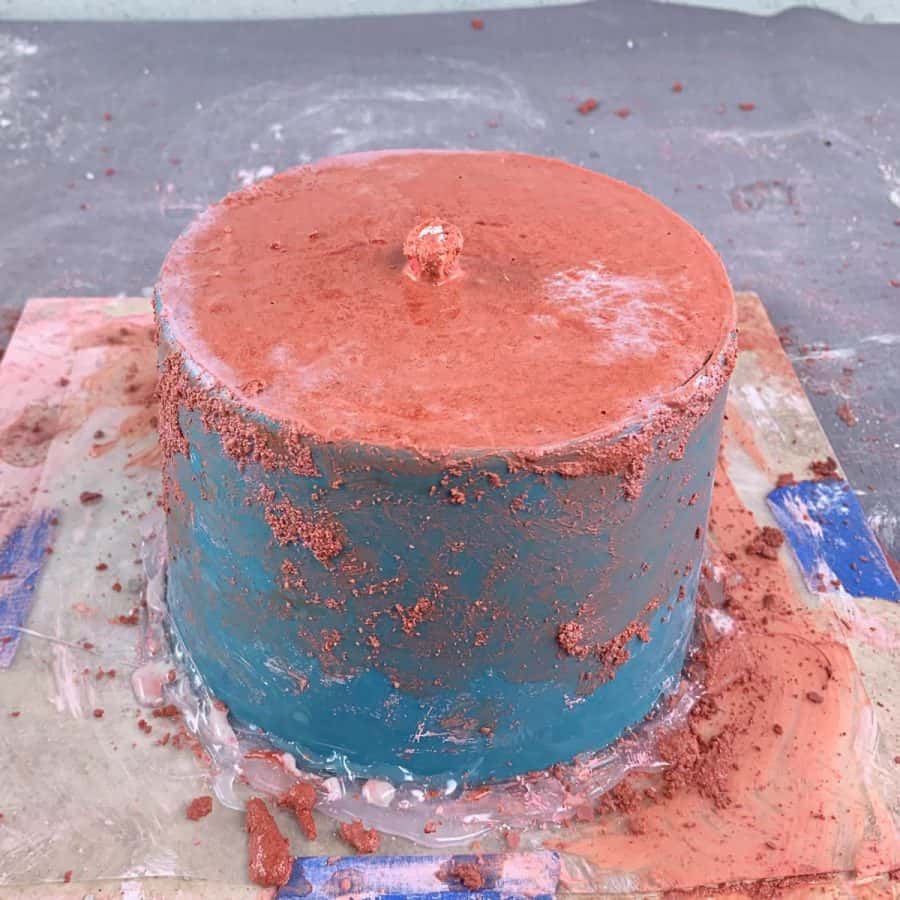
To get the color to blend the way my concrete planter did, cast the white concrete first. This will end up being the top half of the planter.

I first added all the white and then added a layer of pink on top of that, which was probably about 2-3”.
Since the mix is more of this mud pie consistency, you probably need to scoop it into the mold and push it down between the sides.
Also, it’s a good idea with this mix to go ahead and vibrate the concrete that’s in there.
You’ll do it again after you’ve filled the mold, but the results will be better if you tap the sides and shake the board up and down on the table.
I did this for a couple of minutes, then continued.
Normally, to get the colors to blend, it happens naturally when you insert an inner mold into the outer mold.
Since we are casting the concrete into fixed position molds, it won’t really blend itself.
So I helped it along, by using a spatula to push against the sides of the outer mold to sort of smear the pink into the white.
After marbling the concrete, add the rest of the dyed concrete and then level it at the top with your finger or by shaking the base it’s glued to.
At this point, the concrete needs to be vibrated again, so do this for another two or three minutes.
Set this aside to cure for 24 hours.
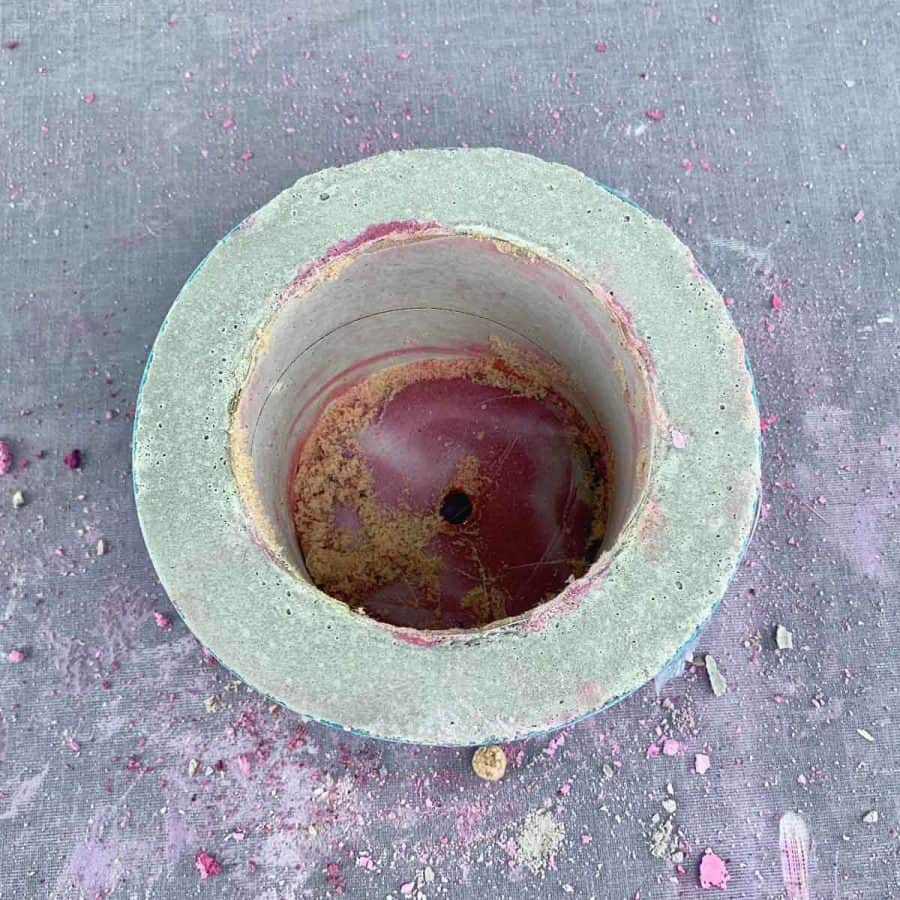
Step 7. Demold The Dyed Concrete Planter
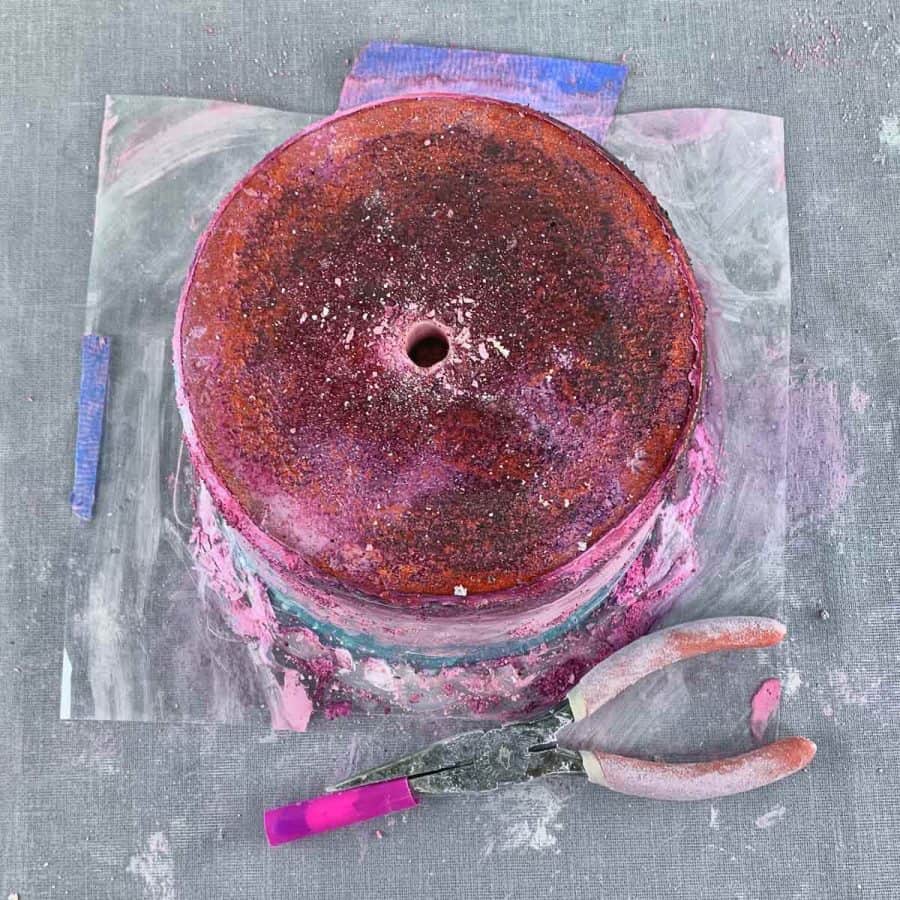
First pull out the straw. This should come right out with your fingers, but if it stickers, use pliers to help.
Next, remove the tape from the base and then peel off the acetate from the concrete planter and then empty the sand from the inner mold.
The lid you made to cover the sand is still stuck at the bottom, so depending on how the gluing went, you’ll either be able to pull this out with your fingers, or you may need to use pliers, or even tweezers.
Sometimes it helps to use the utility knife to make a slit across it on the bottom, then it’s easier to grab to remove.
Now to remove the plastic pot, turn the dyed concrete planter over and place it on a soft towel.
You can try shaking this out, but I needed to make a slit all the way down the side of the plastic peeled the plastic pot off.

Step 8. Sand Any Rough Concrete Edges
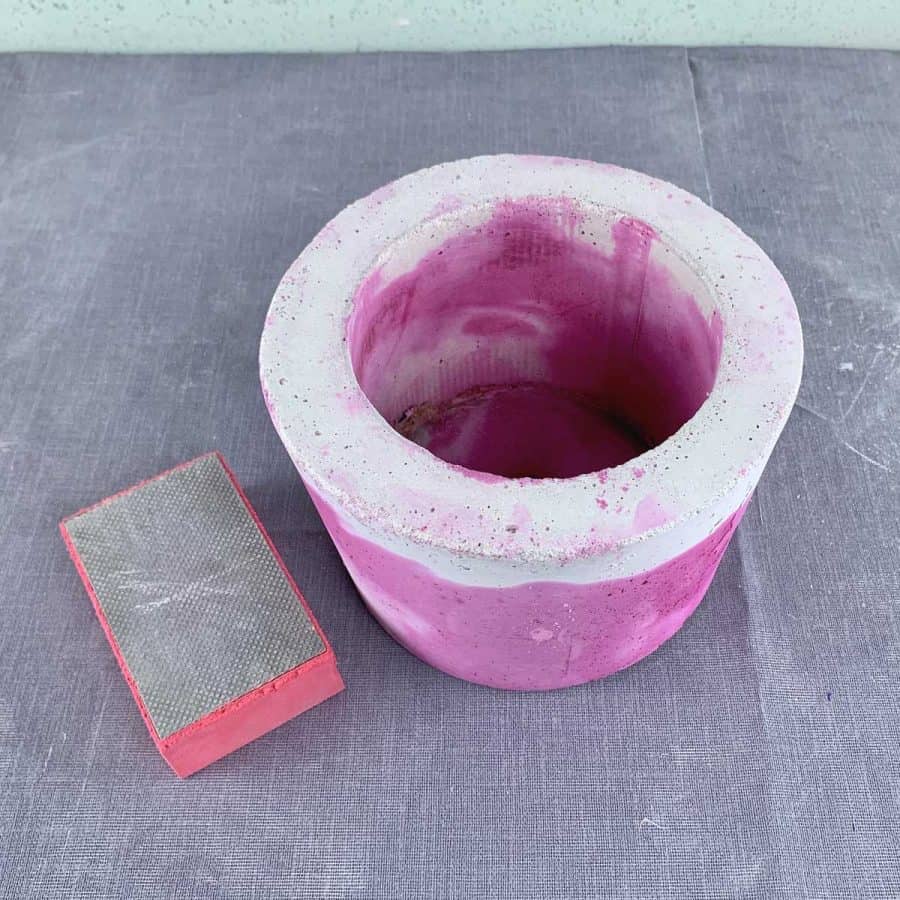
Use sandpaper to sand the rough edges. Don’t use sandpaper or the sanding sponge on the actual sides of the concrete because it will just make marks.
The sides will be nice and smooth from the smooth plastic anyway so won’t require sanding.
To learn all about coloring concrete, including the different types of colorants and best applications, take a look here.
Vibrant Dyed DIY Concrete Planter
How to make a DIY concrete planter with vibrant color. With this special but inexpensive dye, you can make rich and bright-colored concrete planters.
Materials
- White mortar mix
- Powdered dye
- Plastic pot from Dollar Tree
- Cardboard tube
Tools
- Please see the full materials list above the tutorial for details and links.
Instructions
- Cut The Bottom Off Of The Outer Planter Mold
- Cut The Tube o Fit As The Inner Concrete Mold
- Make A Base With A Flat Board And Cover With Acetate For The Mold To Sit On
- Glue Inner And Outer Molds To The Base
- Use A Jumbo Straw To Make A Drainage Hole For The Planter
- Mix The Concrete To A Mud Pie Consistency
- Remove The Dyed Concrete Planter From The Molds
- Sand The Rough Concrete Edges
Don’t forget to Pin it for later!