How to Make Concrete Shiny & Smooth (for Crafts)
Yes! You can easily make concrete shiny! I’ll show you the best methods for making concrete bothy shiny and smooth.
Do you love the look of a smooth and shiny concrete finish? Are your concrete planters or other concrete crafts still coming out with the matte finish that you weren’t hoping for?
Not only does a shiny finish have aesthetic appeal, but it also increases the durability of your concrete.
This is because a shiny surface will help protect from future stains since it helps close the pores of the concrete.
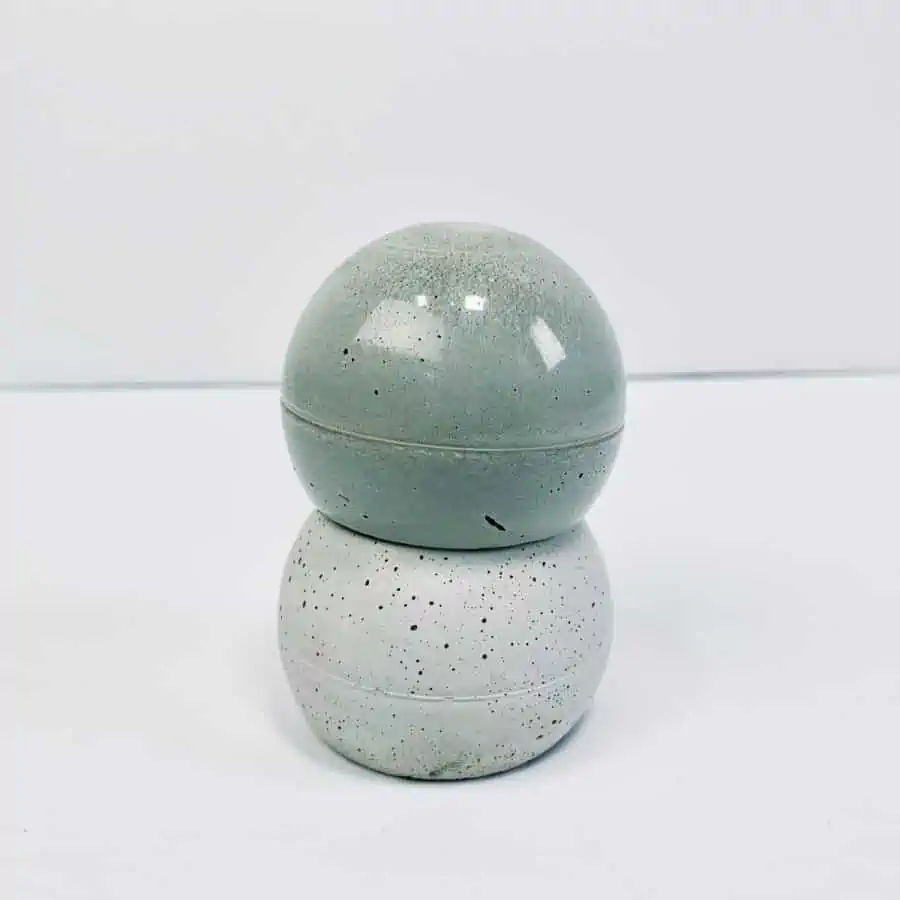
Getting shiny smooth concrete, with a mirror-like finish can be achieved in a number of ways. Some are time-consuming and a bit pricey.
But I’ve got good news, there is a very simple and low-cost solution to getting both a glass-like sheen and a smooth concrete surface.
There are some common methods used to get a sheen in concrete. These include using mechanical means like a wet polishing process using a special grinder, applying a sealer, or adding an epoxy coating.
And a popular option, especially with concrete crafts is to use a concrete sealer.
Here are the details on the different ways to achieve a sheen.
Make Concrete Shiny from Mechanically Polishing
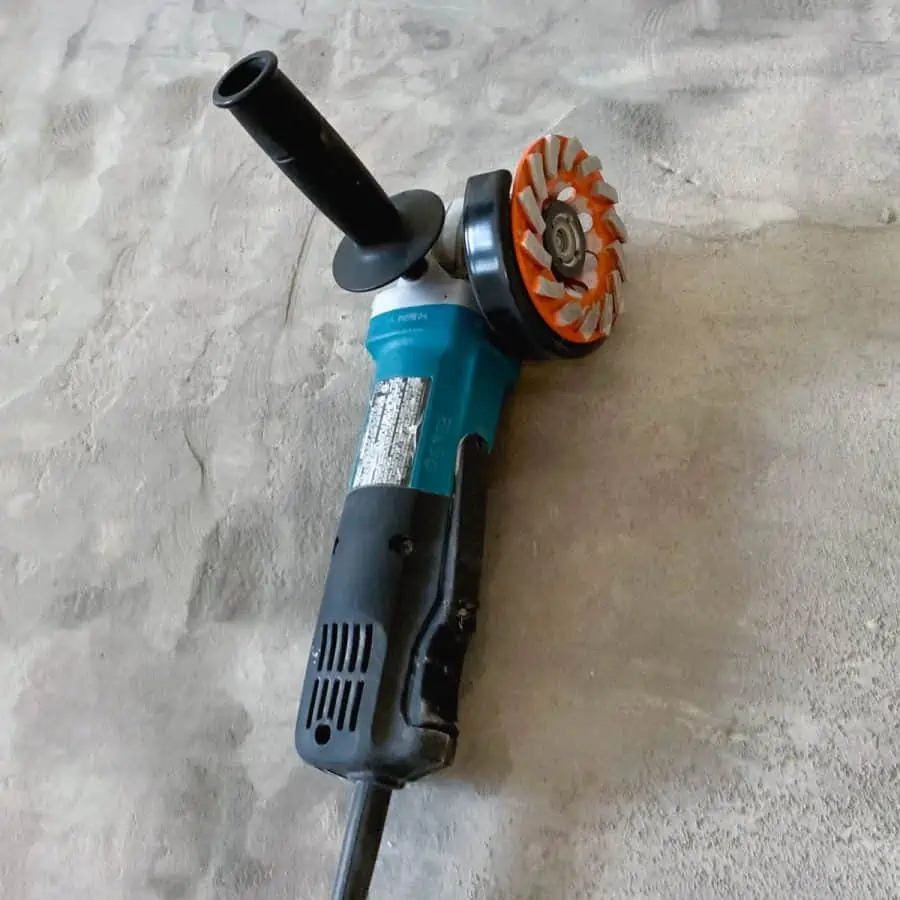
A mechanical polish is done using a hand grinder, like an angle grinder.
It’s not necessarily a common tool to have on hand, but can be rented from a hardware store.
It requires the use of grinding discs with metal bond diamonds.
Metal bond diamonds are industrial diamonds that are manufactured for use in concrete.
The grinding process can produce good results, but it will take a lot of time because it’s a multi-step process.
The process includes starting with a low grit level disc, making many passes on the concrete’s surface. Eventually you work your way up to a higher grit before finally finishing.
While this is feasible for flat objects like concrete tables, stools, or even coasters, it’s hard to apply it to round objects like planters.
I do believe you can get grinding accessories that work with Dremels and Multi-tools that may work better for curved objects.
As a whole, diamond polishing doesn’t sound like an easy DIY project and doesn’t make a lot of sense to me when it comes to working with concrete crafts.
Use Epoxy to Get a Silky Smooth Surface with High Sheen
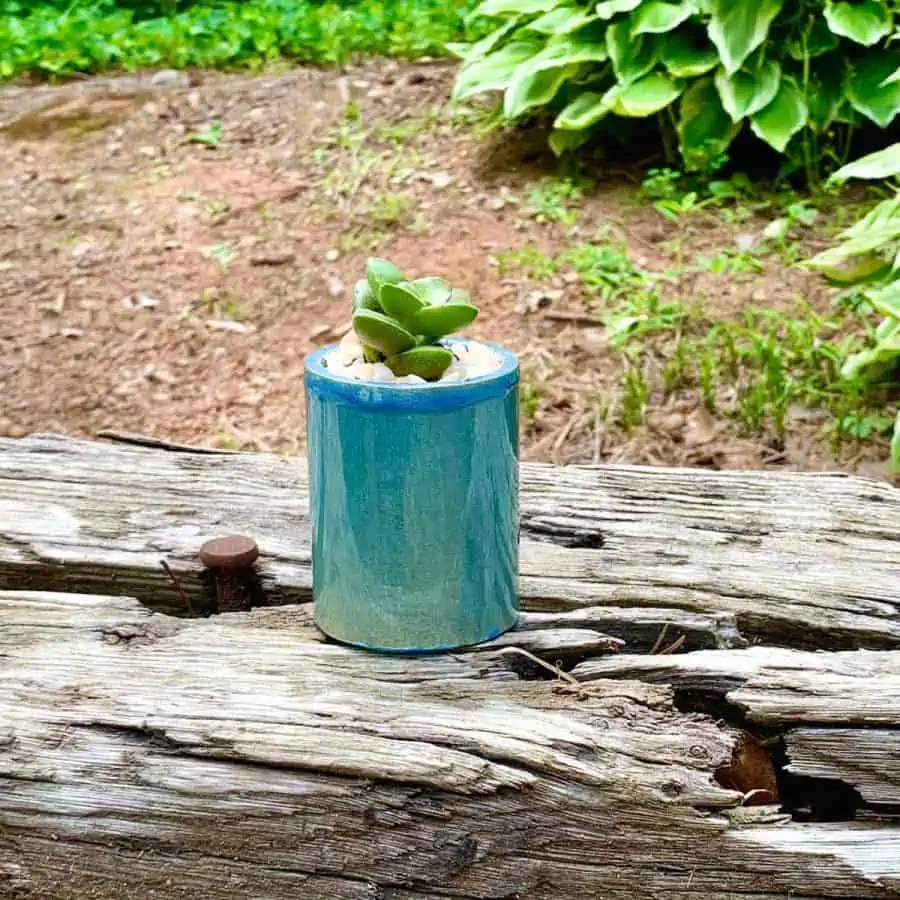
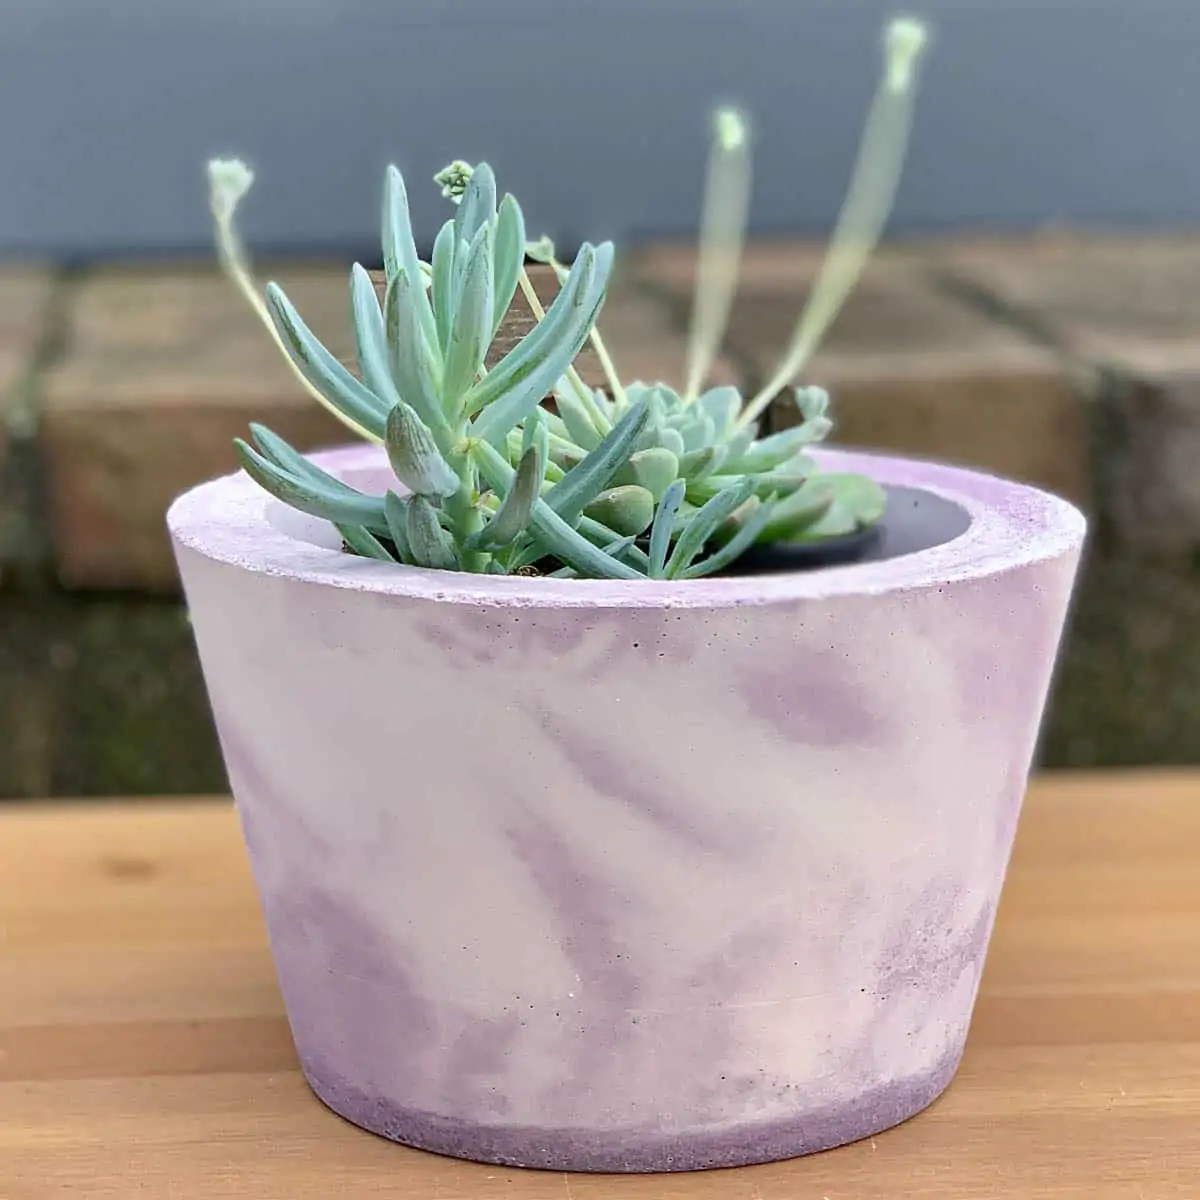
You can also apply an epoxy resin coating to the surface of the concrete, like I did in the tutorial linked here.
In the photo above, I colored the epoxy, but a clear one would have the same glistening effect.
If left in the sun an epoxy that isn’t UV resistant may get dull, cloudy, or yellow over time. But inside, it will hold its sheen and clarity.
If it’s exposed to water, like in a planter application (even if it’s inside) will also make it cloudy.
Although I haven’t used it to say from experience, UV-resistant, marine-grade epoxy is manufactured to help prevent yellowing and cloudiness.
Epoxy coatings have a couple of benefits, not only do they add an incredibly great shine and protect the entire surface, but they also are great for smoothing a rough surface.
In many ways, it’s the perfect finish, but it’s not very friendly on the pocketbook.
Epoxy resins can be pricey and are not necessarily cost-effective for use in concrete crafts.
Some of the links on this page have been provided as a convenience for finding materials. These links may also be affiliate links. As an Amazon Associate I earn from qualifying purchases, at no extra cost to you.
I only recommend products I’ve used and loved, unless otherwise stated. Click here to read my full disclosure policy.
Use Concrete Sealers for a Shiny Effect
Acrylic sealers come in matte, satin and glossy. A concrete sealer can only attain a certain level of sheen.
If you start with matte concrete/cement and apply a sealer with a high gloss finish, it will provide a sheen.
But unfortunately, it won’t produce that same great shine you would get from epoxy treatments or the polished concrete look.
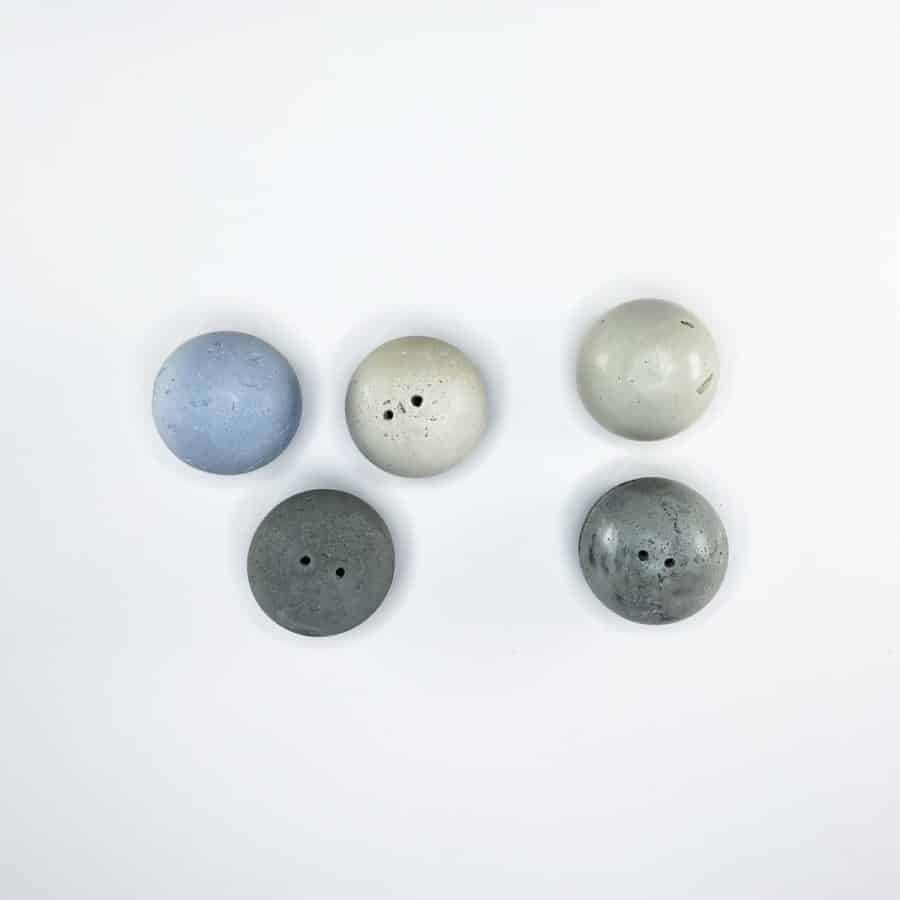
You can see in the photo above, the comparison between some magnetic cement planters I made.
The planter on the left is an unsealed matte concrete and the planter right has a gloss sealer applied.
The effect is more of a satin appearance or at best a semi-gloss.
Here’s an article with details on when and why you should and shouldn’t seal concrete.
How to Make Concrete Shiny the Easy Way
There is one surefire way to get your concrete to be as shiny as glass, smooth as well every time –but there is a caveat to this, so please read on.
First, the type of concrete mix can play a factor in both shine and smoothness, but not as much as you think. I have an article where I tested the various concrete mixes, if you’d like to learn more.
You can get just as much of a high sheen from a mix with large gravel in it as you can a mix with fine powder.
However, the mix can play a part in how smooth of a finish you get.
The reason for this is that when larger aggregates are in the mix, like large gravel, it can make it more difficult to get the air bubbles out when vibrating.
The aggregates may trap the air and when this happens it will cause air pockets that tend to rise to the surface of the piece, leaving either small or large holes or both.
So, the first step is to make sure you are using a mix that only has sand as an aggregate, or has very small gravel as the aggregate.
This may not be avoidable if you are working on a larger project. In that case, just be aware it will require your due diligence in vibrating the mold fully before it begins to set.
Here’s an article with information on which type of concrete mix is best for certain projects, and the difference between cement and concrete.
Now the secret to how to make concrete shiny is to use a shiny mold, that’s right, that’s all.
Concrete will mimic the surface it is cast against. This is an important step to understand in the concrete casting process.
Cement and concrete will mirror what it touches, so not only does it become the shape of the mold, but it also becomes the texture of the mold.
For best results, cast the concrete in a mold that has a high sheen.
These molds tend to feel slippery to the touch, and/ or have a reflective surface.
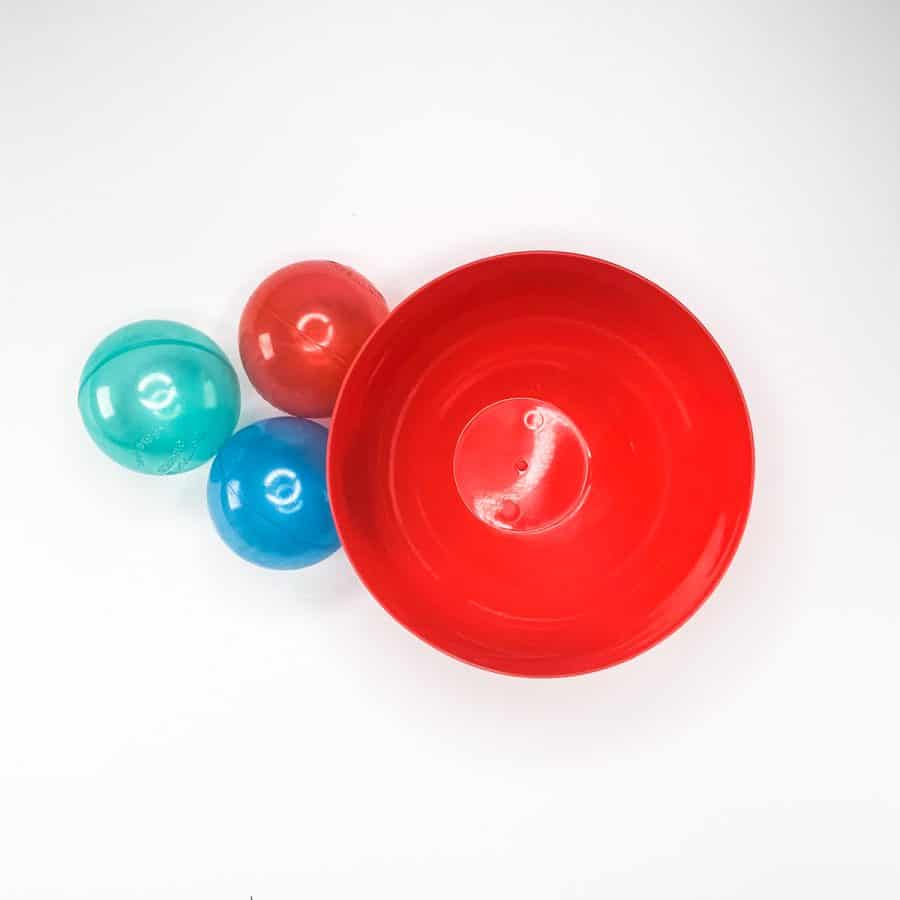
A great mold surface that will give you a shiny and smooth finish every time is glossy plastic (not matte). Take caution, some plastics can trick you.
For instance, some water bottles have a bit of a texture to them and may result in more of a matte appearance when cast against.
Tupperware plastics often have a rough texture as well that will not give you the look you are hoping for.
If you take a good look at your Tupperware, you’ll notice that many also are a bit dull looking, not shiny clear.
Those are typically the ones that will make your concrete/cement come out matte.
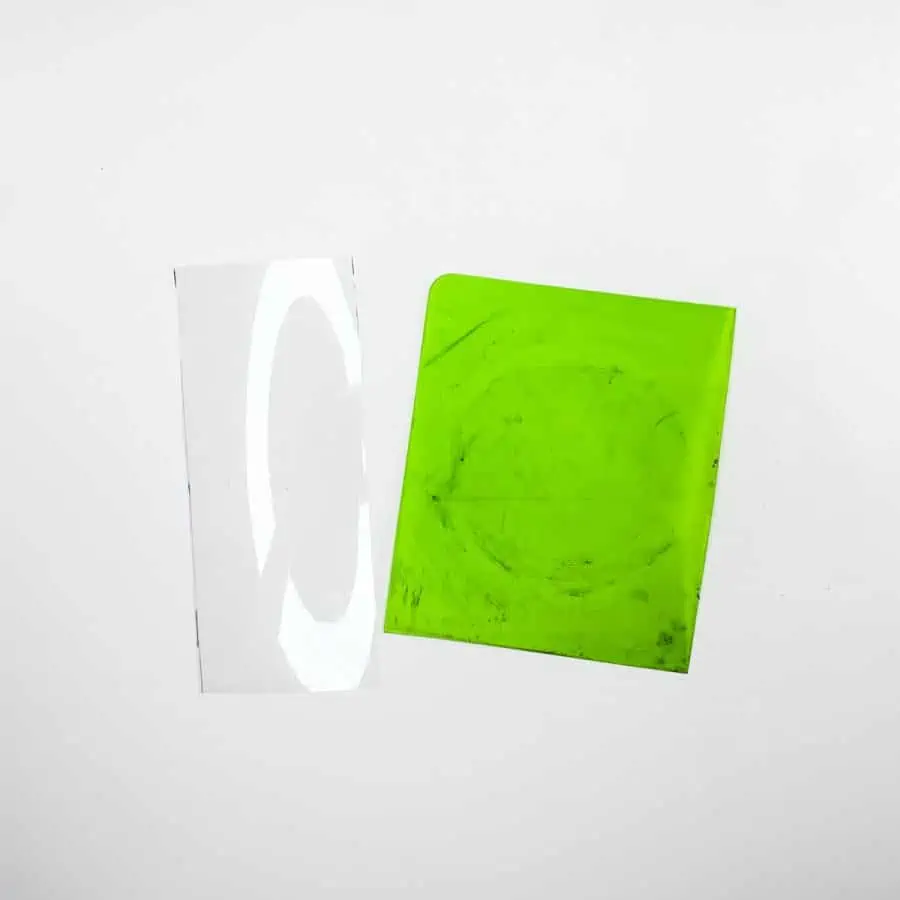
The photo above shows a piece of high gloss acetate film and a piece of a flexible plastic cutting mat that had a dull and slightly textured surface.
I used them to cast concrete coasters –for two different projects.
The tops of the coasters were touching either the film or the plastic mat.
The acetate film made shiny coasters and the plastic cutting mat resulted in matte concrete coasters.
For more info, here’s an article on the types of mold materials you can use for casting cement, and which materials are best to use based on the project.
Silicone molds, specifically made for casting concrete, have a relatively dull-to satin texture. But since they are 100% smooth they can sometimes produce a slight sheen.
*Now here’s the caveat I mentioned about producing a shine every time.
The length of time the concrete cures in the mold will greatly affect whether it comes out matte or shiny.
You can cast a concrete planter, using the smoothest mix in the shiniest plastic mold around, and still get a matte finish.
Why? Because concrete needs time to get to know its new self. It will take on the properties of the material it’s cast against.
If you remove it too soon, the chemical reaction that is taking place while it’s curing hasn’t finished, and so the crystallization process has happened.
If you want the concrete to shine, you need to leave the concrete in the mold for the full curing time. The manufacturer will specify this on the bag.
But there are so many factors when it comes to the length of time for curing, that if shine is an important factor, then it’s a good idea to extend the curing time.
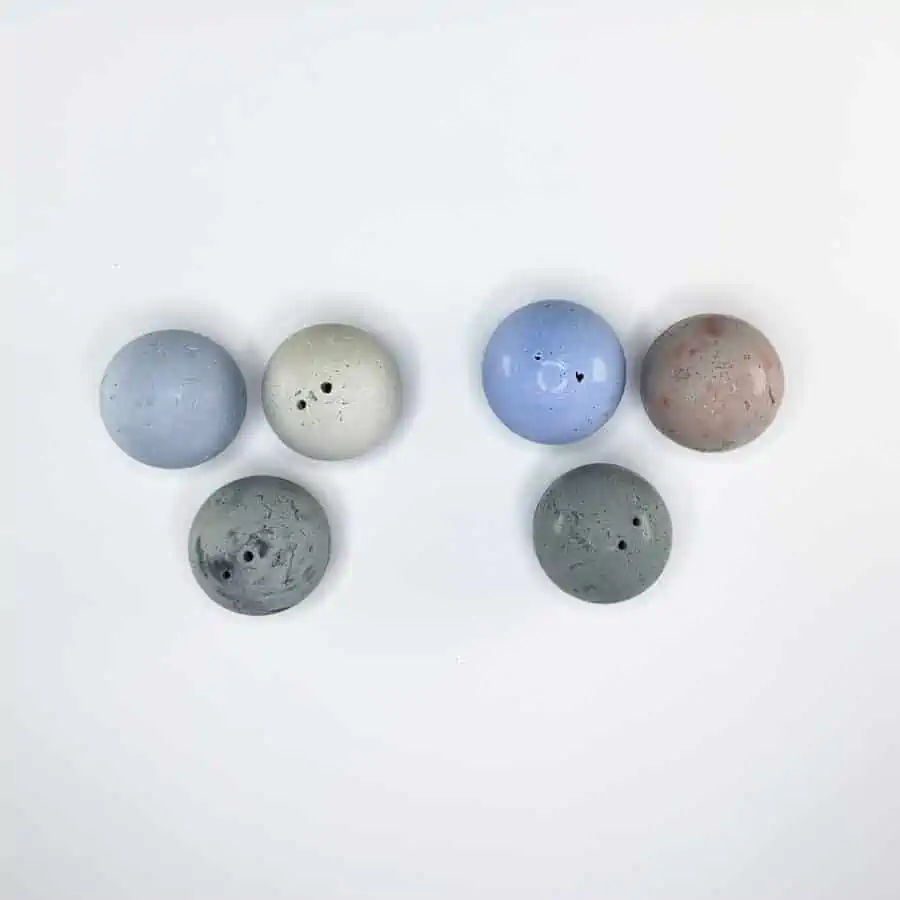
This examples shows concrete left to cure for different lengths of time before demolding. The mold was a shiny plastic ball.
I removed the magnetic cement planters on the left before they had fully cured.
I left the planters on the right side sit at least an hour past the one hour cure time that had been specified by the manufacturer.
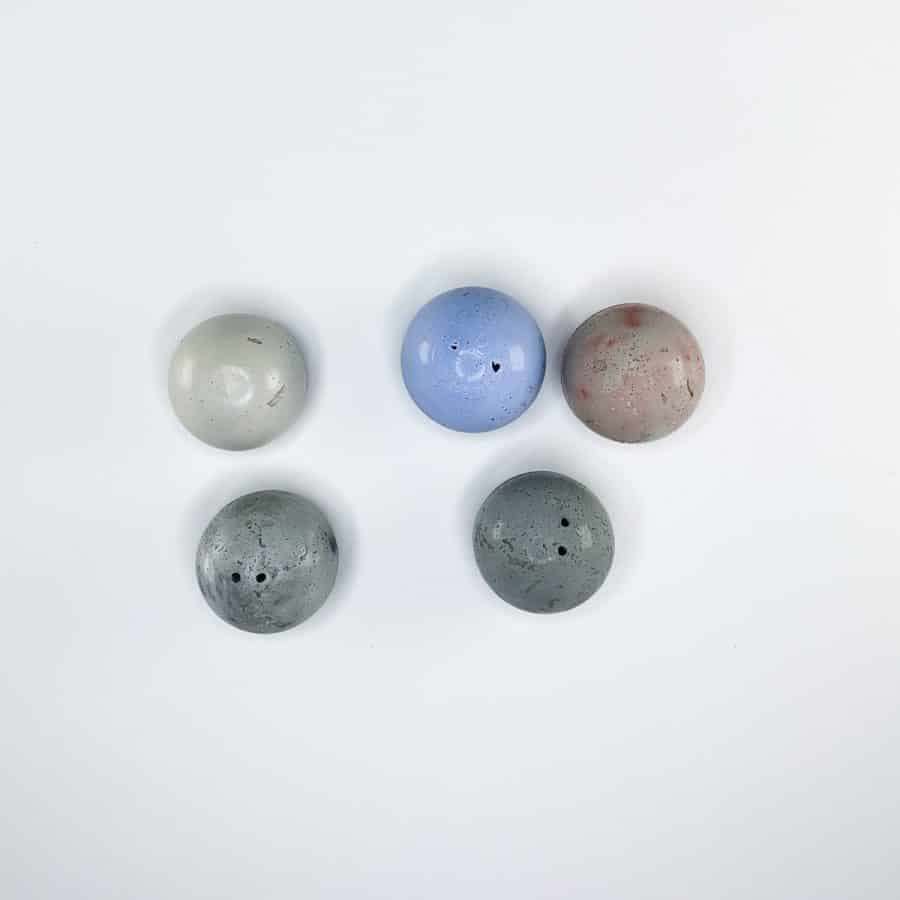
This comparison shows sealed concrete and concrete that sat in the mold past its cure time.
You can see that the long-cured concrete on the right is still shinier than the sealed concrete.
Now you can always use this handy fact in reverse.
If the mold I happen to be using is shiny, but if I desire a matte finish instead of shiny, then I will often remove the piece early from the mold.
But only if I’m sure it won’t weaken the final product due to the shorter curing time.
Don’t you love it? You get to skip the final step in your project because you simply cast your cement crafts piece against the right mold material.
No laborious polishing, no epoxy expenses, and no lackluster feelings from only getting a semi-shine from a sealer.
Now if you want the concrete to be matte, just do the opposite of what is advised here, demold early, and use plastics that are dull, or have a slight texture. Easy, peasy and cheap!
Don’t forget to Pin it for later!
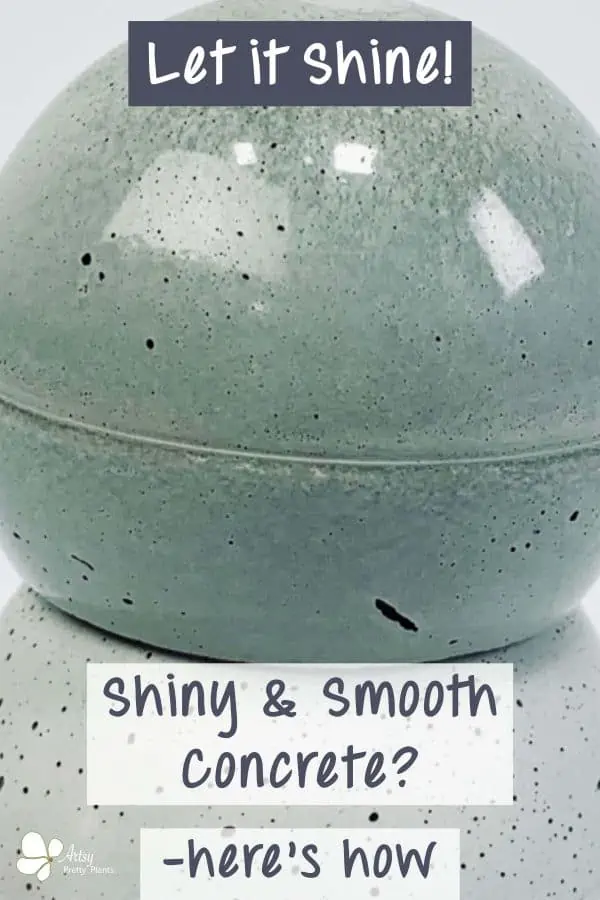
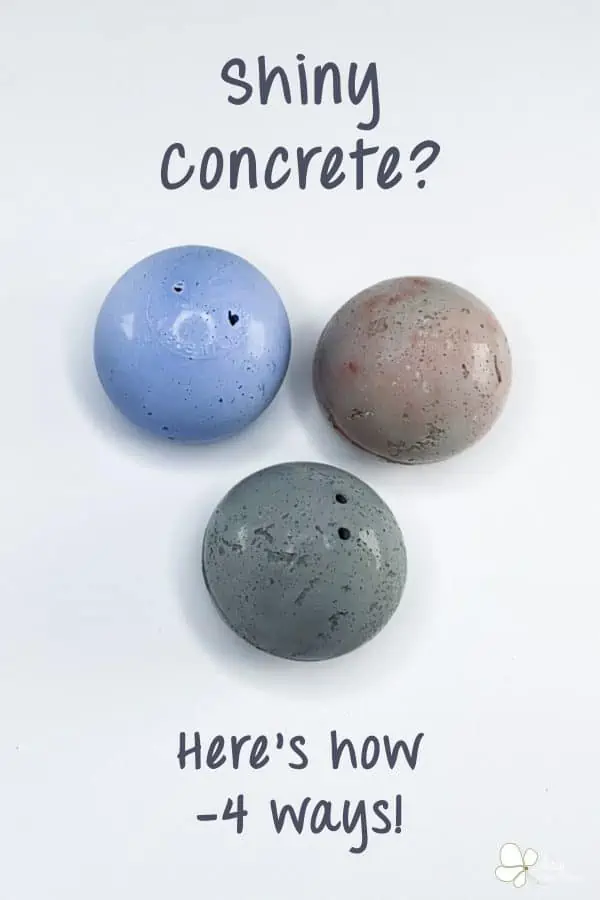
Don’t forget to Pin it for later!



I have a cast concrete statue. I would like to give the surface a polished finish then marbleize it. In other words I want to turn a concrete statue into a polished marble piece. As far as I can tell, only sand was used in the original aggregate.
Thanks for any help anyone can give me.
Lloyd
P.S. Ellen, I don’t mind colorful language! I think that those who object to it have no imagination and no ability to think independently. They paid far too much attention to their Sunday School teachers. And you’re certainly entitled to your opinions. Hopefully, they are yours – not simply a repetition of some other person or group’s lamentations.
Ha, ha Lloyd, I agree! And no group thoughts here, just my own bold language. ;0}
I’ve actually tried to figure out how to do this before, but wasn’t able to. I didn’t spend a lot of time on it though. I think the biggest challenge is trying to sand, in multiple steps, lots of curves. I wish I had a good answer here, but maybe someone else can chime in?
Hi,
I absolutely love the look of concrete with resin.
Did you apply with a brush?
Thank you in advance 🙂
Leanne
Hi Leanne,
I do too! I think the idea is overlooked. I’m glad you commented on this. I meant to link to the project. yes, it was with I brush. I just edited with a link, and it’s here also. https://artsyprettyplants.com/silicone-concrete-planter-mold-from-pvc/
It’s a little more than half way down the page. Using resin is actually easier than painting with paint. It’s sort of self sealing, if that makes sense? It had some white salts come through the finish long term with this (being outdoors in rain). I believe it’s efflorescence from the minerals in the soil. I think it can be avoided if you seal the inside and outside with an acrylic sealer for concrete or with a clear top coat like Rustoleum 2x. Do this before applying the resin.
I am wanting to make a garden orb fountain with an old glass light fixture…what product would you suggest? And what ratios?
Hi Esther,
You can follow this DIY concrete sphere tutorial for making the orb. Use the same ratio and mix. It will be the same regardless if it’s for a fountain, or just a garden ornament. https://artsyprettyplants.com/diy-concrete-sphere/