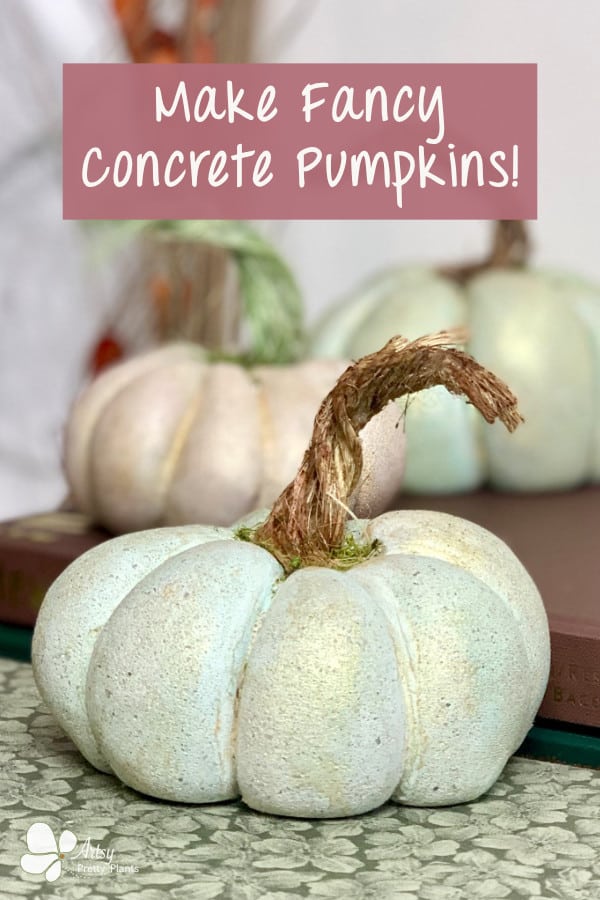
Make Pretty DIY Concrete Pumpkins – Fancy Fall Decor
Make DIY concrete pumpkins with shimmery gold accents to dress up your tablescape or decorate your porch for fancy fall decor. Best of all, these will last decades, unlike real pumpkins.
Did you know it’s actually very easy to make concrete pumpkins?
Now, you might be wondering what kind of pumpkin mold you use to make pumpkins. The answer is nylon stockings. Yep, that’s right, you can make DIY concrete pumpkins with pantyhose.

Sometimes, you need a little fancy –or at least I do.
I tend to do everything casually, but I want to dress up my home decor a bit this year.
And so, a great way to add a little glamor to these rustic pumpkins is to use this amazingly shimmery gold paint. The glimmering touch was the perfect way to combine rustic with fancy!
Some of the links on this page have been provided as a convenience for finding materials. These links may also be affiliate links. As an Amazon Associate I earn from qualifying purchases, at no extra cost to you.
I only recommend products I’ve used and loved, unless otherwise stated. Click here to read my full disclosure policy.
DIY Difficulty Level | Easy
Materials For Making DIY Concrete Pumpkins With A Fancy Twist
- White cement
- Disposable bowl
- Disposable cup
- Durable nitrile gloves
- Safety glasses
- Safety dust mask- silica rated
- Nylon stockings/trouser socks/pair of tights
- Acrylic paints– blue, green, white, yellow and black* – these paints are the best I have used for mixing with cement. Other paints dry it out too much.
- Cotton string
- Hot glue gun
- White glue or Mod Podge
- Scissors
- Sisal rope
- Alcohol ink– green (Optional)
- Ground cinnamon
- Shimmery paints- green, pink, gold
- Small, supple paintbrush – about ½” or ¾” wide
- Foam paintbrush
- Paint palette tray
- Dried moss
- A few small bowls


Before starting the tutorial, it may be helpful to read my article comparing the different concrete mixes and sealers– Cement & Concrete Crafts Tests!
Another important article is Making Cement Crafts Techniques & Tips with info on cement materials, mixture consistencies, demolding, safety and clean up!
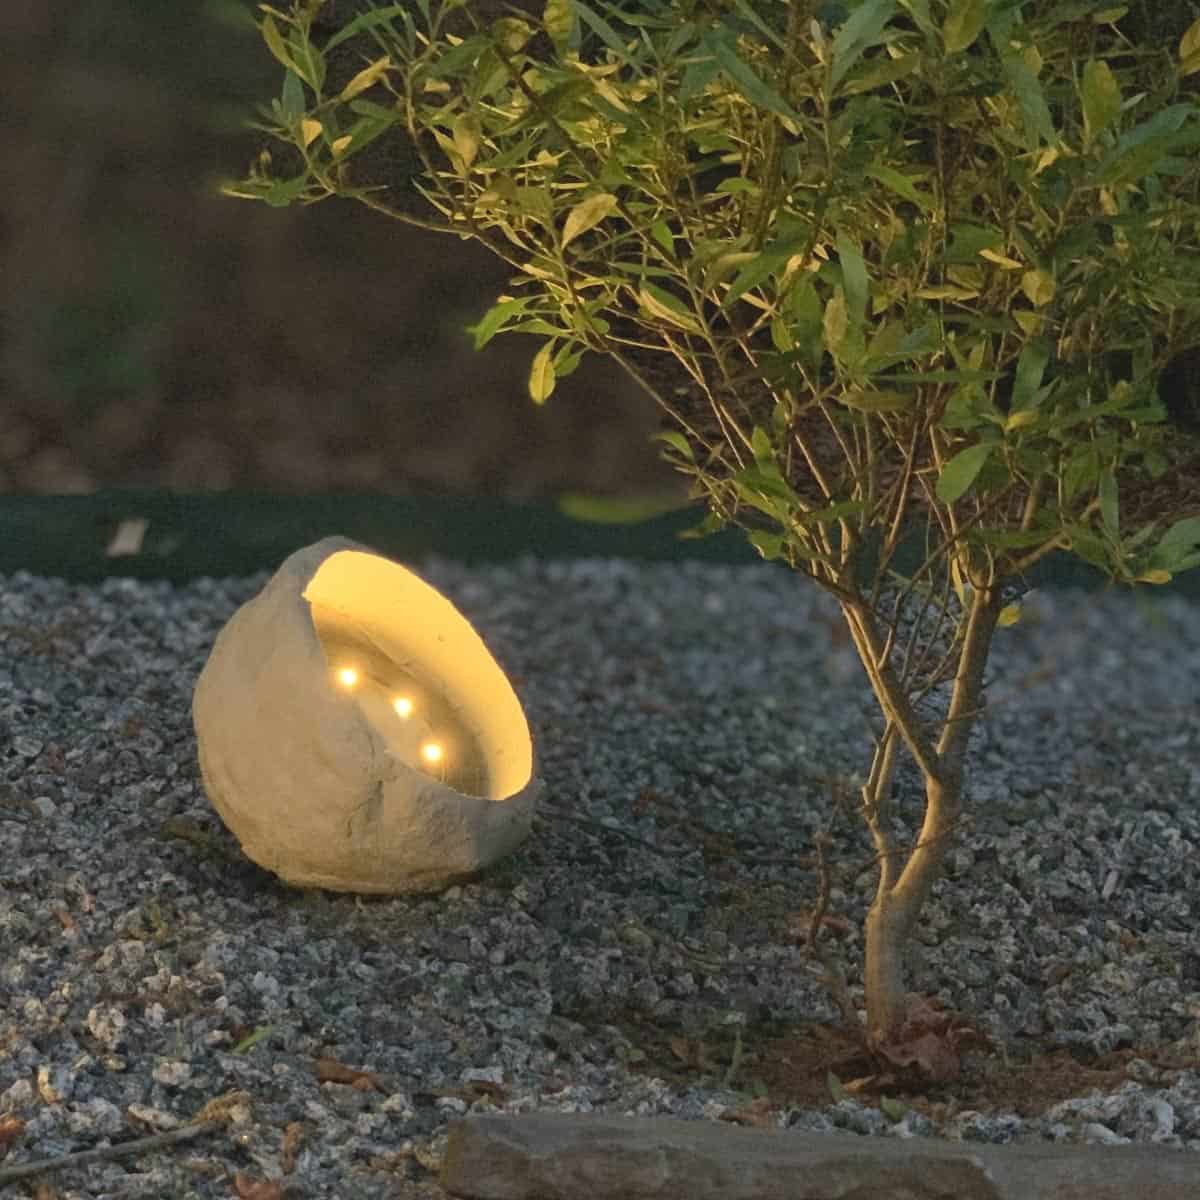
If you want to see another way to make a cement pumpkin, look at my lighted Halloween Cement Jack O’Lantern from last year. For that fun project, I used a plastic pumpkin pail as the mold.
For more pumpkin crafts, I carved a real live miniature pumpkin, using a stencil, which is partly why it looks so cool! This is a regular-sized pumpkin with a carving of a cat and 67 free cat carving patterns you can use.
Step By Step Tutorial For Making DIY Concrete Pumpkins
Step 1. Prep The Stocking Mold
Cut a stocking about 6” above the foot seam and place it over a wide-mouthed cup. It will make it much easier to get the concrete inside.
Next, cut six pieces of string around 15” long and one piece about 7”.
Lay the six longer pieces onto your work surface so they bisect each other -they should look like a pizza cut into 8 slices. (Are you sensing a pizza theme here)?
Set the shorter string next to these- you will use this in Step 6 to tie the top of the stocking.
Step 2. Mix The Paint Colors For This DIY Concrete Pumpkin

Mix the paint colors first. You’ll want a base of green, a little bit of purple (or blue mixed with red), and some black to get a sage color.
Stir these together and add more on whatever color you need to make it more sage.
The black paint will help it have a grey undertone, but you can add white if you go too dark.
Please note that the mix’s color in your bowl will be quite a bit lighter once mixed with the white cement, so adjust accordingly.
Step 3. Cast The Concrete

Mix the dry cement mix with water. The right consistency will be like soft pizza dough with no lumps. Once the concrete is mixed, add the paint and mix that in well.
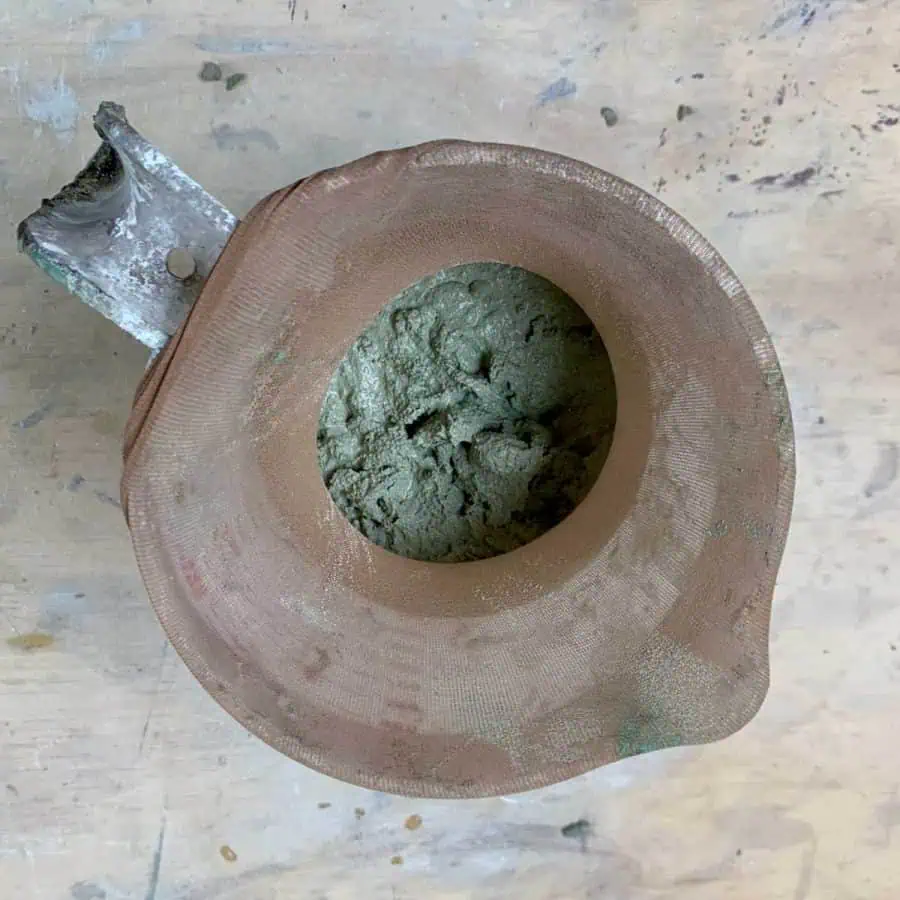
Mix the dry cement mix with water. Once mixed, add the paint and mix it well.
Scoop the mixture up and drop it into the stocking that’s over the cup.
Step 4. Mold The Concrete Into Shape
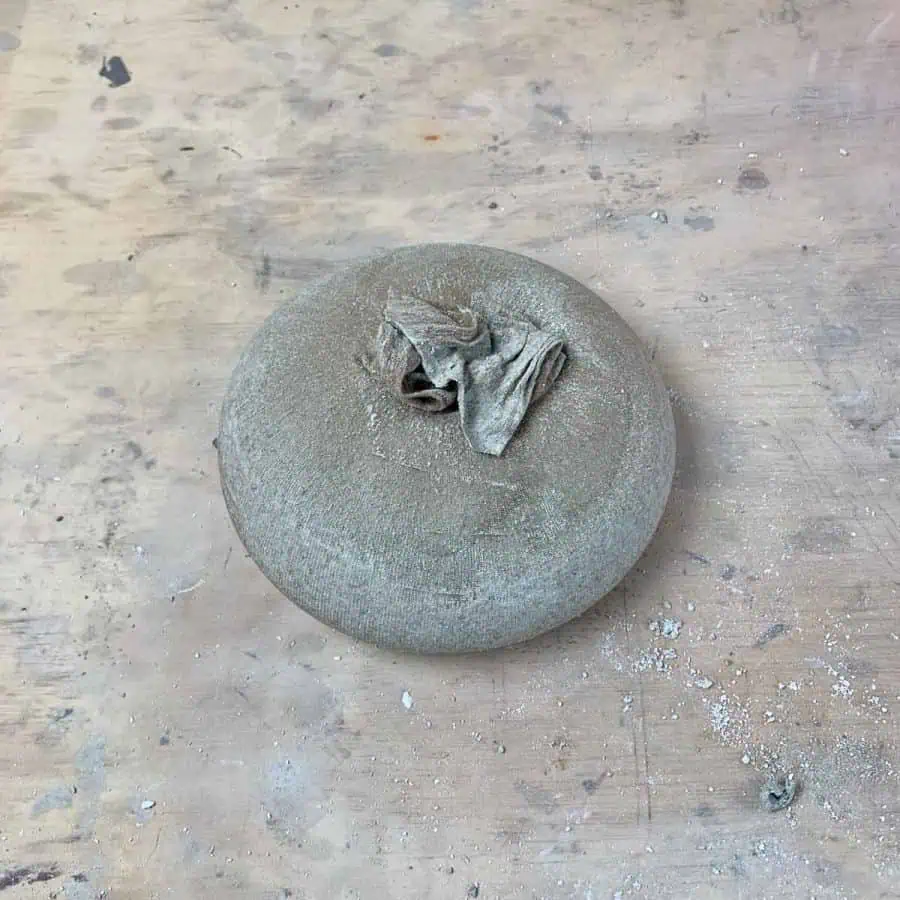
Remove the stocking from the cup and plop it on the work surface. You are going to make this into a round shape.
Just lift the stocking and pull up and down on it until it’s generally shaped like a pumpkin. Then tie the top of the nylons and trim off any excess stocking –leaving about an inch.
Step 5. Create The Sections For The Concrete Pumpkin

Create a pizza slice arrangement with the strings, then set the bottom of the pumpkin on top of the center of your strings. The tied strings will create the sections for the pumpkin.

Tie the first two pieces of string going across and up and down. Try to make these as even as you can.
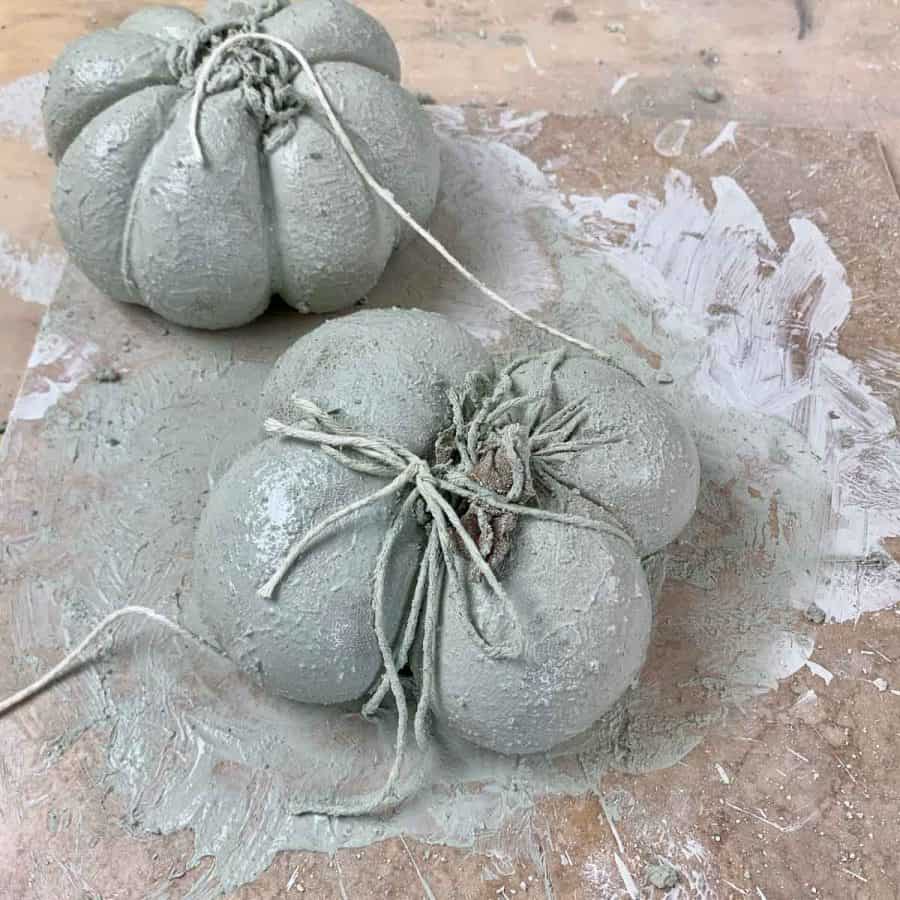
Next, tie the two strings going across.

Now finish with the diagonals and be sure you tie these tight enough that they create the grooved sections, and again, not too tight.

The pumpkin will try to flatten out while you do this, so turn it on its side after it’s tied, and roll it around once. It should pull it back up a bit so it’s less flat.
Now, set the concrete pumpkin aside for about an hour. *Set a timer so you don’t forget.
Though the cure time is 24 hours, you are doing this because you will remove the stocking and strings after the pumpkin has set –but before it cures.
If you don’t do this early, you’ll curse my name for how difficult it is to remove the stocking and strings. I made that mistake with the first set I did. It wasn’t good.
The timing of an hour ends up working out because the concrete has set enough that it won’t crack, and you can disrobe the pumpkin easily.
Take care when you remove the stocking so as not to touch the concrete, or it will leave a mark.
If you do touch it, take a piece of stocking and tap the area you touched to bring back the texture.
Now let this cure for 24 hours. Be sure to add a little extra drying time because you want to be sure there isn’t any moisture in the concrete when you paint your faux pumpkins.
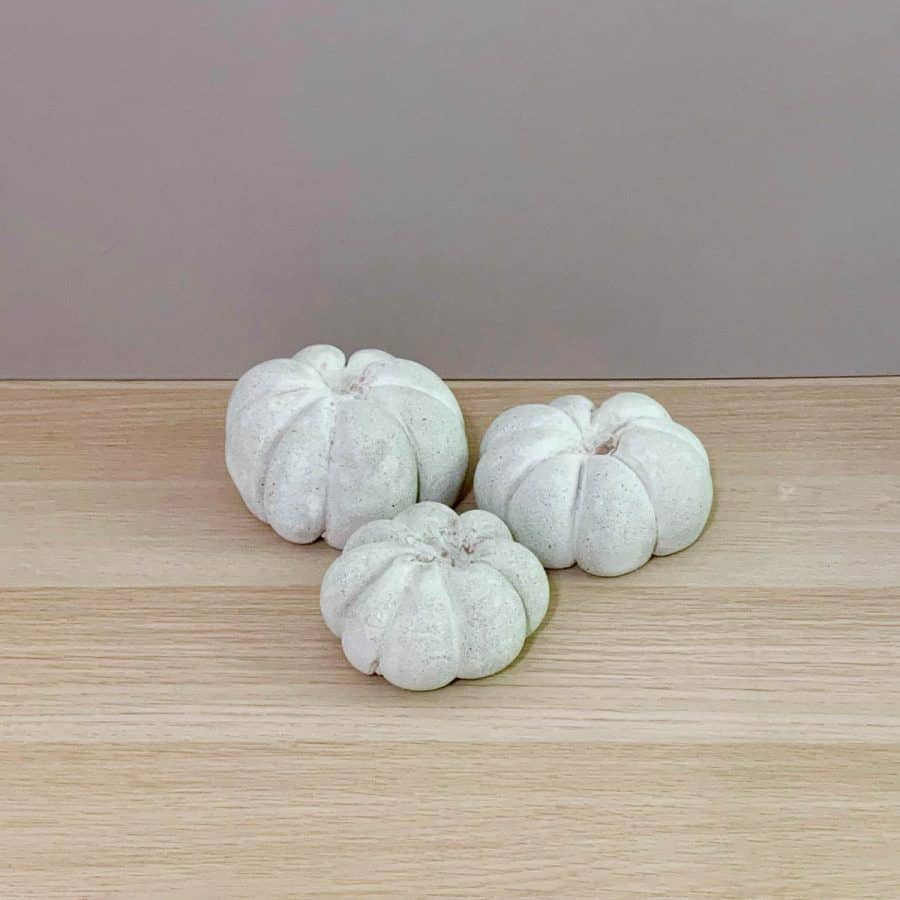
Step 6. Paint The Concrete Pumpkin With Fancy, Shimmery Colors

Hint:
When painting the concrete pumpkins, you can keep layering the paint to adjust. Also, use wet sandpaper to sand the concrete pumpkin if you need to correct a mistake.
Once the concrete is completely dry, you can paint it. Now, you may be wondering why we colored the cement mix, and now we will paint the concrete pumpkin green.
It’s because having the base color of a light green helps it look nicer when you add the shimmery paints.
The green shimmer paint will darken it a bit and give it some added depth. The gold makes it fancy!
To paint this, you’ll do a paint wash. It’s easiest if you have a palette type of tray for this. First, place a paper towel underneath the concrete pumpkin. This will be a little messy.
Now, take a drop or two of the green, place it in a palette section, and add a little water.
Add some of the watered-down paint in the next little tray section and water it down a bit more. It gives you two levels of a whitewash to play with.
I used the more watered-down paint on the edges and the more concentrated color on the top of the pumpkin and the middle of each section to emphasize the depth of the pumpkin shape.
Once you have the green the way you like it (hint- the pumpkin will dry lighter), do the same with the gold.
I also painted a slightly watered-down gold paint down the vertical grooves between the sections.
Step 7. Make The Stalk For The Cement Pumpkin
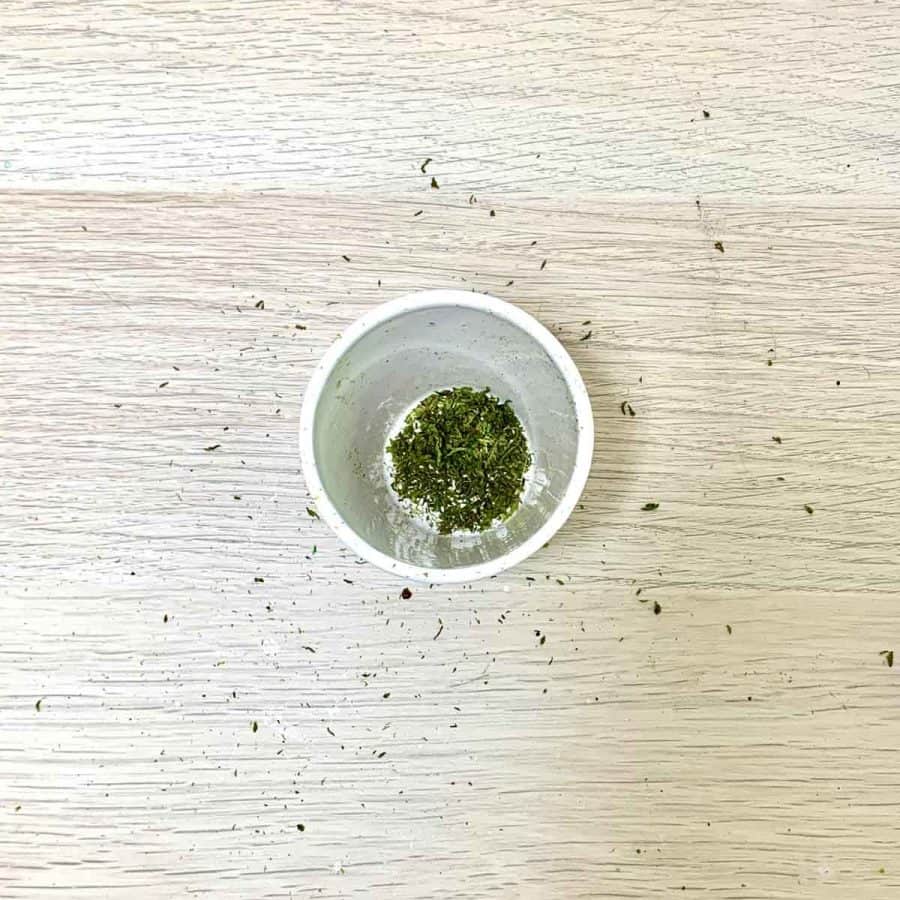
Wait for the pumpkin paint to dry before making the stalk. In the meantime, take some dried peat moss and rub it together in your hands.
Keep crushing it together until you almost have powder. Put this into a small bowl and set it aside.
I created the stalk in two different ways because the color tone of the pinkish pumpkin didn’t really work with the cinnamon color.
The cinnamon trick I learned from Anderson and Grant.
Here are the two options:

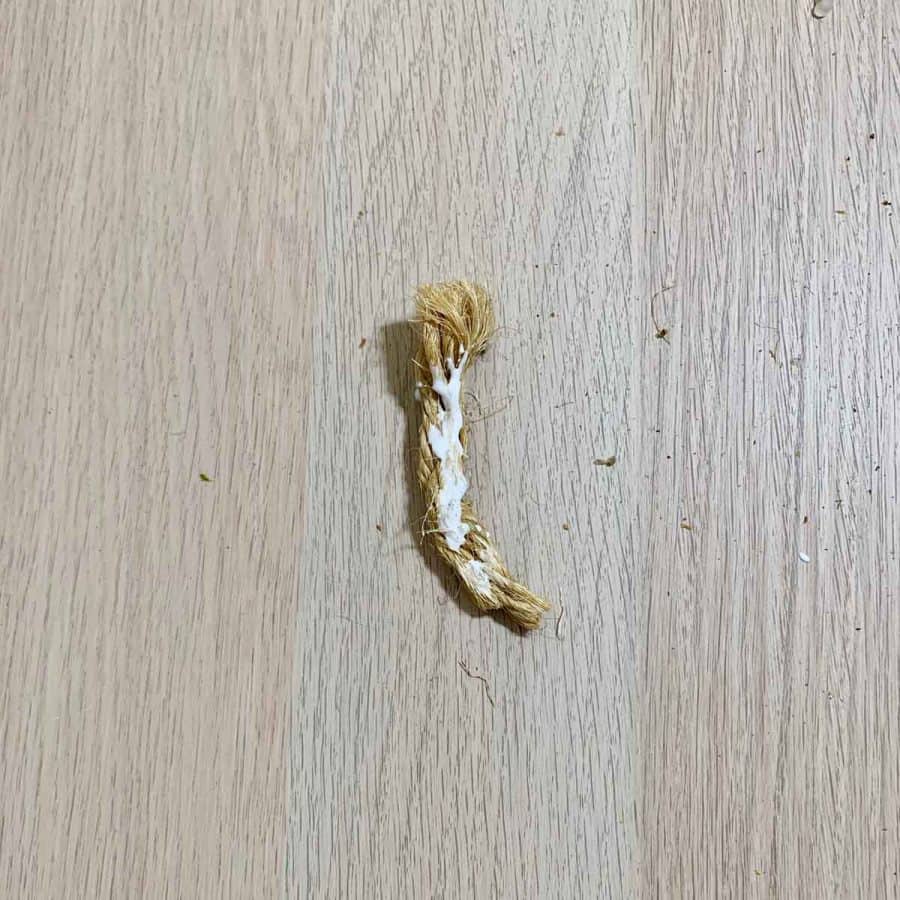
Cinnamon-colored stalk: Cut a piece of rope to about 7” long and lightly separate the six-strand twists so they are more like pieces of twine. Remove a few if you have a smaller pumpkin to make it more proportionate.
Use your fingernail to pull the individual strands further apart so it’s not a tight braid.

Then, at the bottom, fringe the strands so that they straighten.

Now, take the glue gun and add some glue along the strands vertically inside the middle. Next, twist them together just a little and bend them into a stalk shape.
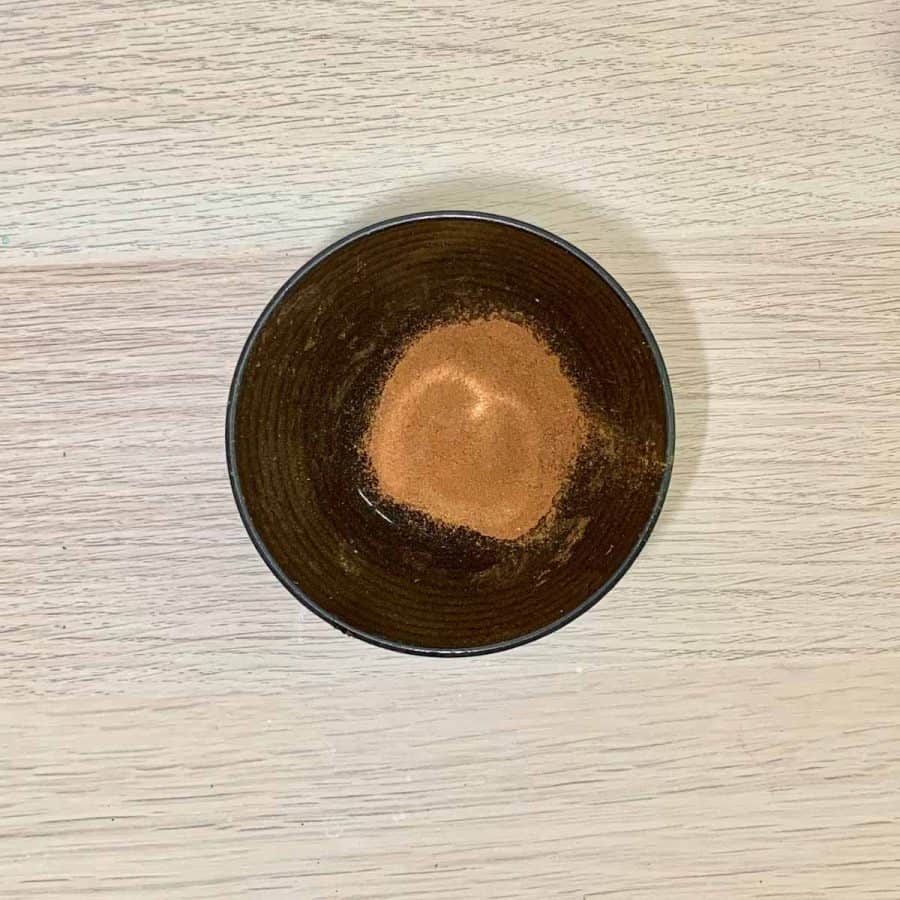
Pour a good amount of cinnamon into a bowl or onto a plate.
Brush the rope with white glue or Mod Podge, dip it into the cinnamon, and roll it around. Once it’s covered, shake the excess off.
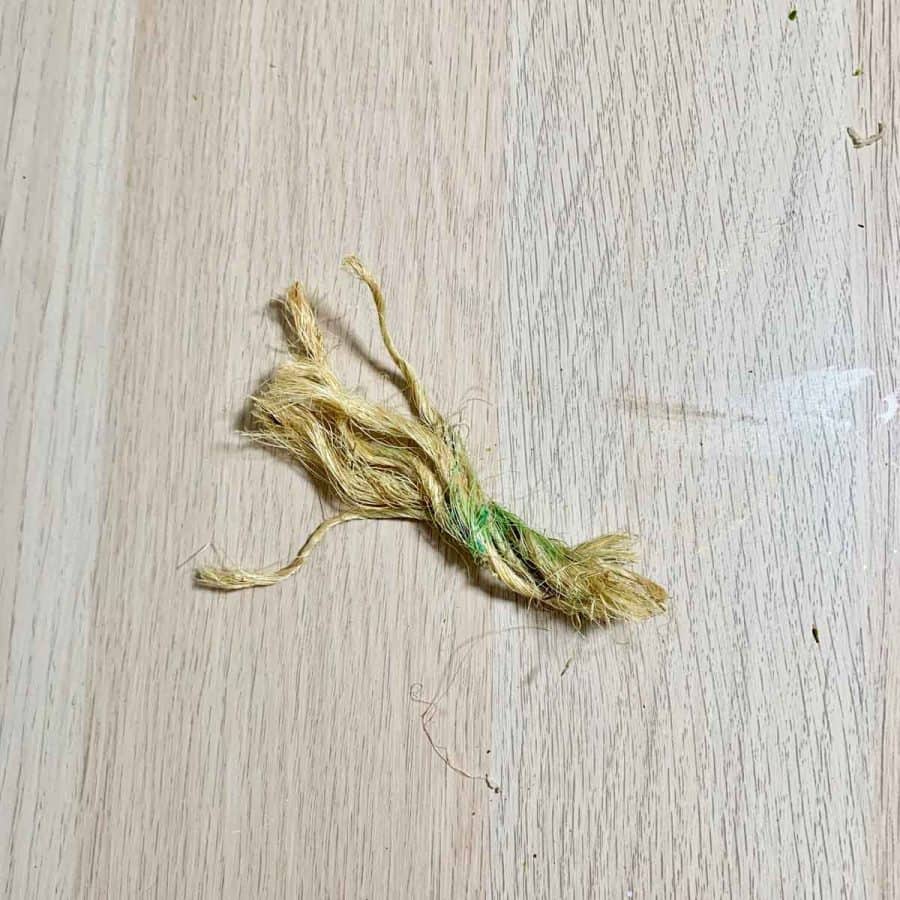
Green pumpkin stem: Cut the sisal rope to about 7” and then separate those from each other and remove a few if you have a smaller pumpkin to make it more proportionate.
Twist them in the opposite direction to straighten them out.

Dip these into a glass of water and lay on your work surface, then add several drops of green alcohol ink to the palette tray.

Use the paintbrush to color the strands. You may need to add several more drops of the alcohol ink because it dries quickly. Let these dry before gluing.
Once the sisal is dry, use hot glue to glue through the middle – going vertically.
You only need a little glue, just enough to get the strands to gel together. Give these a twist and bend them into the shape of a stalk.

Both: Add hot glue to the top center of this shimmery concrete pumpkin and place the bottom of the stalk there. As you place it, wrap it a little so it has a swoosh.
As soon as you glue the stalk, take pinches of the moss and sprinkle it on top around the base of the stem.
The moss will stick pretty well to the glue that’s there and to the concrete.
Over time, a little may fall off, but you can brush a tiny bit of glue onto the DIY concrete pumpkin and stalk base and let it stick.
Mine stuck well enough that I’m not bothered if a few pieces fall off.
Now set out your pretty little DIY concrete pumpkins to enjoy for years to come!
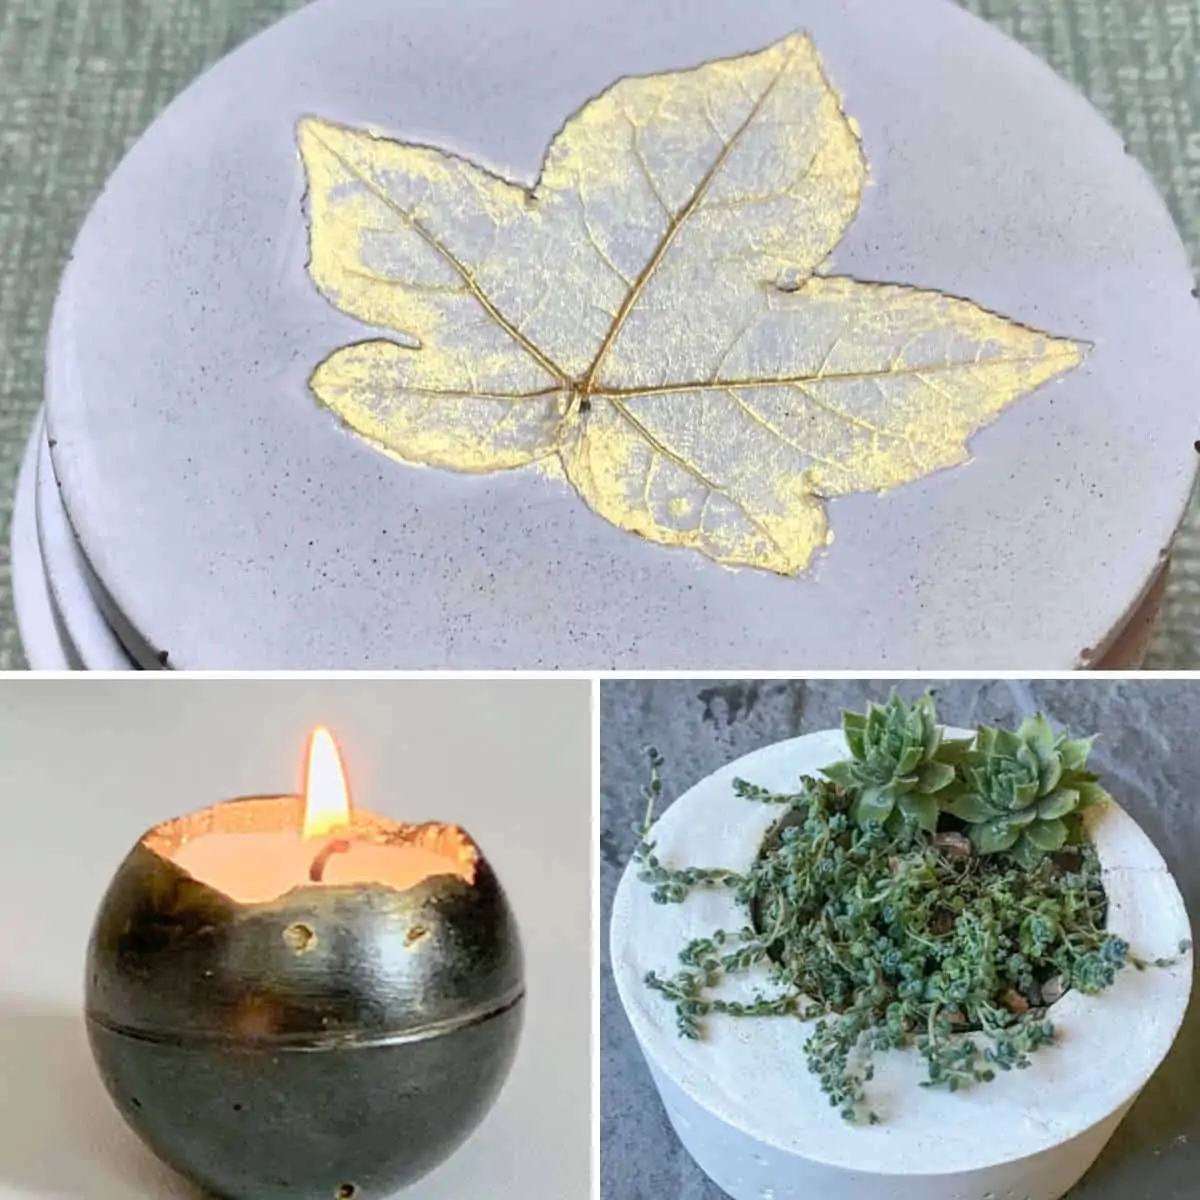
For other awesome fall decor and crafts, here are 31 Amazing DIY Dollar Tree Crafts For Fall. Learn how to make a beautiful marbled Concrete Pillar Candle Holder for another fall concrete project.
Don’t forget to Pin it for later!


Just recently found your website and am enjoying it very much. Can’t wait to try your pumpkins. You’re so talented. Not sure I need another hobby but I’m going to give it a try.
Hi Karen,
I’m so glad you found the site and thank you for the compliment! Yessss, if it’s cement related then it’s time for one more hobby. :0} You are going to love it.
Thanks…have you ever painted the pumpkins after they have dried?
Hi,
These are actually painted after drying – with the shimmery paints. The green is what I mixed in with the mix, but you can skip the adding color to the mix if you want. I just figured starting with a base color mixed in would be nice, but I think you may be able to achieve a similar look without doing it that way.
Hello! Thank you for the directions. I waited exactly an hour and the stocking and 2 of the strings would not come off. Any sugguestions?
Hi JoAnn,
Were you using a concrete that has a 24 cure time? If so, 1 hour should be safe for being able to get the strings off, but it can also depend on what climate conditions you are working in. I made these in the fall and so if I were making these now, I probably would have to use cold water and probably have to take the strings off a little sooner. I’d say try checking after 40 minutes and loosen a string. If the shape doesn’t lose form, then it’s safe to remove the strings at that point.