How To Make A Clay Mushroom –With Air Dry Clay
I’ll take you through the easy steps of how to make a clay mushroom. The perfect craft for mushroom lovers!
What if you haven’t worked with air dry clay before?
The good news is that clay projects are an easy craft to learn, and making clay mushroom sculptures is a great way for beginners to get their toes wet.
These charming and whimsical mushrooms are the perfect decorations for planters, flower pots, or fairy gardens.
You can even follow this other clay tutorial for how to make gnomes so that you can have more whimsical accessories.
Some of the links on this page have been provided as a convenience for finding materials. These links may also be affiliate links. As an Amazon Associate I earn from qualifying purchases, at no extra cost to you.
I only recommend products I’ve used and loved, unless otherwise stated. Click here to read my full disclosure policy.
DIY DIFFICULTY LEVEL | Easy
List of Materials For Making Clay Mushrooms
- Air dry clay
- Clay sculpting tools
- Flexible palette knife (plastic or metal -not serrated)
- Shallow dish
- Wet/Dry sandpaper (320 grit)
- Rolling pin or clay roller
- Parchment paper or wax paper
- Off-white spray paint* (optional)
- Acrylic craft paint– assorted colors
- Nail polish- assorted colors (optional)
- Paintbrush
- Top coat spray
Materials Notes
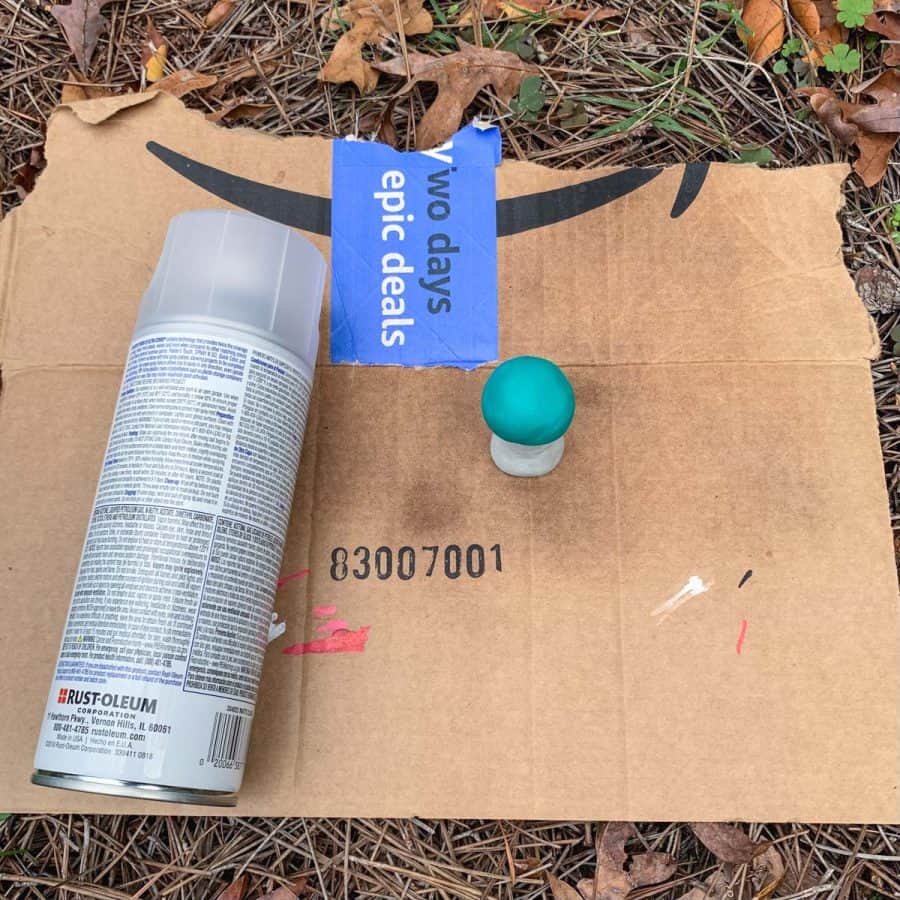
*Spray Paint
The spray paint I used as a primer worked out great because it was off-white and looked more natural as a stem color.
The reason for using the spray paint is as a primer. It helped make the mushrooms smoother, so the rest of the paint colors went smoothly.
*Nail Polish
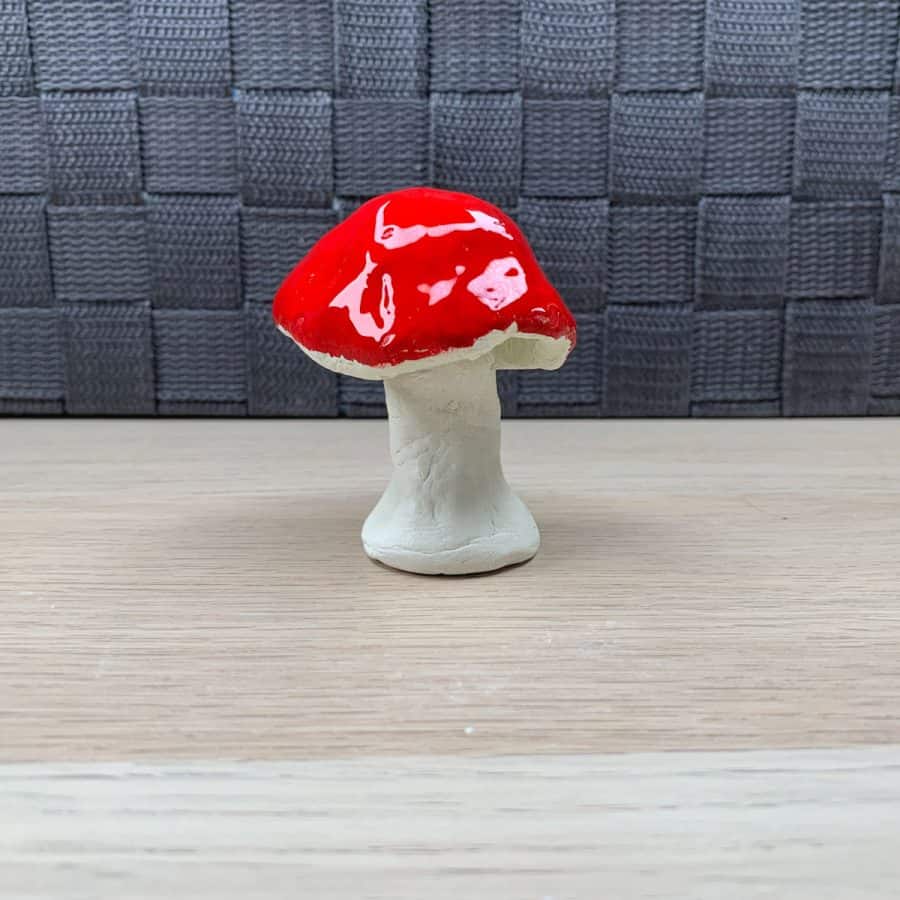
I used gel nail polish for the bright, shiny red mushroom cap.
The high gloss of the polish turned out amazingly, but next time I will use regular nail polish because the particular gel polish I bought wouldn’t cure, even under high-wattage LED lamps.
So if you choose to use nail polish, I recommend using regular.


By the way, you may also be interested in checking out this cool DIY concrete mushroom! And for a rainy day, you can always color mushrooms with these mushroom coloring pages.
How To Make A DIY Clay Mushroom Tutorial Steps
You may notice many little cracks in the clay in many of my mushroom photos.
This is because I was working with clay that was quite dry. However, I still made it work. It just required a little extra smoothing and sanding at the end.
Step 1. Make The Stem Of The Mushroom

Regardless of what shapes of mushrooms you would like to make, the stems will start as long cylindrical shapes.
So first, take a chunk of clay and roll it into a sausage shape. Then, use your work surface to roll the clay between it and your hand to help get it smooth.
You’ll need to make the base of the stem a little wider, so the mushroom doesn’t topple over from being heavy topped from the wide cap.
To do this, press your thumb into the bottom of one end to create a flared base.
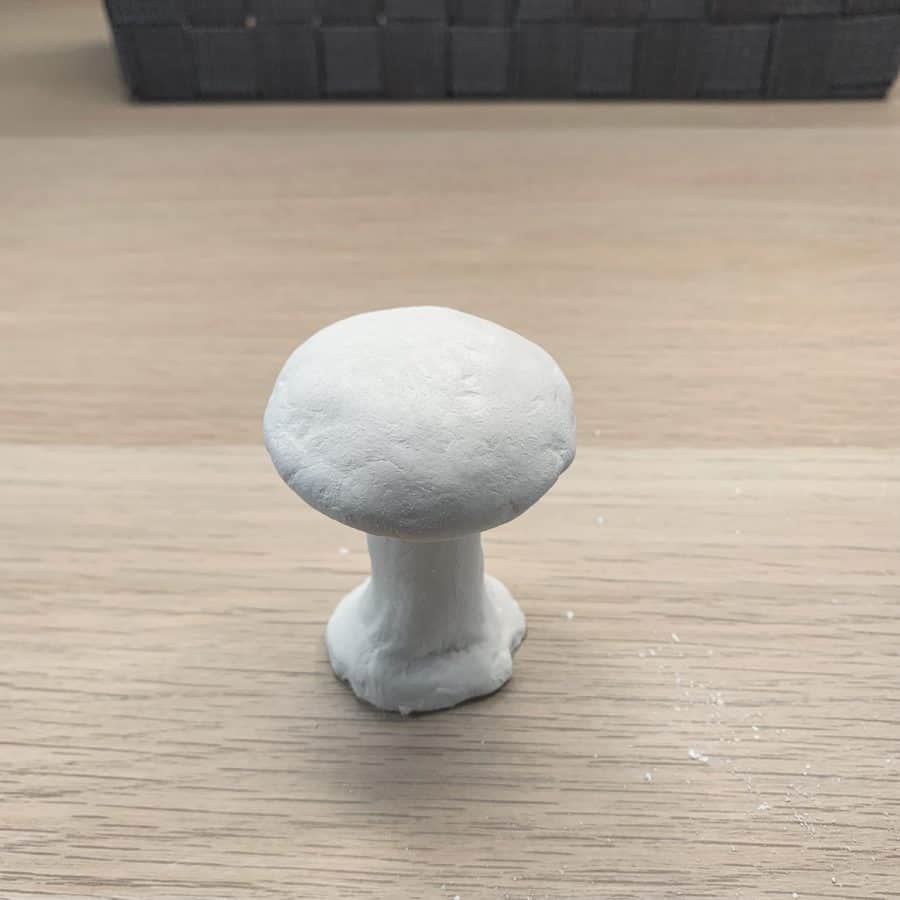
Step 2 . Make The Air Dry Clay Mushroom Cap
You can choose to place many fun mushroom cap shapes on top of your stem. For this step, I made a simple convex form.
But at the bottom of the tutorial, I have a step showing how to make a more whimsical, wavy mushroom cap shape.

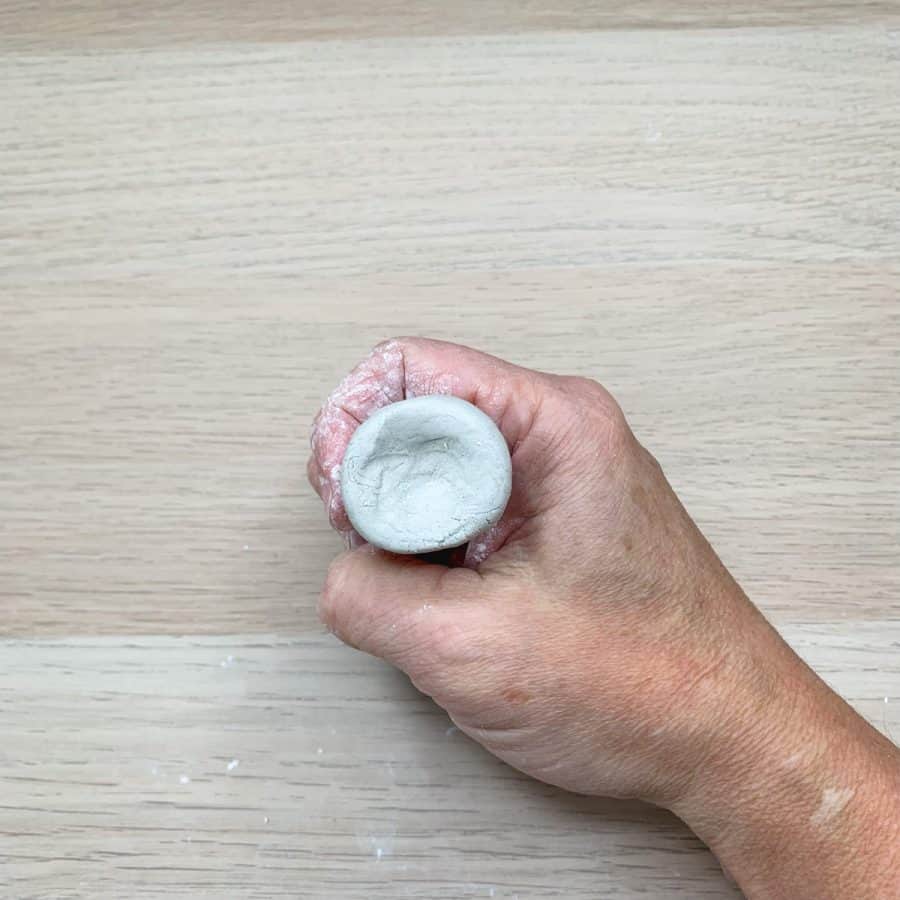
First, roll a piece of clay into a ball shape, then place it in your hand and press down slightly to make it more pancake-shaped. Try to keep it in a somewhat flat circular shape.
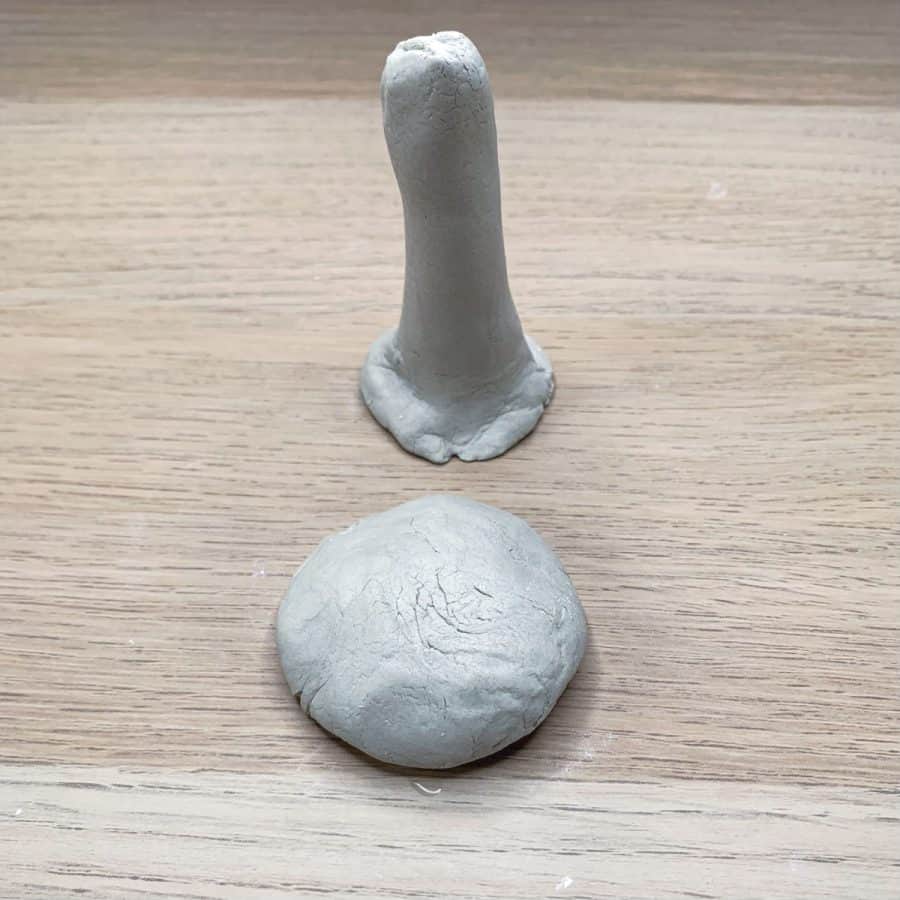
Then use your thumb to make it convex.
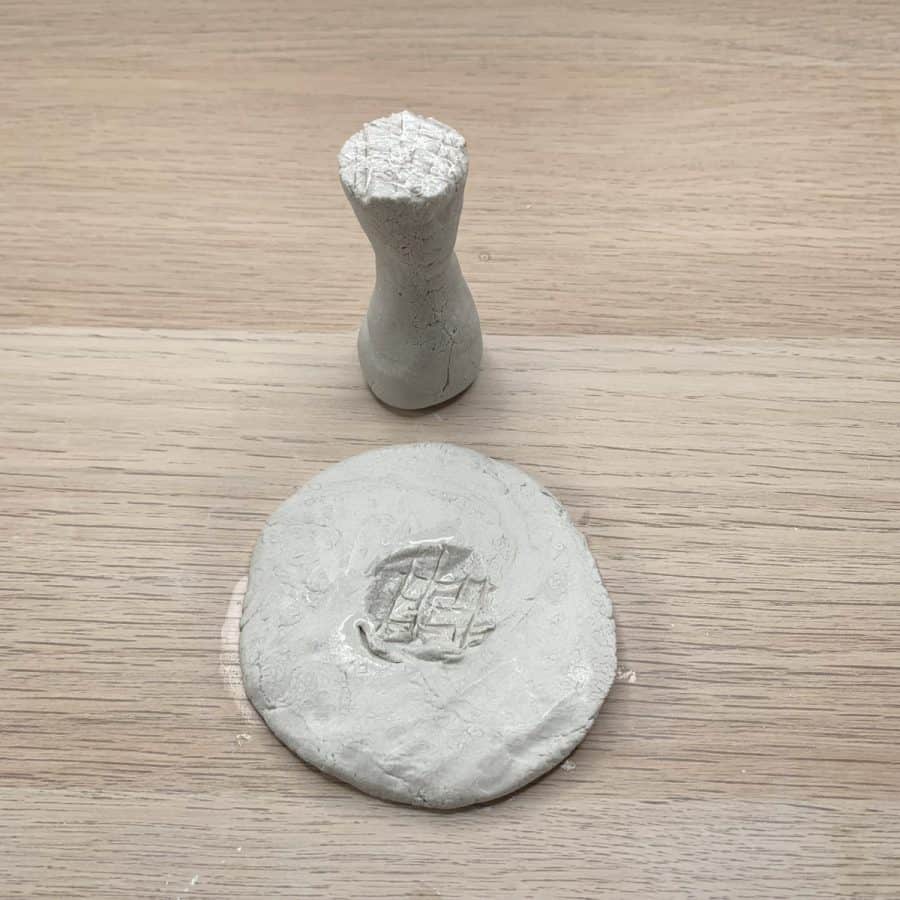
Step 3. Attach The Mushroom Stem To The Cap

You may notice the end of my stem is slanted. I had planned to make this mushroom have an angled cap, but I changed my mind and straightened it, but I didn’t get a photo.
Use the carving tool to scoop some clay from the cap inside the middle.

Then use the palette knife to make hatch marks on top of the bottom of the stem and inside the carved hole area.
Now add a little water to these areas and place the stem inside the top of the mushroom.
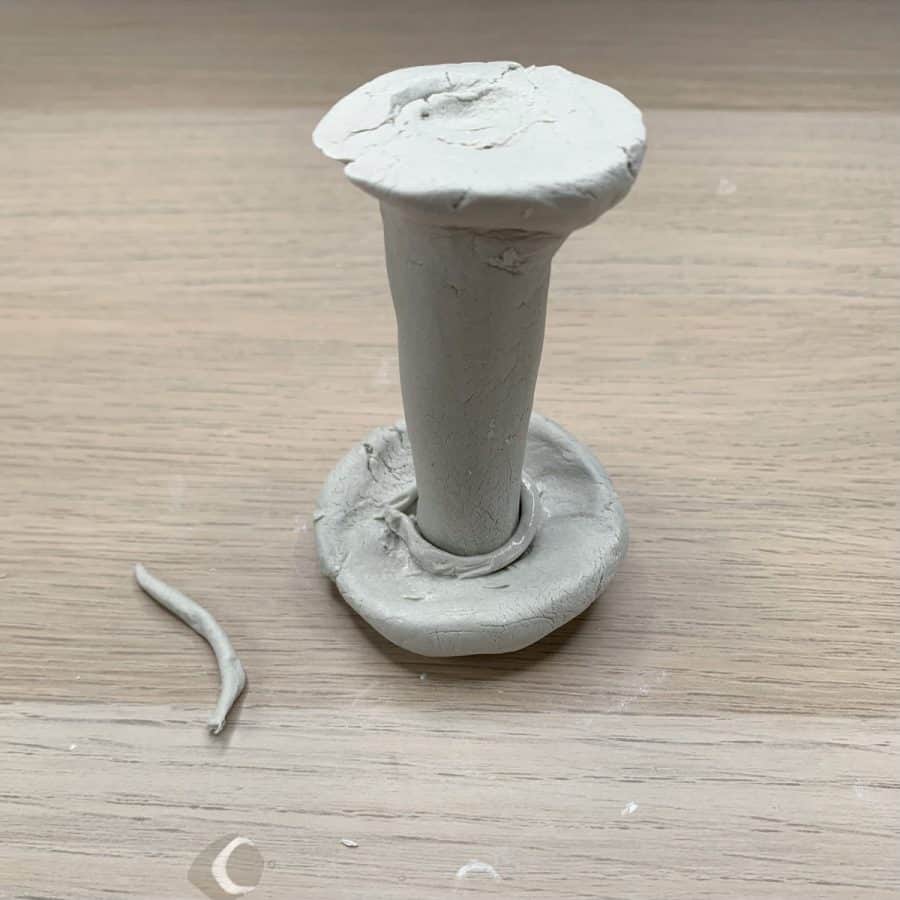
To help secure the stem and cap, take a little bit of clay and roll it into a thin piece. Then wrap this piece around the stem where it meets the cap.
Next, use the rubber tipped forming tool or thumb joiner to press this between them and join the seam. Add a little bit of water to help glue it together.
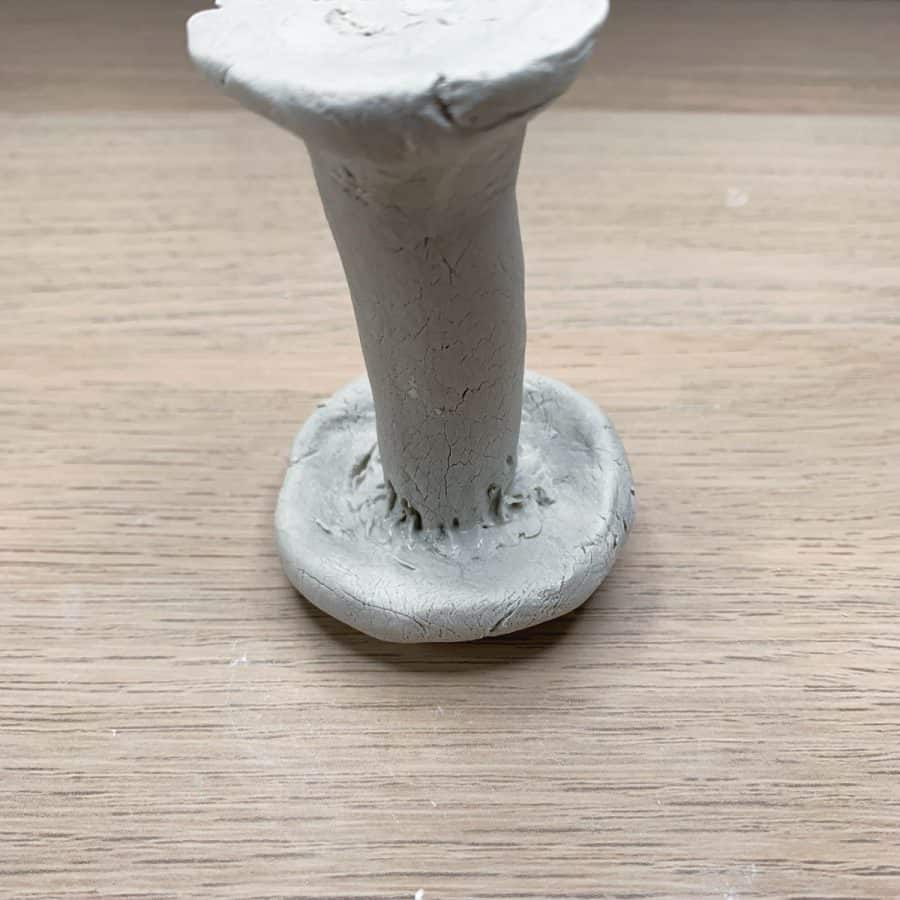
Another step to help secure the stem and cap is to create score lines that stretch from the cap to the stem. This will help blend the two.
Now finally, use a little more water to smooth the seam.
Step 4. Make The Clay Mushroom Gills

The undersides of mushroom caps have gills or pores. The gills have a more interesting visual, so we’ll make gills.
Use the palette knife to mark lines from the stem to the edges of the cap’s underside.

Step 5. Sand Rough Spots Or Cracks
To make the mushroom smooth and crack-free, use high-grit sandpaper and carefully sand the rough spots.
This is easier to do once the air dry clay has dried a bit, so I recommend waiting until the next day.
Just take care not to break the stem away from the cap while you sand.
Optional Design For The Mushroom Cap Shape
To get a wavy, whimsical shape, roll the clay into a ball and then flatten it partly with your hand. Then use a roller to make a flat circle.
This cap should be wider than the first one to allow for the extra ups and downs of the wave.
Test the shape first by placing this on top of the stem and shaping it to your liking.
Then if it needs to be trimmed, you can do that now. Once you have the shape the way you want it, scoop out some clay from the center of the inside of the cap.
Next, create hatch marks in the hole you scraped and on top of the stem, and then add water to both.

Now place the stem inside the hole, roll out a small amount of clay into a thin line, and wrap it around the base.
Repeat the steps from Step 4 to reinforce the stem to the cap.

The clay will take a long time to dry because it is solid. It needs to be completely dry before painting it in the next step.
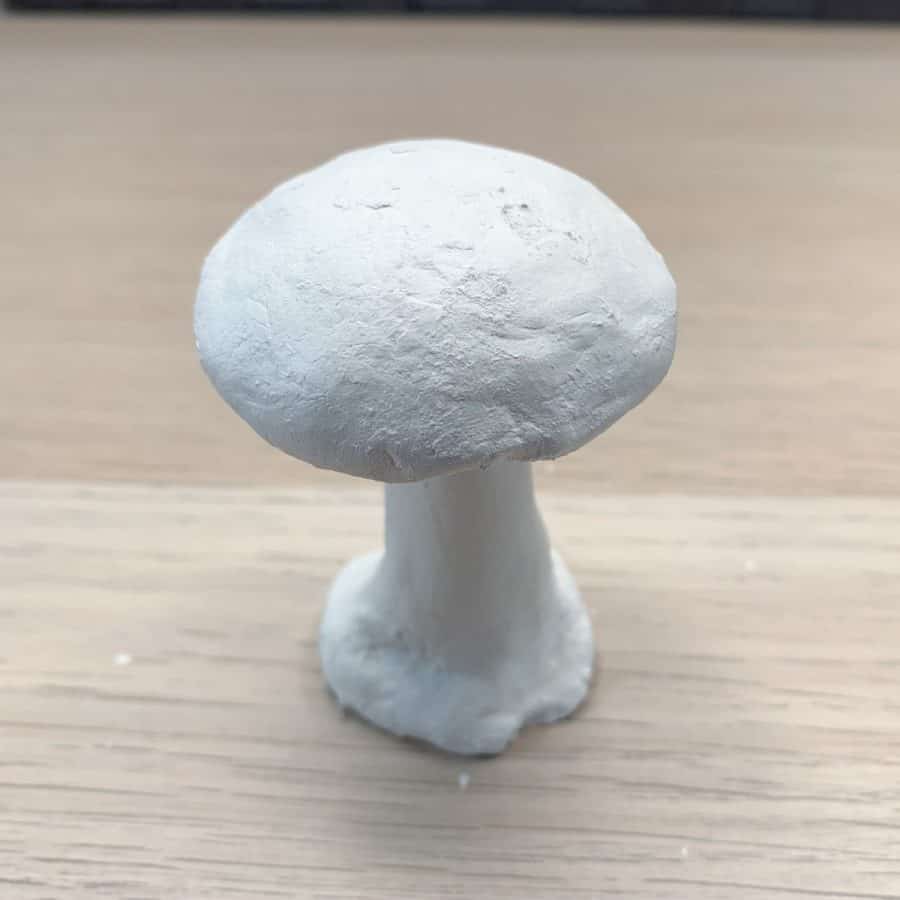
Step 6. Paint The Clay Mushroom

Even though you are using white clay, I linked to an off-white paint for the base coat, giving your paint smoother results and a more natural-looking stem.
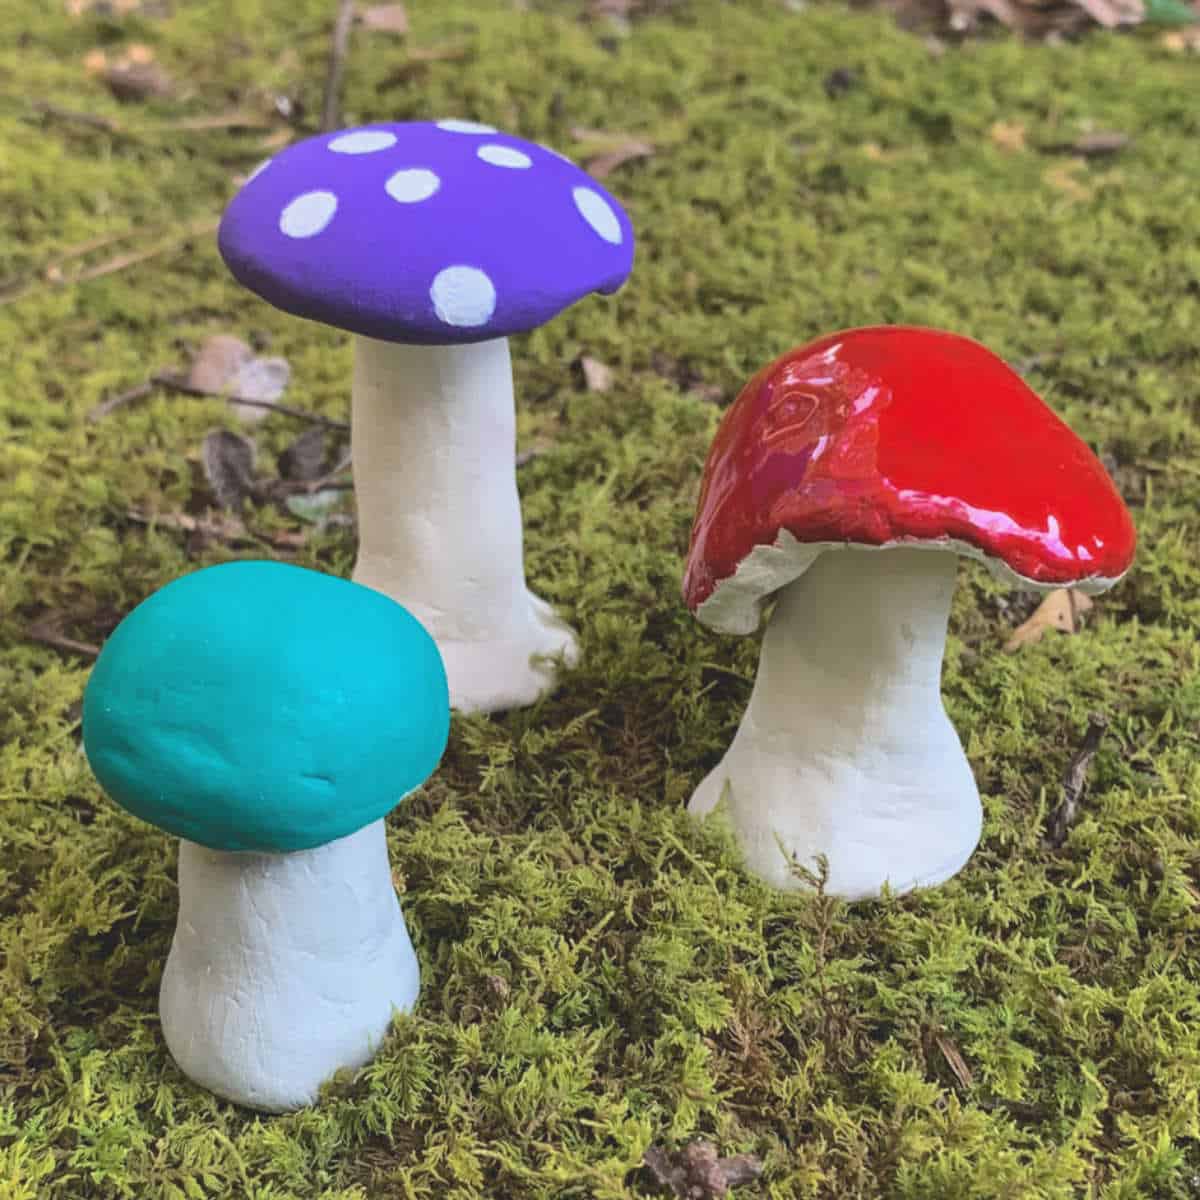
Feel free to have fun with the colors when you paint your air dry clay mushrooms. You can make each unique piece a different color.
For example, I decided to paint a different cap color for each and added tiny white dots to the purple one.
Also, remember to have fun with the stems. Mushroom stalks come in different colors and textures, so play with those too.
Step 7. Protect The Finish Of The Air Dry Clay
The painted finish protects the clay, but the paint itself should also have a protective coat.
To add a layer of protection, follow the instructions on the label and spray one or two coats of top coat over the mushrooms. Be sure also to get the bottoms.
Now set up your mushrooms somewhere fun. Maybe place them next to a real plant.
Or they’d make the perfect addition to a fairy garden!
For more clay project ideas, here’s a list of 55 clay ideas with tutorials!
Don’t forget to Pin it for later!

How To Make A Clay Mushroom –With Air Dry Clay
An easy tutorial for how to make an air dry clay mushroom. Perfect for beginners. Check out this fun, step by step guide.
Materials
- Air dry clay
- Clay sculpting tools
- Flexible palette knife (plastic or metal -not serrated)
- Shallow dish
Tools
- Please see the full materials list above the tutorial for details and links.
Instructions
- Create A Log Shape To Make The Stem Of The Mushroom
- Make The Air Dry Clay Mushroom Cap With A Pancake Shaped Piece Of Clay
- Attach The Mushroom Stem To The Cap Using Hatch Marks And Clay Slip
- Mark The Clay Mushroom Gills Using The Palette Knife
- Use Sandpaper To Smooth Rough Spots Or Cracks
- Optional Design For The Mushroom Cap Shape
- Paint The Clay Mushroom WIth Spray Paint And then Acrylic Paints
- Protect The Paint Finish With A Clear Top Coat