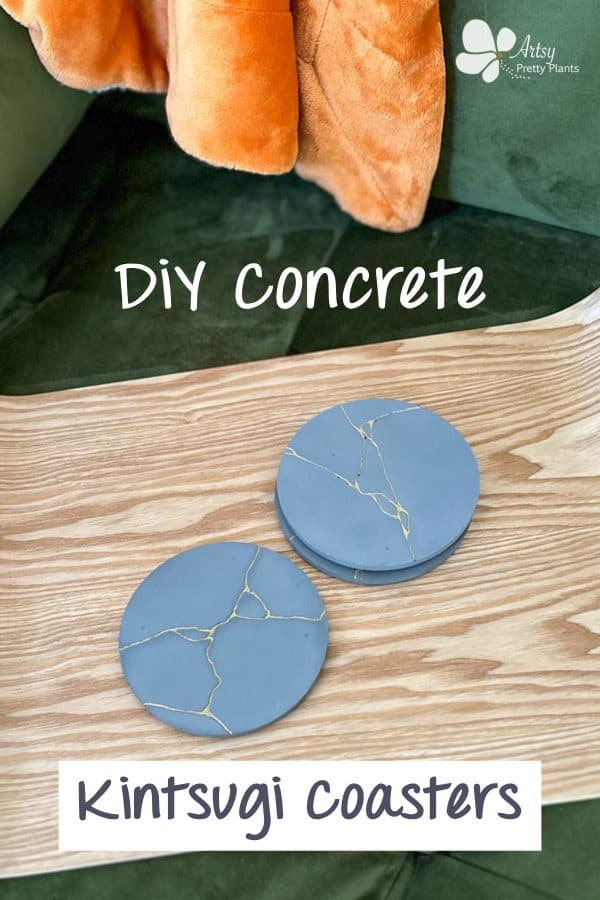
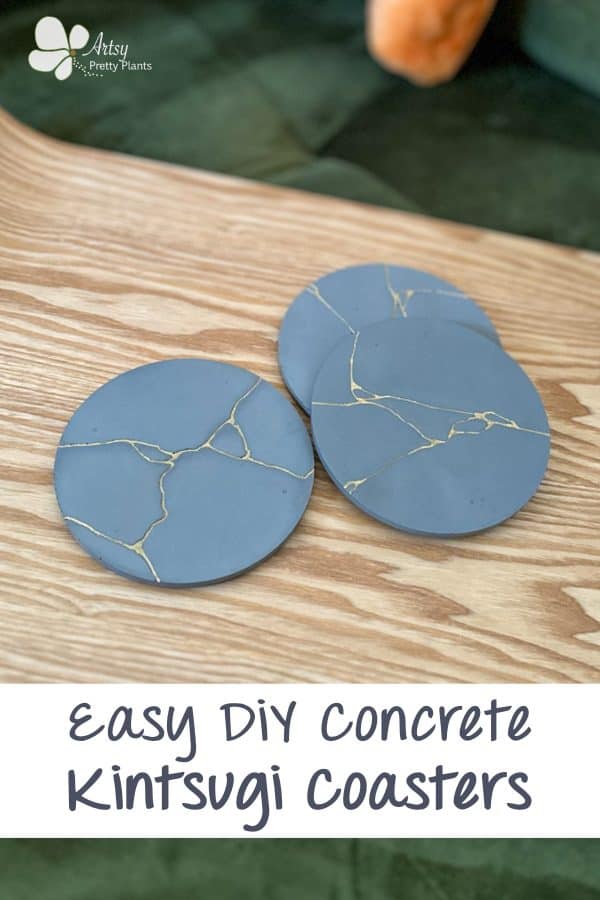
Easy DIY Concrete Kintsugi Coasters –Stylish Decor
How to make DIY concrete kintsugi coasters that are so fabulous, they make stylish looking decor and unique handmade gifts. Yet, such an easy concrete coaster tutorial.
Do you know about Kintsugi? If you’ve been hanging around the concrete scene for a while, you may have stumbled upon the kintsugi look before.
You don’t get far into a YouTube search for concrete anything before you run into kintsugi concrete coffee tables in your search feed.
I have always loved the look but didn’t know where it originated, so here’s a brief description. Kintsugi is a form of Japanese art.

They would repair the cracks of broken pottery pieces with glue and then paint gold leaf on top of the glued cracks for a beautiful, ornate look.
It was a brilliant way of turning a damaged object into a sought-after masterpiece.
This is a great first kintsugi project because you will get the look of kintsugi without gluing broken pieces together.
And now is the perfect time to learn how to make these beautiful concrete coasters because they make excellent gifts.
Additionally, because the kintsugi lines are incorporated into the molds, they are simple to create.
And these silicone molds made making these coasters so easy with built-in lines. Another great thing about them is the quality.
They are thick and durable, so you should be able to do good volume with them as they’ll withstand long-term wear and tear. You can see where I also used these molds for making coasters just like these with Jesin.
An additional benefit is that the coasters are thin, allowing you to create a large number of them quickly because they will cure faster than your typical concrete crafts project.
Here is a list of other good quality and unique silicone molds you can purchase, and this article has great advice and tips for buying concrete molds.
For other inspiration for making DIY concrete coasters, here are some I made that look great outdoors, and these gold-toned coasters with fall leaves.
Some of the links on this page have been provided as a convenience for finding materials. These links may also be affiliate links. As an Amazon Associate I earn from qualifying purchases, at no extra cost to you.
I only recommend products I’ve used and loved, unless otherwise stated. Click here to read my full disclosure policy.
DIY DIFFICULTY LEVEL | Easy
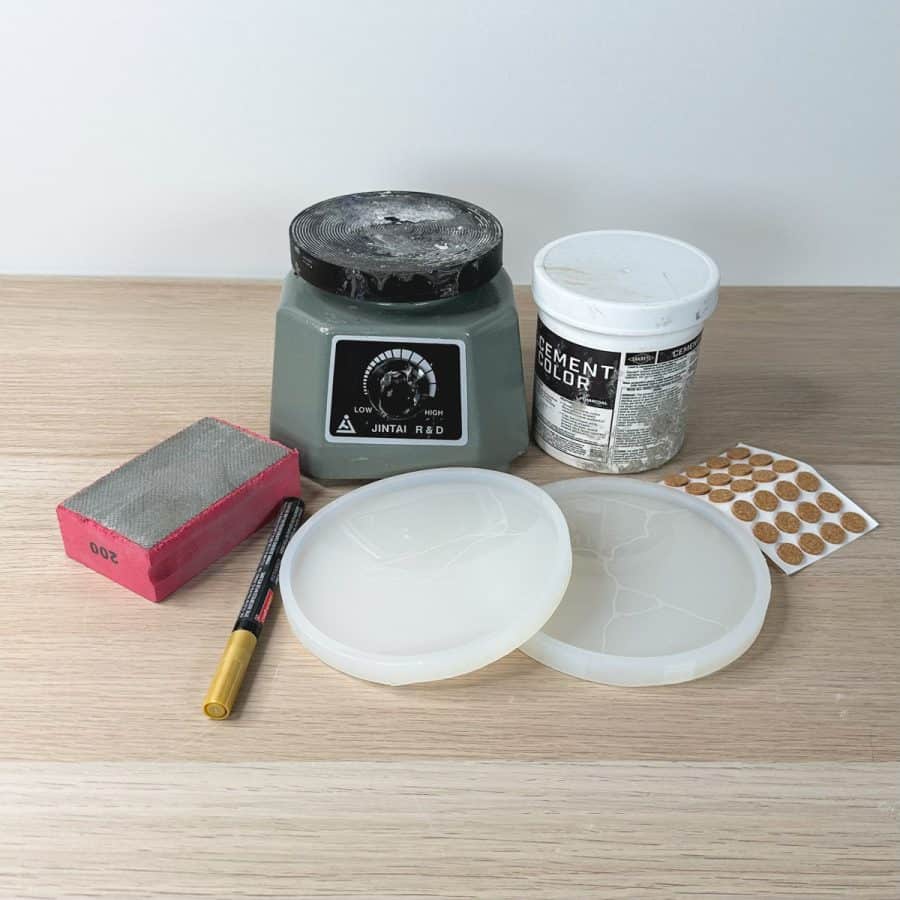
Materials List For Making DIY Concrete Kintsugi Coasters
- Smooth, fast-set grey concrete mix
- Disposable bowl
- Plastic cup for scooping mix
- Durable nitrile gloves
- Safety glasses
- Safety mask
- Plastic garbage bag or cloth
- Black colorant powder
- Kintsugi coaster silicone molds
- Vibration machine
- Sandpaper 220 grit
- Gold leaf paint pen– oil, extra fine
- Concrete sealer
- Deep plastic dish
- Microfiber cloth
- Self-adhesive cork dots
Materials Note:
Concrete mix:
The mix I used was perfect for this project. It cured fairly quickly and was perfectly smooth. It also is naturally light grey, so you can get the coasters dark grey by adding black pigment.
A lighter mix wouldn’t get these as dark as I would have liked. The darker colors give more contrast to the gold.
Gold leaf paint pen:
Alternatively you could use gold leaf paint with a small artist’s brush.
I had that type of paint on hand, so tried this first, but it wasn’t as clean of a line as I would have liked. So I opted for getting the paint pen, which was much easier.
How To Make DIY Concrete Kintsugi Coasters Tutorial Steps
Step 1. Mix Concrete With Colorant
First, protect your work surface with a plastic garbage bag or cloth.
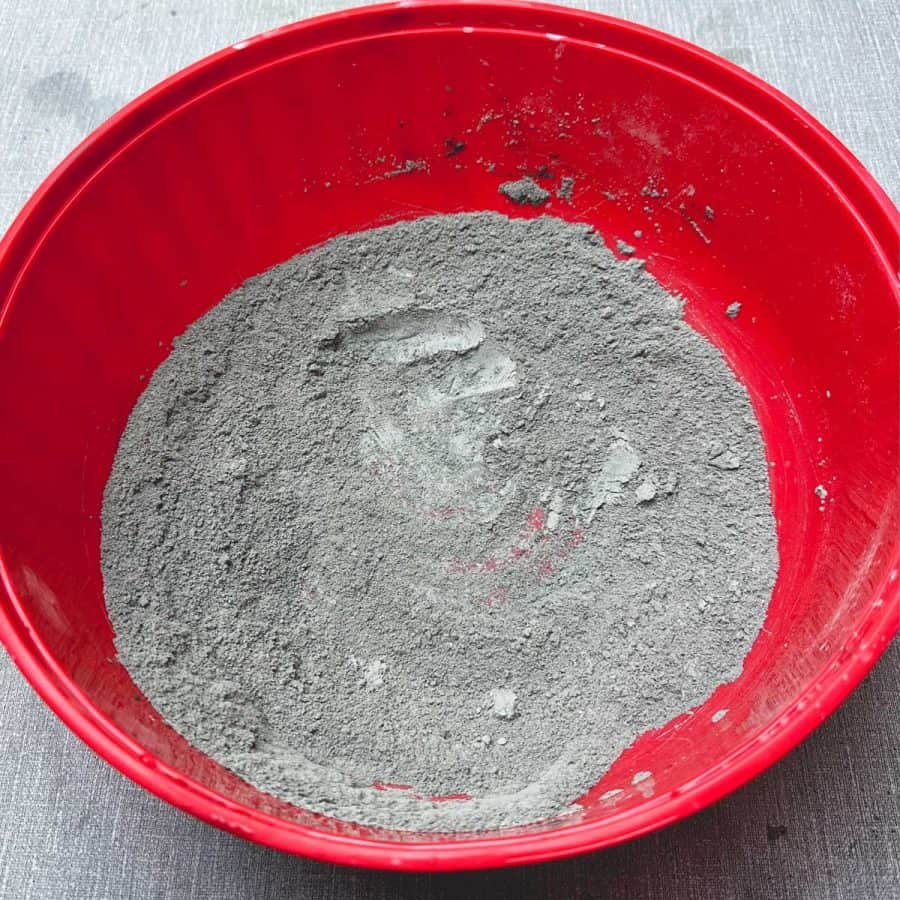
Add the concrete to a bowl, then add pigment to the dry powder and combine.
I didn’t measure the colorant or concrete mix, so please use the colors in the photos for reference. Mine is as dark as you should make it.
If I added more pigment, it would have been too much and weakened the concrete, causing it to crack.
Please note that the color of the mix with black pigment before you add the water doesn’t look very dark; it will be much darker once you add water. And the pigment I linked to in the materials won’t bleed or fade, as these concrete colorant tests, years after making, have proven.
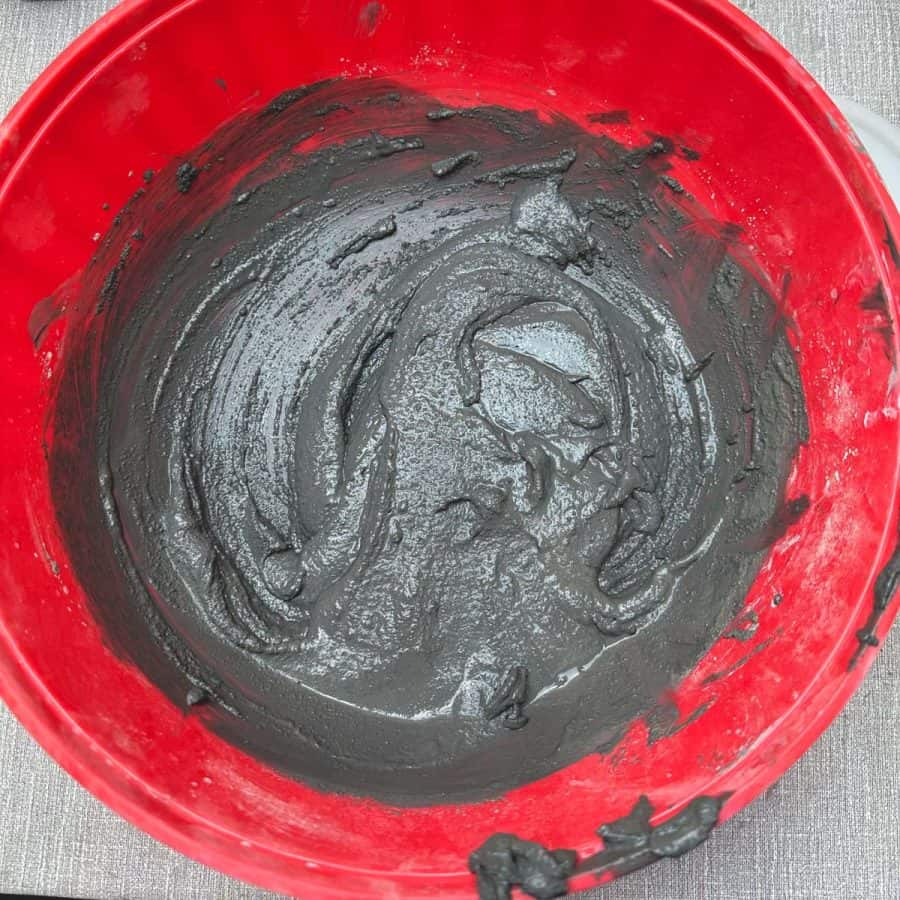
I recommend adding two teaspoons and then mixing it into the dry mix. If it looks close to mine, go ahead and add the water.
Add more powdered pigment to the wet mix if the color has yet to reach that dark level. It’s just easier to mix dry pigment into a dry concrete mix.
The mix should be a brownie batter consistency.
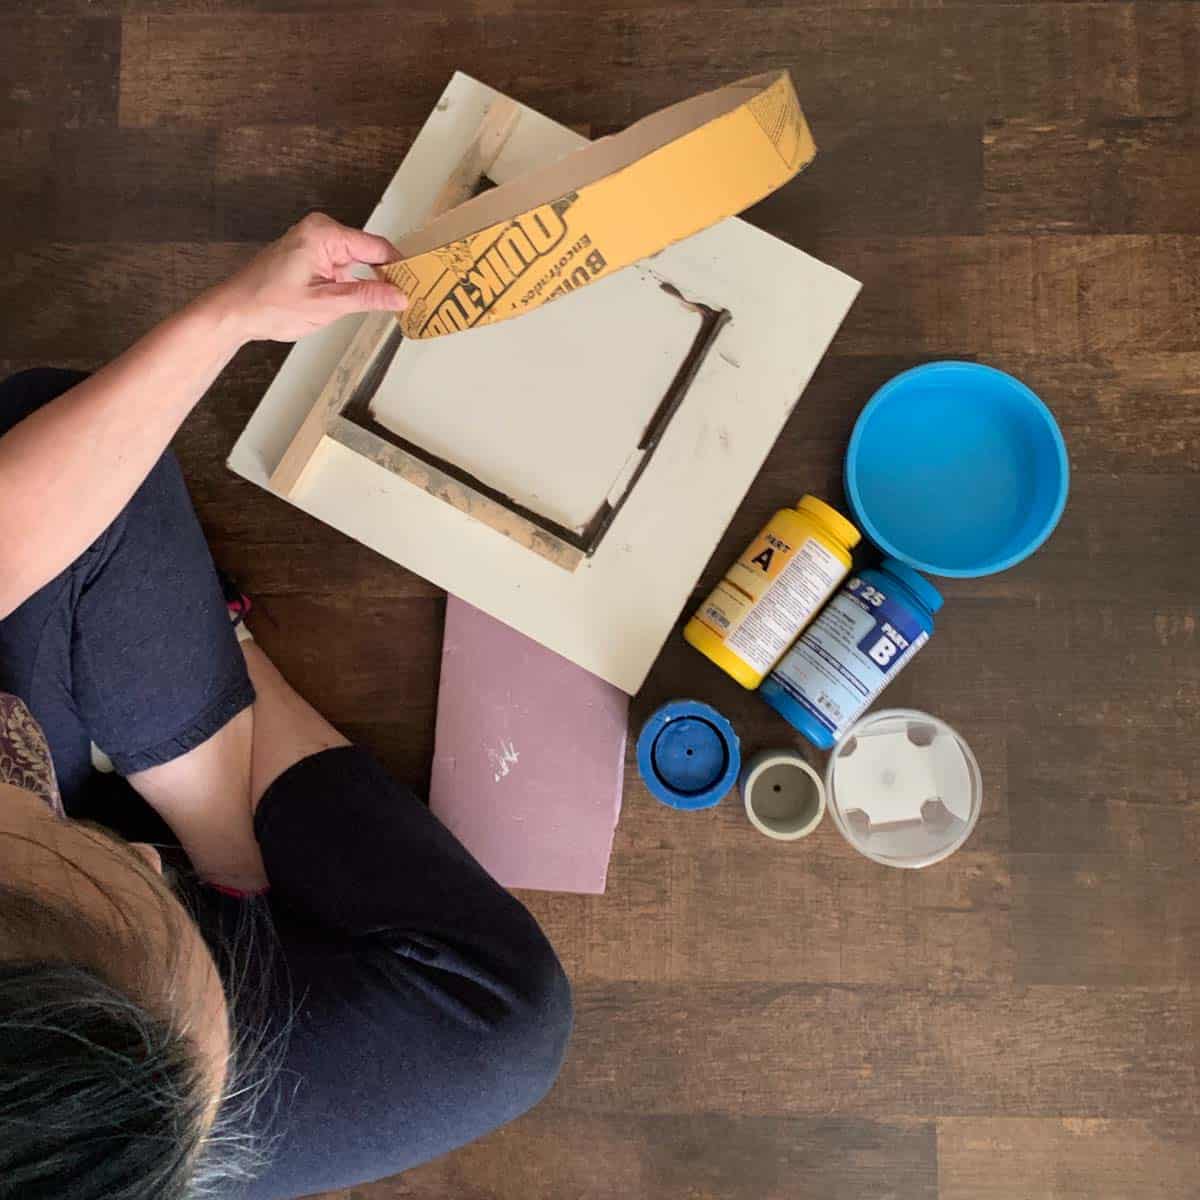
Step 2. Cast The Molds And Vibrate The Mix
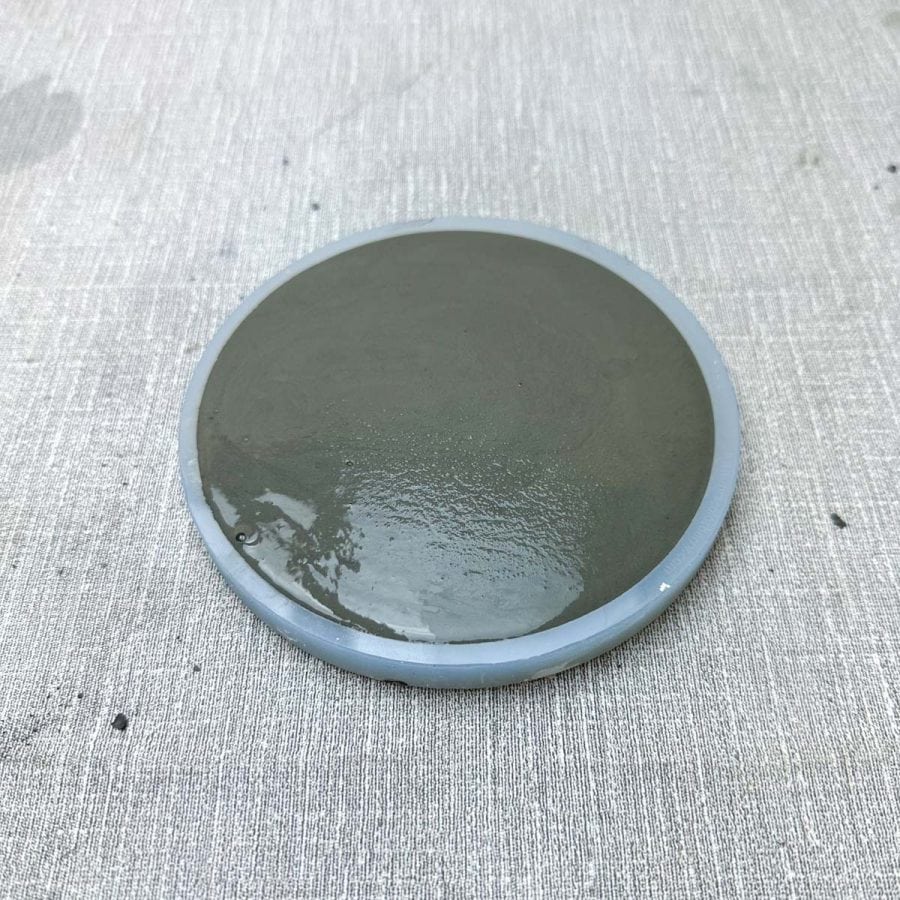
For the next step, pour the mix into the mold.
Use a craft stick or something flat to scrape off the mixture if it’s higher than the top of the mold as seen in my photos.
If you don’t have a vibration machine, place the molds on a rigid, level boar or big tile and pour the mixture into the molds.
Use the tile to lift and tap onto your work surface to help with vibrating. You can stop once the bubbles on the surface stop rising or slow.
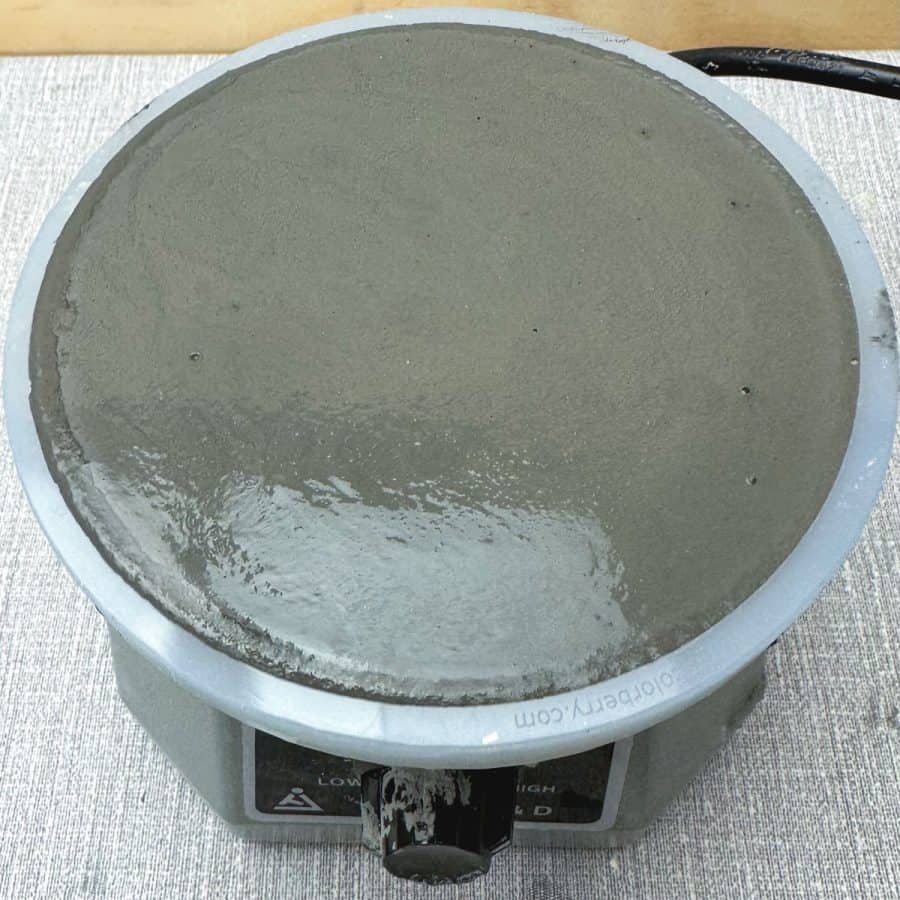
The quickest way to vibrate this is with a vibration machine or using an power sander without the pad or other vibrating power tool.
If you have a vibration machine, place the kintsugi molds directly on the machine and let it run until the air bubbles rise to the surface slowly.
They let these cure for about 3-4 hours.
Step 3. Demold And Sand
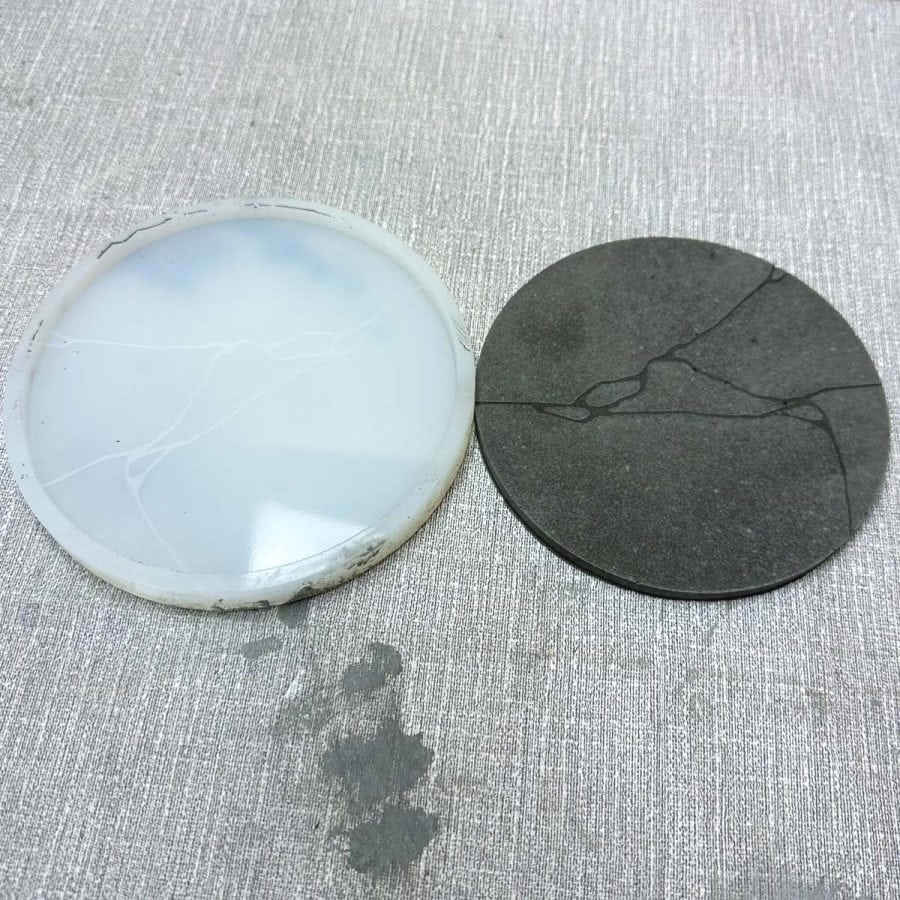
Gently push the concrete kintsugi coasters out of the silicone molds.
One thing to be aware of, the coasters come out with just a slightly satin sheen. This is typical of a silicone mold. They are nearly matte, but not quite. And silicone definitely makes the concrete very smooth.
You can read more in this article about what makes concrete shiny and smooth.
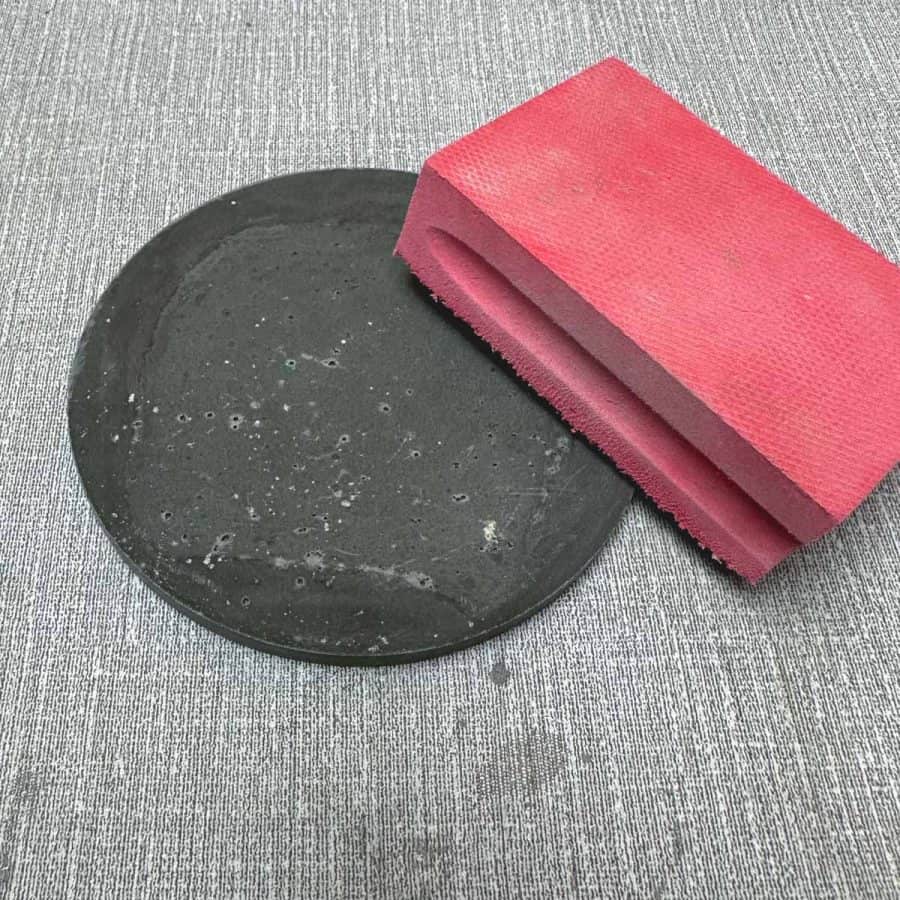
Use sandpaper or a diamond grit sanding sponge to remove the rough edges and smooth the bottom. You want the coaster to be level.
Step 4. Paint The Kintsugi Lines
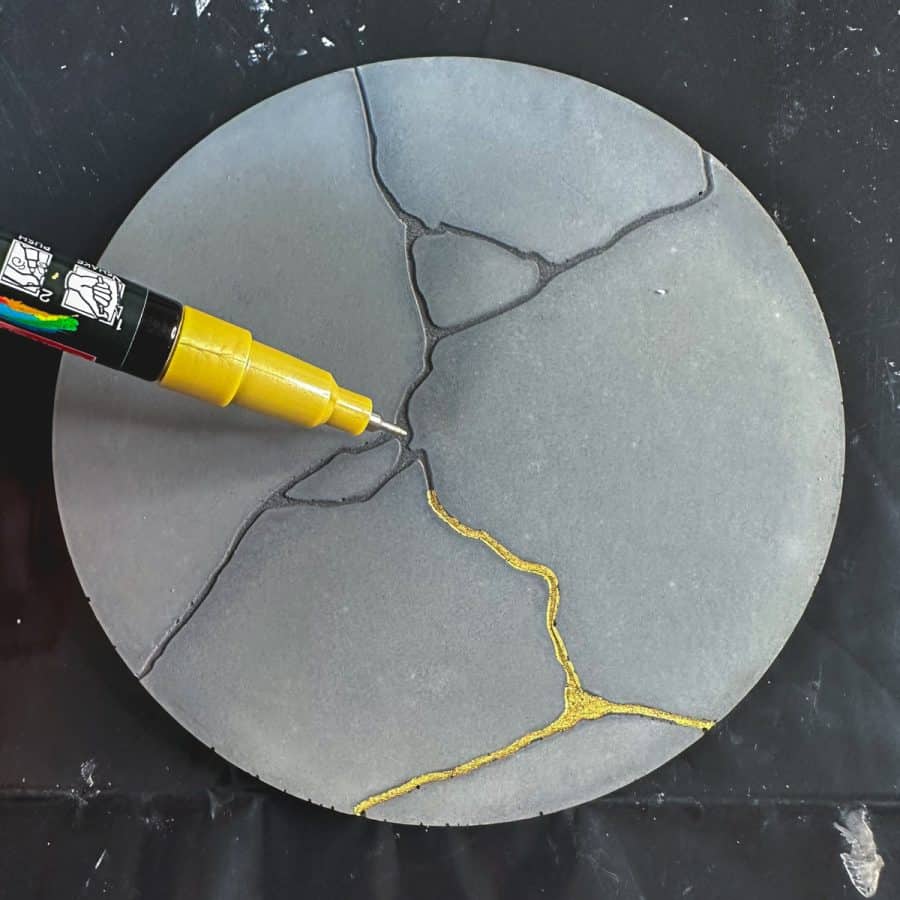
Note: The lighting in this photo is off, the color was the same as you see in the final photos. The camera is overcompensating by lightening it, due to the black background.
The concrete should be completely dry before you paint, so wait a day after demolding before you paint.
Painting the gold lines is very easy if you use a paint pen.
The lines are pretty deep, so when you put the tip of the pen into the line and run it through, the tip stays within the groove. It’s not difficult to keep it in the grooves.
Just be sure to follow the directions on the pen before you start.
Fill in the broader areas of the kintsugi lines, and then you are done.
Typically, I wait 24 hours before I seal on top of the paint, but you can probably get away with less time than that.
I prefer to err on caution, so I waited another day.
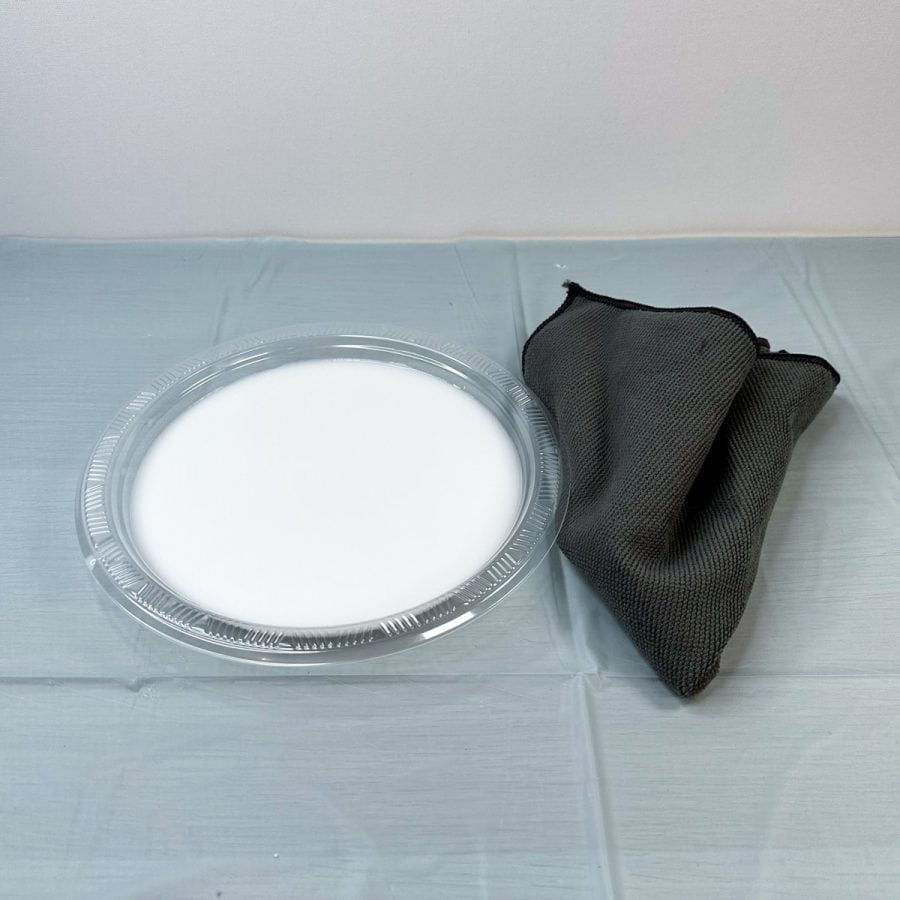
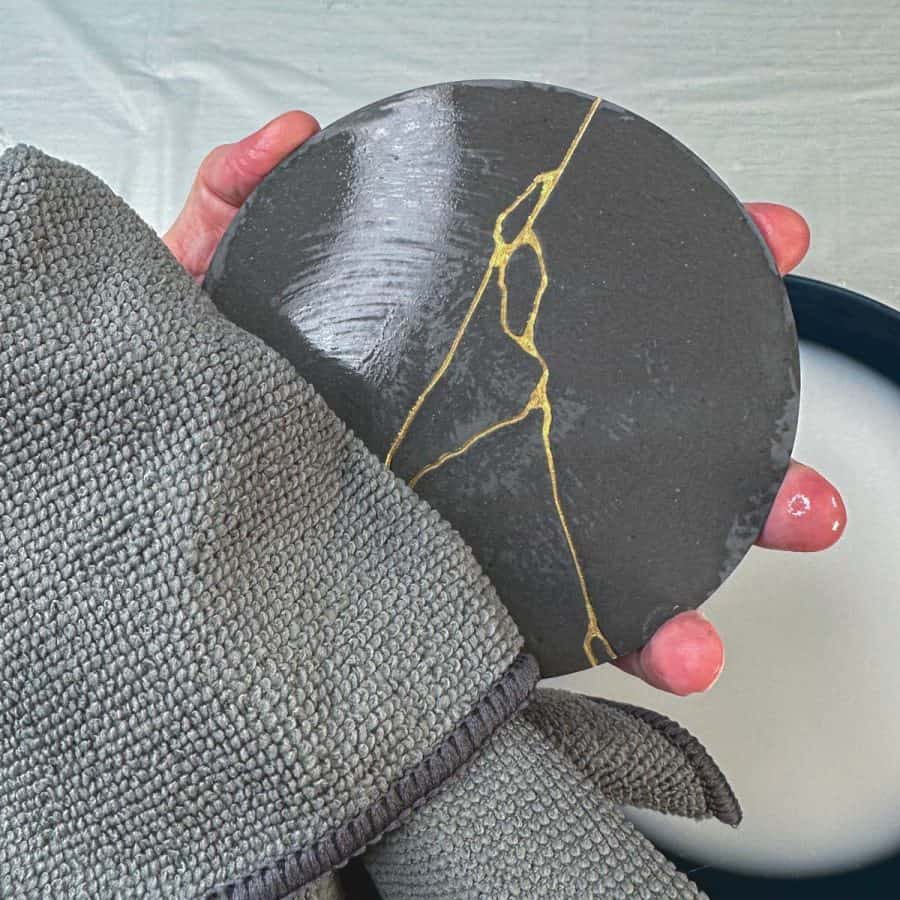
Step 5. Use A Sealer To Protect The Kintsugi Coasters
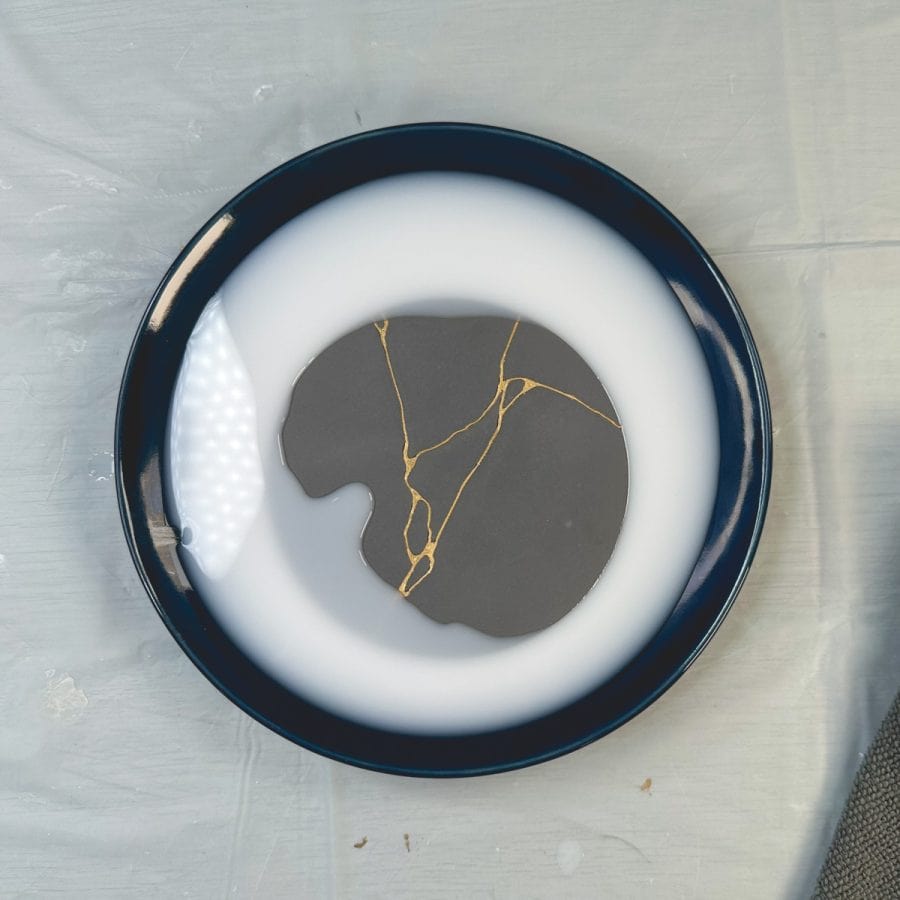
If you use the sealer I recommended in the materials, follow these instructions; otherwise, follow the instructions on your sealer’s label.
To seal the coasters, pour the sealer into a deep plastic dish. Then, take each coaster and dip it into the sealer.
Swish it for about 15 seconds, then take it out and use the microfiber cloth to rub away the excess.
Rub it until you have eliminated all the streaks. Wait only a few minutes and then repeat this process.
After you have wiped away the streaks, you can set it aside to dry. It should be okay for use in 24-48 hours.
Step 6. Add Bumpers To The Bottom
Twenty-four hours after sealing the coasters, you can add bumpers to the bottom.

Take your sheets of self-adhesive cork, stick 6 pieces to the back of each coaster. Set them in about an ⅛” from the edge.
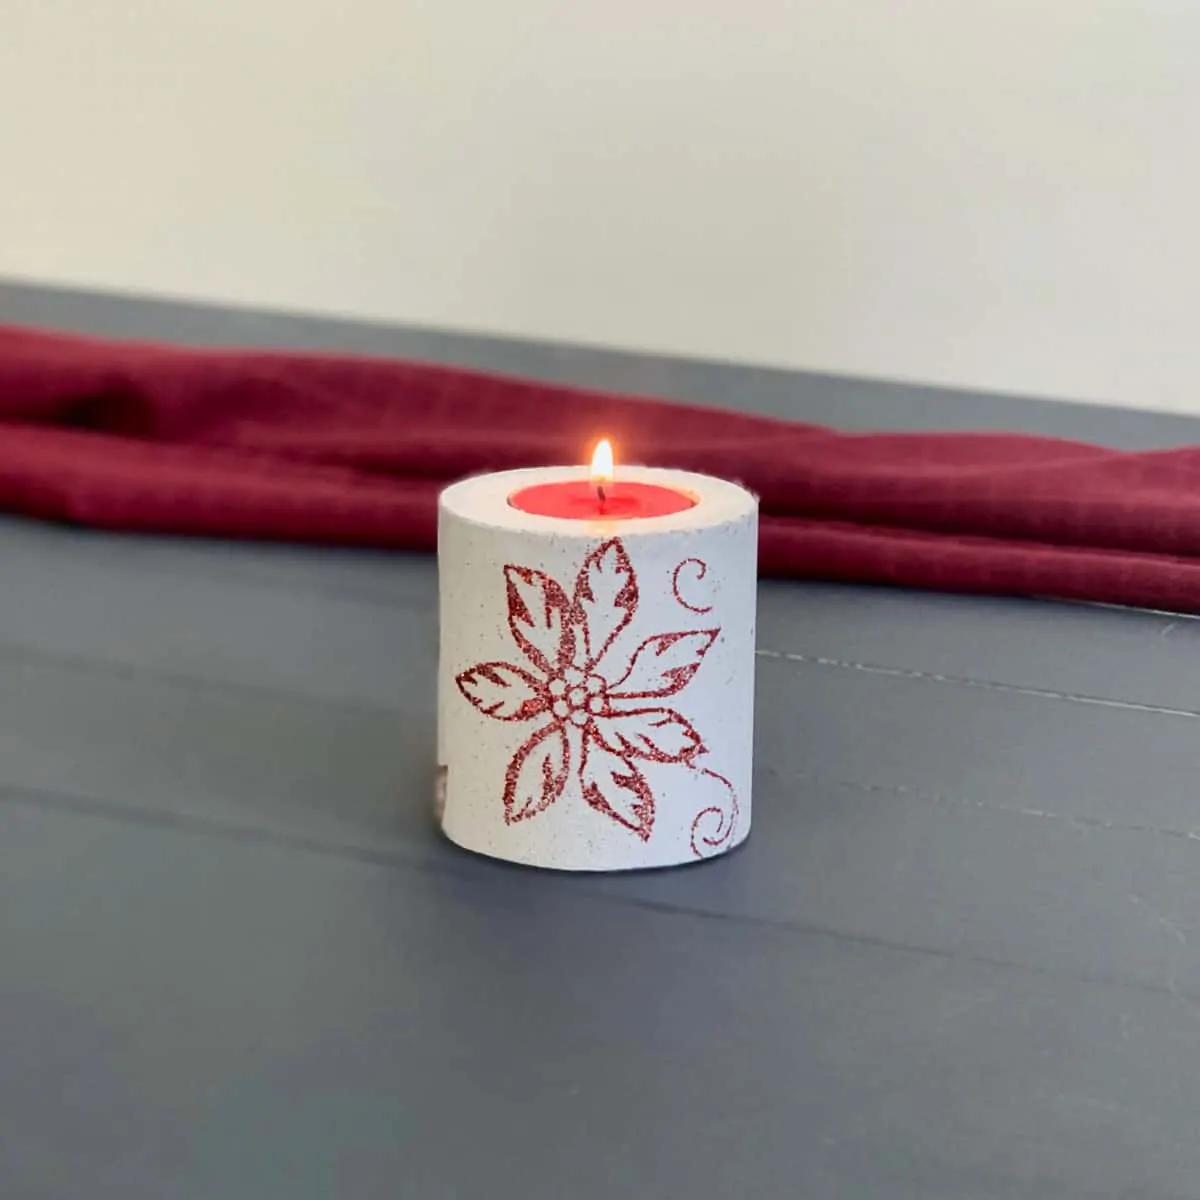
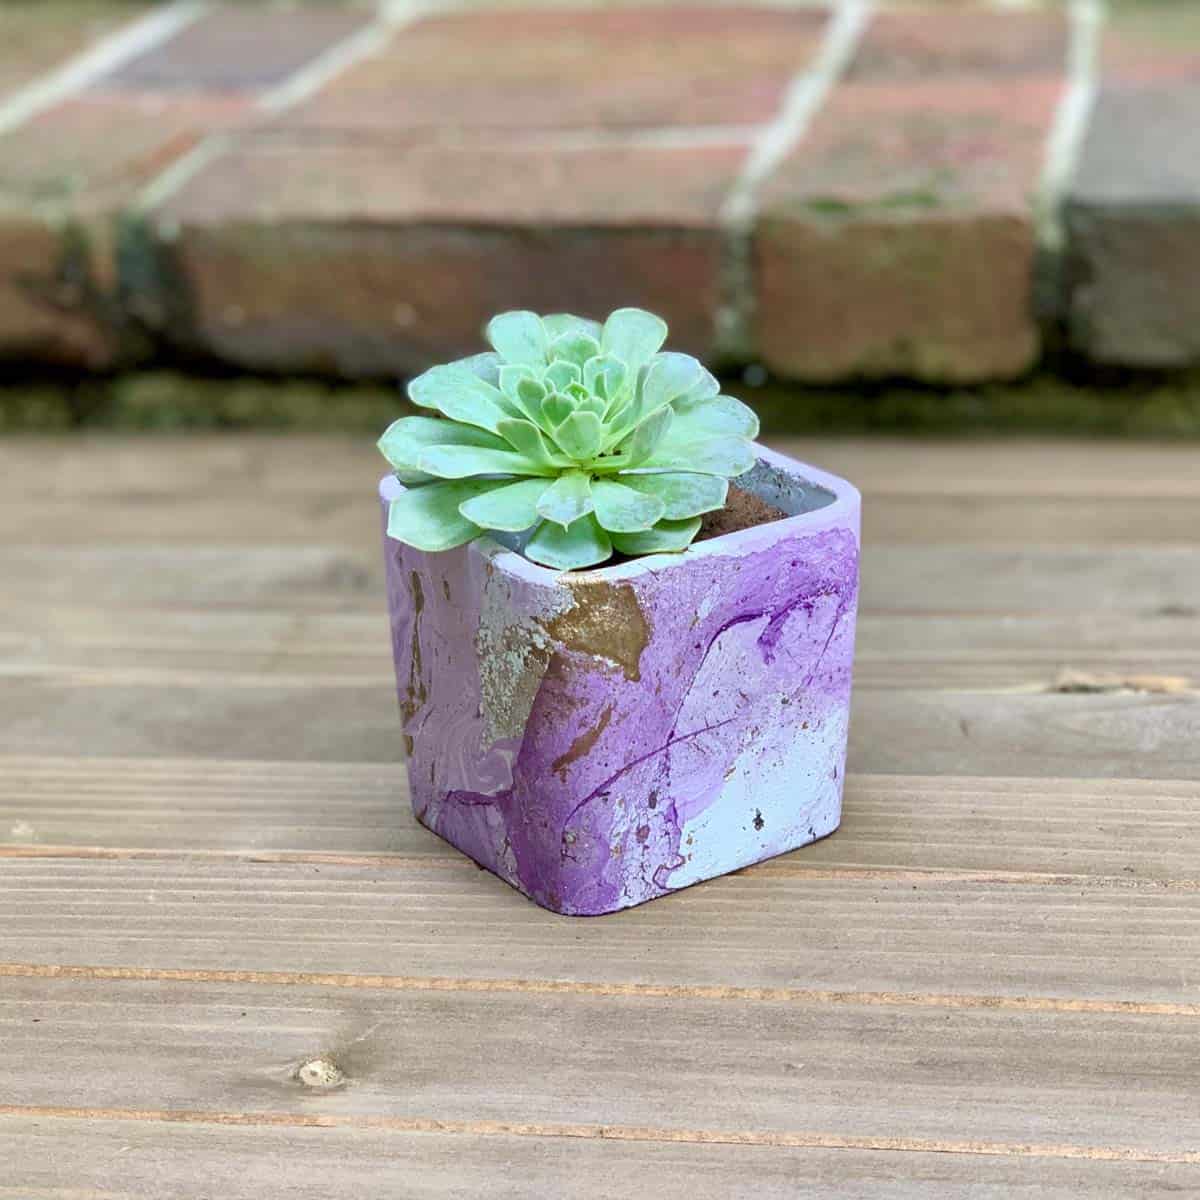
By the way, this isn’t my first time creating a kintsugi look with concrete. I did a tutorial for another DIY blogger where I made gold veins on a white planter.
Don’t forget to Pin it for later!
Easy DIY Concrete Kintsugi Coasters
A step by step tutorial for how to make concrete Kintsugi coasters from pre-made silicone molds with built-in kintsugi lines.
Materials
- Smooth, fast-set grey concrete mix
- Disposable bowl
- Plastic cup for scooping mix
- Durable nitrile gloves
- Safety glasses
- Safety mask
- plastic garbage bag or cloth
- Black powdered colorant
- Kintsugi coaster silicone molds
- Vibration machine
- Sandpaper 220 grit
- Gold leaf paint pen
- Concrete sealer
- Deep plastic dish
- Microfiber cloth
- Self-adhesive cork dots
Tools
- Please see the full materials list above the tutorial for details and links.
Instructions
- Mix The Concrete With Colorant
- Cast The Molds And Vibrate The Mix
- Demold And Sand
- Paint The Gold Kintsugi Lines
- Use A Sealer To Protect The Kintsugi Coasters
- Add Bumpers To The Bottom


Gracias por este magnífico tutorial!
Son unos posavasos preciosos!!!
Thank you Ana!
Very beautiful. Love them.
Somehow I cannot find a description on how you do the lines in the concrete.
Suddenly it shows lines But not how you did them. What took do you use?
Hi Marianne,
Thanks! The lines are built in to silicone molds I used– which makes it so easy! I have a link in the materials to them.