Easy DIY Magnetic Cement Planters
In this tutorial, I’ll show you how to make round DIY magnetic cement planters made from a plastic ball, with an actual making time of only 15 minutes.
Oh what joy these DIY magnetic cement planters bring me! I had been dying to make these for over a year.
Last summer, while working on other planters, I came up with the idea of using plastic bouncy balls as a planter mould.
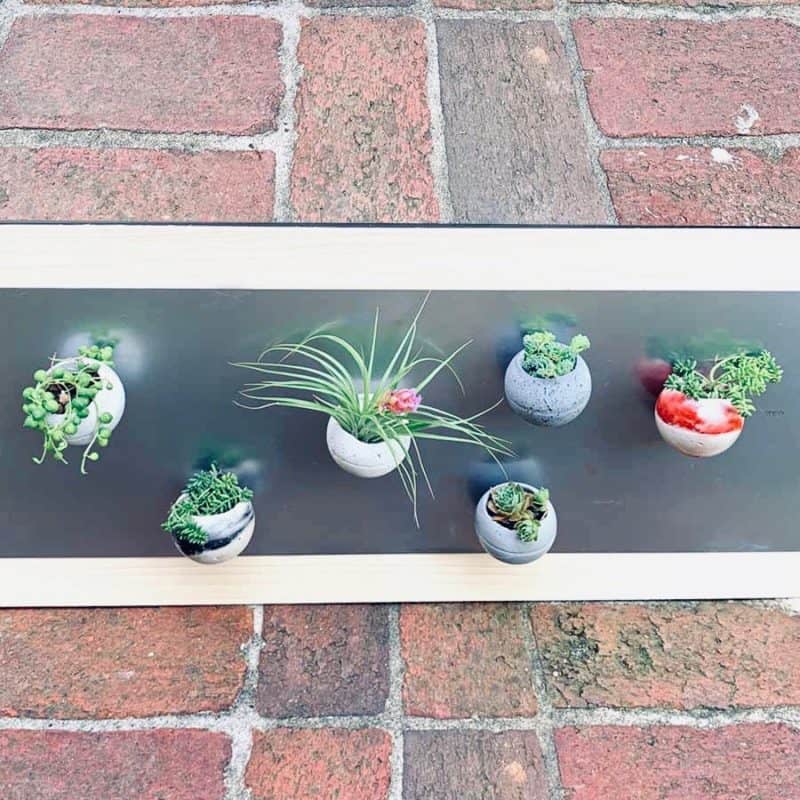
But since many DIY projects are made seasonally, I decided to hold off on posting this one until it was warm again.
And because I’m incredibly impatient (putting it mildly), I couldn’t help myself and last winter I made a non-planter, winter variation, which ended up being my round cement Christmas candles.
Now that it’s finally warm again, I get to show you these sweet little magnetic round planters.
DIY Magnetic Cement Planters Video tutorial
Please click the button to subscribe to my YouTube channel and be notified when I have a new video tutorial!
In order for these little suckers to stay on your refrigerator or any other magnetic spot, you’ll need some really strong magnets for these to hold firmly on your refrigerator.
I haven’t been able to find magnets strong enough locally, so in the materials list I have a link to the online store that I found them.
Here’s where I made a silicone sphere mold so I could make copies of round cement planters!
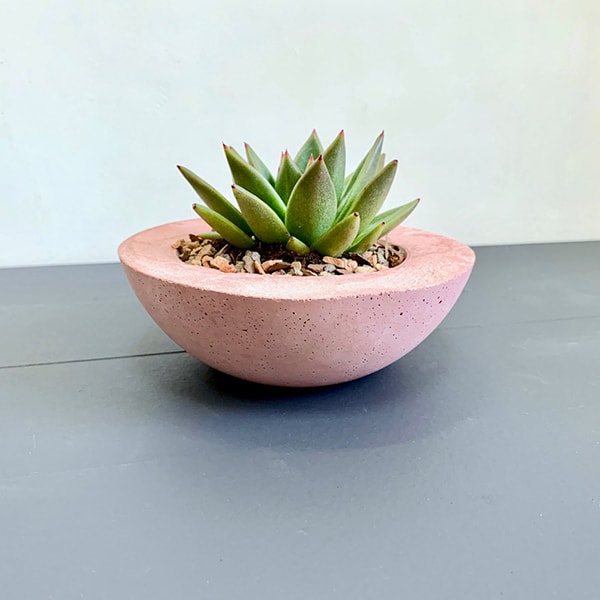
These mini cement succulent planters can also be such cool handmade gifts!
They can be great as teacher’s gifts, house warming, hostess gifts or even stocking stuffers -but maybe you want to put artificial plants in the cement planters temporarily if you are stuffing them inside of a stocking. :o}
These mini balloon planters were the other round planters that gave me the idea of using the bouncy ball.
You’ll love making these and they are a perfect project for beginners. For other easy cement projects, check out this list of best concrete projects for beginners to start with.
Some of the links on this page have been provided as a convenience for finding materials. These links may also be affiliate links. As an Amazon Associate I earn from qualifying purchases, at no extra cost to you.
I only recommend products I’ve used and loved, unless otherwise stated. Click here to read my full disclosure policy.
DIY DIFFICULTY LEVEL | Easy
Tutorial Materials For Making DIY Magnetic Cement Planter
- Cement, Rapid Set
- Plastic Bouncy Balls
- Durable nitrile gloves
- 2 Disposable plastic cups
- Disposable mixing bowl
- Paper towels or rags
- Craft sticks (optional- for mixing)
- Rare earth magnets –very strong ones, I used these
- Q-tips
- Plastic grocery bag
- Concrete pigments- white | red | black – or any color you’d like. If you use different pigments from what I have linked, then make sure they are made for concrete.
You may be able to find the black and red colors at a big box store for less. - Cooking spray *optional* If you want the round magnetic cement planter to be shiny, don’t use this.
You don’t need it at all to release the cement, it comes out very easily. The only reason you would use this is if you want the cement planter to be matte instead of shiny. It seems backward but the oil will give it a matte, rustic look. - Sealer – *You only need this if you are using pigment. Some of the pigment will stay in powder form when it’s finished and this can get messy, so sealing it will fix this.
- Soft cloth


DIY Magnetic Cement Planters Tutorial Steps
Step 1. Prepare Mould For Cement
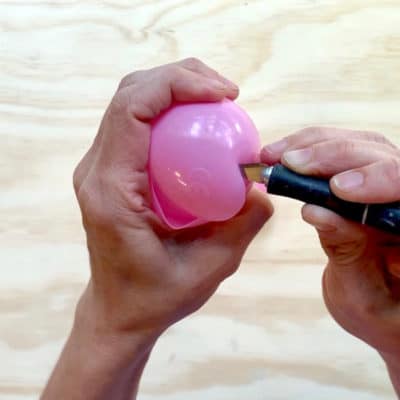
Cut the top off of the plastic ball with the X-acto knife by slicing it with the knife held horizontally, so it will be easier and a neater cut.
Step 2. Make The Cement Mix

Add the cement to your disposable bowl, and add some water. Then, using either the craft sticks or your gloved hand, mix the cement.
Be sure to mix the cement in small batches.
You want it to be the consistency between a mud pie and a thick shake so that it is mouldable and also fluid enough that it attaches to the sides of the plastic ball.
If you are using gloves to mix, then the gloves I have linked to are seriously great and are very unlikely to tear.
Step 3. Spray Ball For A Matte Finish- *optional

If you want a matte appearance, then spray the inside of the ball with vegetable spray, let it drip out if it puddles up on the bottom. If you want it to be shiny, then don’t spray the ball.
Step 4. Apply Cement Inside The Mould
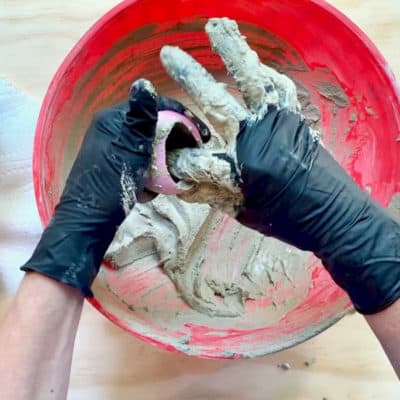
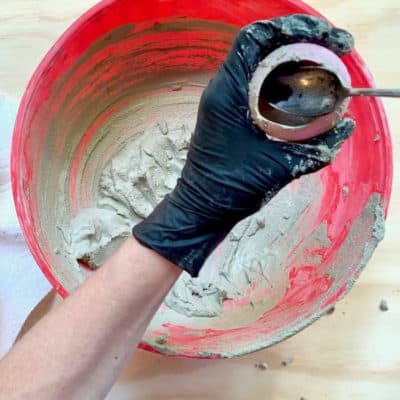
Scoop up some cement mixture and put it into the ball. You’ll need enough that the ball is half full.
Now work your way around the plastic ball with your finger, pushing it against the sides. The cement should be about 1/4″ thick.
Go to the next step before refining your sculpting.
Step 5. Add Pigment- *optional
For more in-depth coloring information, you may find it helpful to read this post where I tested and compared different concrete pigments and coloring techniques.
If you would like to color your DIY magnetic planters, then you can add pigment in several different ways.
You can either add it right to the mix, which will color the whole planter. You will probably have to play with this a bit depending on the pigment you use.
One scoop of pigment was plenty to color mine.
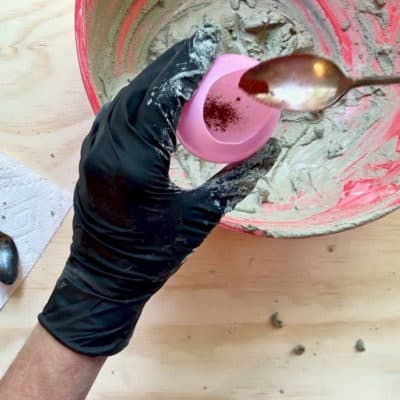
Another way to color your cement planter is to add flecks of pigment to the bottom or sides of the ball.
Just take a pinch of pigment and flick it inside the ball. When you add the cement, it will smush it around, giving you a marbled effect.
My results varied wildly, as you will see when you scroll to the bottom. Such fun!
Step 6. Add The Magnet

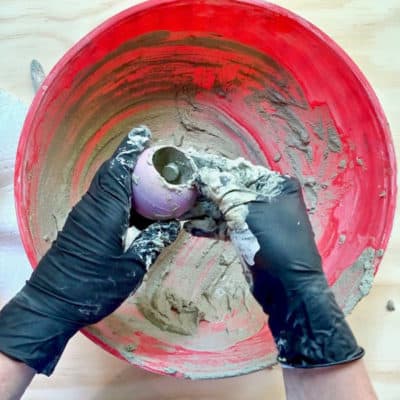
Position the magnet (remember, you must use really strong magnets like these around the mid-point of the plastic ball where the line is.
Try to get the magnet as close to the plastic as possible, it’s okay if there is no cement between it and the plastic ball.
On the inside though, you will want to cover it with cement. I’m not a plant expert and it may not matter, but it seems like keeping the magnet away from the soil could be a safer bet for keeping the plants alive.
Just sculpt the cement around it, but don’t make it too thick, you don’t want to add unnecessary weight to the cement planter.
Step 7. Build Up Sides And Add Drainage
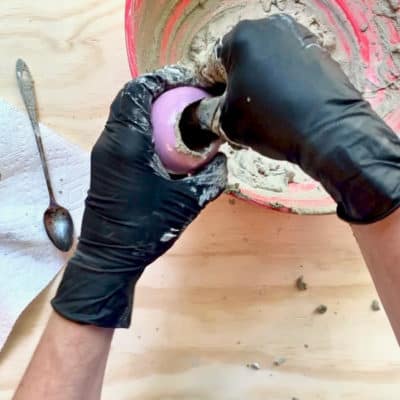
Now smooth everything out and make sure the cement at the top of the ball isn’t too thin.
Try to make the cement nice and even all the way around. Next, take a Q-tip and push two drainage holes in the bottom.
Now place the balls onto something cylindrical like a small glass, I used leftover pieces of PVC pipe. This will help the ball keep it’s round shape while it’s curing.
The round cement planter should be cured in an hour. *However if you want the ball to be shiny, wait 2 hours.
If you remove it before it’s fully cured, the cement planter will be matte, or part of it will be matte and part shiny.
If you prefer the cement matte, then go ahead and remove it after an hour.
Step 8. Demould The Magnetic Planter
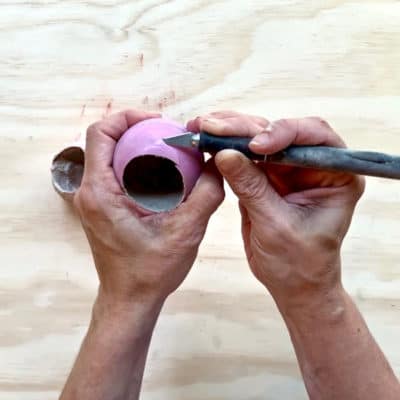
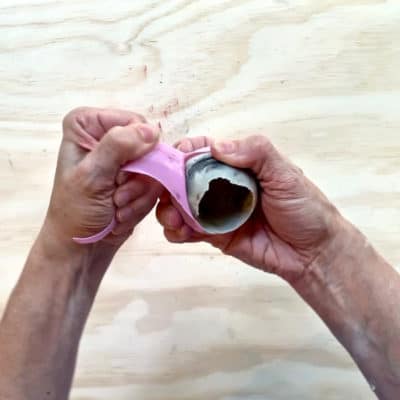

Use the X-acto to remove the plastic from the cement planter.
Start at the top, keep the blade pointing away from you and slice away from the cement.
Try to go a little past the mid-point line, then you can use your fingers to peel the plastic off.
If you give it a little extra time to cure, your planters will turn out extra shiny. You can learn more here about how to get concrete shiny, or matte.
Step 9. Seal The Pigmented Cement Planters- *optional
You do not need to seal these if you don’t use pigment.
Even if you do use pigment, it’s not necessary to seal.
I wanted to seal them because the pigment powder can get caked up in places where the cement has pits and will come off on your hands and sealing helps, it’s not perfect, but it does help.
I came upon this sealer after watching this fantastic concrete Youtube video by Michael Builds (who has made a few great videos, all on concrete).
It keeps the cement looking the same as it does before sealing it, with no shine or enhancing effects.
First, spray the planter with the sealer. The instructions say to spray generously, but don’t saturate.
I’m pretty sure I mostly saturated them. You let them sit for 3-5 minutes, then spray one more time.
Then just let them sit for 25-30 minutes. The instructions then say to wipe off the excess sealer, but on mine, there was nothing to wipe.
It was completely dry and perfect looking. Score! Loving the sealer.
If you like round planters, then you may want to see my tutorial for a textured balloon planter bowl and the original cement balloon planter.
And for other planters you can make in an hour- check out 9 Quick Concrete Planters.


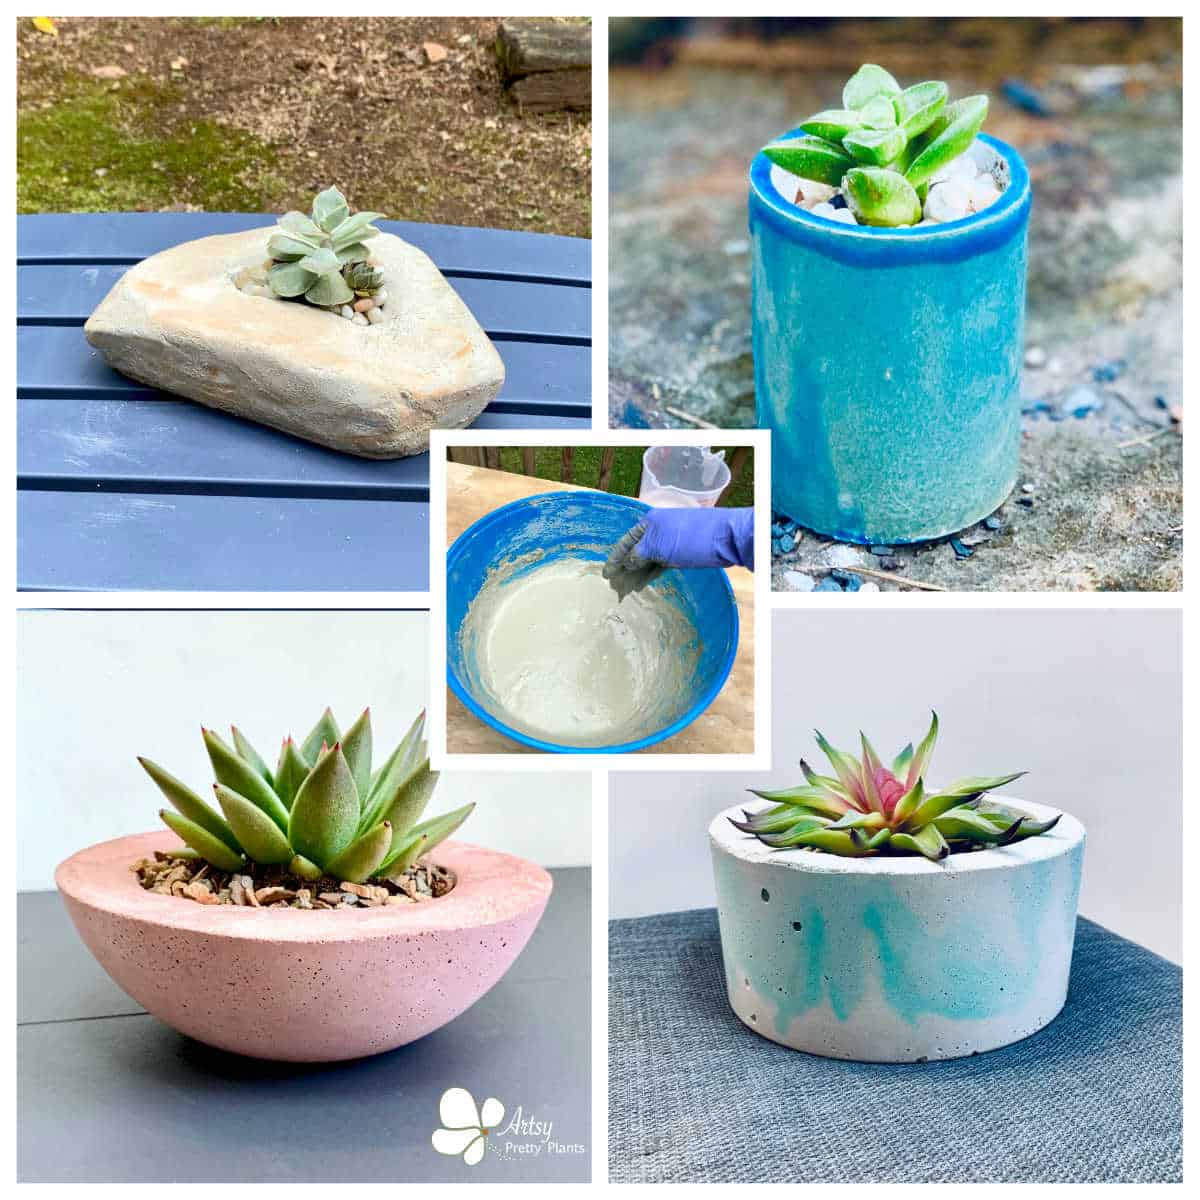
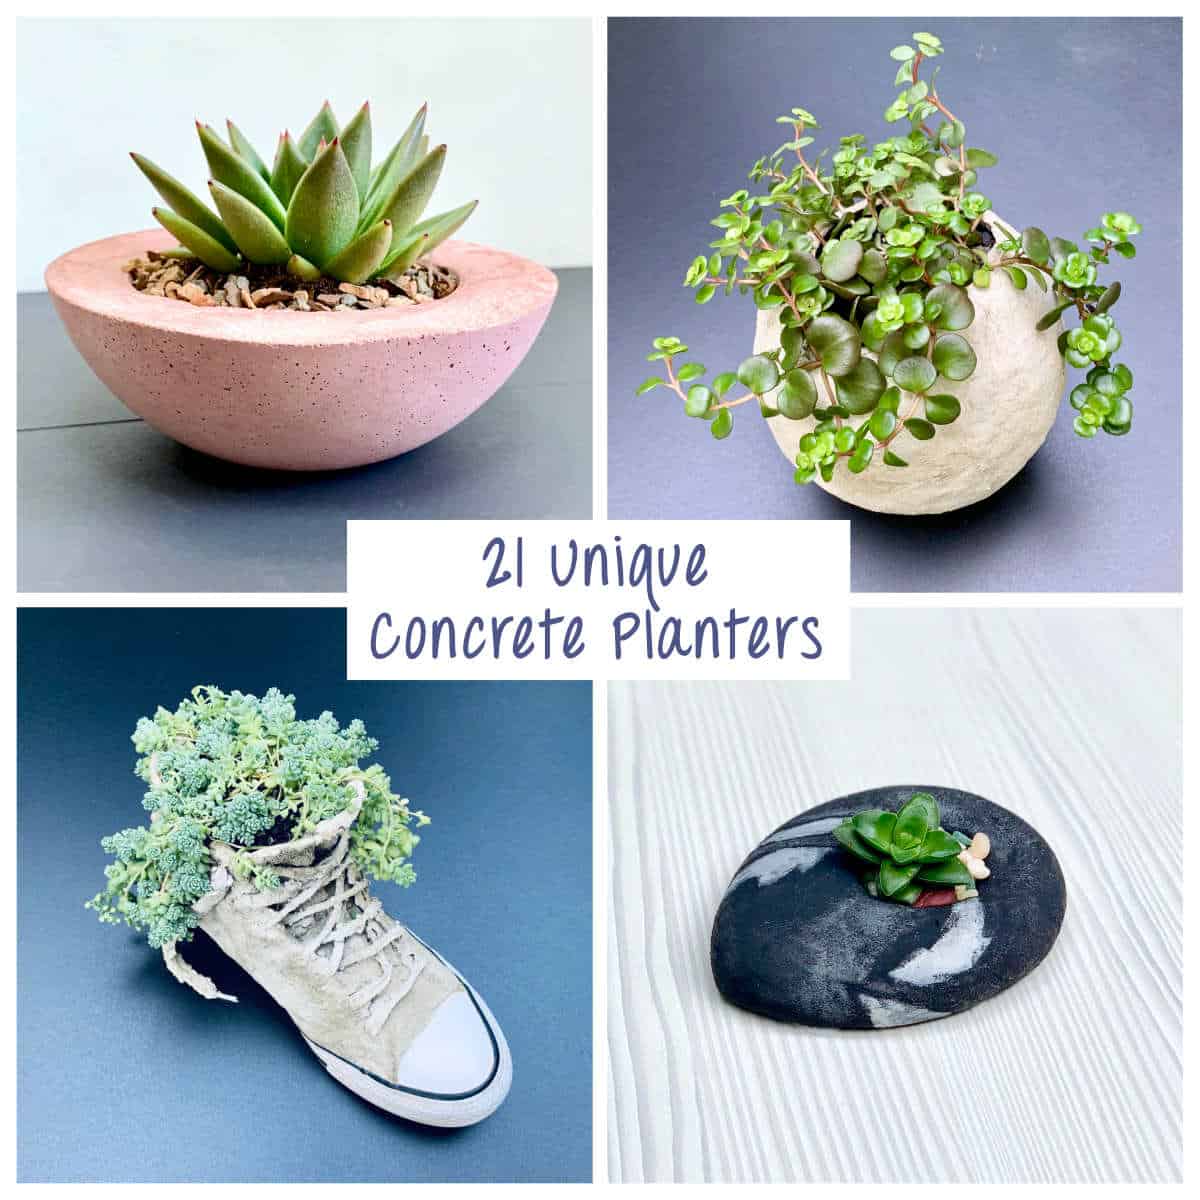

Adorable!
Great idea! Would this method be possible with a larger ball, without the magnet?
Thanks Marlene! Yes, without a magnet is no problem. I have a bunch of those too. A larger ball will work, I’m just not sure how big you can go without running into problems, but you may be able to go pretty big.
Let me know how it works out. Good luck!