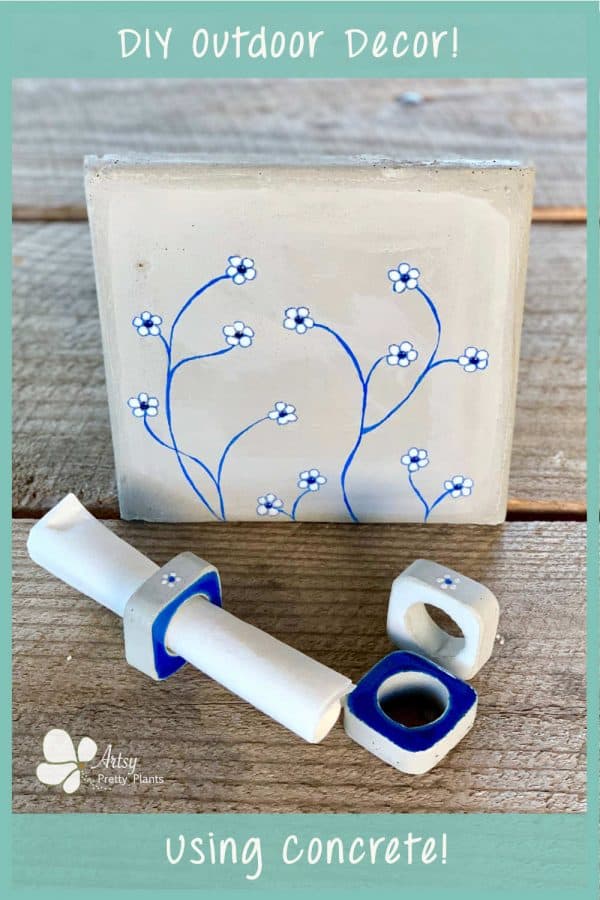
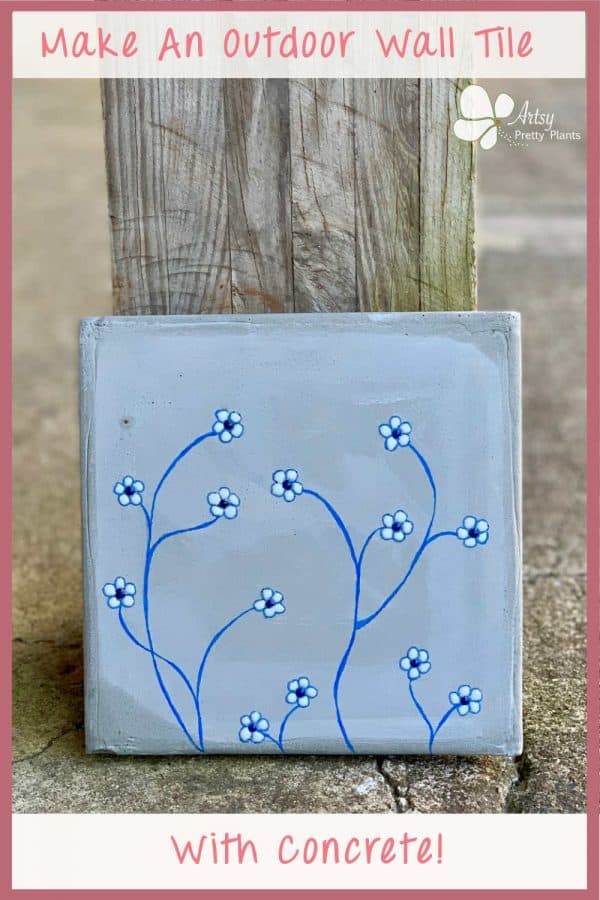
Make a Pretty Outdoor Concrete Wall Tile
How to make a DIY outdoor concrete wall tile for your patio or porch.
There are so many inexpensive ways you can decorate your outdoor living space. Concrete is one of the best materials for doing so.
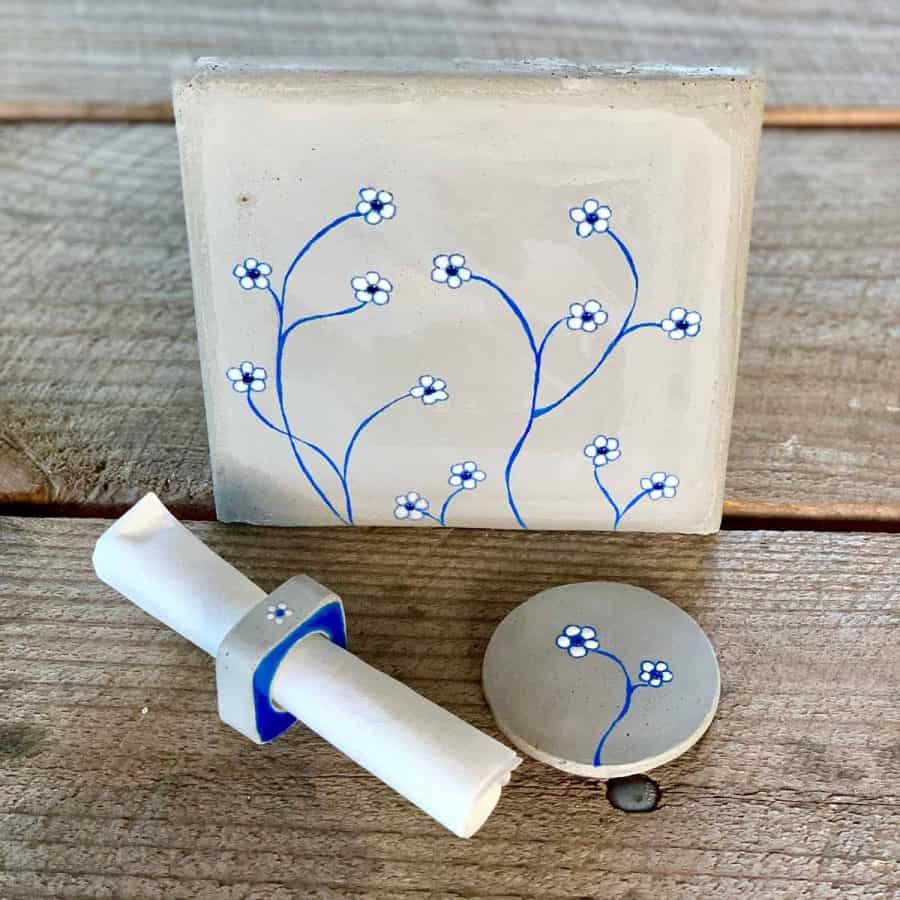
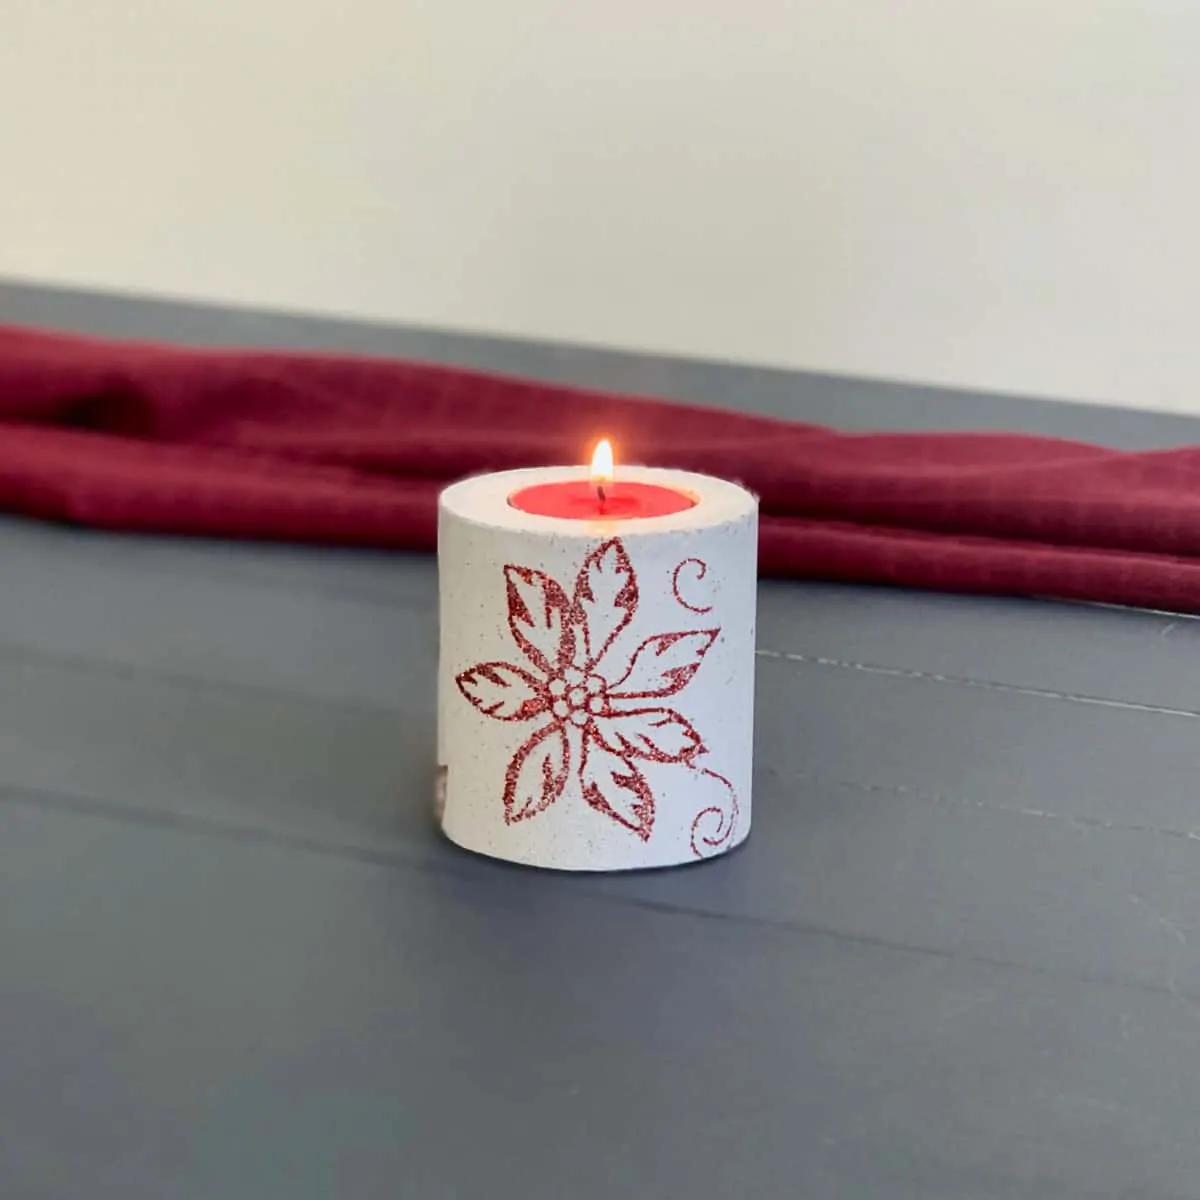
This DIY outdoor concrete wall tile is the fourth in my flower design series.

The decorative tile coordinates with each of these projects if you want to check them out, I’ve linked to them above the tutorial.
This is a pretty simple project, you’ll just need some saws to make the mold.
I’m not much of a woodworker, but even I didn’t run into trouble with this. Then, the most fun part is painting the tile.
Read on for the tutorial for the final install of the coordinating concrete decor with flower designs.
Some of the links on this page have been provided as a convenience for finding materials. These links may also be affiliate links. As an Amazon Associate I earn from qualifying purchases, at no extra cost to you.
I only recommend products I’ve used and loved, unless otherwise stated. Click here to read my full disclosure policy.
DIY Difficulty Level | Easy
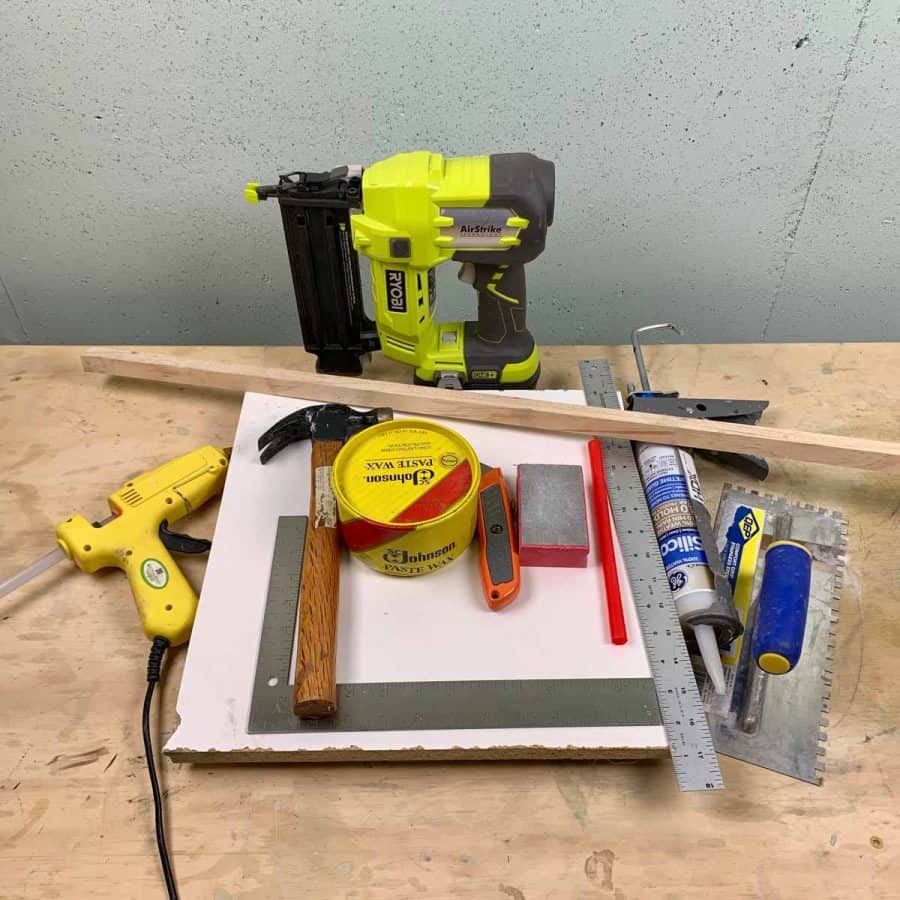
List of Materials For A DIY Outdoor Concrete Wall Tile
- Sand Topping Mix or Quick Setting Cement
- Disposable bowl
- Disposable cup
- Durable nitrile gloves– I like these because they are so durable, you can rinse and reuse and end up costing less in the long run
- Safety glasses
- Silica rated dust mask
- Square/flat trowel
- Cork backed ruler
- Craft knife or box cutter
- Silicone caulk
- Paste wax
- Framing square
- Melamine board 13 x 13” minimum
- Scrap wood like 1 x 1’s or 2 x 2’s total length about 48”
- Table saw or circular saw
- Brad nailer
- Hammer
- Jumbo straw
- Hot glue gun
- #200 Grit diamond sanding pad (or regular 220 should be fine)
Resin Painting
- Transfer paper
- Epoxy resin 2:1
- Resin colorants- opaque– blue and white
- Sharpie Oil Marker- extra fine, blue
- Craft sticks
- Plastic yarn needle and/or toothpicks
- Q-tips
- Resin mixing cups
- Tiny plastic cups for divvying up colors (Dollar Tree has great ones for this)
- Rubbing alcohol
- Plastic lids or wax paper

Before starting the tutorial, it may be helpful to read my article comparing the different concrete mixes and sealers– Cement & Concrete Crafts Tests!
Another important article is Making Cement Crafts Techniques & Tips with info on cement materials, mixture consistencies, demolding, safety and clean up!
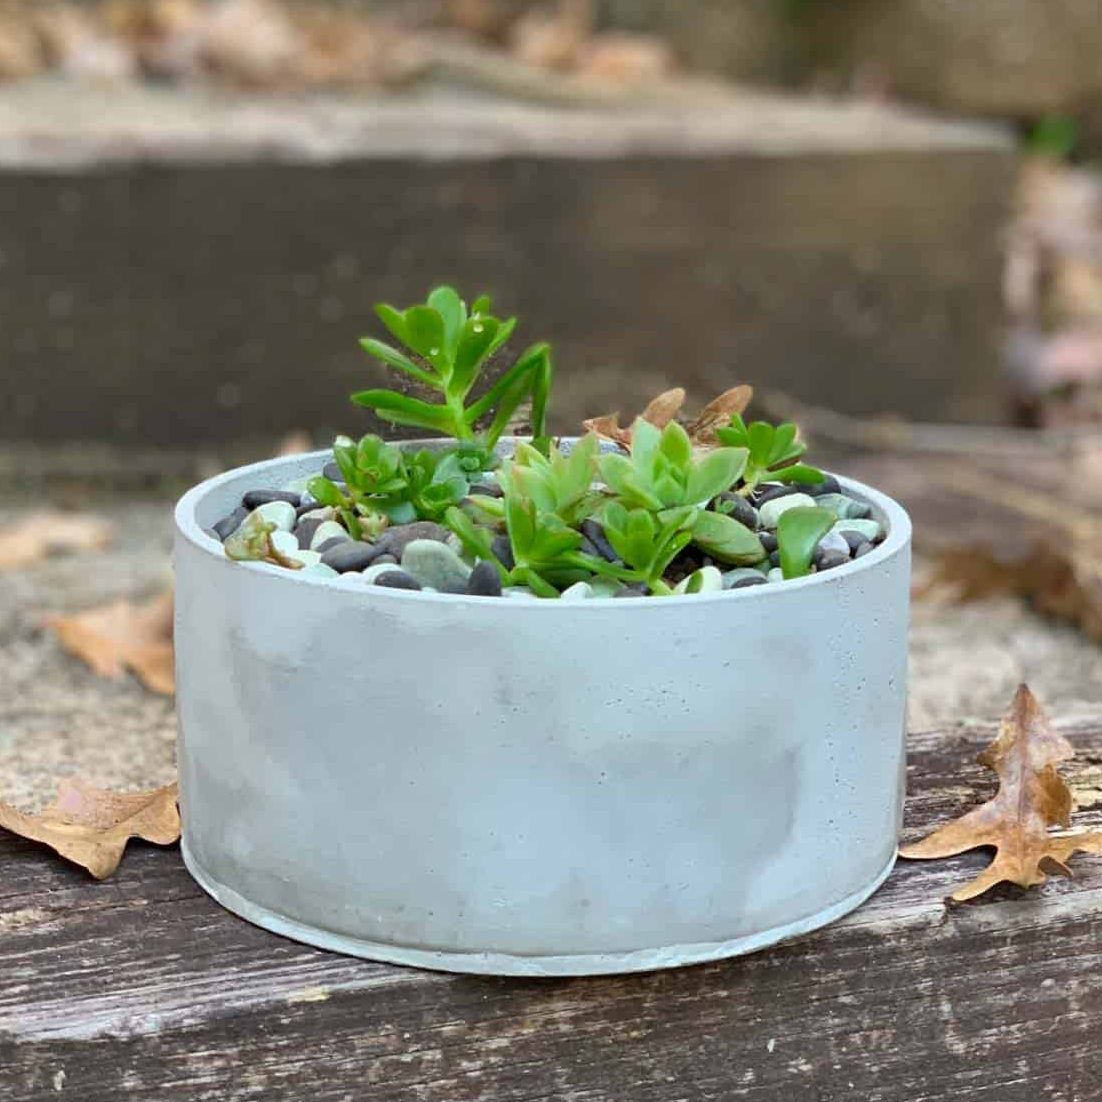
Here are the other projects in this flower concrete series:
- DIY Outdoor Concrete Side Table & Stool With Flowers
- Concrete Coasters With Flowers
- DIY Concrete Napkin Rings With Flowers
Tutorial Steps For Making An Outdoor Concrete Wall Tile With Flowers
Step 1. Cut The Wood For The Concrete Tile Mold

Use a table saw or circular saw to cut the melamine board to approximately 13 x 13”.
Next, cut 4 pieces of 2 x 2” or 1 x 1”. One piece will be 9”, and three will be 14”.
You are making 3 of the pieces for the side of the mold extra long.
This is to provide you with leverage when you demold the tile.
The extra length will actually overhang the board.
Step 2. Fasten The Sides To The Base
Place the 9” piece on the board so that it is straight. Use the brad nailer to to secure this into place near each end.


Now take the 3 longer pieces and arrange them so that the inside square is 9” around.
Use the framing tool to get everything square. Nail these in with the brad gun.
Step 3. Lubricate The DIY Concrete Wall Tile Mold


Use a rag and paste wax to lubricate the inside edges of the wood sides and then caulk each piece on the inside.
Use your finger to get a nice smooth line, because the caulk will round the edges of the tile.
Step 4. Create The Tile’s Hanging Holes

To create the slots for where the screws will be for hanging the tile, you’ll use straws.
Cut two pieces of straw and fill both ends with hot glue. Now use the paste wax to lubricate the whole straw, including ends.
Measure and mark 2” in from each side from what will be the top of the tile.
Set these aside for now and keep the ruler nearby.
It turned out that the width of my ruler was a great width to use as a guide for where I would place the straws.
Step 5. Cast The Outdoor Concrete Wall Tile

Mix the concrete to a soft mud pie consistency and pour it into the tile mold.
Use a flat trowel to level it, as well as lift the board and shake and tap it to help vibrate the concrete to release air bubbles.
Let the concrete set for maybe 20-30 minutes so that it thickens a bit.
This will help keep the straws from pushing themselves out of the concrete.
They will better stay in place with the concrete being slightly set.

Place the ruler across the top inside of the tile and at the 2” marks, insert the straws right at the edge of the ruler.
Be sure that they are flush with the top of the concrete.
The tile will need 24 hours before it can be demolded.
Step 6. Remove The DIY Concrete Tile From The Mold

To demold the tile, use the back of a hammer for leverage and pull up on one or two of the overhanging ends.
These wood sides should come off pretty easily. Now lift the tile out and sand any rough edges with the #200 grit diamond sanding sponge.
Make sure the concrete is completely dry before painting since moisture is still retained in the concrete, and then wait 2 more days before painting.
Step 7. Print The Flower Design For The Concrete Wall Tile
While the cement is drying, go ahead and print the summer flower design template.
With this printable, you will use transfer paper to trace it in the next step. Just fill out the form to receive the flower design download.
Step 8. Trace The Flower Design Onto The Outdoor Tile

Take the transfer paper and place it shiny side down onto the coaster and tape it in place.
Now take the printable and place it on top of the transfer paper and tape that into place.
Use a pencil to trace the flowers onto the tile, but check that the design is transferring before tracing the whole design because sometimes more pressure is needed or the paper is upside down.
After the flowers have been transferred to the tile, use the Sharpie Oil Marker to trace over the graphite outlines.
Thicken the lines in some places on the stems, to make them look more natural.
Step 9. Paint The Outdoor Wall Tile’s Flower Design


I recommend painting these in two batches. Start with the blue centers and then once those have cured (after a few hours), then paint the petals.
Mix the resin at a 2:1 ratio for two minutes. Next, dip a toothpick into the blue colorant.
You only need a tiny bit of color, so one or two dabs of blue will be enough. Let this sit for about 15 minutes so that it thickens slightly.
If you don’t wait, it will be too runny and spread past the center you painted.
Once the resin starts to mound up a little on the toothpick, then it is ready.
Repeat this process with the white colorant for the petals.
And here is a tutorial for an indoor cement wall tile that is in 3D!
Don’t forget to Pin it for later!


Beautiful, love both the blue color, and the design. I do with there was more info on the painting and what the alcohol was used for. Anyways, thanks, and have a good day.
Hi Amy,
I didn’t go into detail with the painting of the tile because I made a series of these resin flower painted concrete objects (coasters, napkin rings and a side table/stool). The coasters were the first and have the painting details.
https://artsyprettyplants.com/diy-concrete-coasters-flower-design/
The rubbing alcohol is used to thin the resin if necessary. You only need to dab the toothpick into the alcohol to have enough to thin it with.
Ellen