How to Make a Concrete Gnome (Step by Step)
Gnomes are such fun garden ornaments and in this tutorial, I’ll show you how you can easily make your own DIY concrete gnome.
You can make a concrete gnome garden ornament using a nylon stocking or sock.
Which will be filled with cement and then you’ll manipulate the cement within the stocking to create the gnome’s feet and nose.
Using cement makes your gnome already suitable as an outdoor gnome. If you want to make gnomes that aren’t concrete, then check out this post with 21 easy DIY gnomes tutorial ideas.

If you want to paint it, then you’ll want to follow up with a clear top coat to make it suitable for being outdoors.
What is it about gnomes anyway? Why are we so attracted to them? Well, do you know the legend behind gnomes?
DIY Concrete Gnome Video Tutorial
Please click the button to subscribe to my YouTube channel and be notified when I have a new video tutorial!
Here’s the story, these mystical creatures travel underground and are said to be a sign of good luck. What kind of good luck do they bring?
Buried treasure! Both adorable and good luck- who doesn’t want a gnome!
For this gnome project, I chose to make a girl gnome.
You can make a girl or a boy gnome with a few adjustments, but this tutorial gives you all the details for a DIY concrete lady gnome.
Feel free to add things like embellishments, make your hair longer or shorter, or even braided.
Every gnome is its own individual so they can be as unique as you want to make them.
I painted mine, but you can leave yours natural concrete.
If you love gnomes, you might enjoy the tutorial for making one from air dry clay!
I’d like to thank a friend of mine, Evelyn, for her help on this tutorial. She gave me the original instructions for making the gnome.
Evelyn Falk is an amazing artist who paints beautiful encaustic paintings, mix media and abstract art.

In addition, she makes sculptures- including concrete gnomes and garden mushrooms.
You can find Evelyn’s work at Studio62, where you can also purchase most of the items mentioned above. Check her out, she really is very talented.
Also, here are two other amazing garden projects, a concrete sphere, and one for making a big concrete mushroom!
Some of the links on this page have been provided as a convenience for finding materials. These links may also be affiliate links. As an Amazon Associate I earn from qualifying purchases, at no extra cost to you.
I only recommend products I’ve used and loved, unless otherwise stated. Click here to read my full disclosure policy.
DIY DIFFICULTY LEVEL | Easy
Materials For Making A Concrete Girl Gnome
- Portland cement
- Play sand (about 2 cups)
- Disposable bowl
- Disposable cup
- Durable nitrile gloves– I like these because they are so durable, you can rinse and reuse them
- Safety glasses
- Safety mask– rated for silica dust
- Trouser sock- from Dollar Tree– standard above calf
- Tiny hair elastics
- 3-5 nails with wide flat heads- 1-1 ½” long
- Jute rope – about 42” long
- Pool noodle
- Jersey knit material about 2 1/2” wide and 60” long (You can also use strips of shorter pieces from an old t-shirt. I used an old jersey )
- Tall, wide mouth container or cup to hold your sock
- Cup for dipping water
- 12” wide shallow dish or disposable aluminum foil pie plate
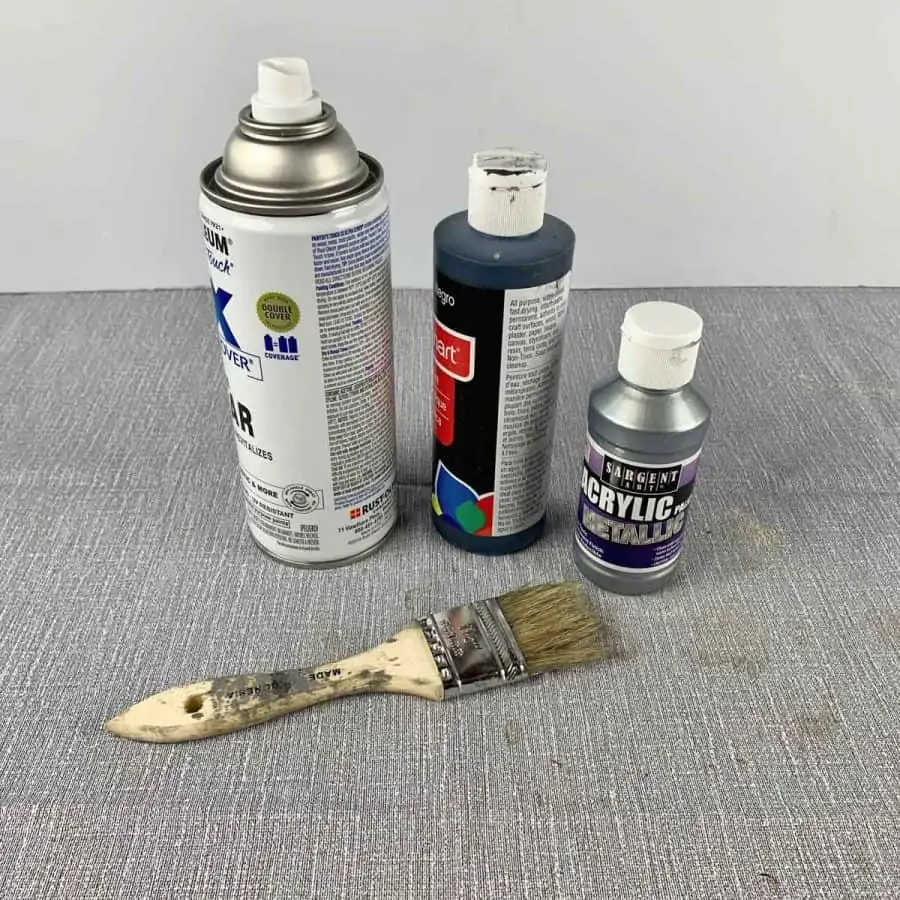
Optional for painting:
- Cheap bristle brush
- Acrylic black paint
- Metallic paint
- Paper towels
- Cup of water
- Clear top coat spray

You may also love this cement bird bath, this amazing mosaic stepping stone, and a concrete butterfly puddler!
Tutorial Steps For Making A Concrete Gnome Girl
Before starting the tutorial, it may be helpful to read my article comparing the different concrete mixes and sealers– Cement & Concrete Crafts Tests!
Another important article is Making Cement Crafts Techniques & Tips with info on cement materials, mixture consistencies, demolding, safety and clean up!
Step 1. Prepare The Hair And Hat For The Concrete Gnome
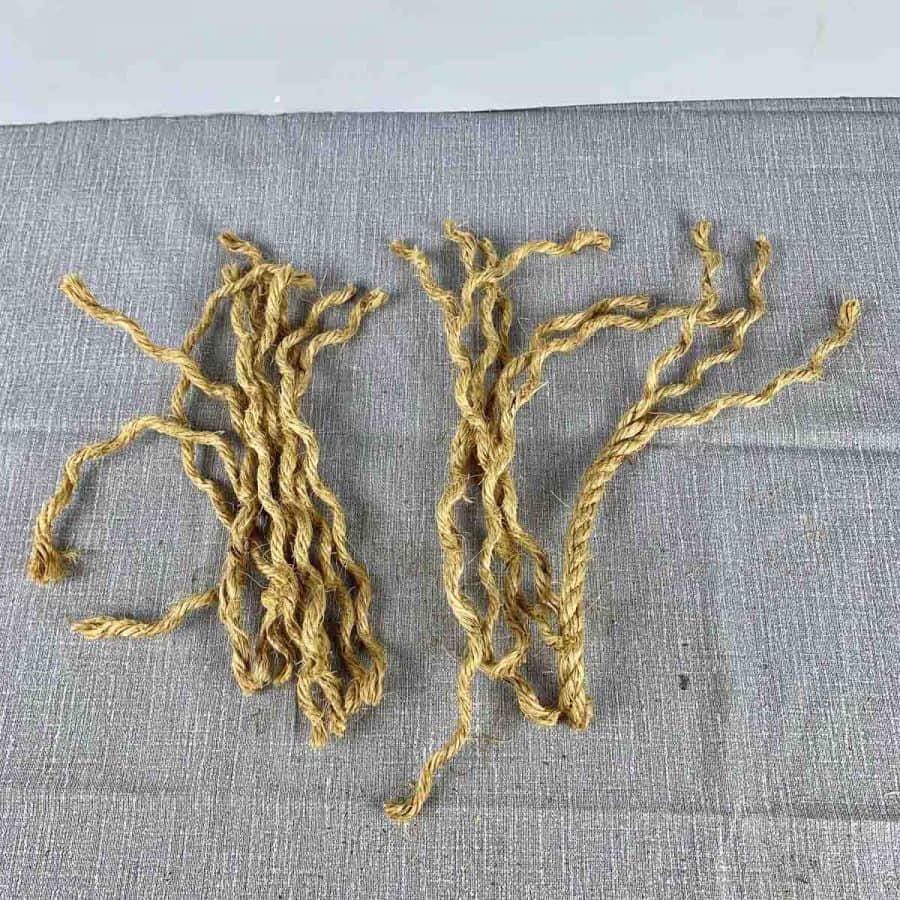
Start by cutting 6 pieces of jute at about 7” long, then take each piece and unravel it.
Each piece should have 3 strands, so you’ll end up with 18 strands total.
Set these aside for now because you’ll divide these later into 2 bundles of 9 strands.

Take the pool noodle and cut that to somewhere between 6 and 10” long. This will be how high the hat goes. My noodle was cut to 6”.
Step 2. Make The Gnome’s Body
Place the trouser sock over the tall container so it acts as a sleeve holder.
The toe seam will be at the bottom and the sock is open at the top.
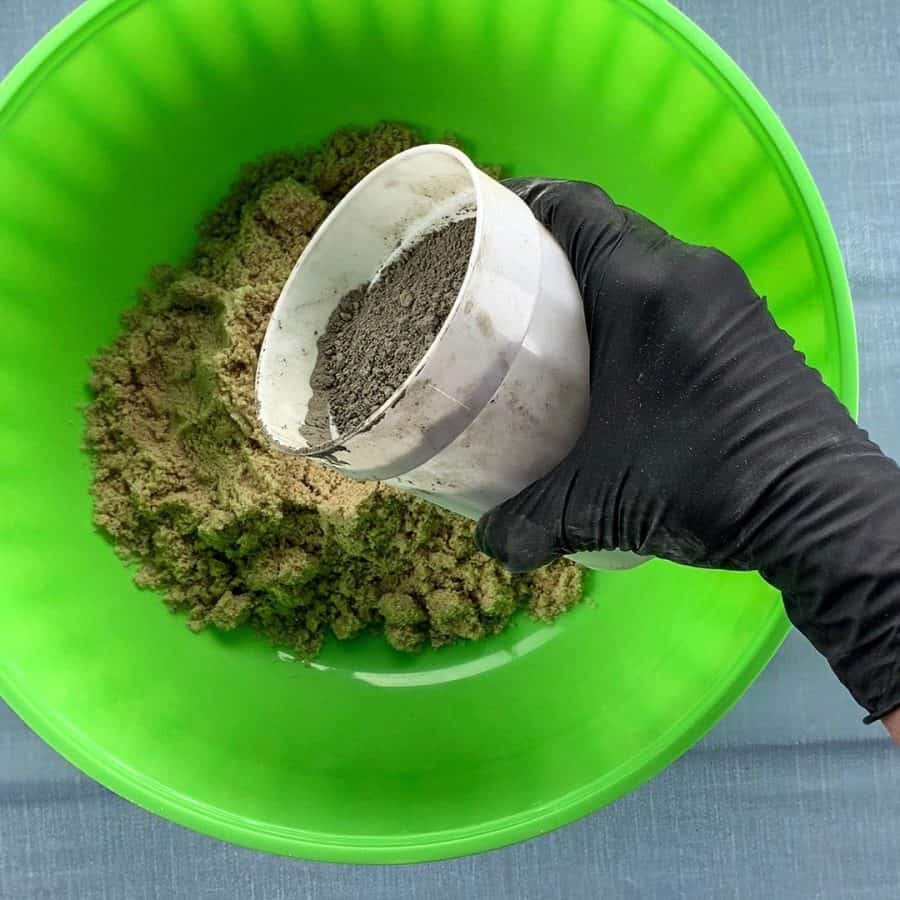
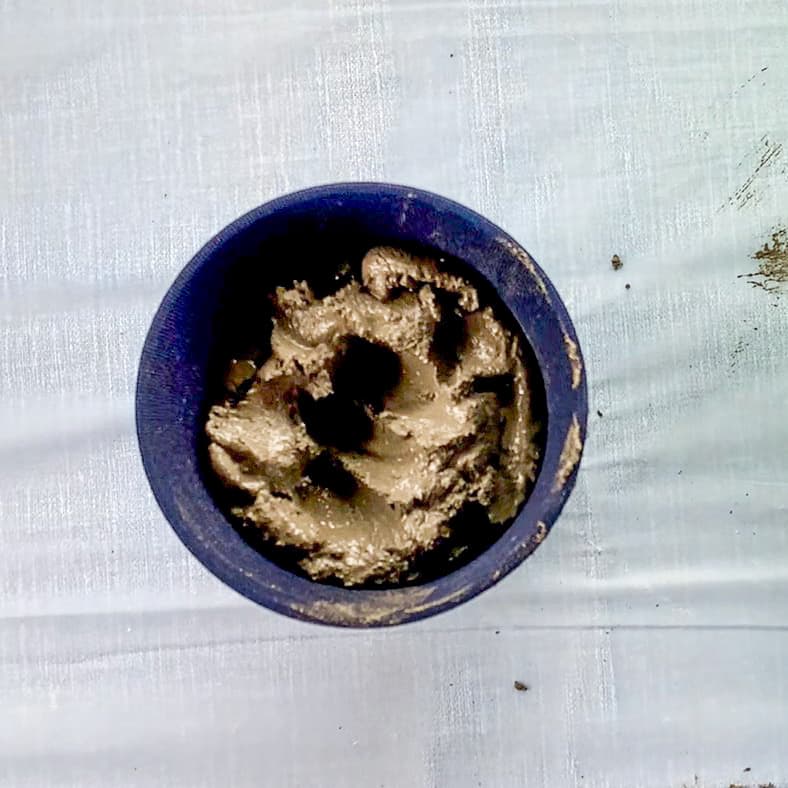
Mix the cement at a 1:1 ratio of cement to sand. The body will take about 2-2 ½ cups of each.

Scoop the cement and pour it into the bowl and scoop the sand and also pour that in. Now mix these together dry and then add water.

The consistency of the cement should be like a loose, soft mud pie.
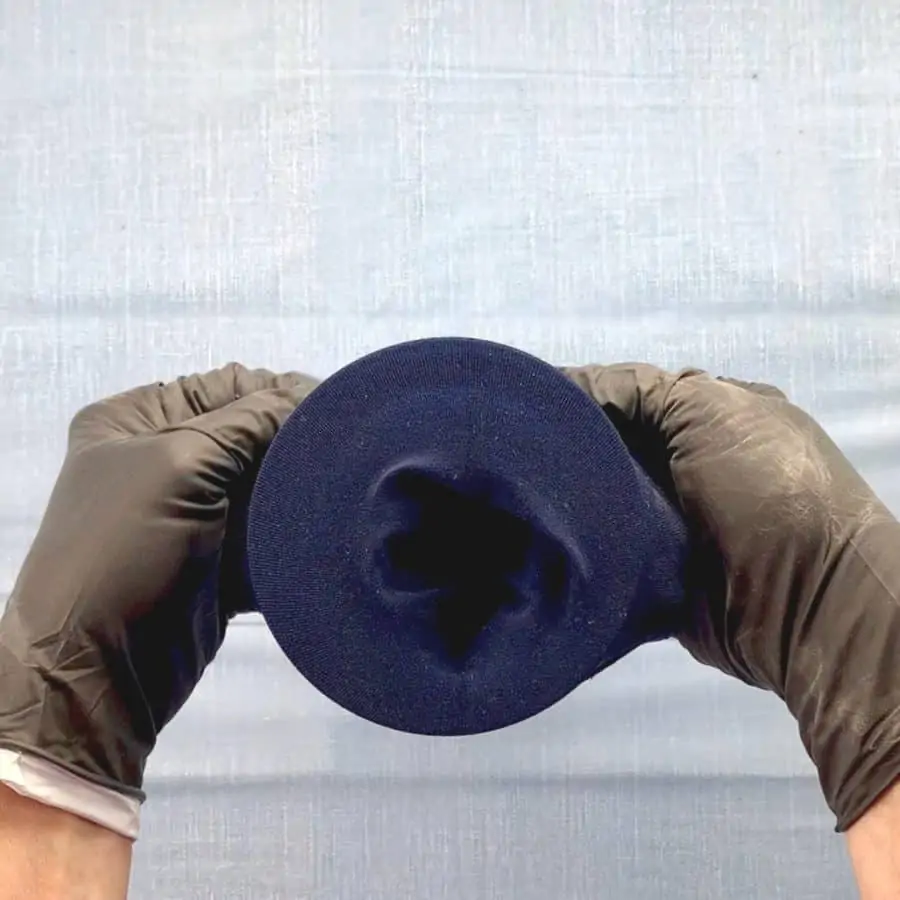
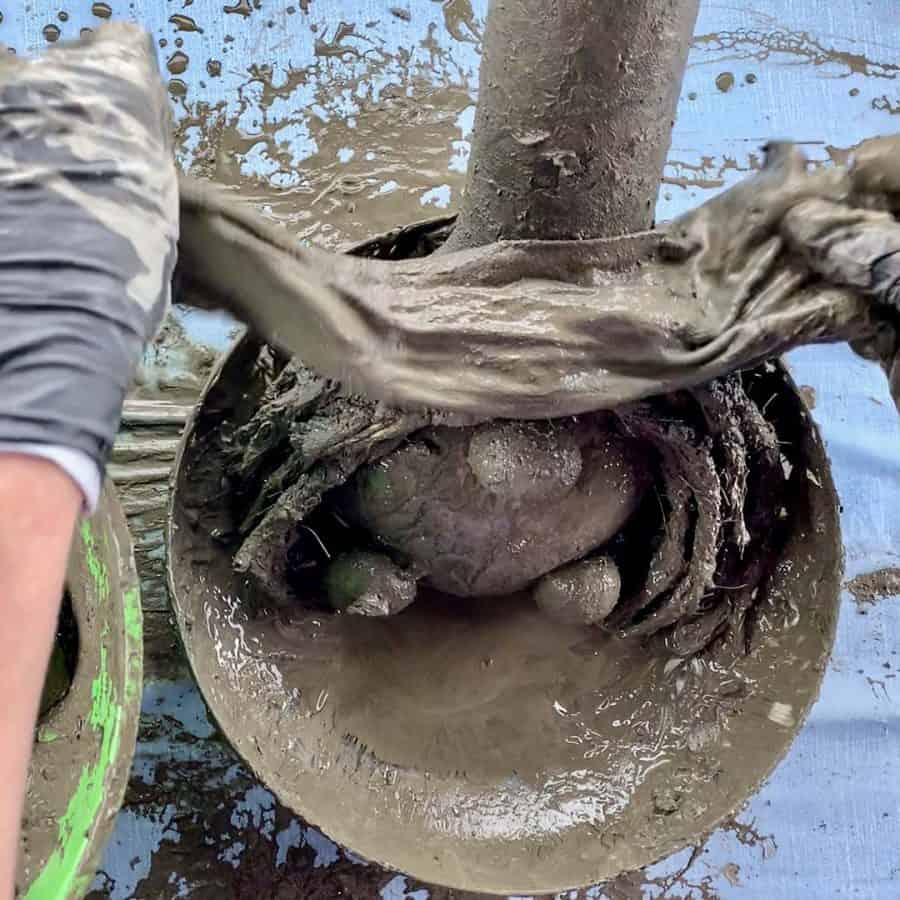
Scoop the cement up and place it into the sock and tap the container on the table a couple of times so it slides down the sock.
Then lift the sock off of the container and place it into the shallow dish.
Lift this up and down and tap it on the bottom of the dish a few times to help shape the gnome.
As soon as the sock gets wet with the cement seeping through, then lay the sock down in the dish so that if it were a gnome now, she would be laying on her back.

Also, make sure the seam will be pointing toward you and running from side to side.
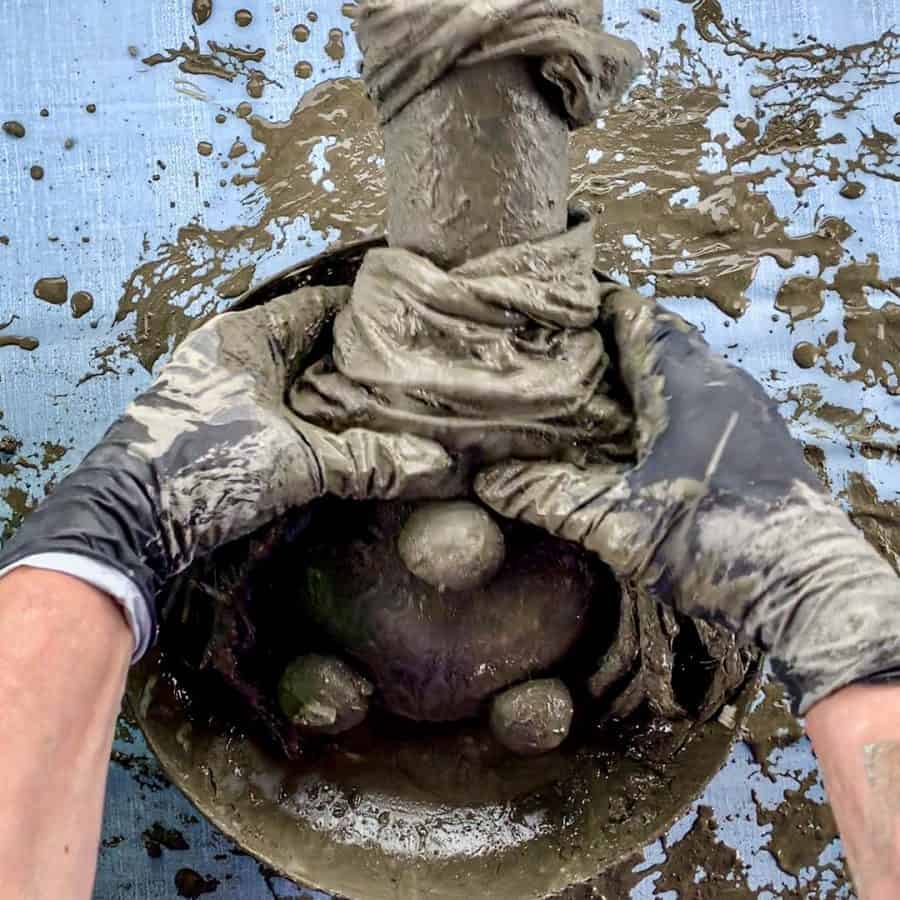
Step 3. Add The Girl Gnome Feet and Nose

With the gnome still laying flat on her back, grab a clump/ball of sock/concrete and secure with the tiny elastic for each foot.
It may be necessary to wrap it around twice.
You may want to think about how far to space the gnome’s feet because if you go too wide, then the feet may be covered with hair.
To be sure the feet show, place them within a few inches of each other.

Now set your gnome upright, and make sure the feet are sitting on the bottom.
Grab a clump where the nose will be and wrap that with an elastic.
Step 4. Add The Base Of the Gnome’s Hat
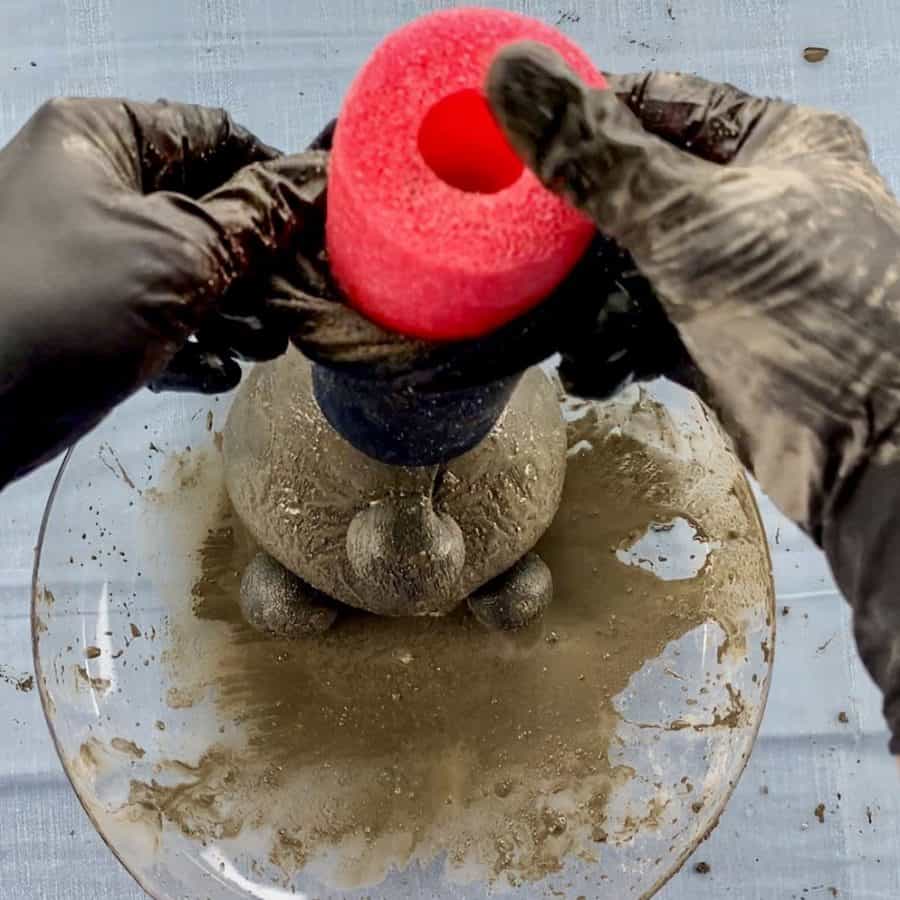
Stuff the end of the pool noodle into the top of the trouser sock, so it presses down into the cement.

Step 5. Make The Hair For The Concrete Lady Gnome
Here’s where you will follow the instructions and not make the strands the way I did here.
Mine were all long and tied in the middle and I attached them to the middle of the noodle. So do this instead.
Your hair should look like this before soaking in the cement, with two separate sides- not one continuous piece like mine.

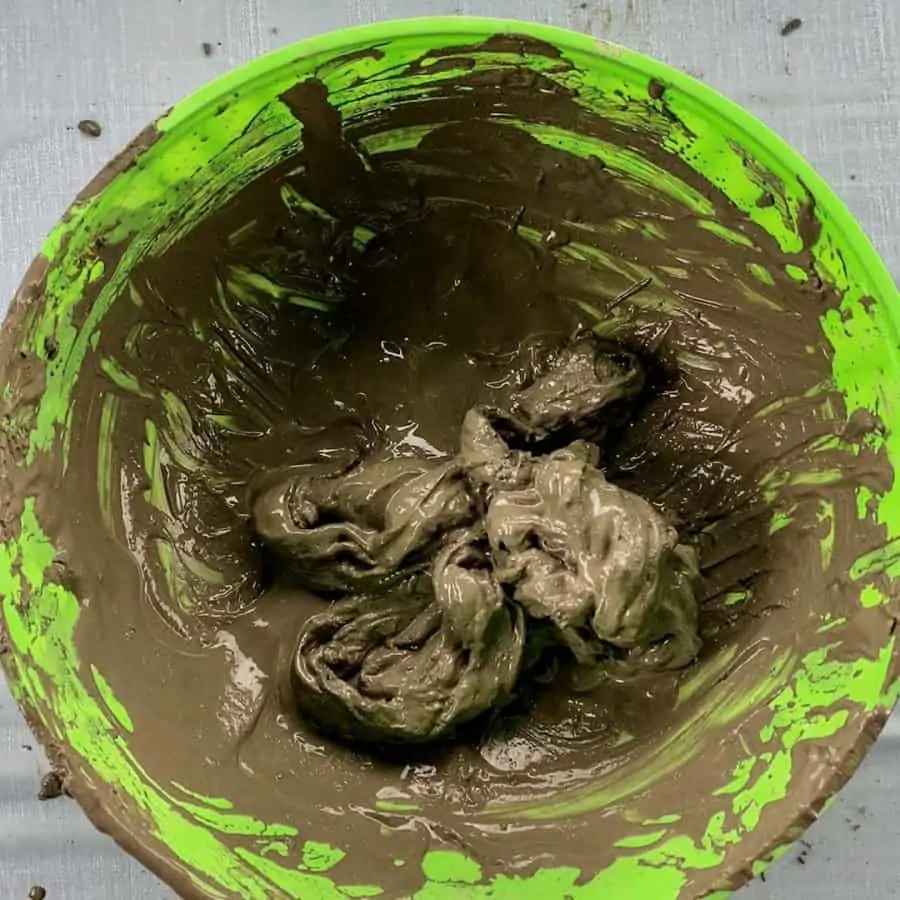
Mix up another batch of cement. This time you only need the cement, so don’t mix in any sand. This will end up being about 2 cups of cement.
For the hair and the hat, you’ll want the cement consistency to be a slurry, so it’s like a thin brownie batter.

Soak all the strands of hair into the cement and take care that these are thoroughly saturated.
Then tie an elastic band around the end of nine of the strands and then another one around the remaining nine.
Again, you’ll have 2 separate bunches of strands here.
Take these and pin them with a nail to each side of the noodle. How high up you go will depend on the hair length you want.
The lower you place the strands, the more the hair will sit on the ground.
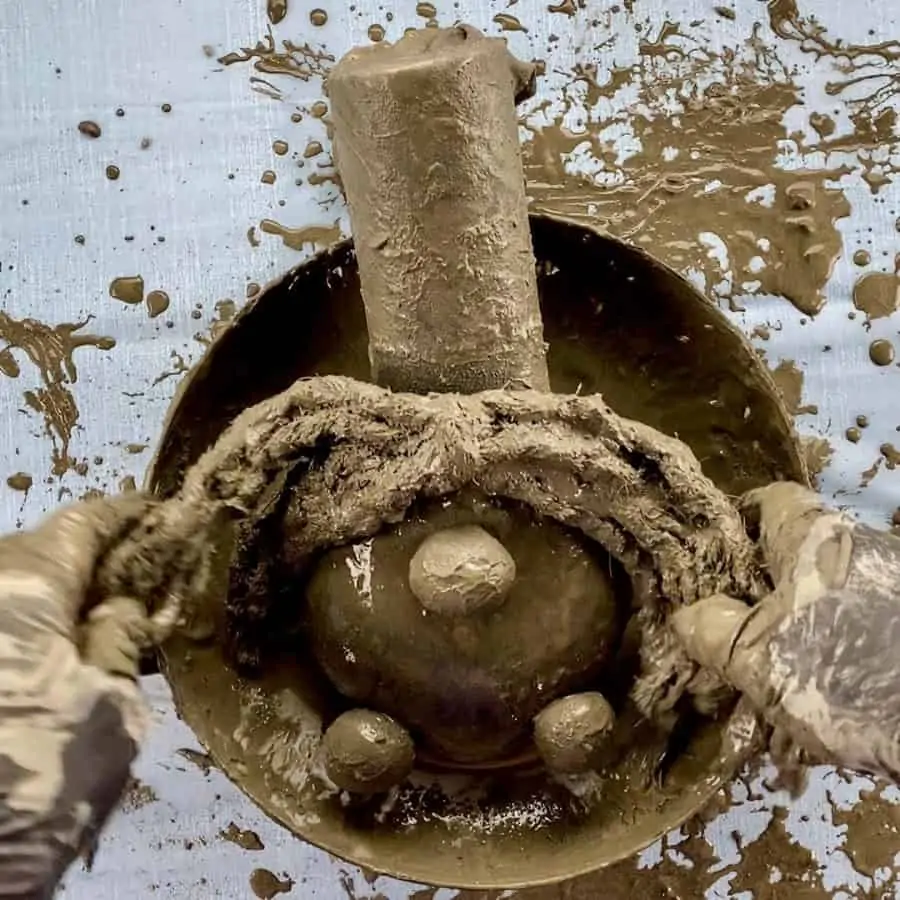
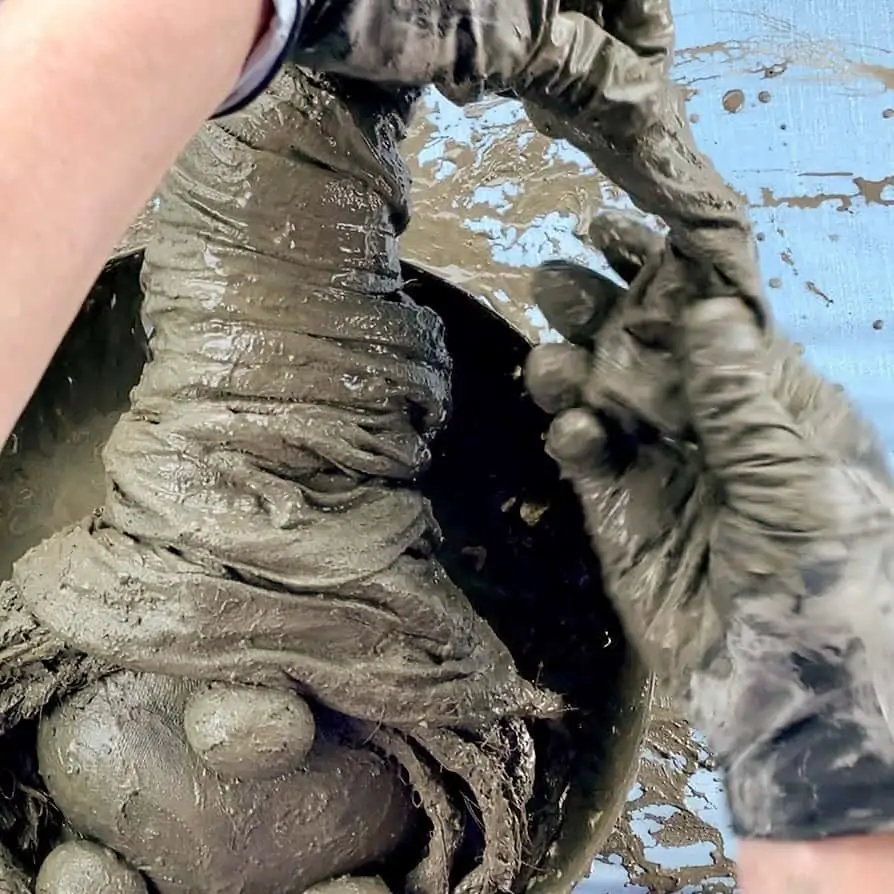
Step 6. Make The Gnome’s Hat
First, dip the roll of jersey fabric into the bowl of water and gently squeeze it so it’s still quite damp, but not dripping.
Next, with the remaining cement mix, soak the roll of jersey fabric into the bowl, taking care that all parts of the roll are saturated with cement.
You may want to roll this up to make it easier to wrap around the gnome’s head- much like you would if giving first aid to someone with a head injury.
Start from the bottom and drape it loosely as you wrap.
Pay special attention to how it sits near the bridge of the nose and how you want it to look and fuss with it as needed.
Just tuck the end under the first wrap around the head and if the end slips out, you can use a nail to secure it.
I wanted my hat to swoop down over where the eyes would be. You’ll see in the photos I didn’t roll my fabric but wished I had.

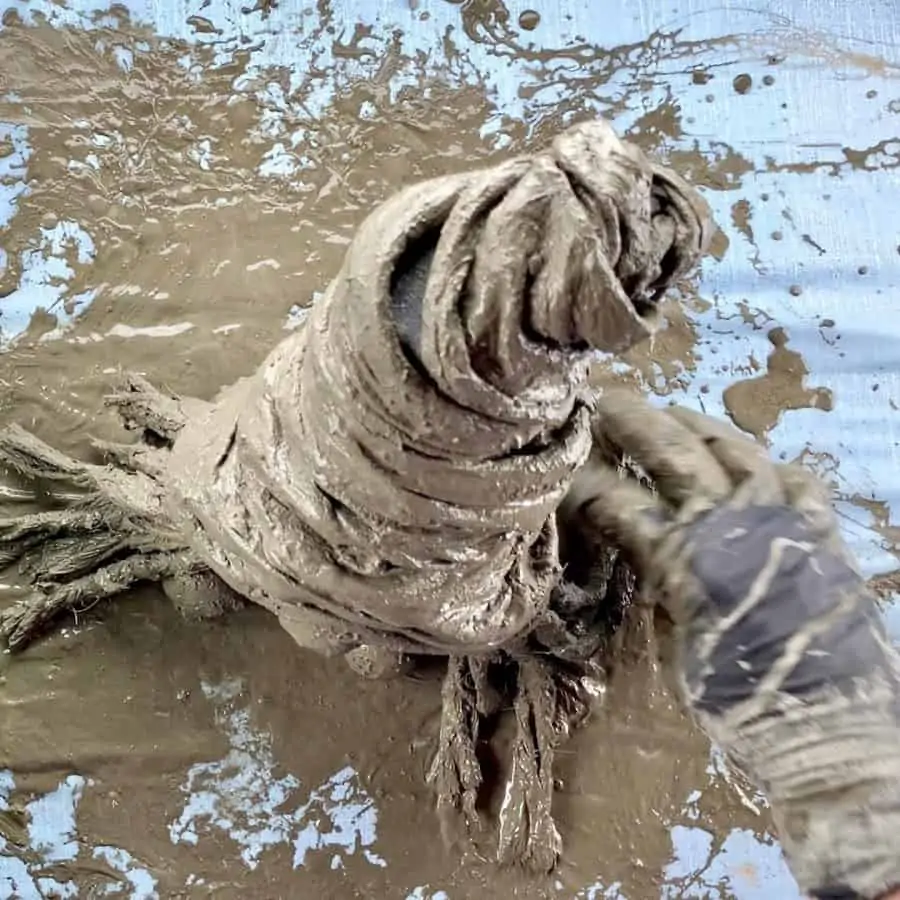
As you make your way up the hat, be sure to overlap the “bandage”, again keeping it loose so it looks slouchy.
Be generous and make sure the noodle is well covered.

As you reach the end of the noodle, you can create a tassel by wrapping the jersey material around the excess trouser sock.
If your sock is dry, then add a little water to it and mush some of the slurry onto it.
Next, continue wrapping until you meet the end of the trouser sock. I just tucked my end into the last wrap, but use a nail if needed.

Double check that the area over the bridge of the nose hasn’t moved a little on you and re-adjust if necessary.
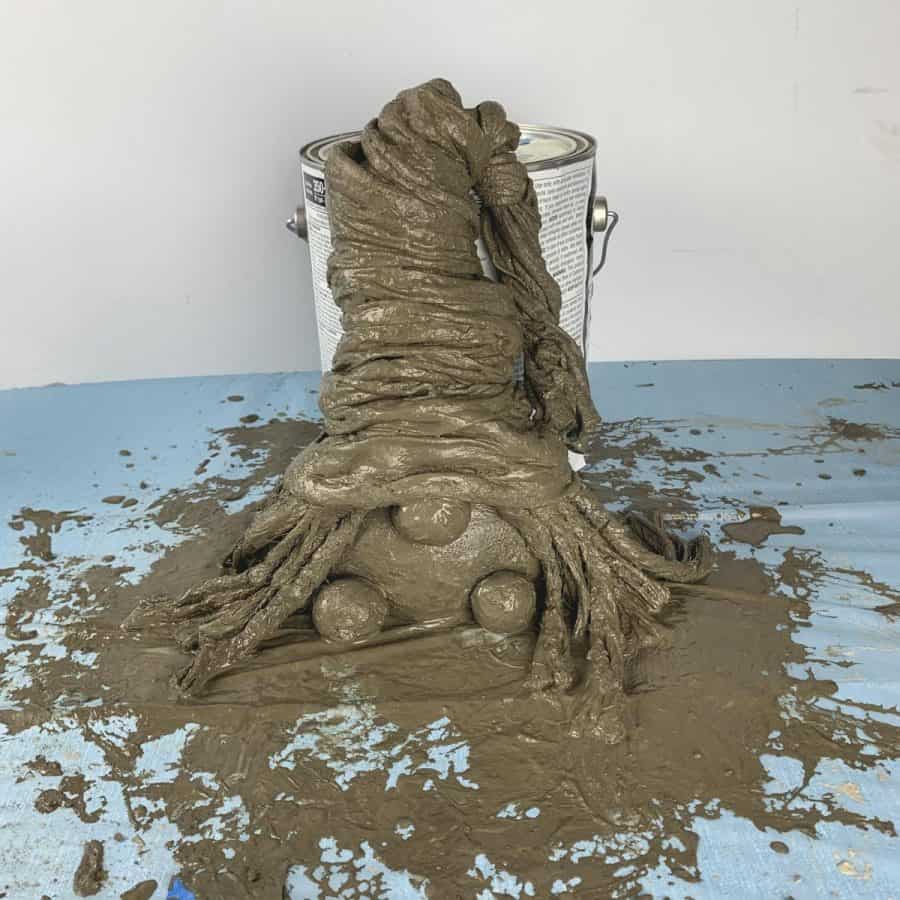
Let this cure for about 2 days. You may need to prop the gnome up while she cures. I placed a gallon paint can behind her.
Also, be sure you have the hair tweaked the way you want it so that it stays that way when it cures.
When I made mine, it was warm and humid so it took 3 days before the gnome was completely dry and ready for painting.
Note: If you let this cure outside, make sure it doesn’t sit in the sun.
The sun will dry the cement too fast and cause it to be brittle. Tip! This goes for any cement project.
Step 7. Paint The Concrete Gnome
To paint them, dilute a bit of black acrylic paint with water in a cup. I would say I probably had about 40% paint to 60% water.
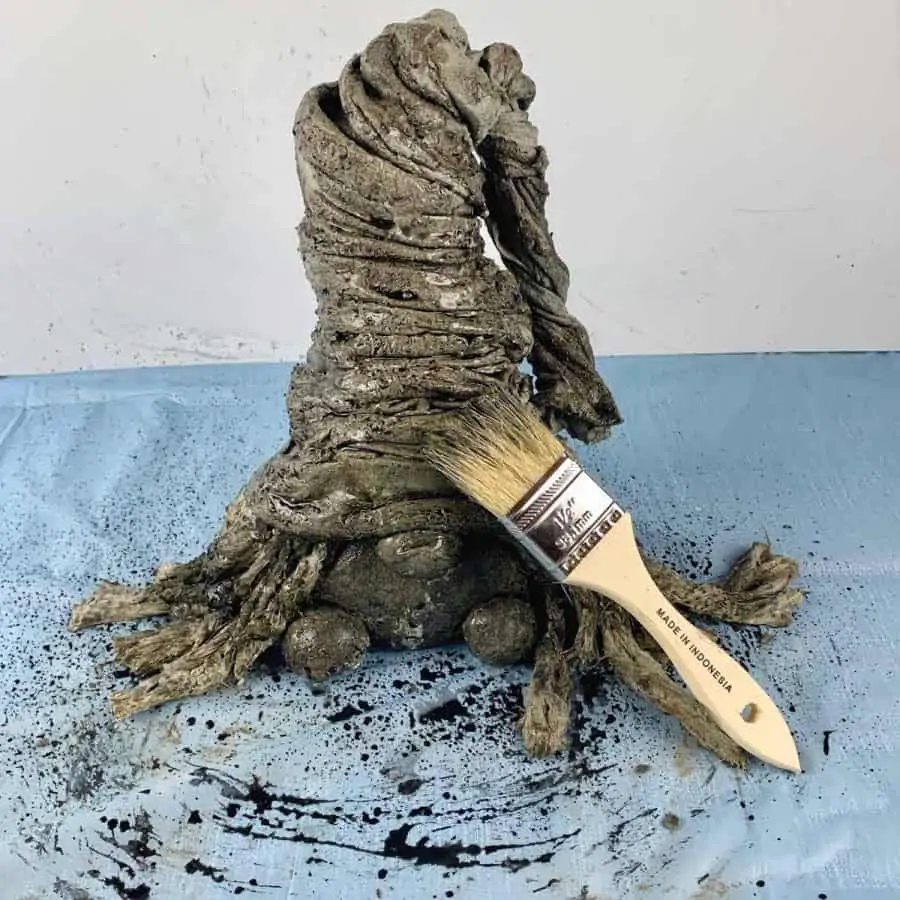
Take the cheap paint brush and brush on the black so that it gets into the grooves.

I found it helpful to use a rag or paper towel to pat down some areas that I felt had too much black on them.
You have some flexibility here with the painting.
You can always add more black or remove some wither with a dry paper towel, or more aggressively with a wet one. The same goes for the metallic.
Note: Wash the brush after and dry it well with a paper towel because you will be dry brushing on the metallic paint.
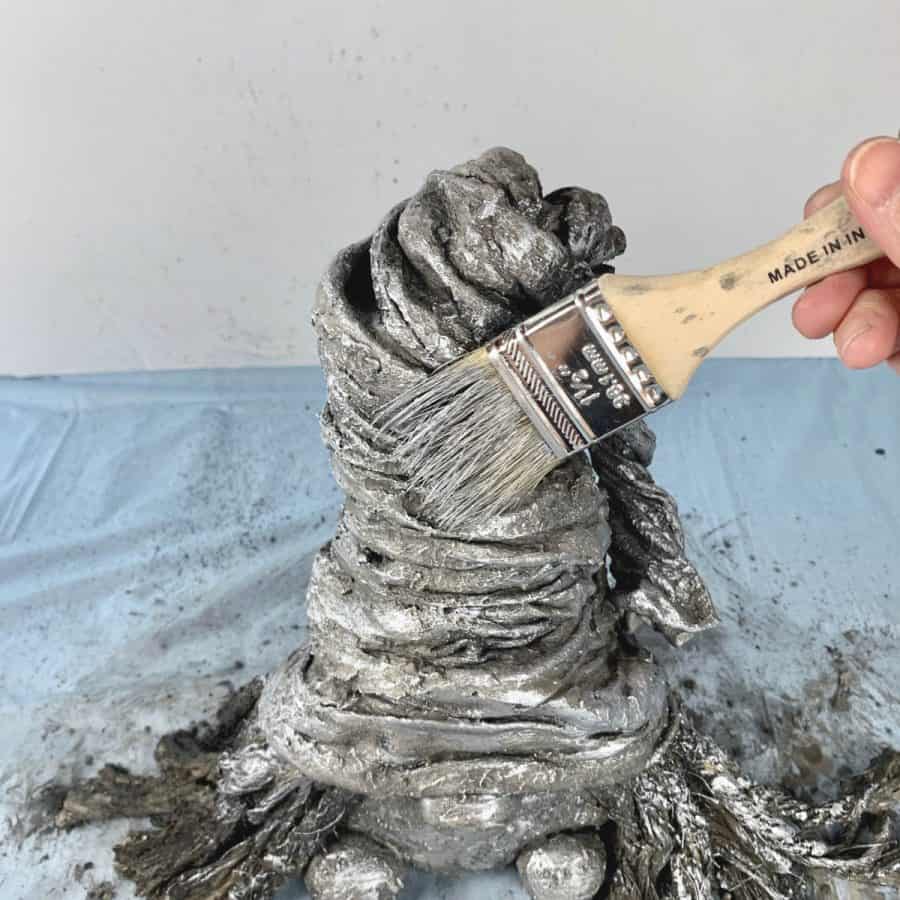
Once the black paint on the concrete gnome is dry, dry-brush the metallic paint first over the entire gnome, this will highlight the high points and create depth.
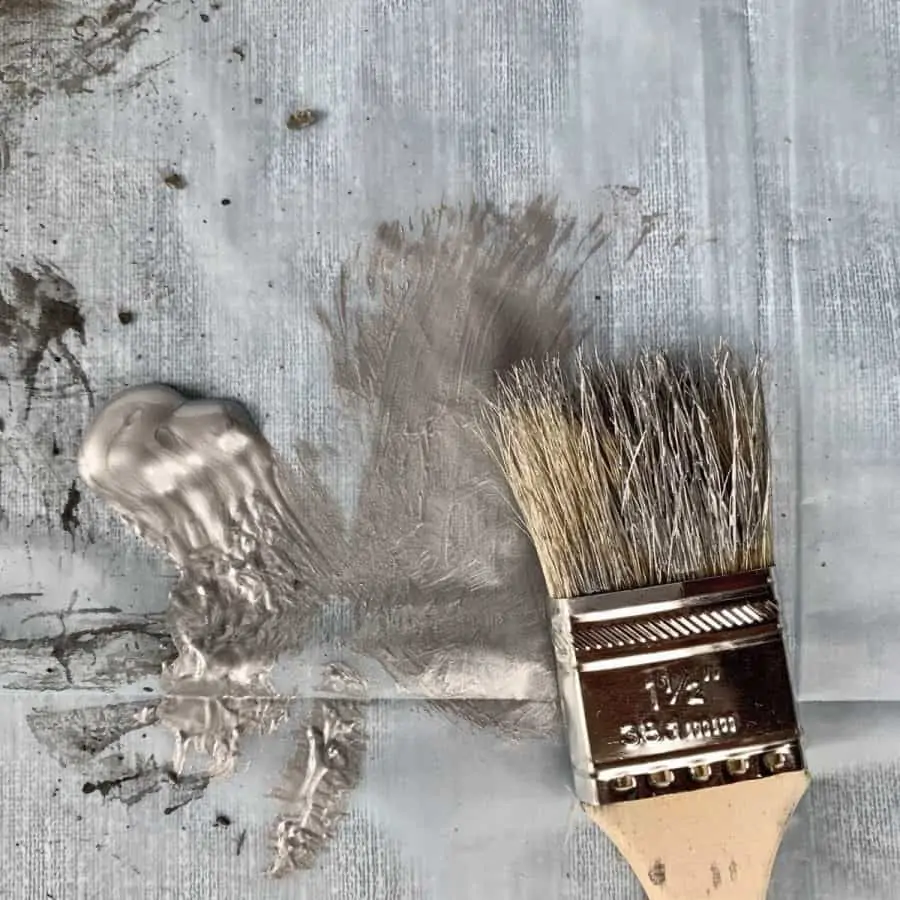
I had a tablecloth on my table and just spread the paint around on there and brushed (no water). Dabbing the paint onto a paper towel would also do the trick.
To preserve the painted finish, use a top coat clear spray and spray her all over. I recommend doing a couple of coats.

Now set her out in your garden and wait for treasure to come your way!
Here’s another concrete garden ornament I made, take a look here for the concrete owl tutorial.
Here are 11 other easy garden crafts you can make.
Don’t forget to Pin it for later!


This is adorable. Will get the supplies for this this weekend.
Thanks for sharing.
Hi Kathleen,
Thanks! It was really a lot of fun to make. Good luck!
Best,
Ellen
Great video and loved your garden gnome. I really want to give this a try. I was wondering why sand was added to the first batch of cement?
Hi Jennifer,
Thanks! I added sand to the first batch because I used Portland cement and it can’t be used alone. It needs sand or another type of aggregate to act as glue to bind it together. Cement alone can’t hold anything together. I didn’t need it for the the other batches because the fibers in the fabrics actually acted as aggregate. For most of my other projects, I use premixed bags of cement that already have sand or other aggregates in them so I don’t need to worry about adding anything to them. I hope that helps!
Had so much fun making your cute gnome, but I have a question. I am not happy with the way my hat has turned out and would like to add more strips to give it more bulk and slouchiness. It has been 24 hours since I set her up to cure and am wondering whether I can add more fabric strips and whther I ould just use the same method. Can you help please?
Hi Anne,
I’m not sure, but I think you can probably add more strips the same way. It’s already about the right consistency. If it’s not sticking, then have some and nearby and add a little sand. It might need something extra to help bind it to the existing cement.
I absolutely LOVE making these!!
I used black acrylic black then the acrylic metallic silver and sprayed it with sealer. Rain washed it off! Just the silver. What am I doing wrong?
Hi Angela,
Ugh, that’s too bad. Did you use the same brand of paint as I did? I used the Sergeant metallic paint. They sell it at Blick Art or Amazon. It’s then I linked to, or this. https://amzn.to/3XPDGLX
Not all paints will work outdoors. Also, did you use the same sealer? It needs to be rated for outdoor use. Just make sure both paint and sealer say for outdoor use. I’m not sure if the sliver says it can be used outdoors, but I knew from experience it would work- at least with my top coat sealer.